How to Make Your Own Spiral Bound Notebooks
This book binding technique makes it so easy to create your own custom journals at home!
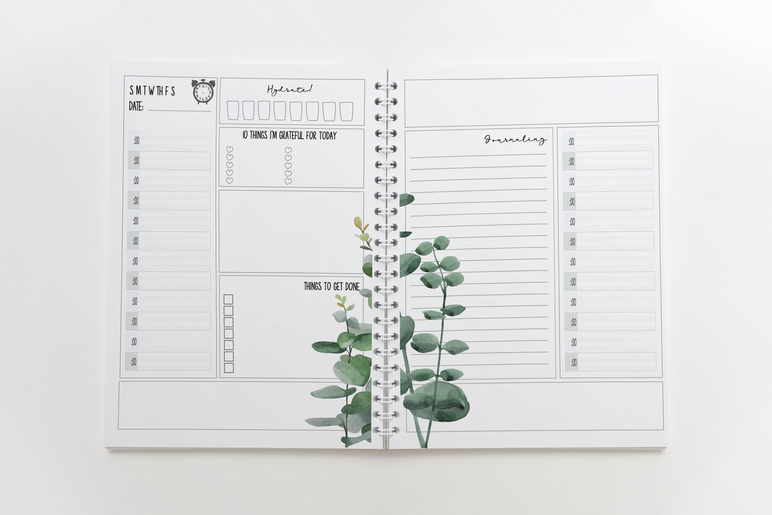
I have made literally THOUSANDS of handmade journals over the years, and decided to put this quick tutorial together to show you how easy it can be to make your own spiral notebooks, right at home. So whether you're looking to bind together a set of my printable planner pages, make a miniature scrapbook for your coffee table or a handmade gift, create some journals to fill with your writings or a sketchbook to decorate with your artwork, this is a really simple, basic book binding project that you can adapt for just about any of your spiral bound notebook needs! Customize it with pages made out of the best paper for your needs, personalize the cover -- make it YOURS!
Disclaimer / Waiver of Responsibility:
Thanks for getting outdoors! Your safety is in your own hands, so please don't venture out unprepared! Know your limits and plan ahead -- and don't put yourself in a dangerous situation to find Any letterbox!
The Scrap Room assumes no liability for injury or damage incurred on any letterbox outing. Please be safe out there -- and if you don't know an area, be sure to do a little research before heading out on your journey!
By reading and utilizing the letterbox clues posted on our website, you acknowledge the above, accept responsibility for your own actions, and agree to not hold The Scrap Room accountable for damage or injury incurred on any letterbox outings.

If you enjoyed our page or found value in it, we'd love it if you'd give us a thumbs up or a share on Facebook or Pinterest!
You might
also enjoy...
For this project, you will need:
- A Binding Machine
(I use the Zutter 2.0 to create my spiral notebooks, and I really highly recommend it! I've been using the same machine for over a decade, and it's still working strong! One of THE BEST "investments" in my craft room, hands down!)
-Pages you want to bind together
-Front and Back cover that are slightly larger than your pages.
(I usually add 1/8" - 1/4" to the dimensions of my covers... 1/4" for larger size journals like A5 and larger.)
You can use heavier cardstock, chipboard -- you can even cut up a cereal box if you're in a pinch! But you'll want something a little sturdier to protect the inside pages, and by making it a little larger, you'll have some overhang to protect the edges of the pages.
Let's face it. Notebooks (good notebooks) can be EXPENSIVE these days! And it can be so hard to find just what you're looking for, especially in the right size!
Looking for a particular weight or type of paper? (A watercolor painters notebook is a Very different thing from a writing journal!) Making a scrapbook, or something you need to use archival quality paper for? (You won't want your pictures to yellow, so this is important!) Or want to create your own custom bullet journal or planner, using inserts you found online?
THAN THIS TUTORIAL IS FOR YOU!
You will need a binding machine for this project. As I said above, I'm a HUGE fan of Zutter's Bind It All 2.0. I've been using mine for over a decade now, and made thousands of books with it, and it's STILL holding up great! I really didn't expect it to last this long, but some how it has! (And I haven't even been "easy" on this thing!)
There's obviously an upfront cost. The cheapest I could find it for you was on Amazon for about $60 (when it's on sale), so I've included my Amazon affiliate link for you here. Bonus -- if you are an Amazon Prime Member, you can score free, fast shipping. ;) Sometimes Amazon prices jump around a little, but I consistently see it around this price on there, so put it in your shopping cart and wait and see if it goes on sale if it's not already!
Disclaimer: Please note that some of the links in this post are affiliate links. There is no additional cost to you, but The Scrap Room will earn a small commission should you choose to purchase through those links. Click here for my full disclaimer. Thank you for your support.

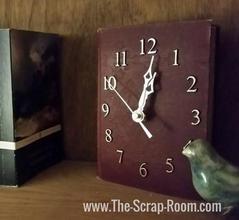
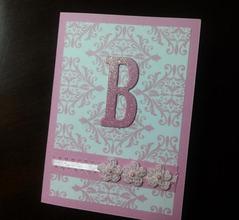
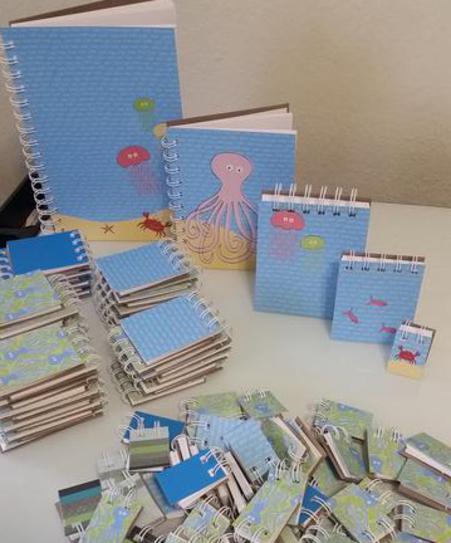
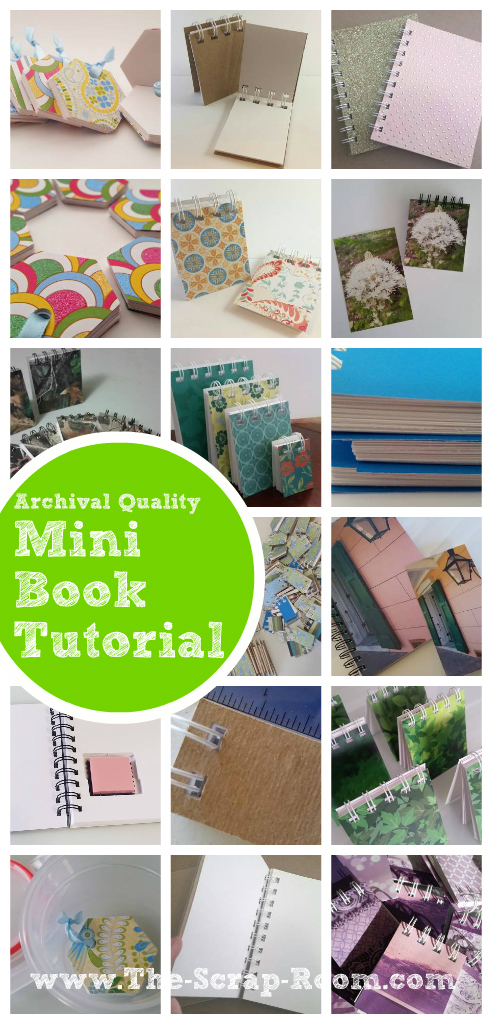
See? Really easy! These little books are so fun to make! If you're making a larger size, you'll probably want to use chipboard or something heavy for the covers to protect the pages, but if you're making miniature books, you can use some heavy cardstock. This makes it sooo easy to create some really amazing, customized journals in almost no time, for very little expense! Here's a few pictures of some of the journals I've made over the years. I've made them for photo albums, journals, letterboxes, sketches, paintings, recipe books -- you can even make a book out of your holiday cards to cherish them in a nice, organized way! You really can use this little binding machine for SO MUCH! If you buy notebooks, planners, journals or sketchbooks on a regular basis, this is Such a great investment. You'll be able to save money on your books, and more importantly, create the perfect custom journal for what you need, with the correct type of paper for the job!
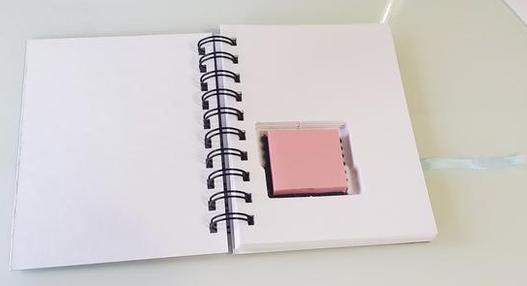
There's really not a lot to this book binding "tutorial". It really is as simple as lining up the pages, punching the holes, cutting the binding to fit, feeding it through the punched holes, and then crimping the o-wire binding shut. The hardest part is lining up the pages so that the holes are centered evenly along the binding end. But don't worry, I've got a super simple trick you're going to LOVE that will help you center and line up your punch holes EVERY TIME, no matter what size page you're binding! Watch my quick video below! (And as an added bonus, I'll even share my tip for adding a little secret stamp compartment right into your book!)