
You might
also enjoy...
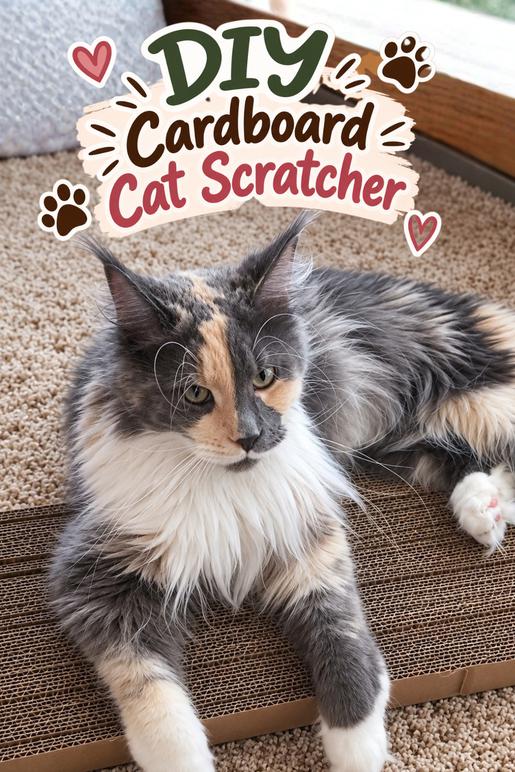
DIY Cardboard Cat Scratcher
How to Make a DIY Cardboard Cat Scratcher From Old Boxes
Disclaimer: Please note that some of the links in this post may be affiliate links or ads. There is no additional cost to you, but The Scrap Room will earn a small commission should you choose to purchase through those links. Click here for my full disclaimer. Thank you for your support.
The Cardboard Cutter That Made This Project So Much Easier
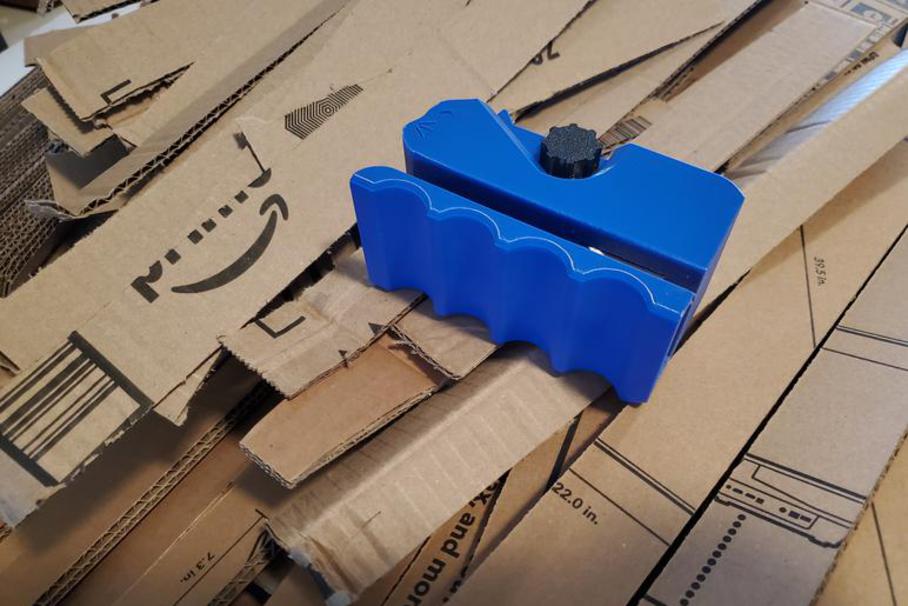
Before we get into the actual construction, I have to talk about the little cardboard cutter I used because this thing made a HUGE difference.
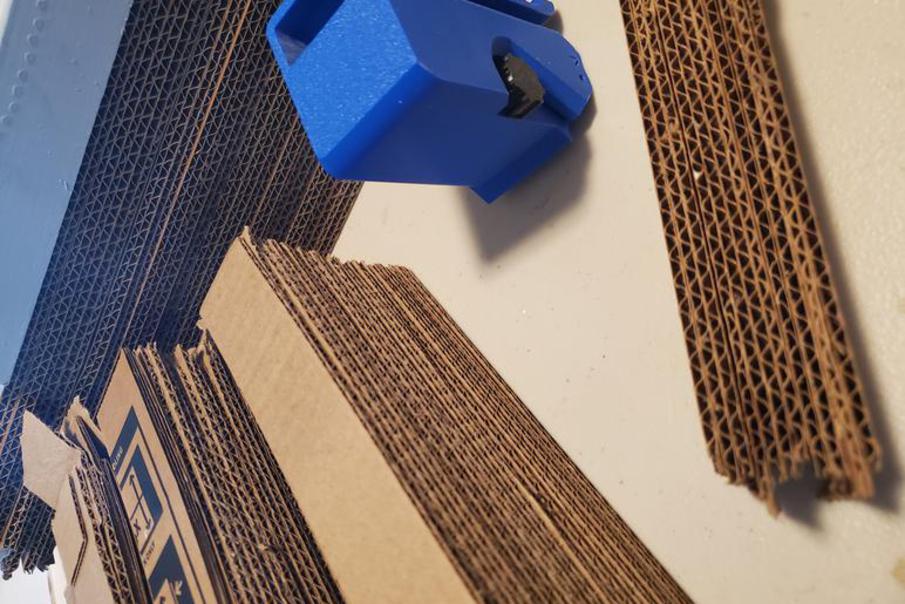
Instead of using an exposed utility knife or trying to cut hundreds of inches of cardboard with scissors, this tool is specifically designed for cutting corrugated cardboard. You simply guide the cardboard through the opening and let the blade do the work.
The blade is recessed inside the tool and surrounded by guards. I can't even get my fingers into the area where the blade sits, which made me feel much more comfortable doing all of the repetitive cutting required for this project.
That doesn't mean the cutter should be treated like a toy, though. Small children's fingers — and curious little cat paws — may be able to fit into places an adult finger cannot. It still contains a real cutting blade, so keep it away from children and pets and store it somewhere safe when you're finished using it.
For an adult using it properly, though, I found it incredibly easy to work with. Once I got into a rhythm, I could run strip after strip of cardboard through it without having to repeatedly pick up and reposition a utility knife.
And because this project requires a LOT of cardboard strips, that convenience adds up quickly! You can literally cut a strip in a second or two, while you're sitting on the couch watching tv!
I do recommend you get refill blades. This cutter works best when you're cutting with a sharp blade. If you notice your cardboard is getting hard to cut, or it starts folding or bunching up, change the blade. You can actually get 2 uses out of each blade. Simply unscrew the plastic bold, carefully slide out the razer blade, flip it around (or replace it), slide it back in and tighten the bolt back in place. It's very simple, just be careful when handling the blade and don't ever touch the sharp edge.
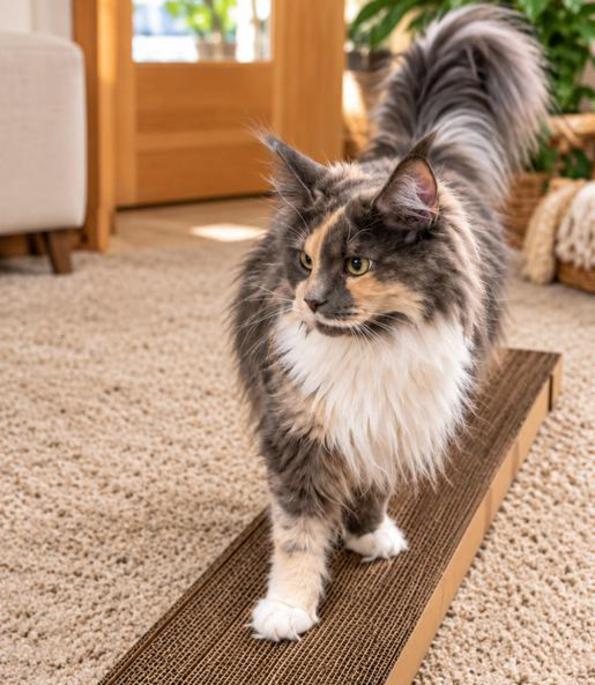
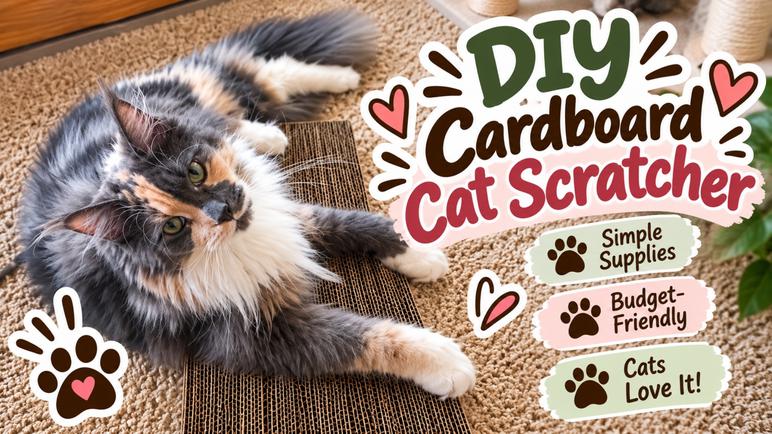
If you've got a cat and a few cardboard boxes lying around, this easy DIY cardboard cat scratcher is a great way to turn recycled materials into something your kitty will love! This homemade cardboard scratching pad is inexpensive, surprisingly sturdy, and simple to make with just a few basic supplies. Best of all, you can customize the size and shape to fit your cat's favorite scratching spot!
In this step-by-step tutorial, I'll show you how to make a cardboard cat scratcher by cutting and gluing strips of corrugated cardboard together to create a thick, durable scratching surface. I'll also share a few helpful tricks I discovered along the way to make the project faster, easier (and safer!).




Start With Safe, Clean Cardboard
Before you start cutting, take a few minutes to prepare your cardboard.
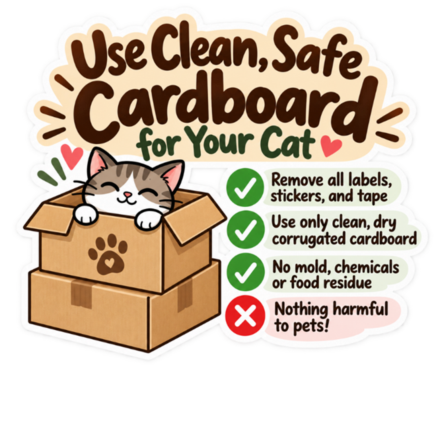
I use ordinary corrugated shipping boxes, but I only use cardboard that is clean, dry, and in good condition. Avoid cardboard that is moldy, damp, dirty, or that may have been exposed to chemicals.
Next, remove everything that isn't cardboard.
That means pulling off shipping labels and stickers and removing all packing tape, plastic, staples, strings, and any other packaging materials.
Don't skip this step just because something seems securely attached. Your cat is going to be scratching, clawing, biting, and rubbing against this project. You don't want a loose piece of tape, plastic, or a forgotten staple becoming accessible later.
Once your boxes are clean and completely stripped of packaging materials, flatten them out so they're easier to work with. I usually rip or cut the boxes into 4 sections so the piece I'm working with is easy to handle.
Pay Attention to the Direction of the Corrugation
This is one of the most important things to understand before you start cutting.
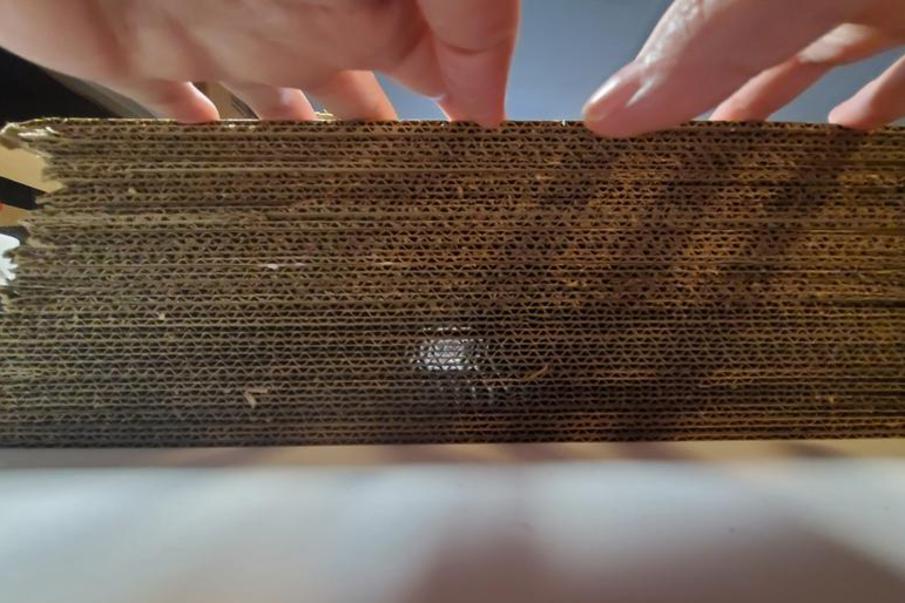
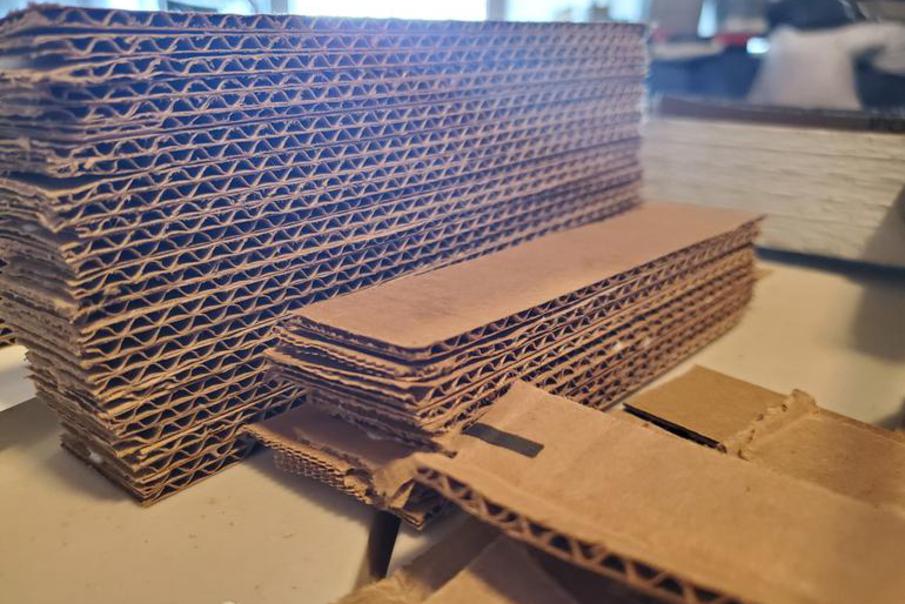
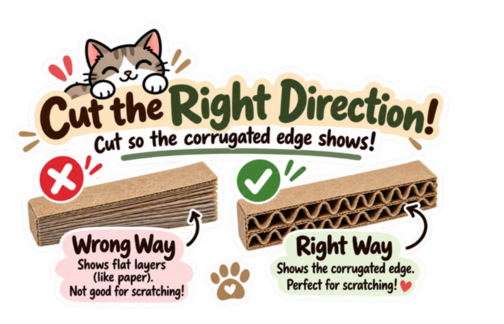
Corrugated cardboard has a wavy inner layer sandwiched between two flat layers. For this scratcher, you want those little corrugated openings to be visible along the finished scratching surface.
That means the direction you cut your strips matters.
Before cutting a whole box into strips, cut one test piece and look at the edge. You should see the little repeating corrugated channels along the long edge that will eventually become the top of your scratcher.
If you cut in the wrong direction, you'll end up with a mostly flat cardboard edge that looks like stacked paper instead of that textured corrugated surface.
It's worth checking this first. Once you know which direction to cut, you can start making your strips in batches.
For this DIY cardboard cat scratcher, you'll need:
Corrugated cardboard boxes - CLEAN - no mold, food, contamination or any kind. All tape, stickers, labels, staples removed
Ruler or measuring tape
Pencil or marker
Optional (but recommended!):
12 "Quick Bar Clamps and scrap wood for holding the cardboard together while it dries
Cordless jigsaw for trimming uneven ends - I used the cordless Craftsman Jigsaw from their 20V series
The best part is that the main material for this project is completely free if you save your shipping boxes!
Cut the Cardboard Into 1½-Inch Strips
This is where that specialized cardboard cutter really shines. There is quite a bit of cutting involved in this project, especially if you're making a larger scratcher, and I found the cutter much more comfortable for repetitive cuts than trying to do the entire project with scissors or a traditional utility knife. It's also a lot safer. Have you ever tried to cut long, even cardboard strips with a craft knife? Not ideal if you like having all your fingers.
The cutter that I used makes it easy to make uniform 1 1/2 inch strips safely.
This gives the finished scratcher enough depth to feel substantial without making it unnecessarily thick.
If you're not using a jigsaw to trim the ends, take extra care to cut all your strips the same length. To do this, you can either cut all your strips from the same size piece of cardboard, or cut them down after you've made your strips.
I actually found it easiest to do this project assembly-line style: prepare several boxes, cut a big pile of strips, and then sort the pieces by size, then start gluing.
Sort Your Cardboard Strips
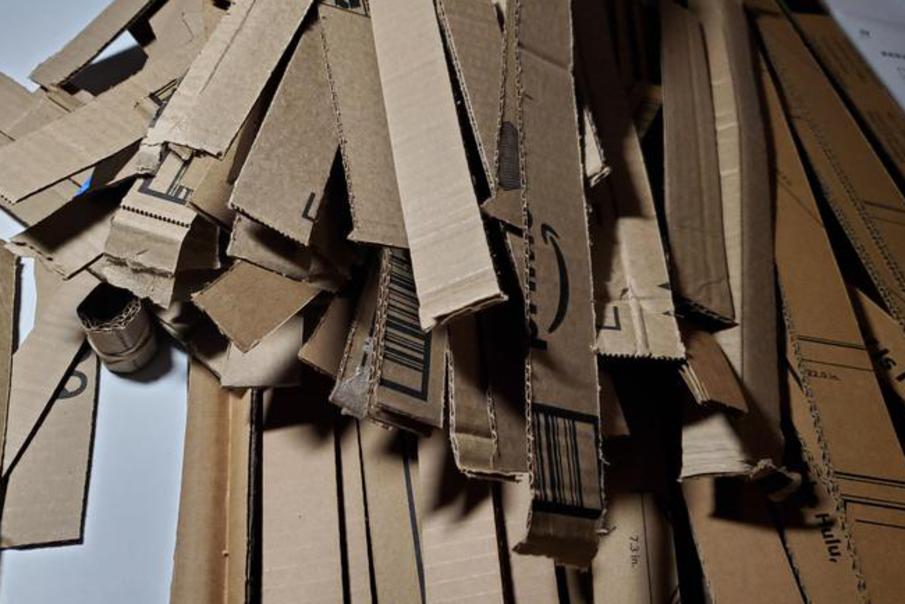
Once you have a nice pile of cardboard strips, start sorting them by length.
You don't need every piece to match perfectly if you're using a jigsaw to tidy up the ends. You're essentially building a solid block of cardboard, so shorter pieces can be incorporated where they make sense and uneven ends can be dealt with later.
If you're not using a jigsaw, you'll want to start with strips that are all the same size, so if you haven't yet, cut them so they are the same length. I'll be showing you how to wrap the rough ends with cardboard later, and if the ends are all uneven, you won't be able to get that nice clean edge.
Start Gluing the Cardboard Together
Now comes the fun part!
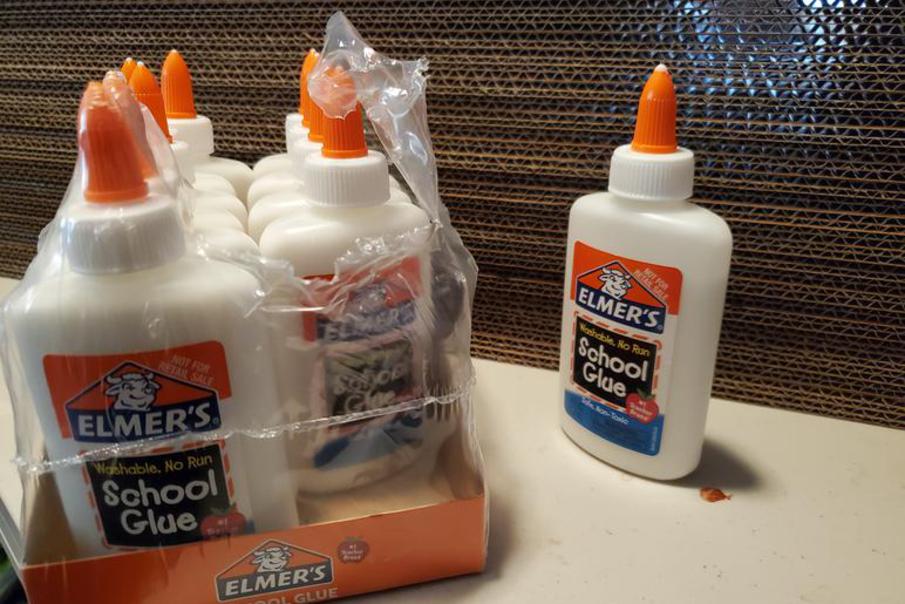
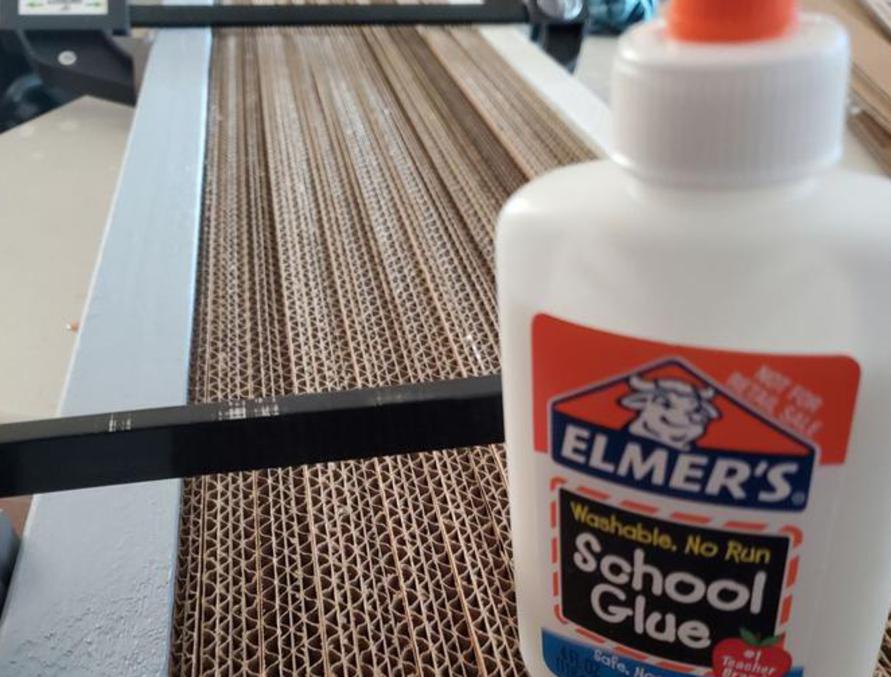
Begin gluing the cardboard strips together side by side. I used a non-toxic glue so I felt comfortable using the finished project around animals.
**For the safety of all animals, please ONLY use a non-toxic glue for this project.**
Don't just add glue and slap it on there. I like to always lay the next strip on the stack without glue first to make sure I've cut it straight and everything lines up right. Then when I know the strip is a good fit, I run a line of glue down the center of the top strip on the stack.
Running the glue down the center of it helps give it a good bond, while preventing the glue from spilling out over the edge. Apply enough glue to create a good bond, but don't completely saturate the cardboard. Too much liquid can make corrugated cardboard soft or warped.
A single solid line of glue down the center is perfect.
Press each new strip firmly against the previous strip and continue building your stack. Make sure to wipe up any glue drips that do manage to spill out.
Try to keep the edge that will become your scratching surface as even as possible as you work.
One of the things I learned doing this project is that the shorter strips are a lot easier to line up than the longer ones. The longer ones, even slight pressure changes when you're cutting the carboard can create slight curves that make things tricky to line up.
But there's a trick that makes it EASY!
Don't cut the strips shorter, just bend them a little in a few spots (like I've done in the short video clip below) where you need some flexibility and hold it in place a moment while it dries a little with something heavy or some clamps.
Don't get obsessed with perfection, though. This is a cat scratcher made from recycled cardboard. A few slightly uneven pieces aren't going to bother your cat!
Work in Manageable Sections
If you're making a fairly large scratcher, you don't necessarily have to glue the entire thing together at once.
You can create smaller sections or blocks of glued cardboard and allow those to set before joining everything together.
This can make the project much easier to control, especially when you're dealing with dozens of cardboard strips that all want to shift while the glue is still wet.
Once you've created a section, press the cardboard together firmly so the glued surfaces have good contact.
Clamp the Cardboard While It Dries
If you have clamps available, they can be really helpful here.
Place pieces of scrap wood along the outside of your cardboard stack and clamp everything together. The wood helps distribute the pressure so the clamps aren't simply crushing small areas of the cardboard.
You don't want to flatten the corrugation. You just want it tight enough to hold all of those layers snugly together while the glue dries.
Some 12 inch quick bar clamps for woodworking will work perfectly for this project.
If you don't have clamps, don't let that stop you from making the project. You can press the sections together by hand and use other heavy objects (like books, coffee mugs, dumbbells...) to help hold everything in place while the glue sets.
Follow the drying recommendations for whichever glue you're using.
Trim the Ends if Needed
Even if you're careful while stacking your cardboard, there's a good chance you'll end up with some uneven pieces sticking out at the ends.
You can absolutely leave them alone if they don't bother you!
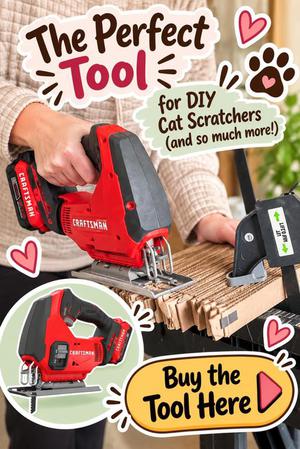
But I wanted my cardboard cat scratchers to have a cleaner, more finished end, so I used my CRAFTSMAN V20 Cordless Jigsaw to trim away the uneven bits after the glue had completely dried.
And I have to say, this little cordless jigsaw is PERFECT for projects like this!
It's part of the CRAFTSMAN 20-Volt cordless tool series, which I absolutely love for quick DIY projects. There's no cord to drag around or get in the way, and this jigsaw is lightweight and easy to control. I just clip on the rechargeable battery, and I'm ready to start cutting!
It makes it easy to trim the ends of the cardboard into a nice, even shape without having to painstakingly cut and line up all those layers by hand during the gluing stage. (It's also a handy tool to have around for all kinds of other DIY projects, so it's definitely not something you'll use just once!)
Of course, this step is completely optional. Your cat isn't going to care if the ends of their new scratcher are a little uneven! But if you're making them for gifts or to sell, you might want to give them a more polished look.
Finish the Outside of the Scratcher
Once your cardboard block is assembled and completely dry, take a good look at the outside. This is a good time to trim away loose cardboard fibers or bits that are sticking out - then we'll add a base and trim around the edges.
Adding additional cardboard to the bottom and around the outer edges makes a cleaner finished appearance and reinforces areas that might need a little extra support.
To add a piece to the bottom, I simply set my scratcher on a flat piece of cardboard, and used a pen to draw along the edges of the my scratcher. Then I cut it out, added glue, and pressed the cardboard scratcher onto it firmly, holding it down with a 10 pound weight while it dried. (video clip above)
For the ends, I took 2 strips of cardboard that were even in length and long enough to wrap around the exposed end, and bent them to fit around each end. Then I removed them, added some glue, and held them in place with clamps until the glue dried. (Watch the video clip below to see just how easy the ends are!)
The scratching surface itself should remain exposed. That's the good stuff!
All of those corrugated cardboard edges create the rough, claw-friendly texture we're trying to make.
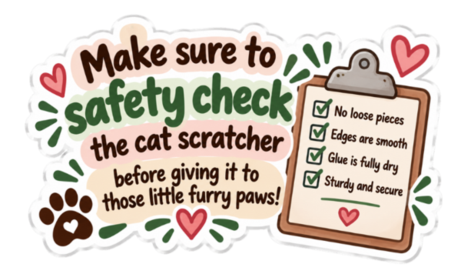
Do a Final Safety Check
Before handing your beautiful recycled creation over to your cat, inspect the entire scratcher carefully.
Check for loose pieces of tape, labels, staples, plastic, strings, dried chunks of glue, sharp cardboard edges, or anything else that shouldn't be there.
Make sure all of the glued sections are completely dry and securely attached.
And remember that cardboard scratchers are meant to be destroyed eventually — that's their job!
Check the scratcher periodically as your cat uses it. When pieces become excessively loose, damaged, or worn, trim them away or replace the scratcher.
The good news is that once you've made one, you'll know exactly what to do with your next pile of shipping boxes.
Optional: Add a Little Catnip
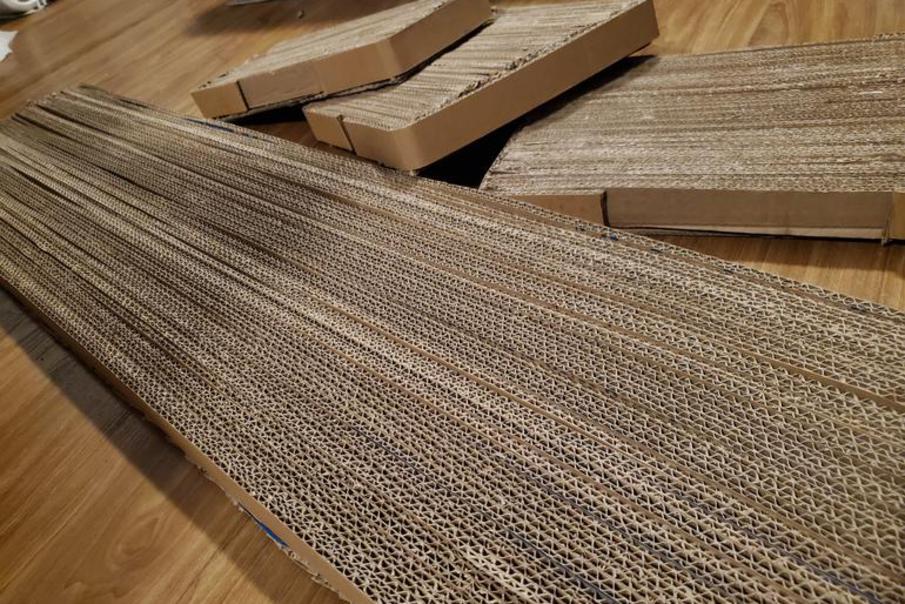
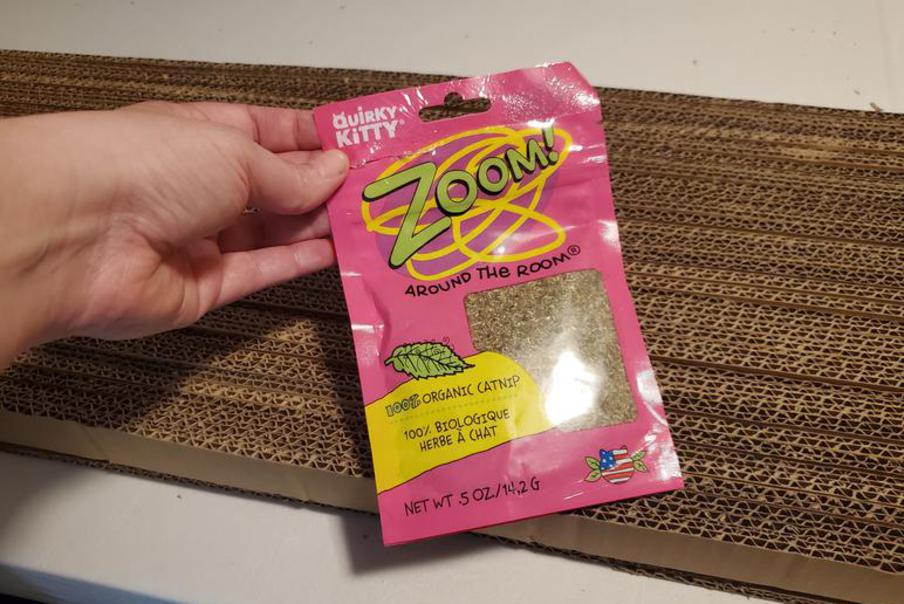
If your cat needs some convincing that the strange new cardboard creation in the living room is actually for them, try sprinkling a little catnip across the corrugated surface. I sprinkled mine with this Zoom organic cat nip and it was a hit!
I Love This DIY Cat Scratcher
This is one of those projects that checks so many boxes for me.
It uses something I would normally recycle, the finished project is actually useful, it's inexpensive to make, and I can customize the size and shape depending on the cardboard I have available.
But the biggest surprise for me was how much easier this little cardboard cutting tool made the process.
You certainly don't need a collection of expensive tools to make a cardboard cat scratcher. But when a project requires this many repetitive cuts, having a tool that's specifically designed to cut corrugated cardboard safely and evenly, makes a huge difference.
The recessed blade and surrounding guards make it much more comfortable for me to use than working through an entire pile of boxes with an exposed utility knife. (I actually tried this project twice without this cutting tool and after almost losing fingers, abandoned the project for safety reasons, so I was REALLY excited to find this cutting tool.)
And now that I have it, these definitely won't be the last recycled-cardboard cat scratchers I use it for!
So before you break down that next stack of shipping boxes and put them in the recycling bin, save a few!
Your cat might have a much better use for them.
Want to try this project later? Here's a pin to save the link for later, and a link to my shopping list of supplies for this project on Amazon:


Watch Me Make This DIY Cardboard Cat Scratcher!
Want to see exactly how I turned a pile of recycled cardboard boxes into a homemade cat scratcher?
I've put together a 5-minute video tutorial showing you the entire process, from cutting the corrugated cardboard strips and gluing them together to trimming the finished scratcher with a cordless jigsaw (optional), and adding a base and finished ends.
You'll also get to see my favorite cardboard cutting tool in action, plus a few handy tricks I learned along the way!
A quick note about the jigsaw blade in the video below (the jigsaw is totally optional for this project): The blade shown in the video wasn't ideal! It didn't quite go all the way though, but after making a bunch of cardboard scratchers, we found that a Bosch T101B blade worked much better, cutting all the way through our 1.5-inch-thick cardboard scratcher. So if you're using the Craftsman 20V Jigsaw with the BoschT101B blade - that's the way to go for trimming the ends easily!
Watch the video below to see how easy it is to make your own DIY cardboard cat scratcher, then keep scrolling for the complete step-by-step instructions, recommended tools, and extra helpful tips to make your project easier.
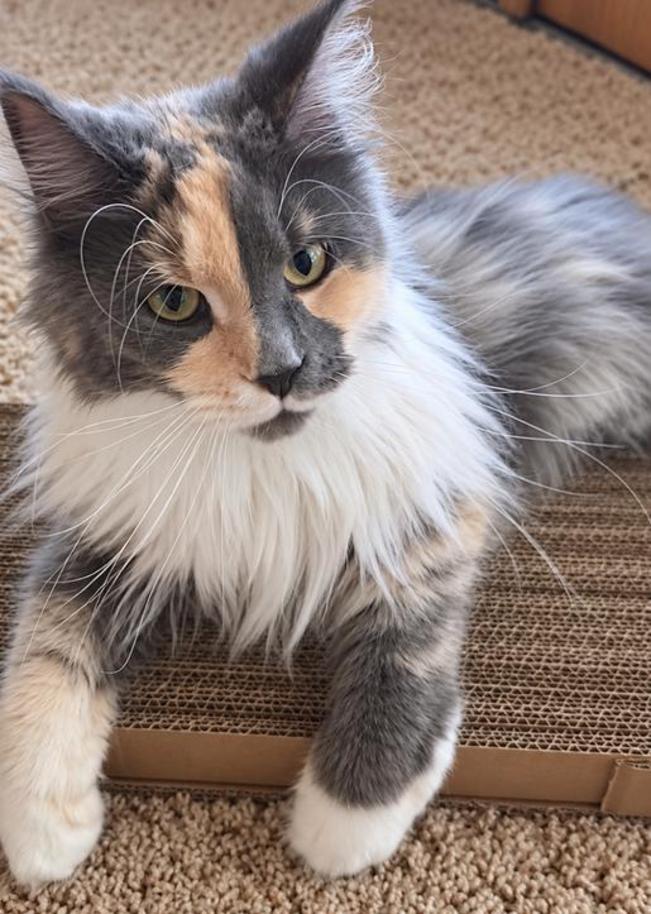
And of course, you'll get to see the beautiful Kočka enjoying her new scratcher, too!
A huge shout out to my sister and her family for letting sweet Kočka star in this video.


If you decide to use a jigsaw, make sure the glue is completely dry and the cardboard is firmly supported across some saw horses or a workbench where it's safe to cut it. Hold it tight in place with clamps so it doesn't move around on you - that could be really unsafe!
Keep your hands clear of the blade, wear appropriate eye protection, and follow the manufacturer's safety instructions.
Thick layers of cardboard can be tricky to cut, so take your time and don't force the blade. This jigsaw oscillates and we tried all 3 settings (Eric helped me make a few - we've made 9 at the time I'm writing this). I think I preferred cutting on "0" . It allowed for good control and cut the ends pretty nice. (Note: Do remember though, you're cutting corrugated cardboard, so it's not going to look perfect!)
If you get cut cardboard bits in the way of cutting, DO NOT reach your hand to pull them out!
Remove the saw, then brush away the extra cardboard on the cat scratcher, then, only when your hand is out of the way, bring the saw back up to finish cutting.
For this project, a jigsaw isn't necessary for building the scratcher, but it's a really convenient way to give your finished project a neat, professional-looking shape!