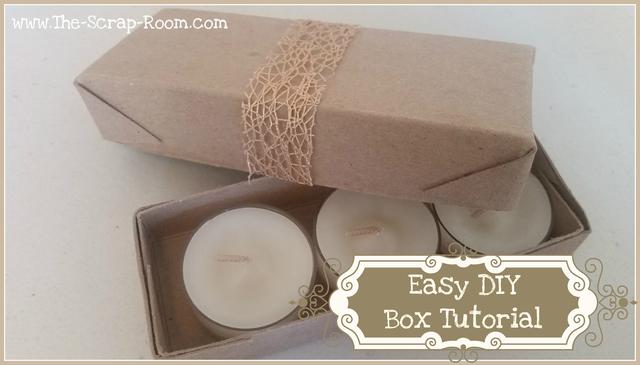
Quick and Easy Custom Box
Need just the right sized box for your handmade gift? Grab a ruler and a couple other supplies and make one in minutes with this step-by-step tutorial.
There are many styles of boxes that you can make with this main concept, but for this tutorial we'll make a simple two sided box, where each side (top and bottom) are almost the same size and fit together like a shirt box you might find at a department store.
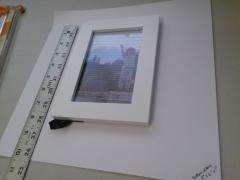
To select the cardstock or chipboard for your box, measure the item going into the box and add at least 1/8" to each dimension to be sure that the item doesn't fit too snugly. I like to use a solid color for the box bottoms and save my printed paper for the tops. If you're wrapping a heavier item, the thin chipboard might be a more sturdy choice.
Figure out the dimensions: Add two times the depth measurement to both the length and width measurements to get the dimensions for the bottom of your box. Repeat the process, adding two tenths of an inch to the dimensions for the cardstock to make the top of the box. (This way the top of the box will be just slightly larger and will fit over the bottom piece easily.)
Measurements for box BOTTOM
2D+W=cardstock width
2D+L=cardstock length
Measurements for box TOP
Dimensions used for box bottom plus 0.2"
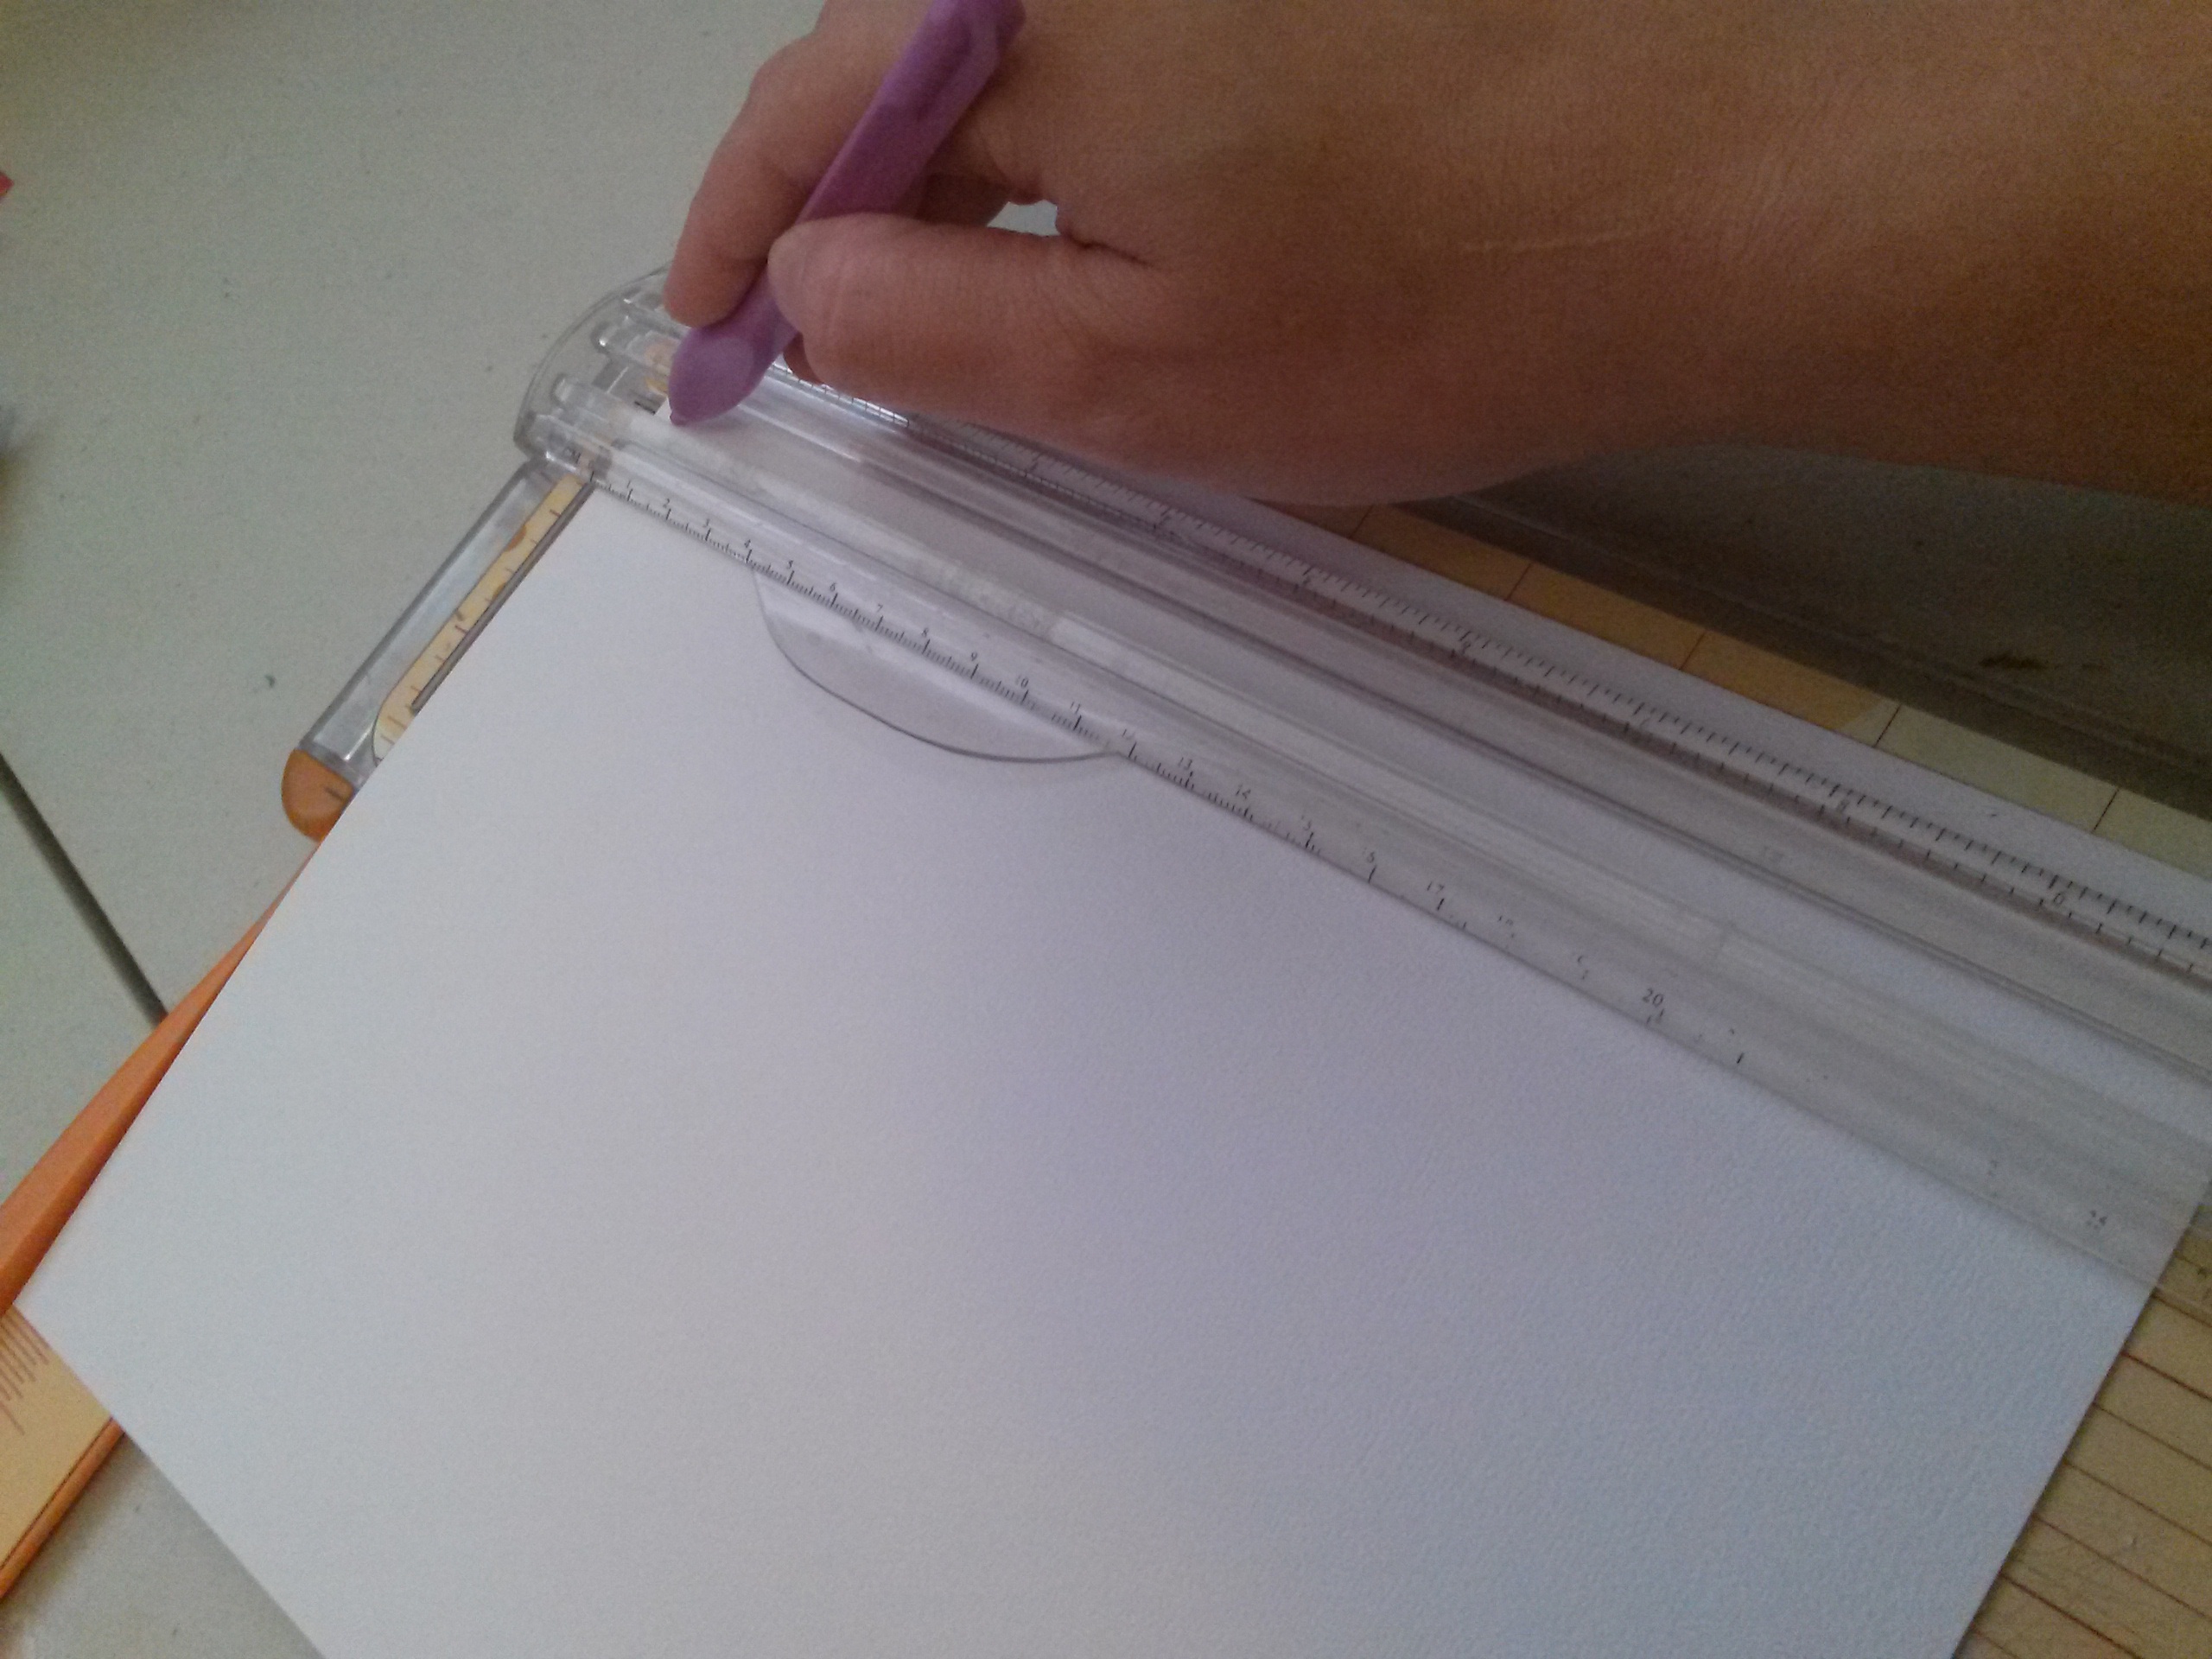
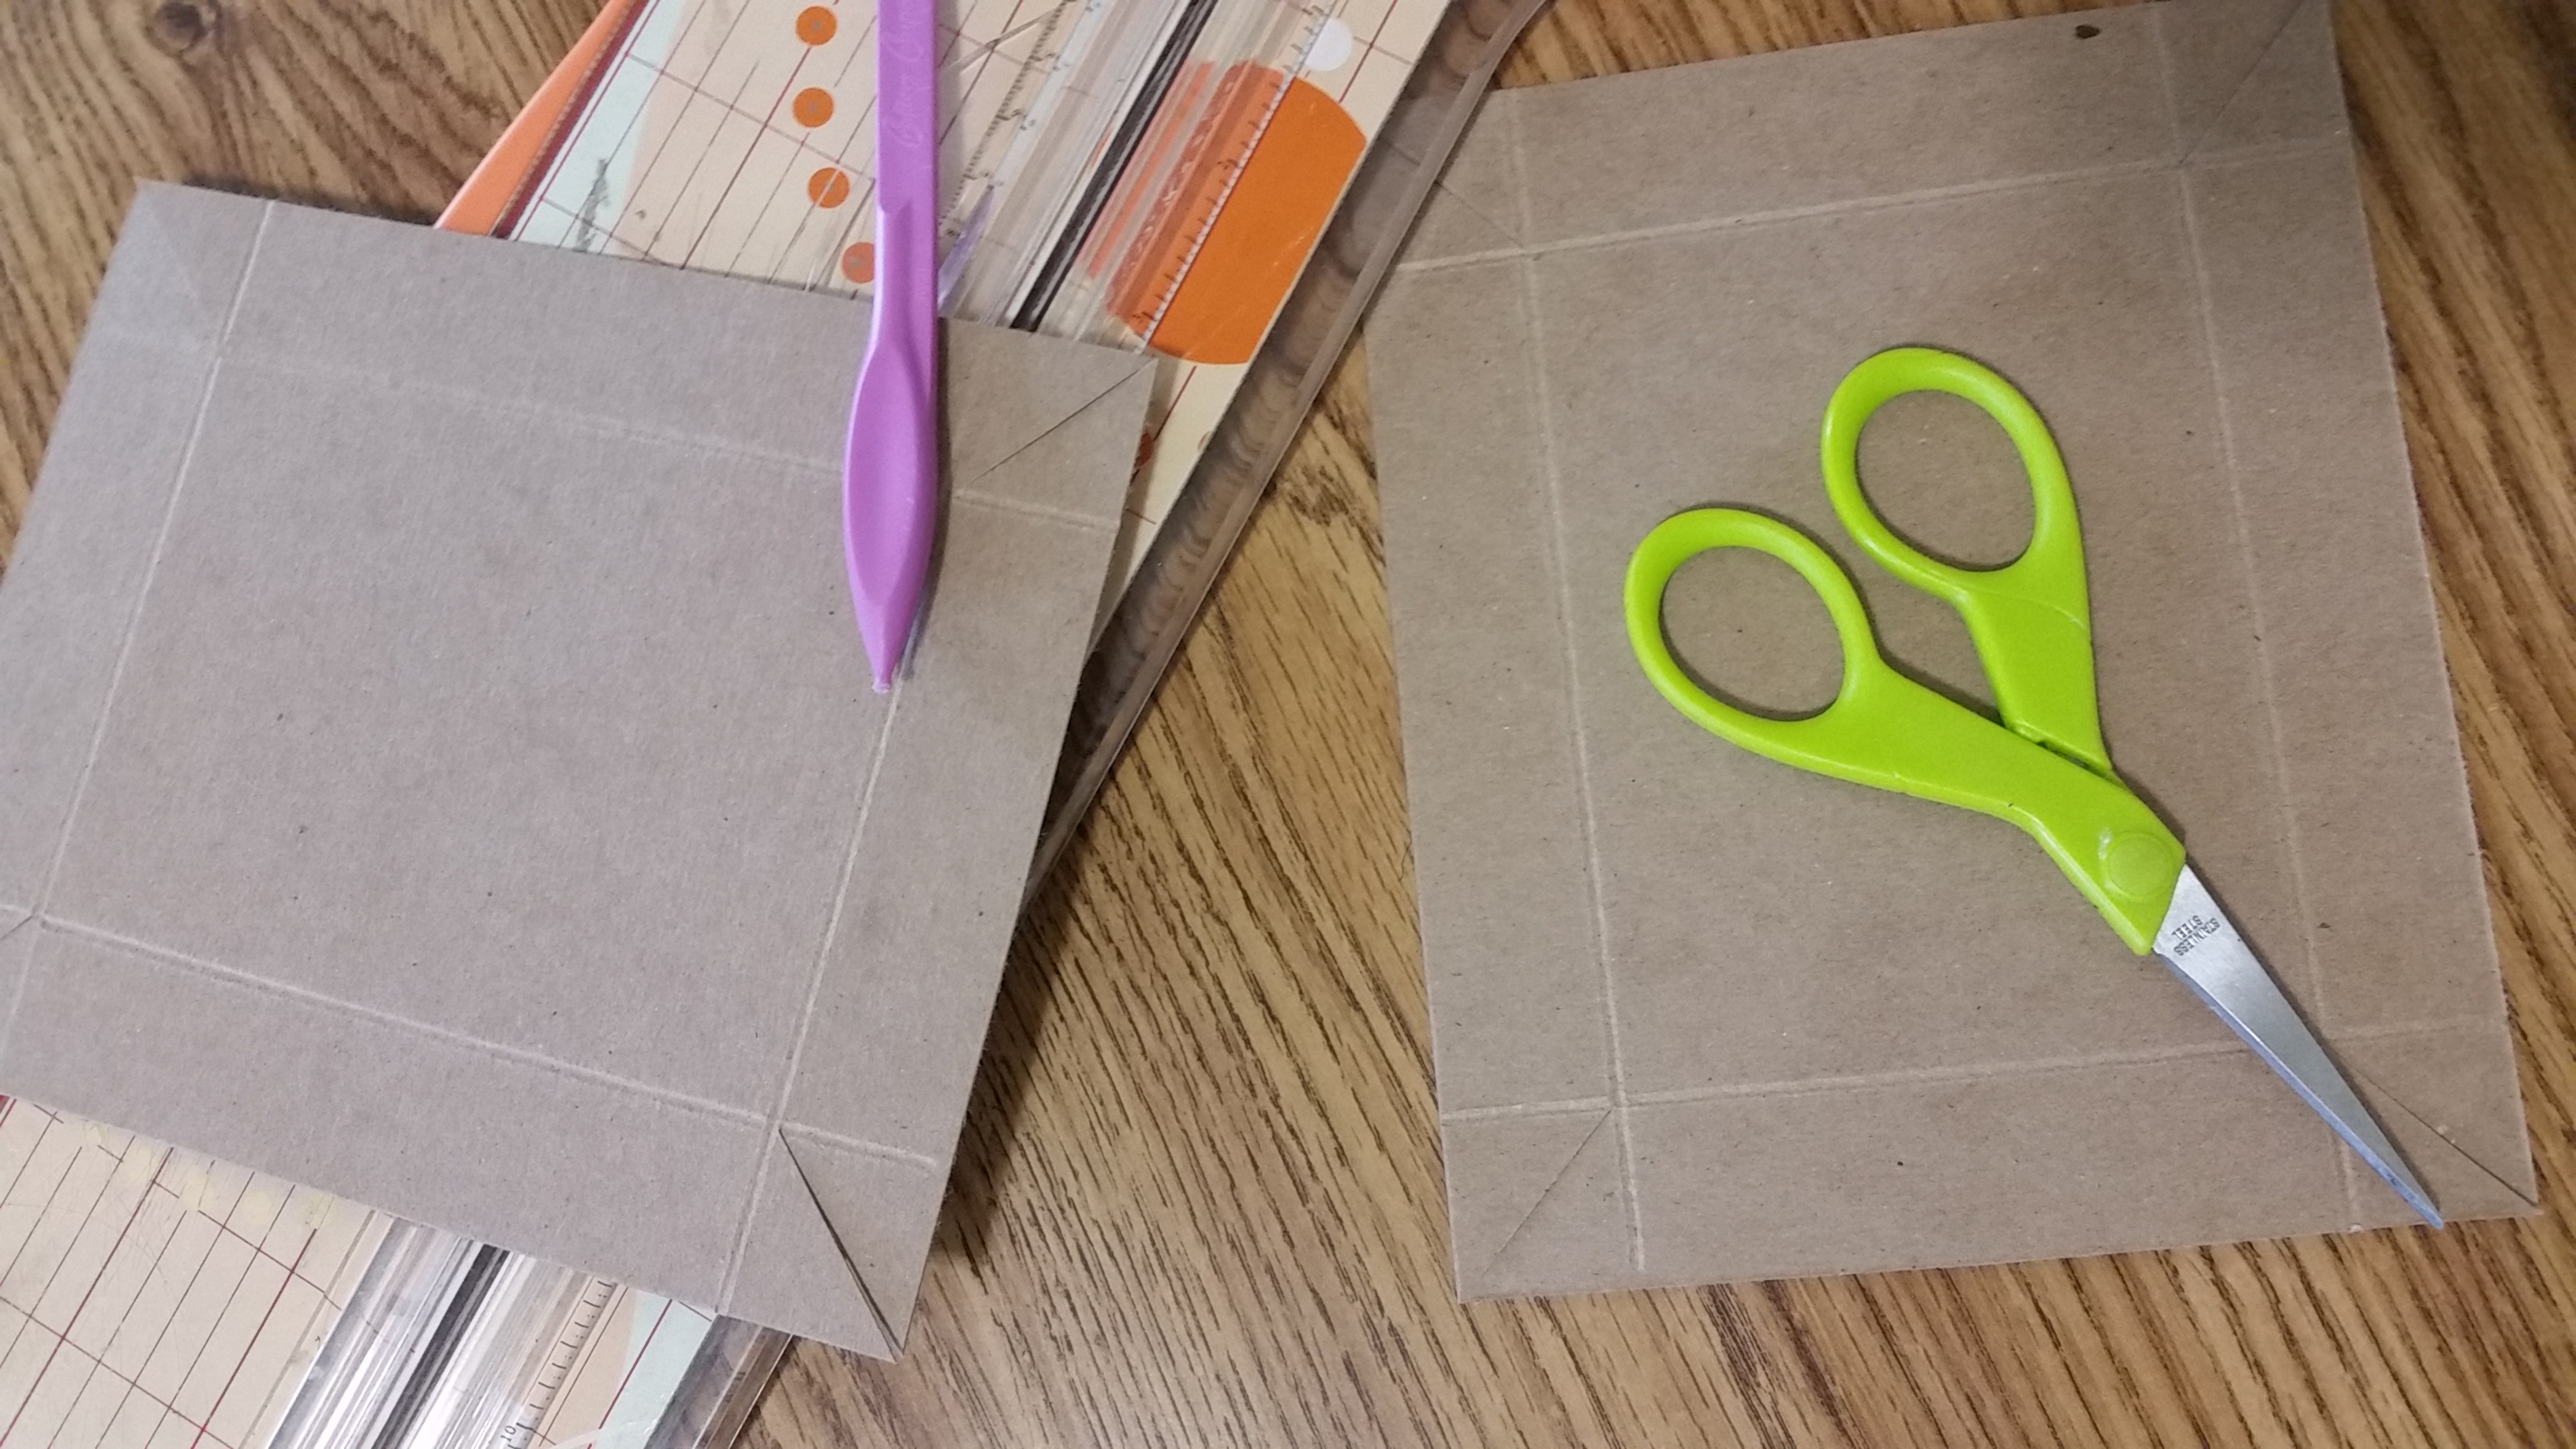
Measure in from the edges of your cardstock or thin chipboard, the depth you want your box to be and use your stylus and a ruler to make a light crease so your cardstock is easy to fold. For example, the box I'm making in these pictures is 1" deep, so I made my crease lines 1" in from all four sides of both pieces of cardstock (box bottom and top). You should have an over lap at each corner of the paper, creating a square. Use your scissors to snip the square in half from the corners of the paper to the diagonally opposite corner. (For some odd-sized boxes, additional trimming may be necessary.)
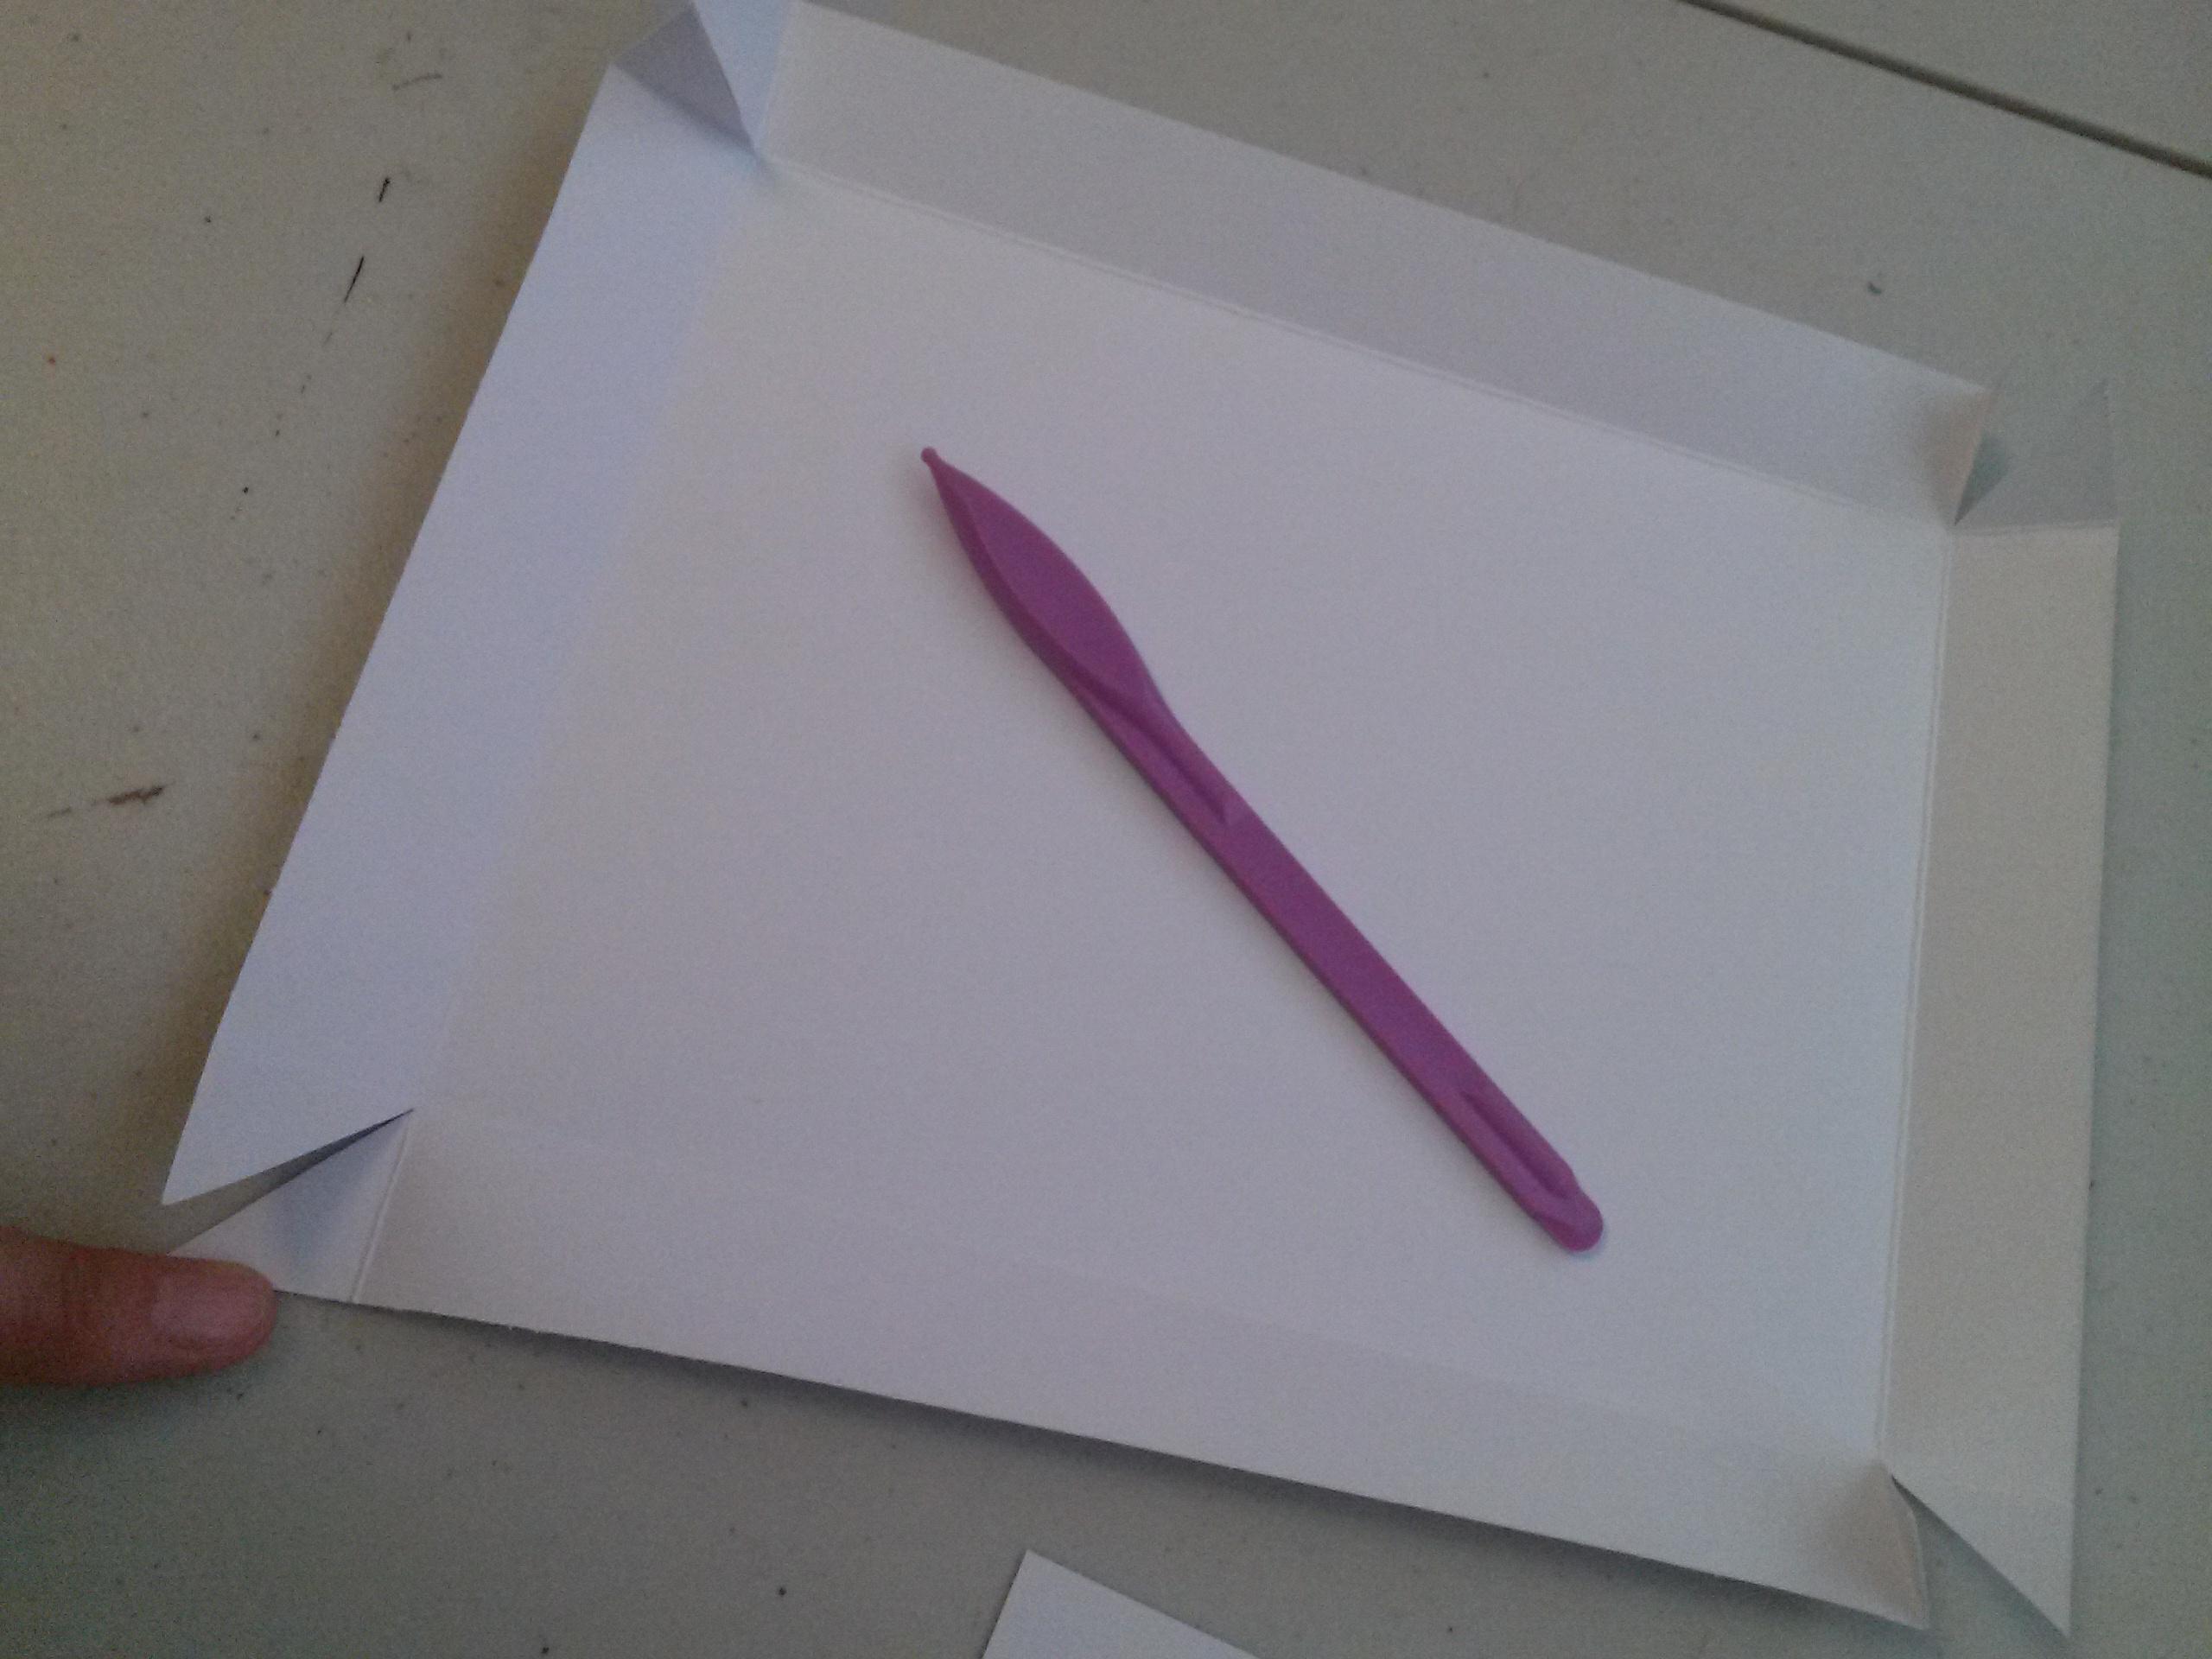
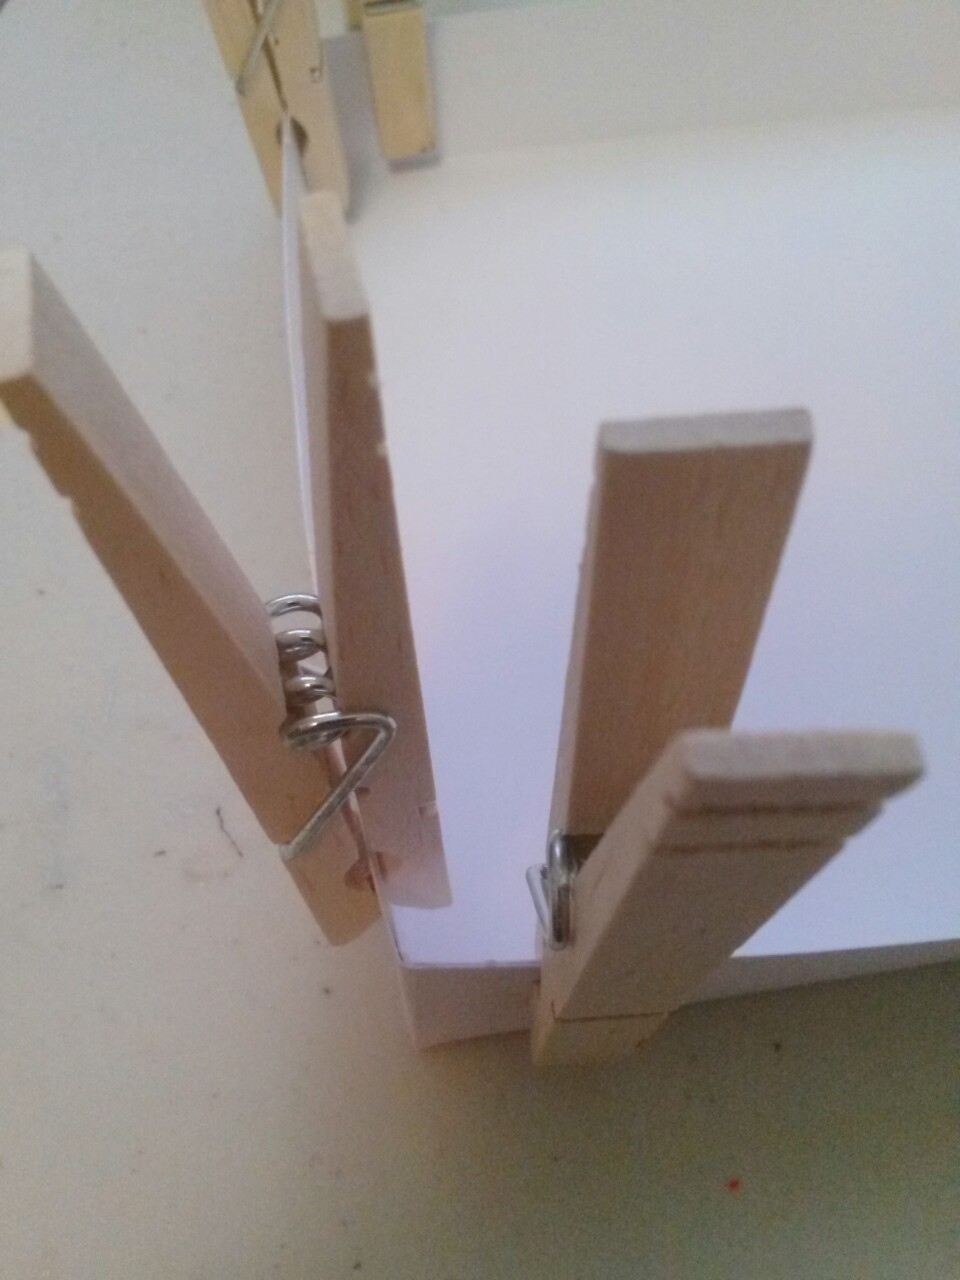
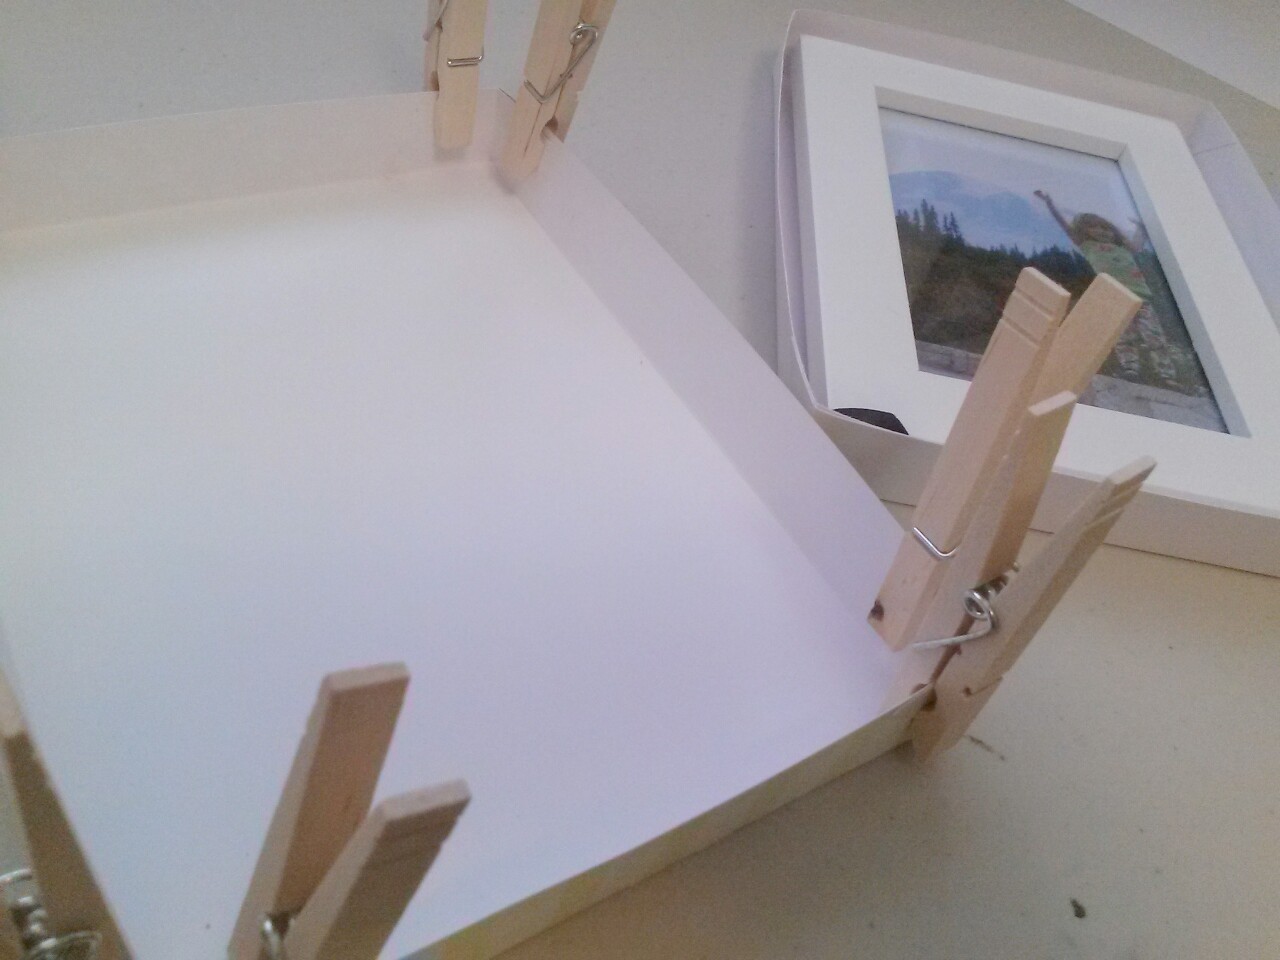
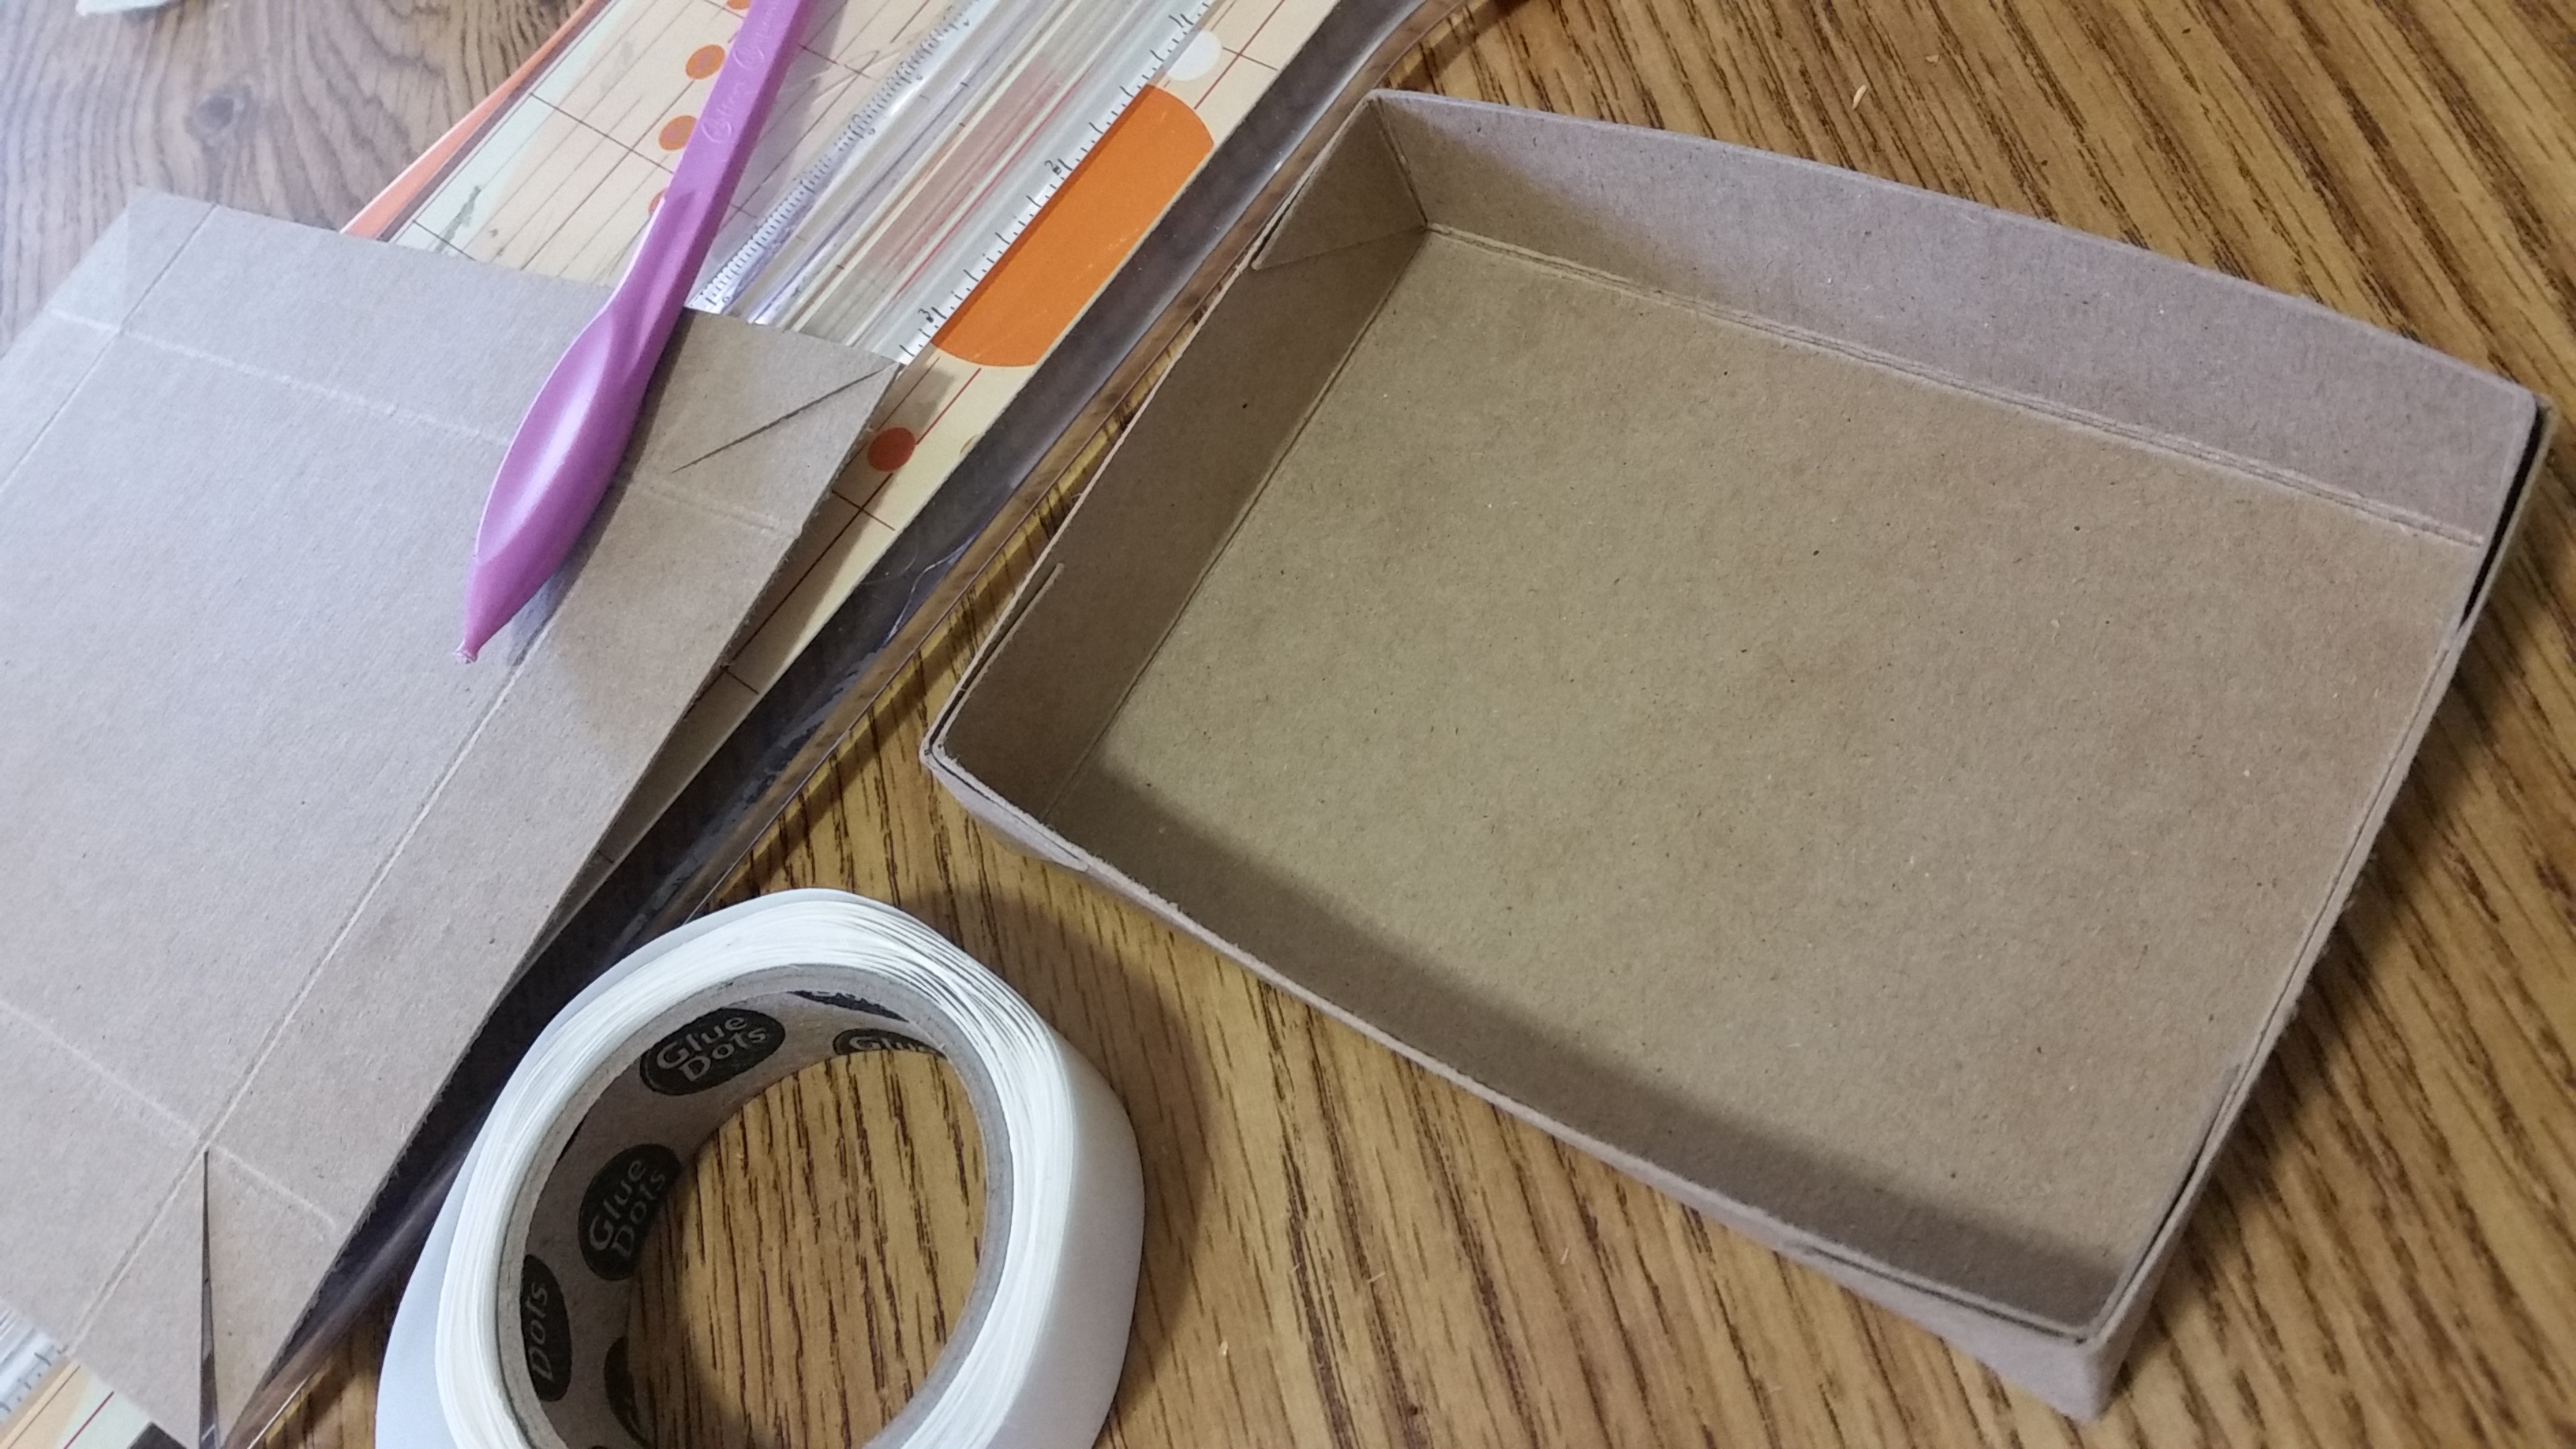
Fold all four edges, of each half of the box, along the creases to form sides, and hold them in place by using your adhesive on the triangular corner tabs. If using liquid glue, clothes pins come in handy for holding the corners together until the glue dries. If you're using a solid adhesive, such as Glue Dots, secure each corner with a single dot/piece.
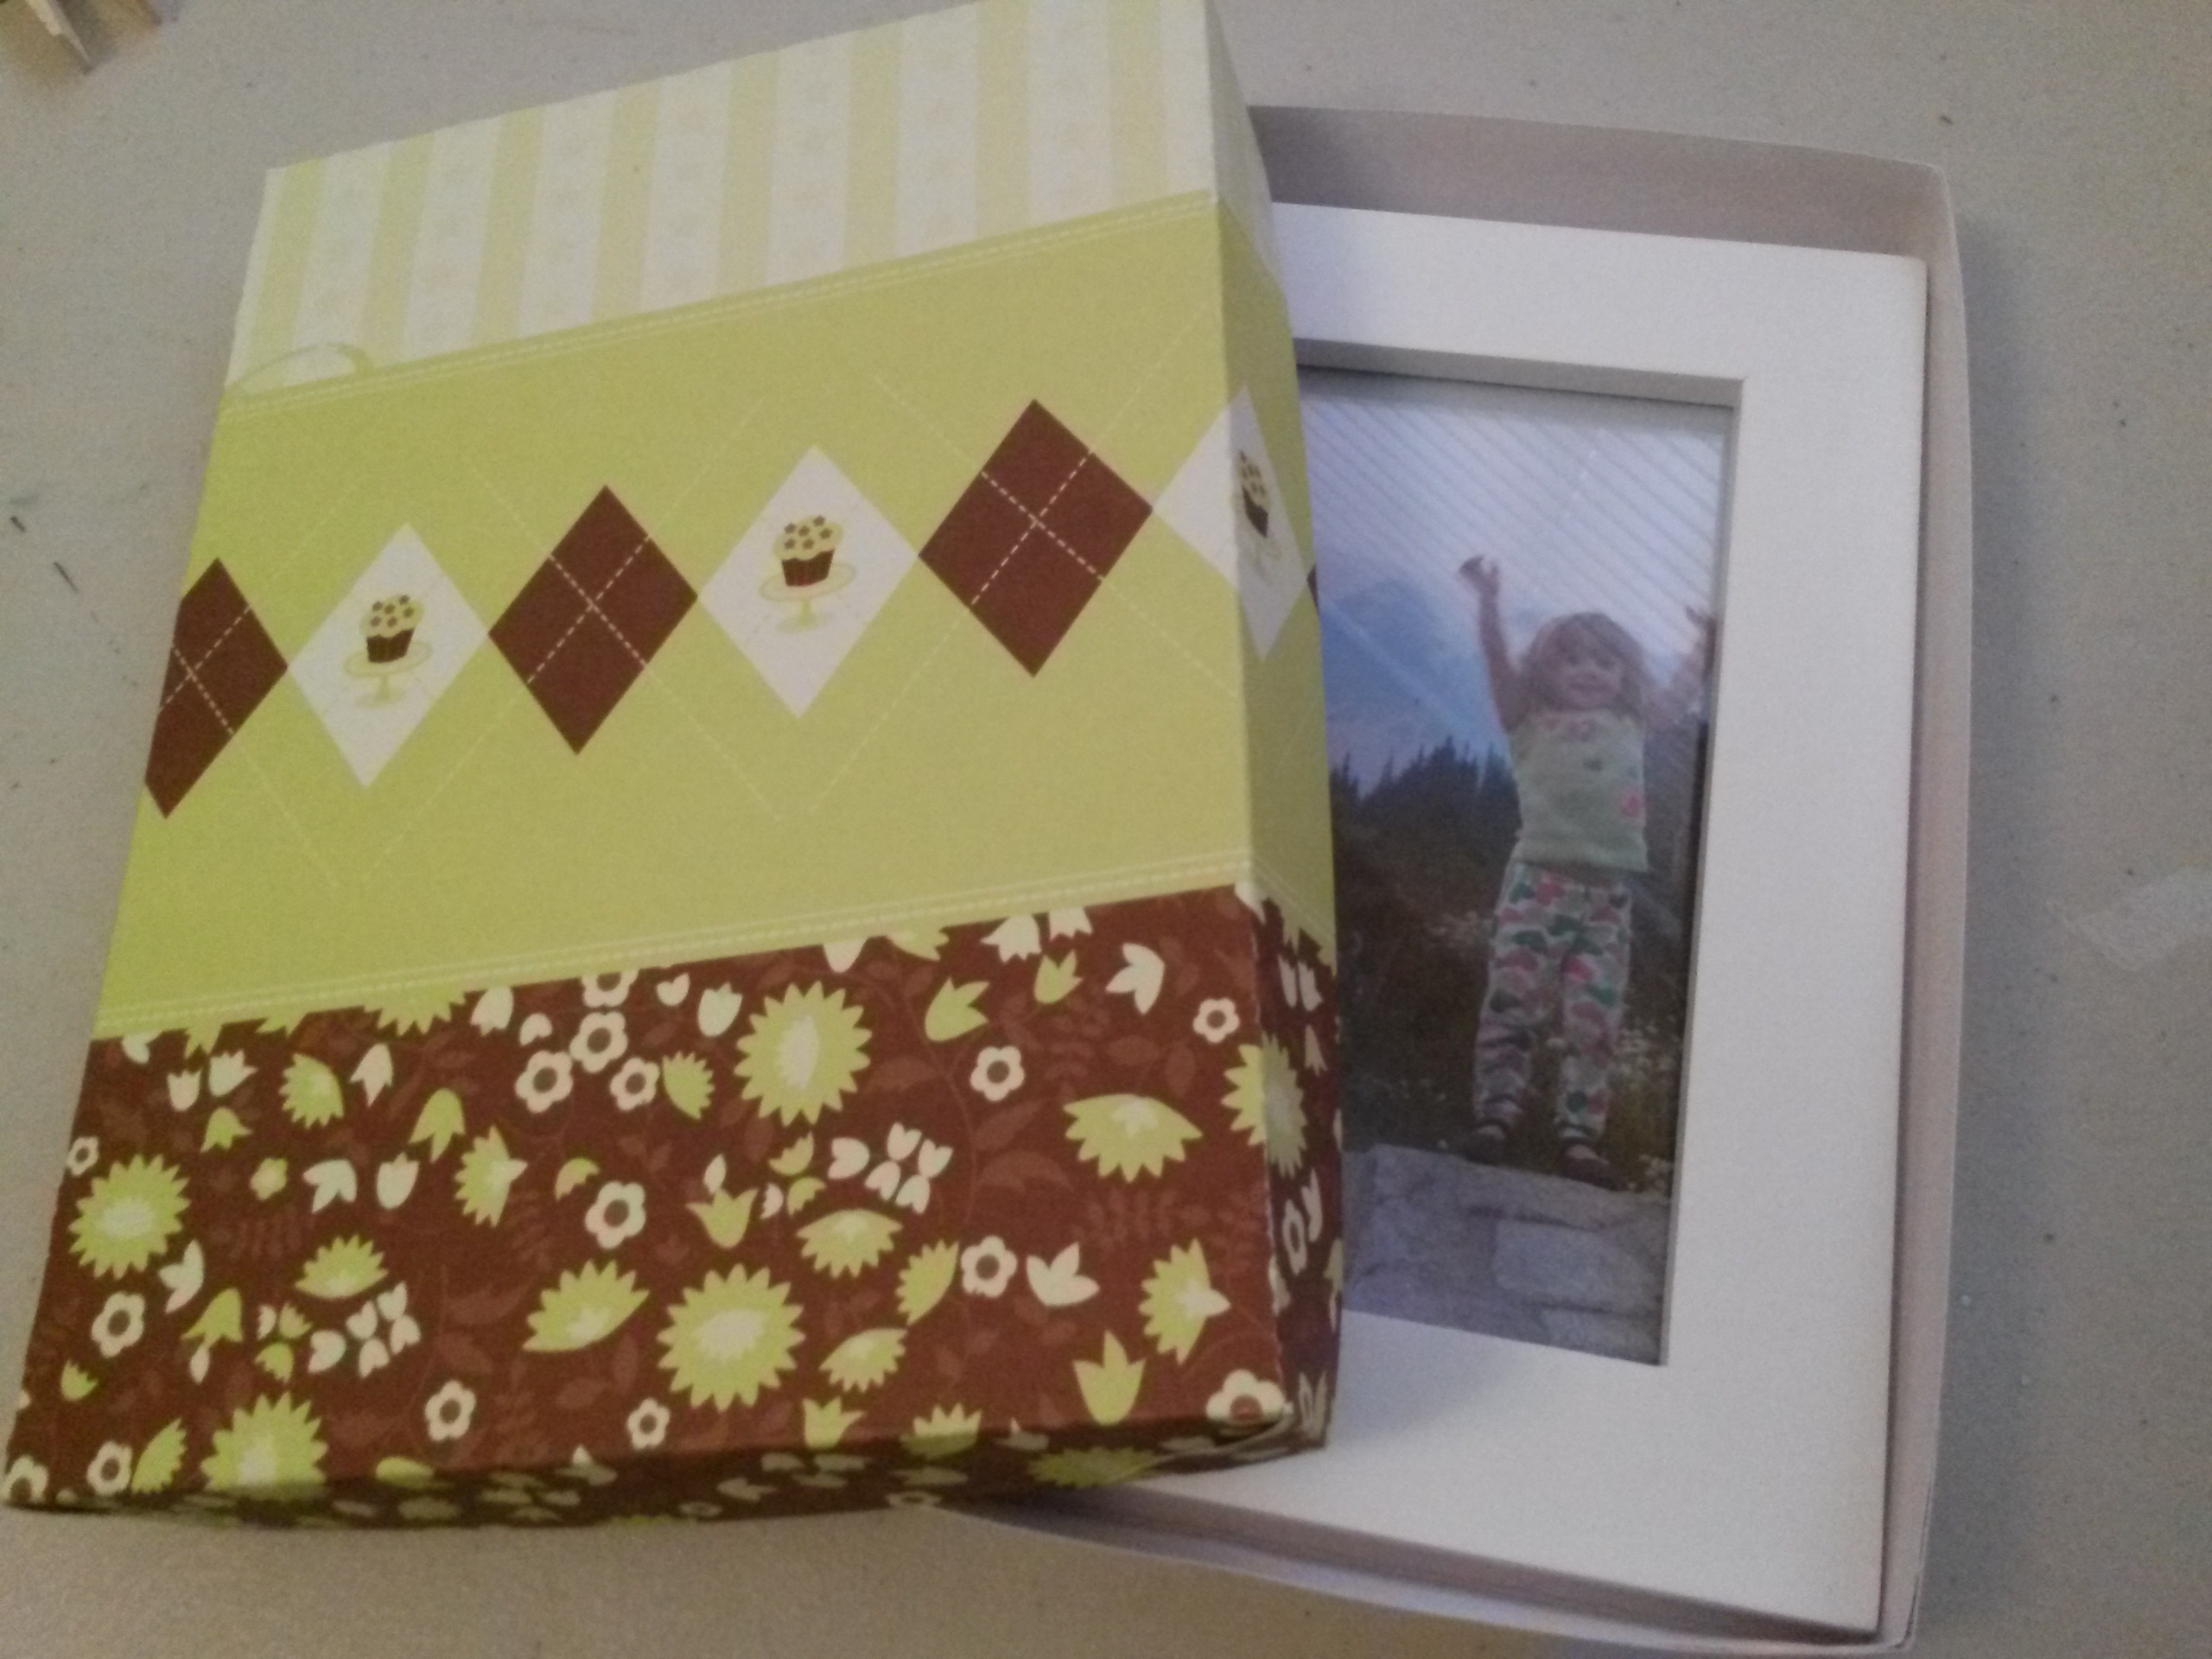
These boxes are so cute they don't even need wrapping paper. Just add a tag and maybe a little ribbon and your gift is ready to go!
Another example, using thin chipboard with Glue Dots.
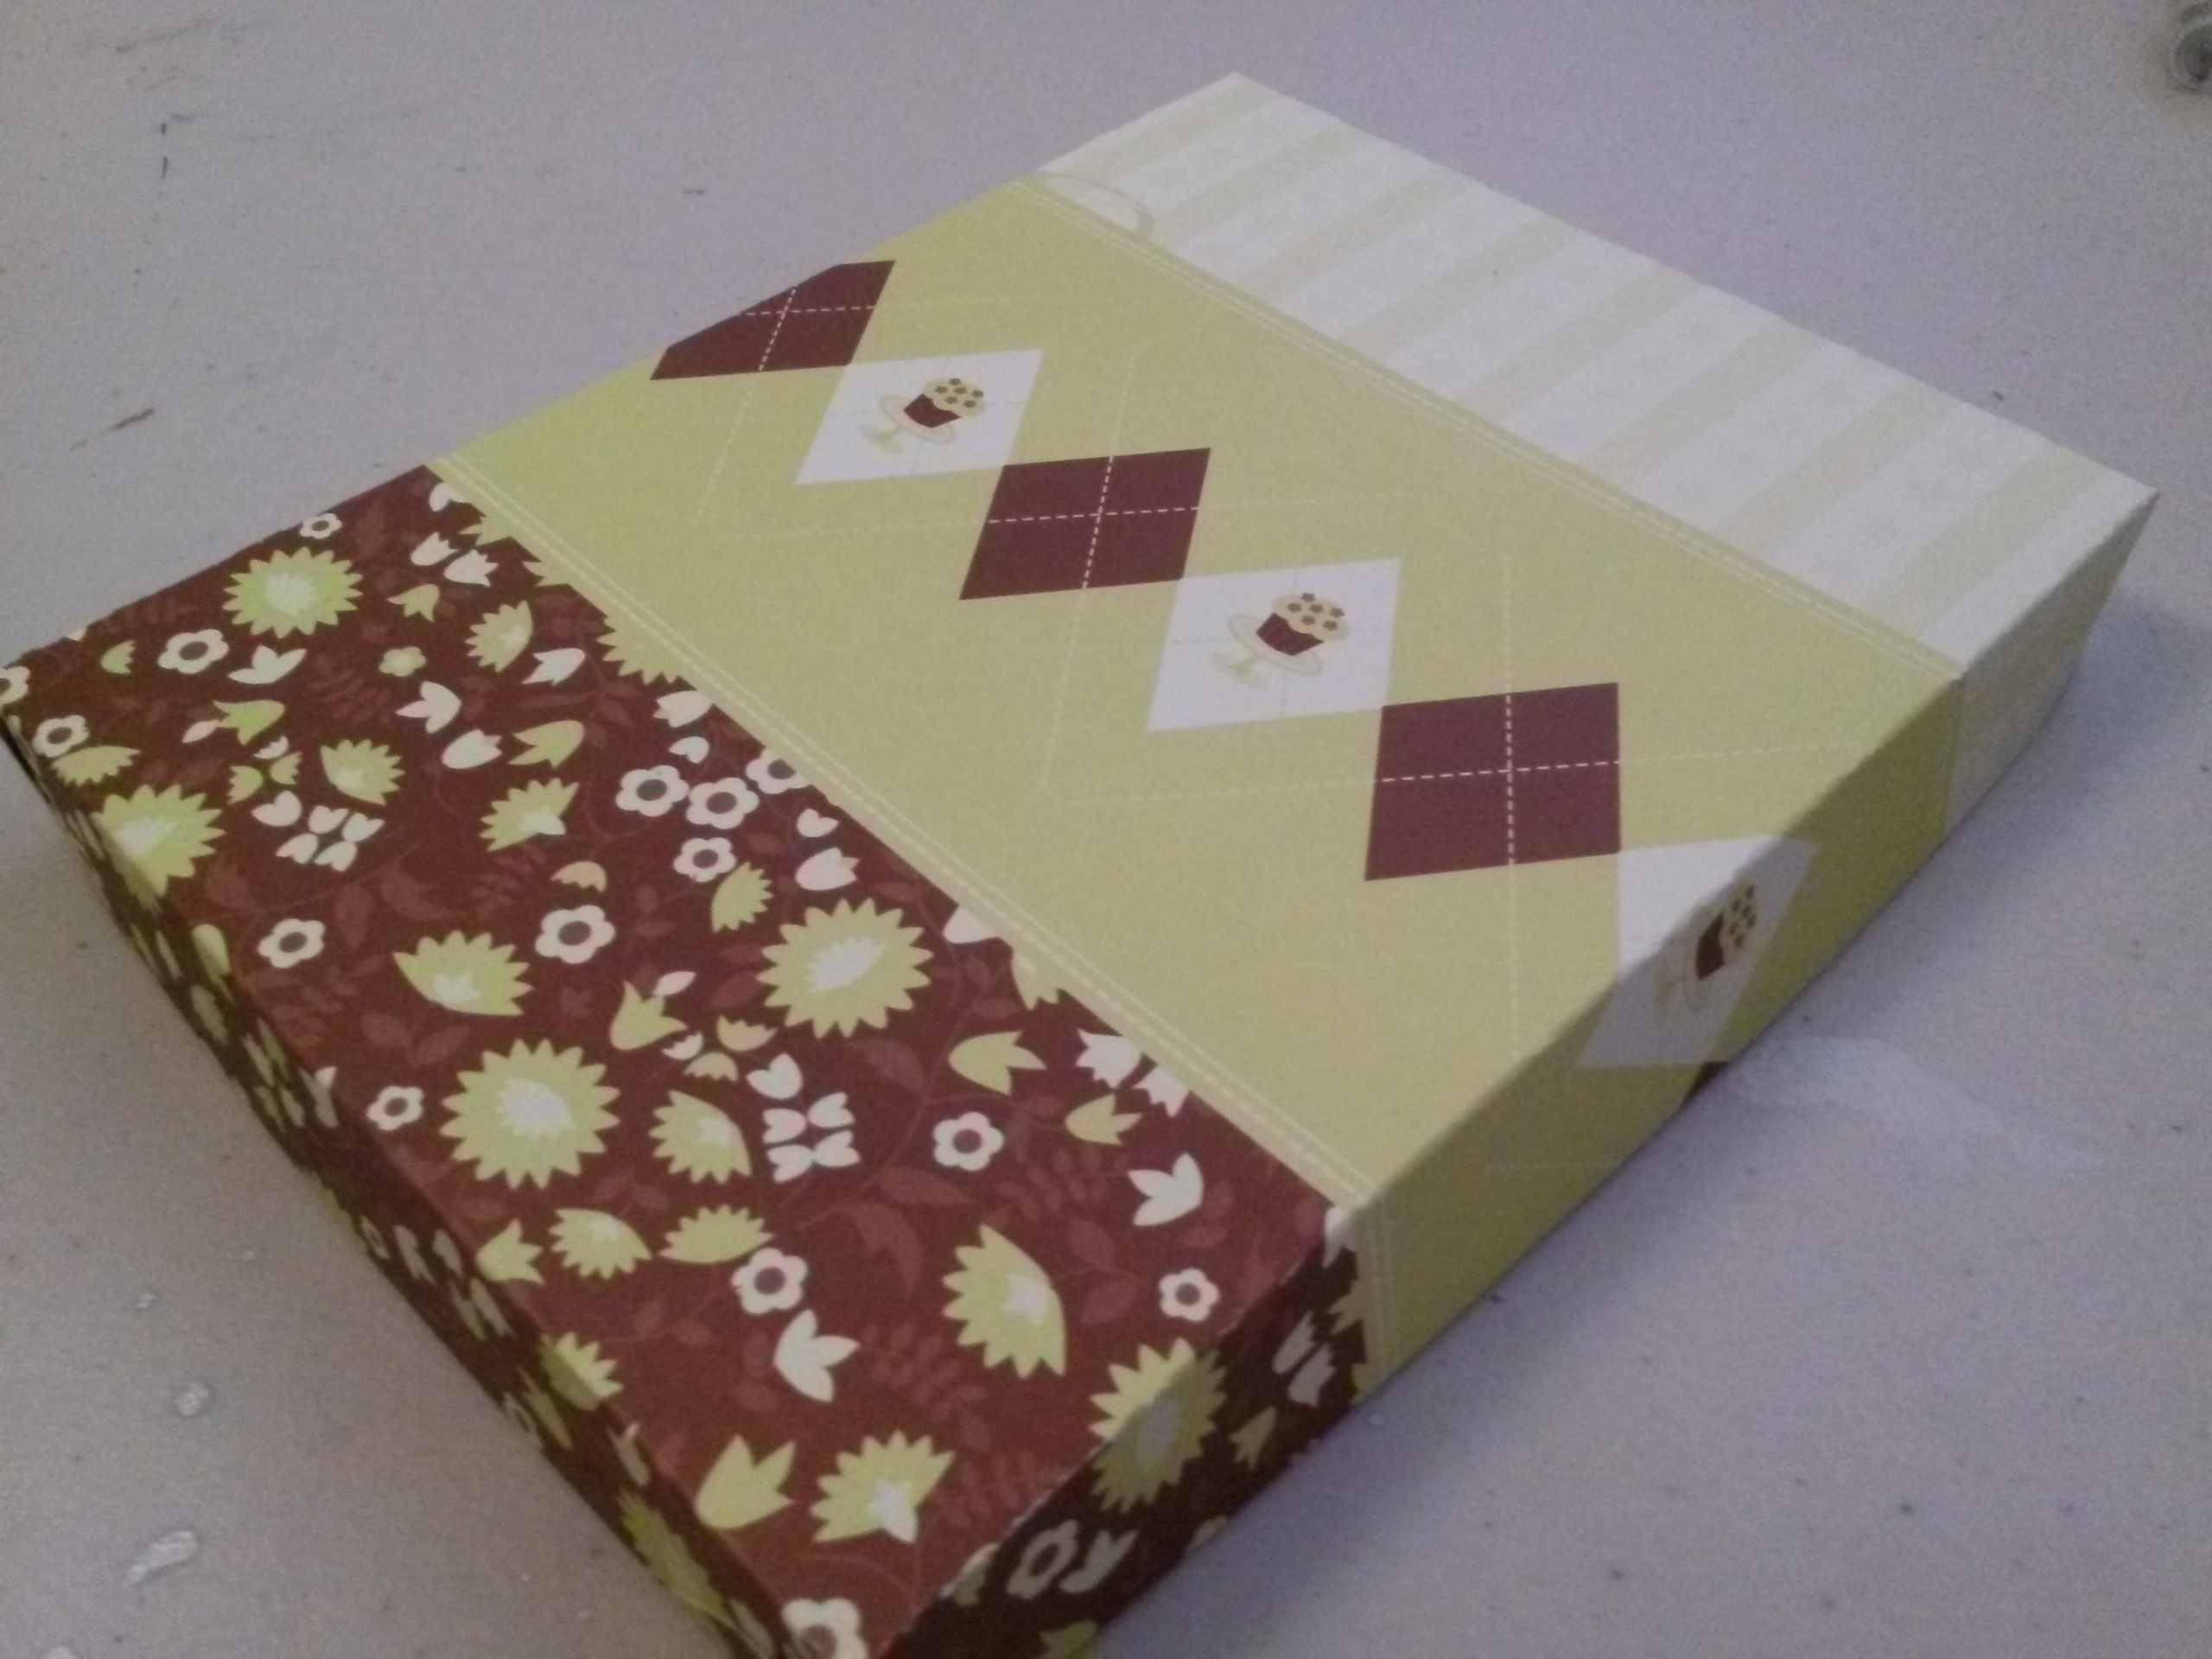
Example using cardstock and glue.
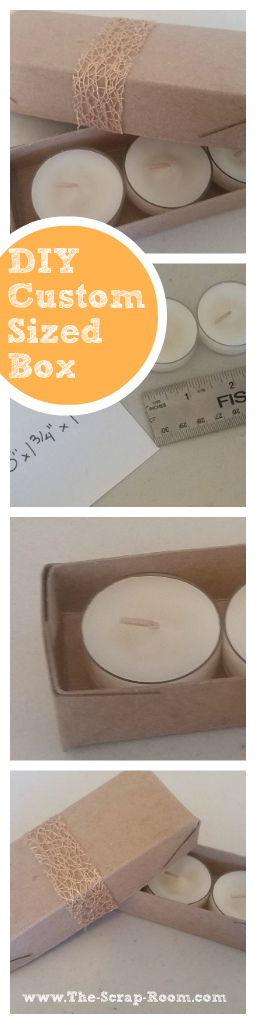
Custom Sized DIY Box

You might
also enjoy...

If you enjoyed our tutorial or found value in it, we'd love it if you'd give us a thumbs up or a share on Facebook or Pinterest!
Disclaimer: Please note that some of the links in this post are affiliate links. There is no additional cost to you, but The Scrap Room will earn a small commission should you choose to purchase through those links. Thank you for helping support our business!