Hanging Holiday Lights Handmade Greeting Card Tutorial
You might
also enjoy...

Disclaimer: Please note that some of the links in this post are affiliate links. There is no additional cost to you, but The Scrap Room will earn a small commission should you choose to purchase through those links. Thank you for helping support our business!
Like this card? Pin it for later!

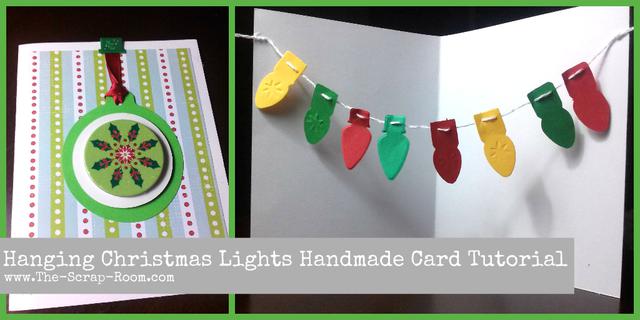
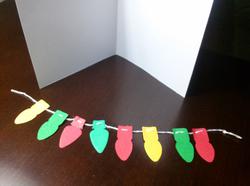
This card is fun to open and looks great on display. The trick with this one is to make sure that when you close the card, the stringed lights don't hang out the bottom, so don't get too ambitious on the light count or length of your strand. Opened flat, your card should be 8.5" across, as should your strand of lights.
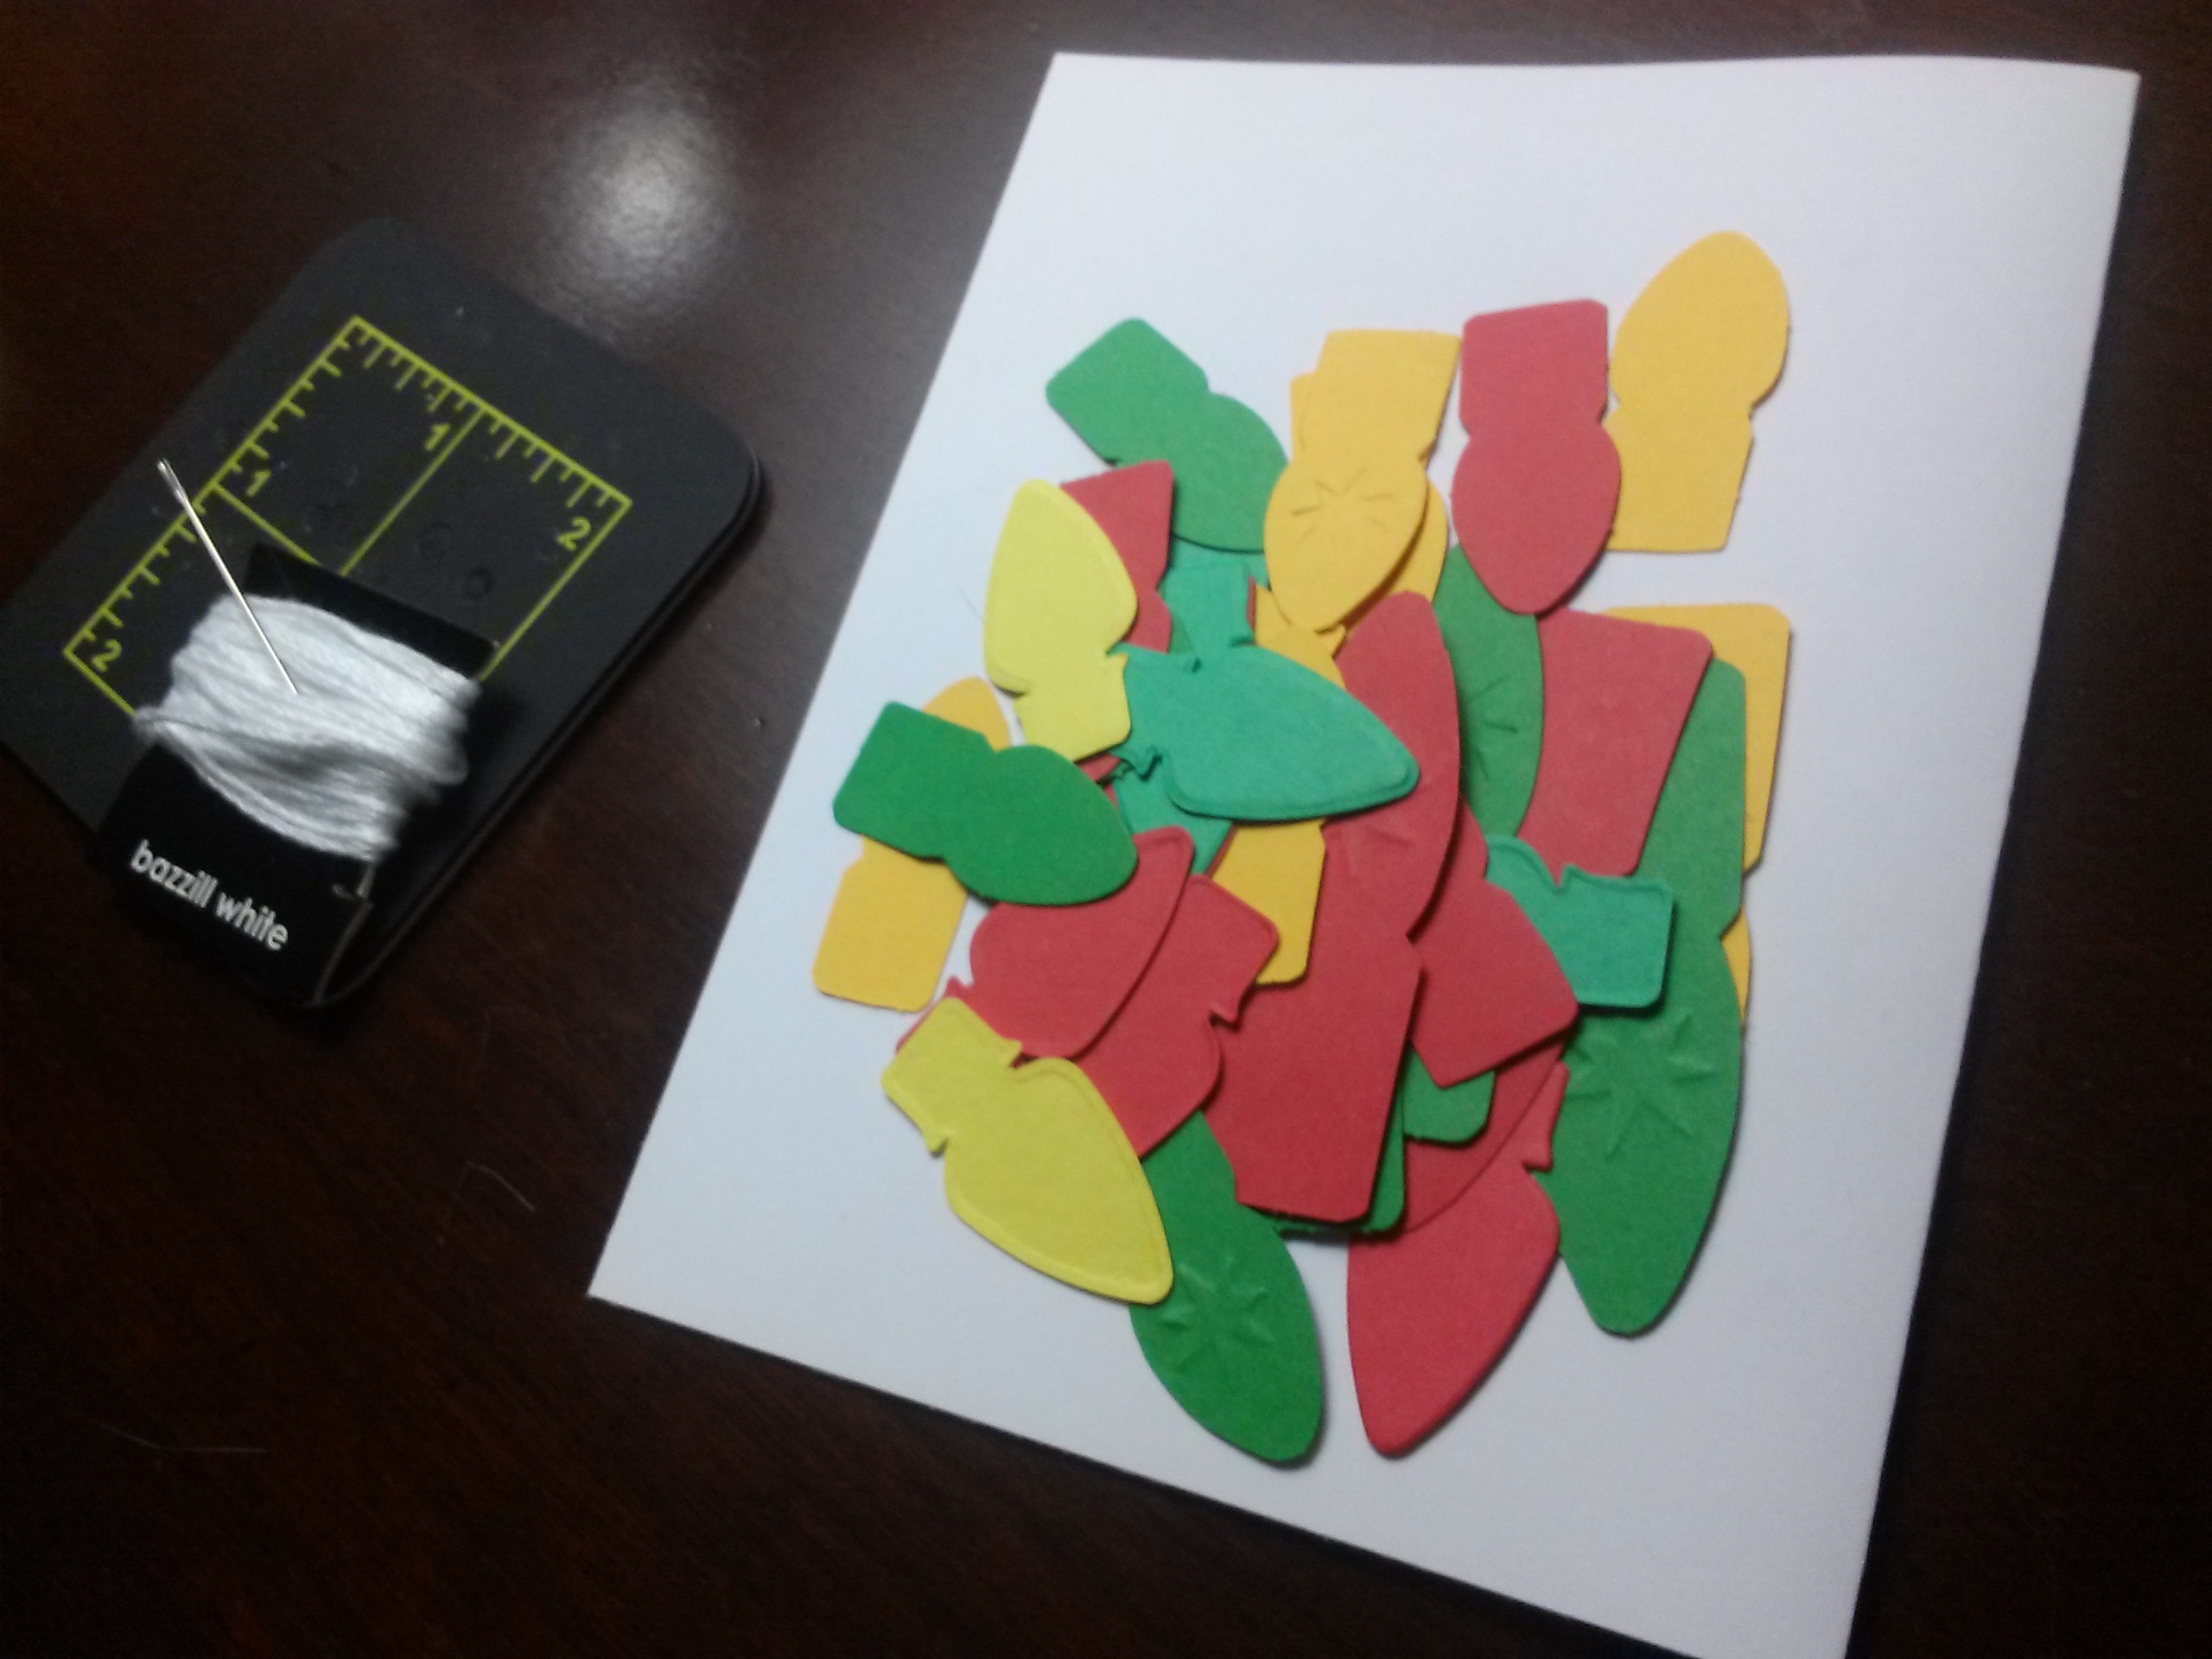
To sew the lights together, tie a knot at one end of the thread and add each light by stitching from the back to the front, then from the front to the back, showing a single stitch, centered, at the base of each light. Stitching the lights in this way will not only help them to hang facing forward when the card is opened, but it will also help keep your lights detangled.
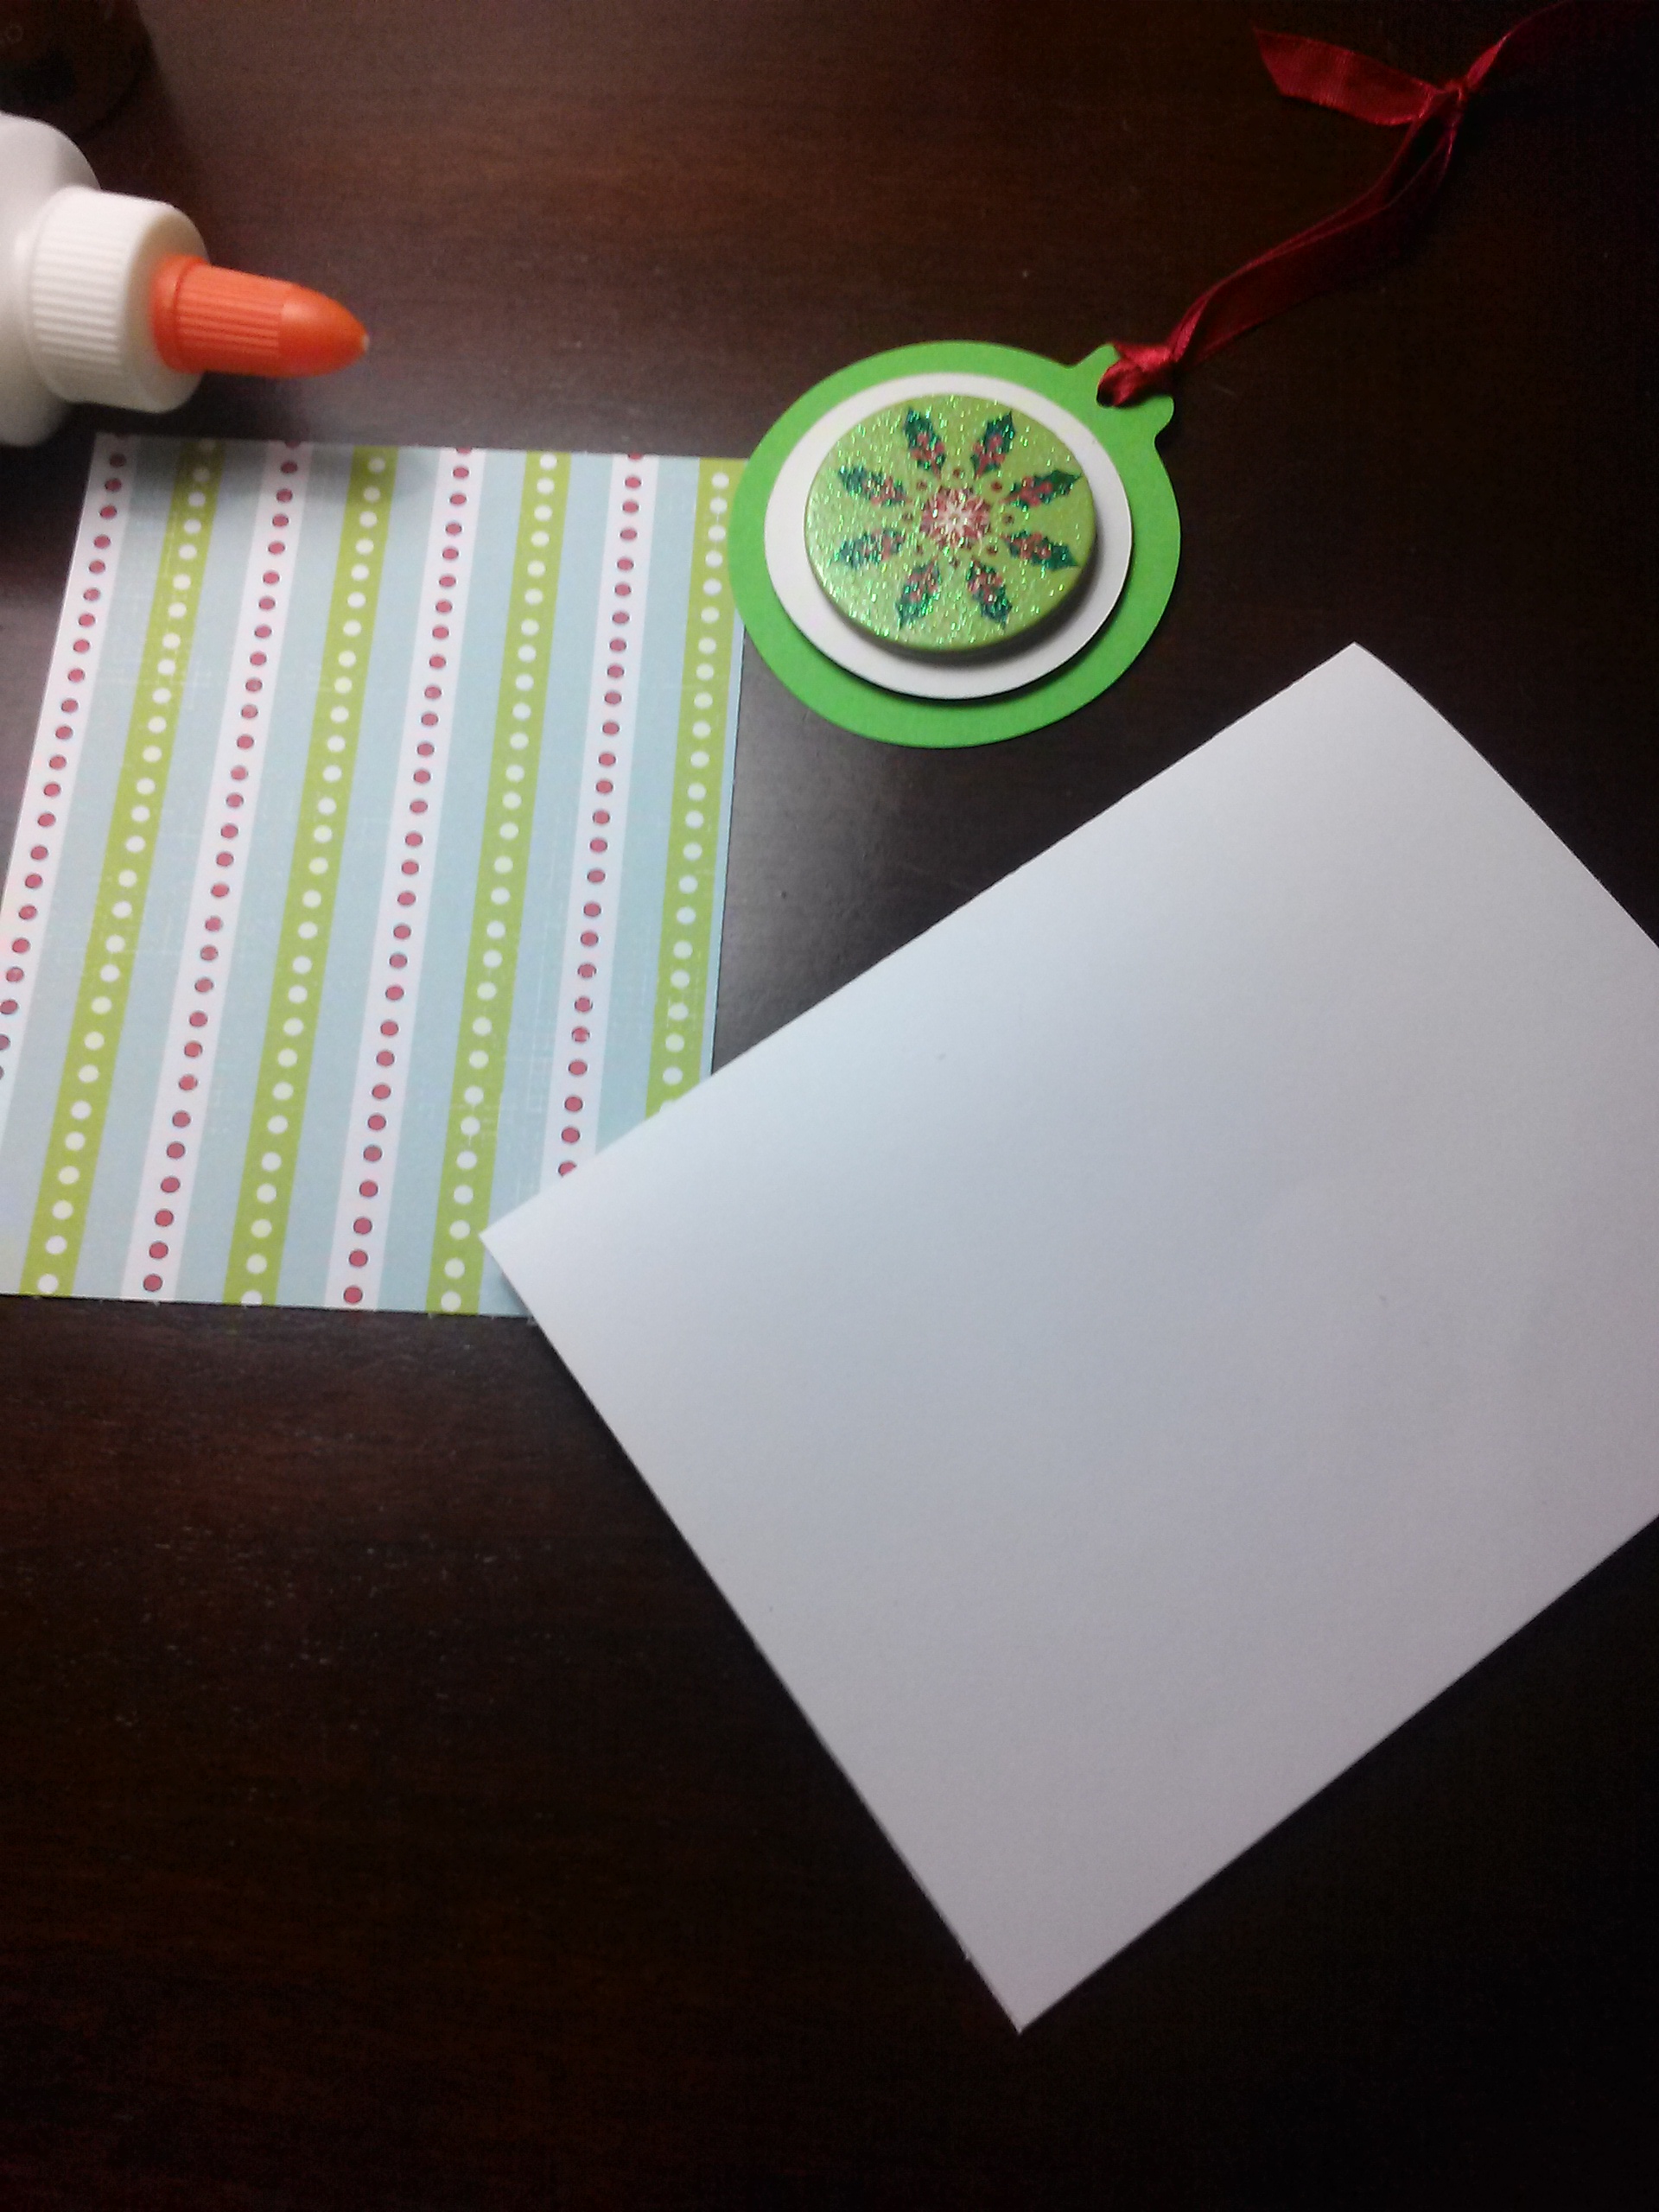
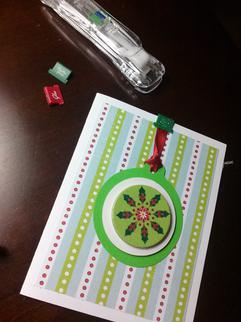
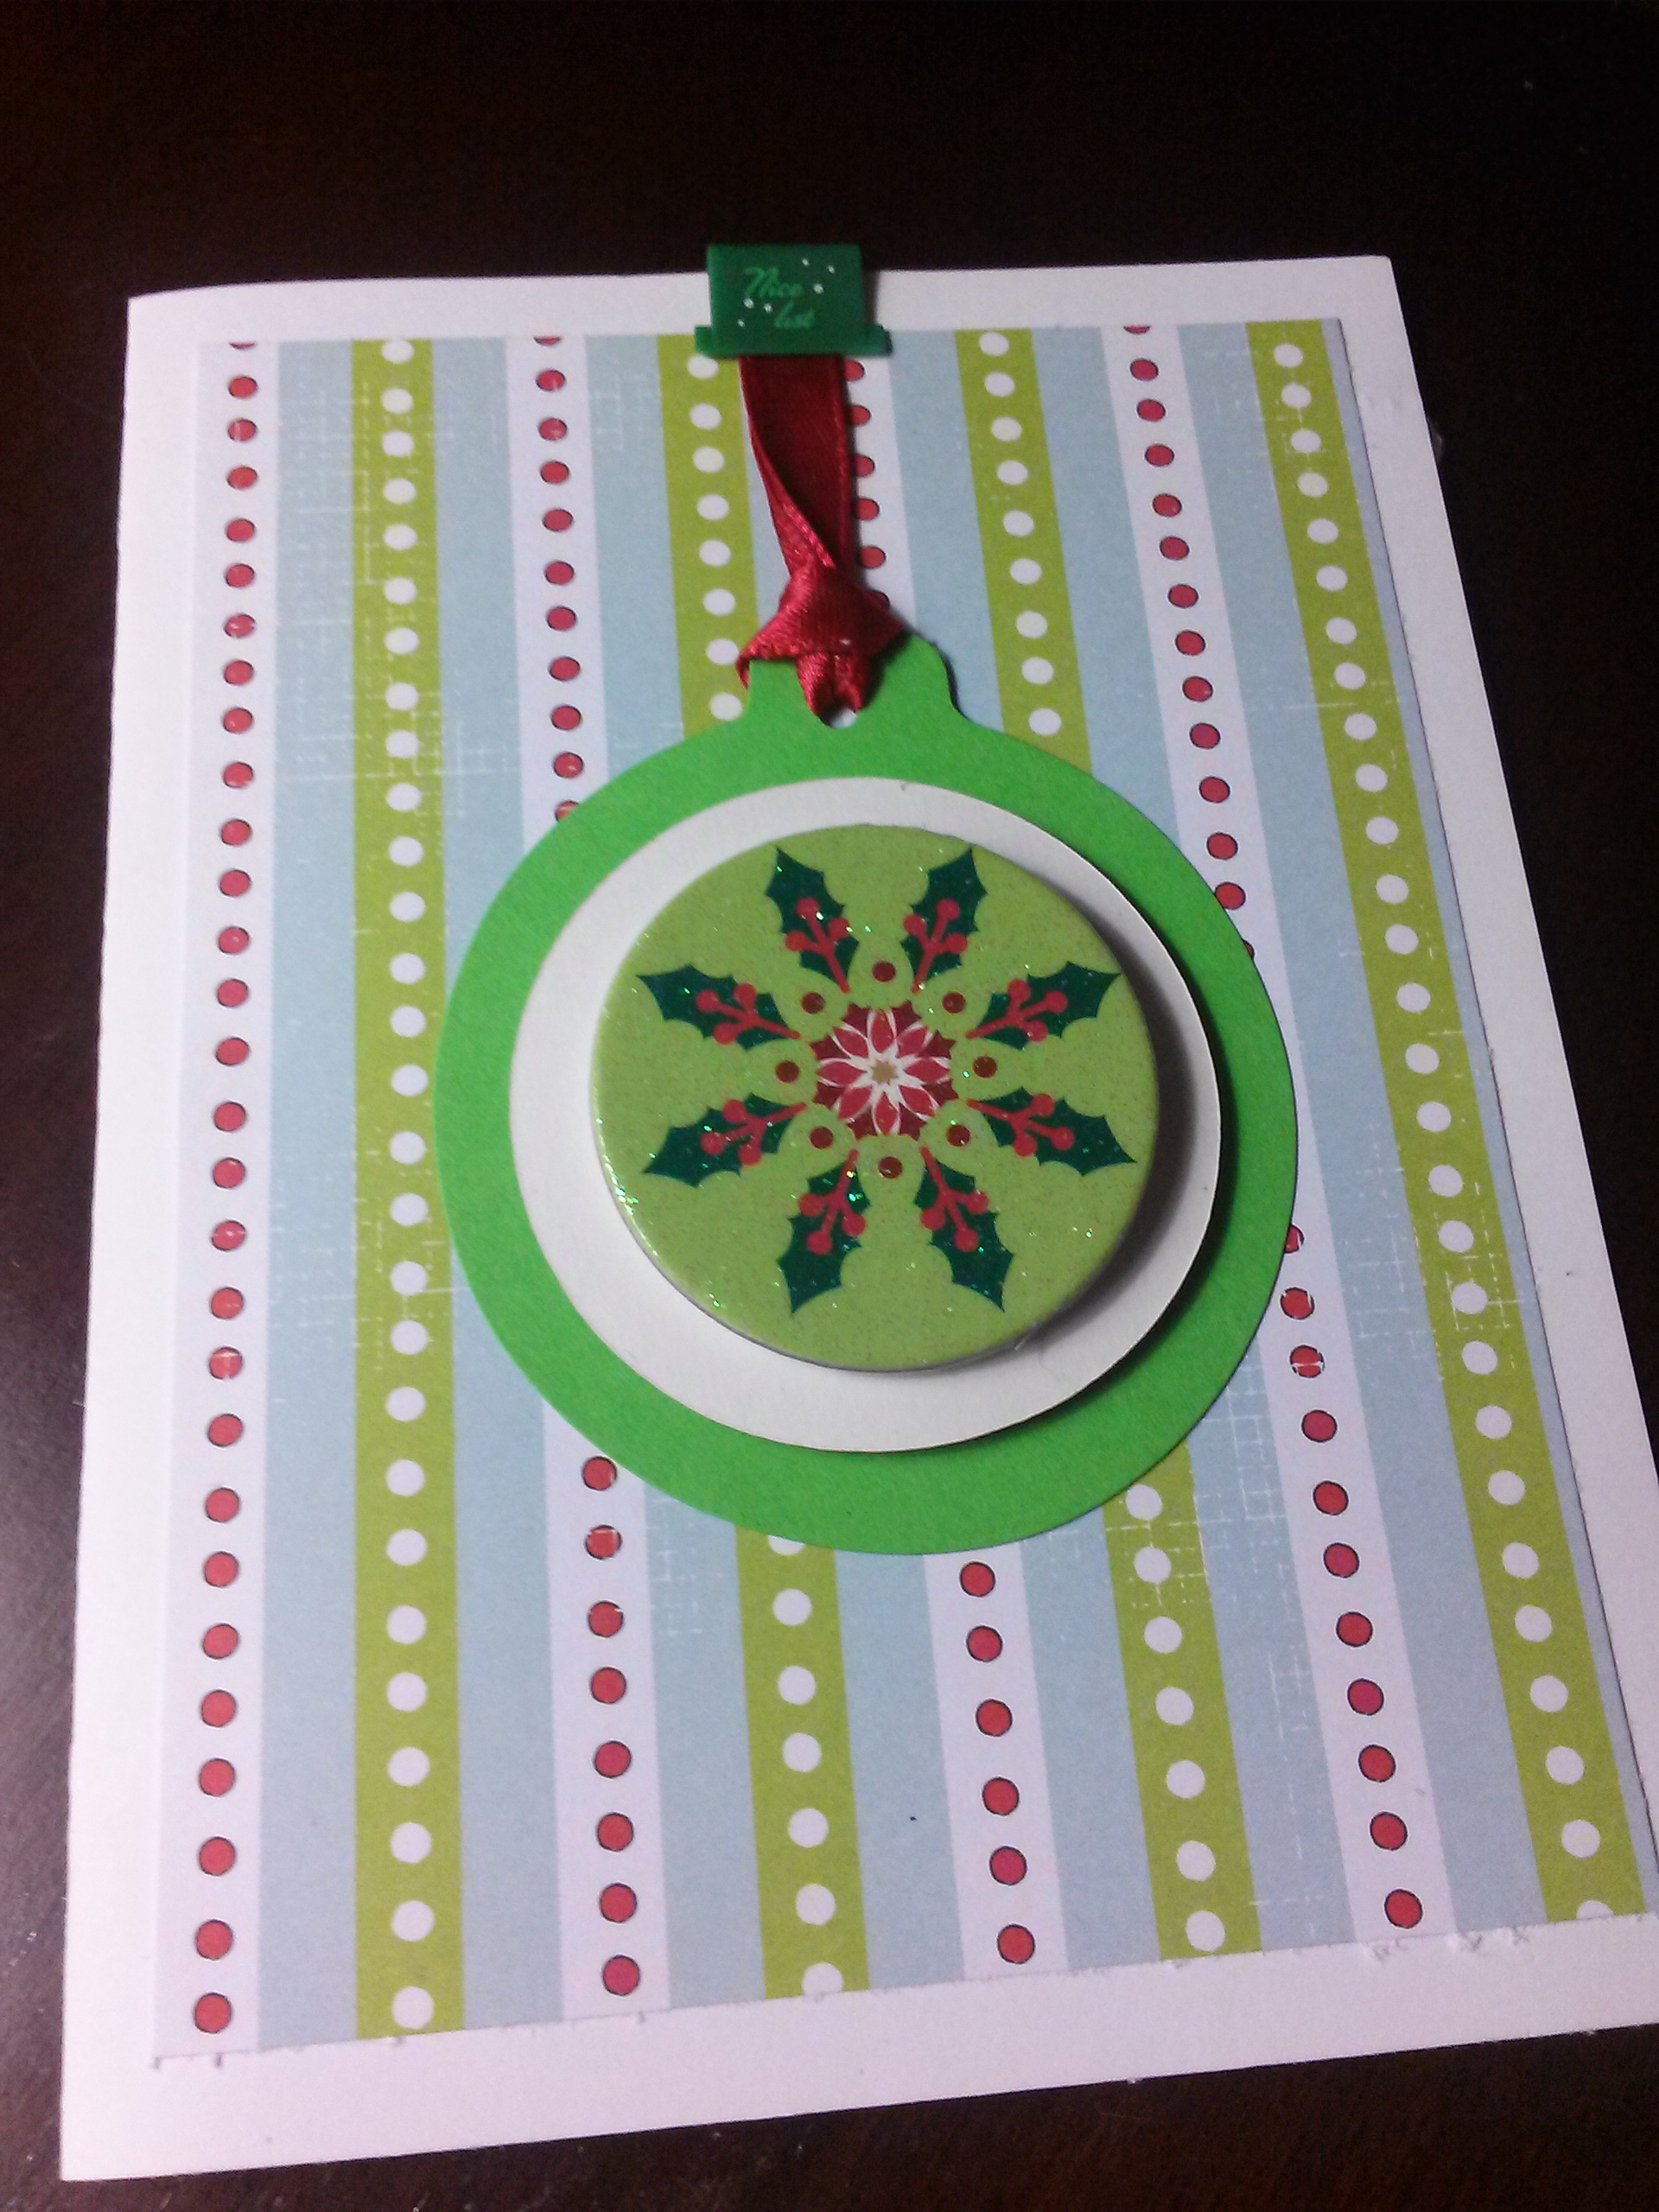
Finally, decorate the cover of the card. For this card, I added some printed paper to the center using an adhesive tape runner, tied some ribbon to the ornament die cut and added the ornament to the cover. To conceal the end of the ribbon, I used the "Around the Block" clip applicator (with a festive holiday clip).
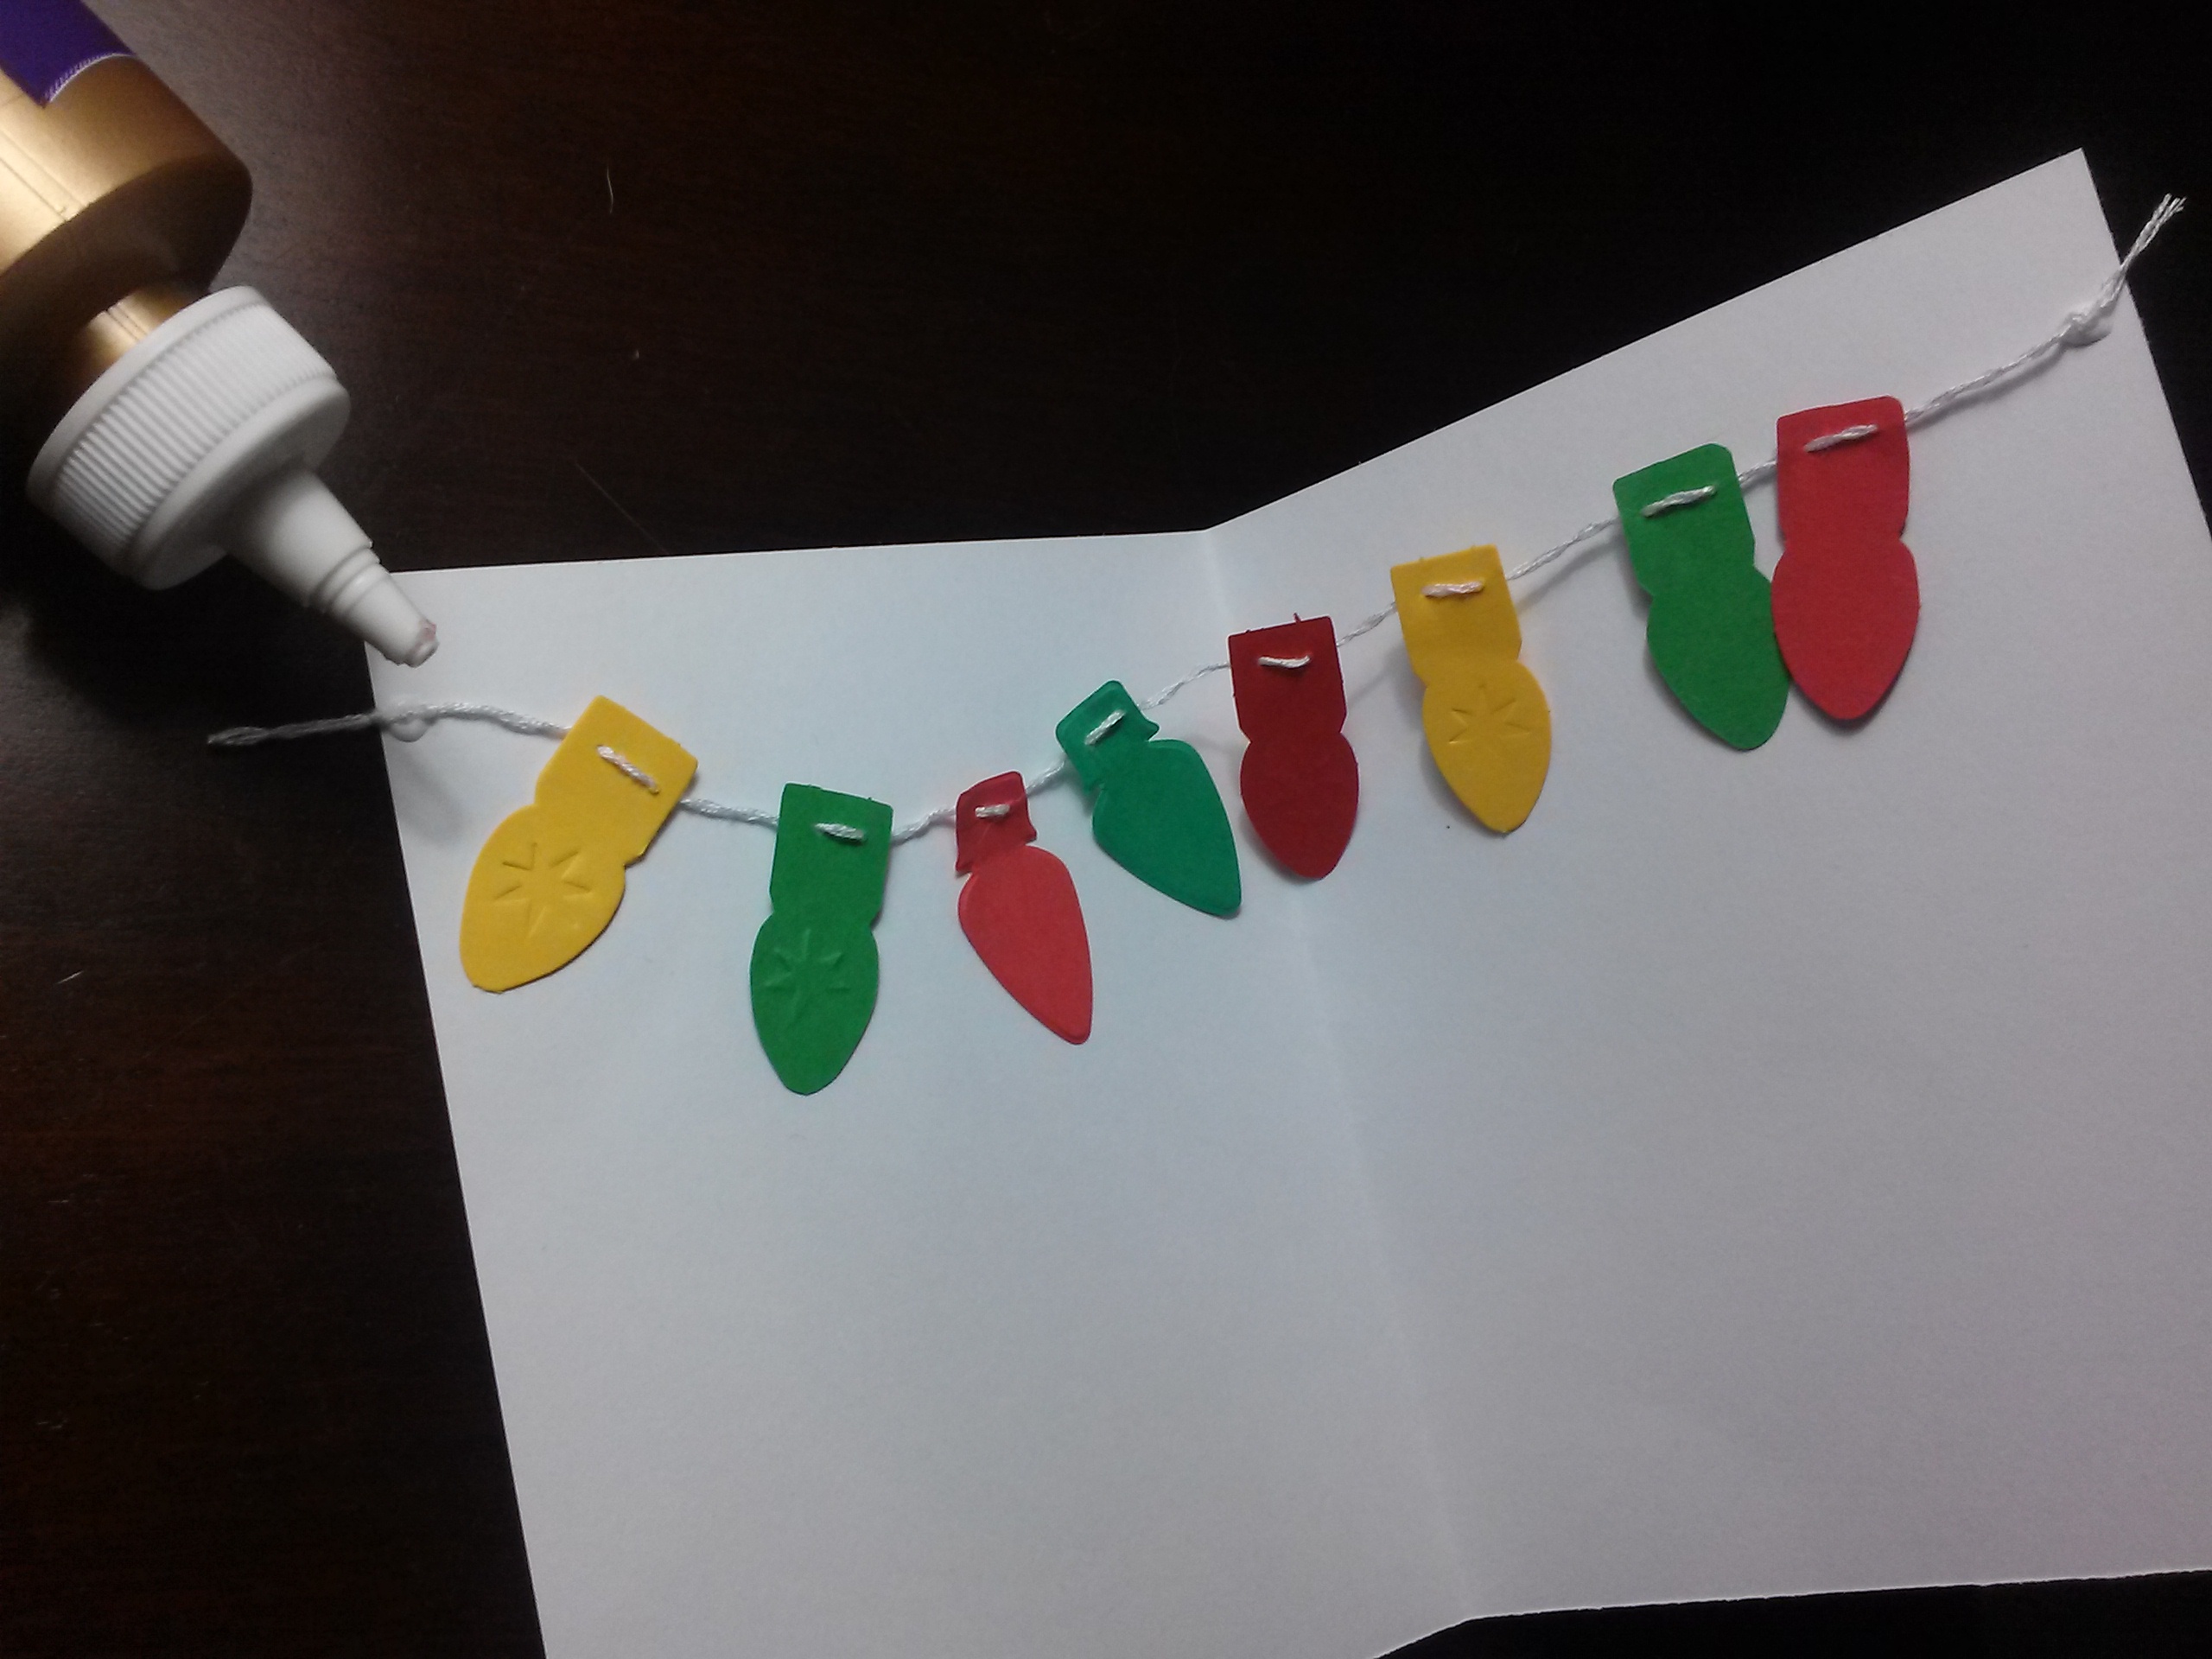
Measure 8.5" from your first knot, and tie a second knot, spacing the lights evenly between them. Trim the ends of the thread to a desired length and adhere the strand to the card with a dab of glue on each edge, about an inch down from the top. Let dry completely.
Once you've finished your card, use some matching paper to line your envelope! You can catch our quick video tutorial here -- it works great on any shape or size!