You might
also enjoy...

Disclaimer: Please note that some of the links in this post are affiliate links. There is no additional cost to you, but The Scrap Room will earn a small commission should you choose to purchase through those links. Thank you for helping support our business!
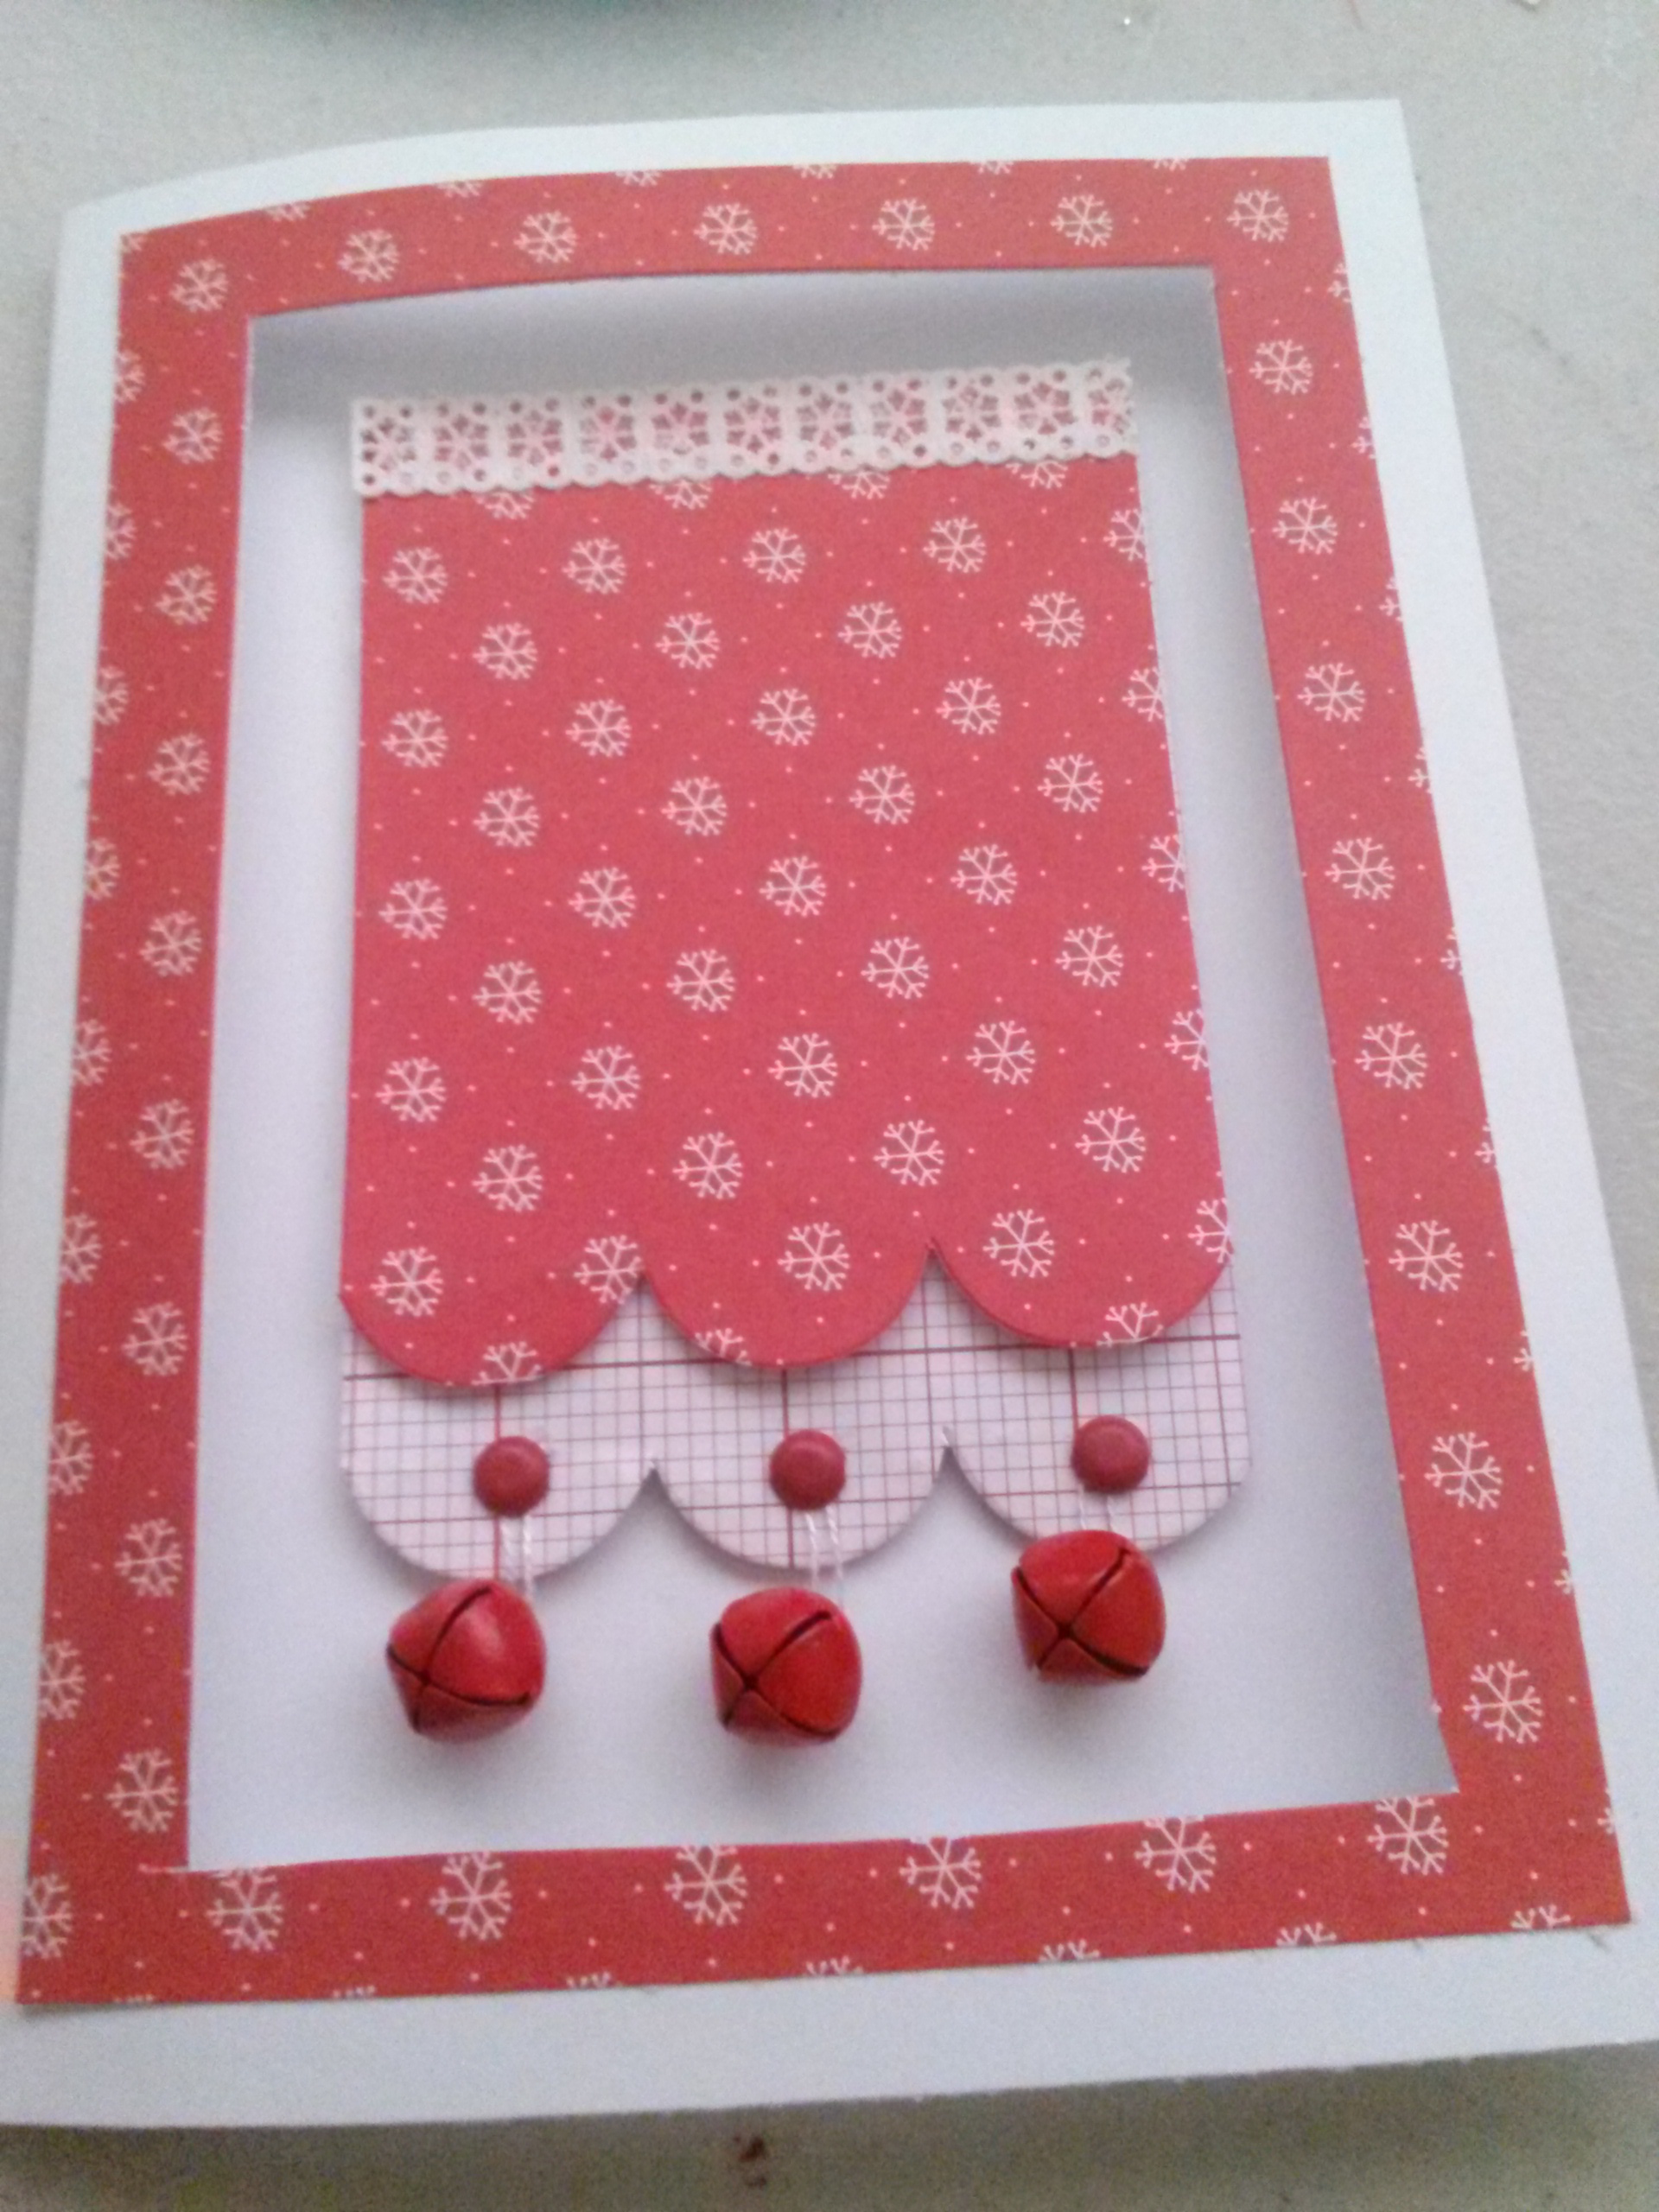
Jingle Bell Greetings - Handmade Holiday Card
This festive greeting card that is easy and fun -- especially with these simple tricks!
Jingle Bells Handmade Greetings Card
Supplies and Materials:
-A2 card, blank
-A2 envelope
-Paper trimmer or craft knife
-A Knitting Needle (or other item/tool that is similar in shape, about the width of a pencil -- give or take! It doesn't have to be exact!)
-3 3/4"x5" printed paper, trimmed to a 1/4" frame -- save the leftover center scrap for the "tag" (below)
-Adhesive tape runner
For "Tag":
-Leftover paper scrap from above printed paper, cut down to 3"x2 1/4"
-3 1/2"x2 1/4" coordinating paper
-3/4" scalloped edge stencil (A traced penny will work in a pinch!)
-Reindeer or other chipboard embellishment (smaller than 2")
-Around the Block's Lace Frame Tape or other narrow holiday border
-1/8" hole punch
-3 small brads
-3 small bells
-white embroidery thread
The card for this greeting is pretty basic -- plain, with a window cut-out on the front cover, decorated with a frame. It's the embellishment on the inside that makes this one stand out.
Begin with a blank A2 size greeting card, or cut one from cardstock. Use a craft knife or a paper trimmer to cut a 3 1/4"x4 1/2" window in the center of the cover, leaving a 1/2" frame around the hole. Adhere the 1/4" frame to the cover around the opening using either 2D or 3D adhesive.
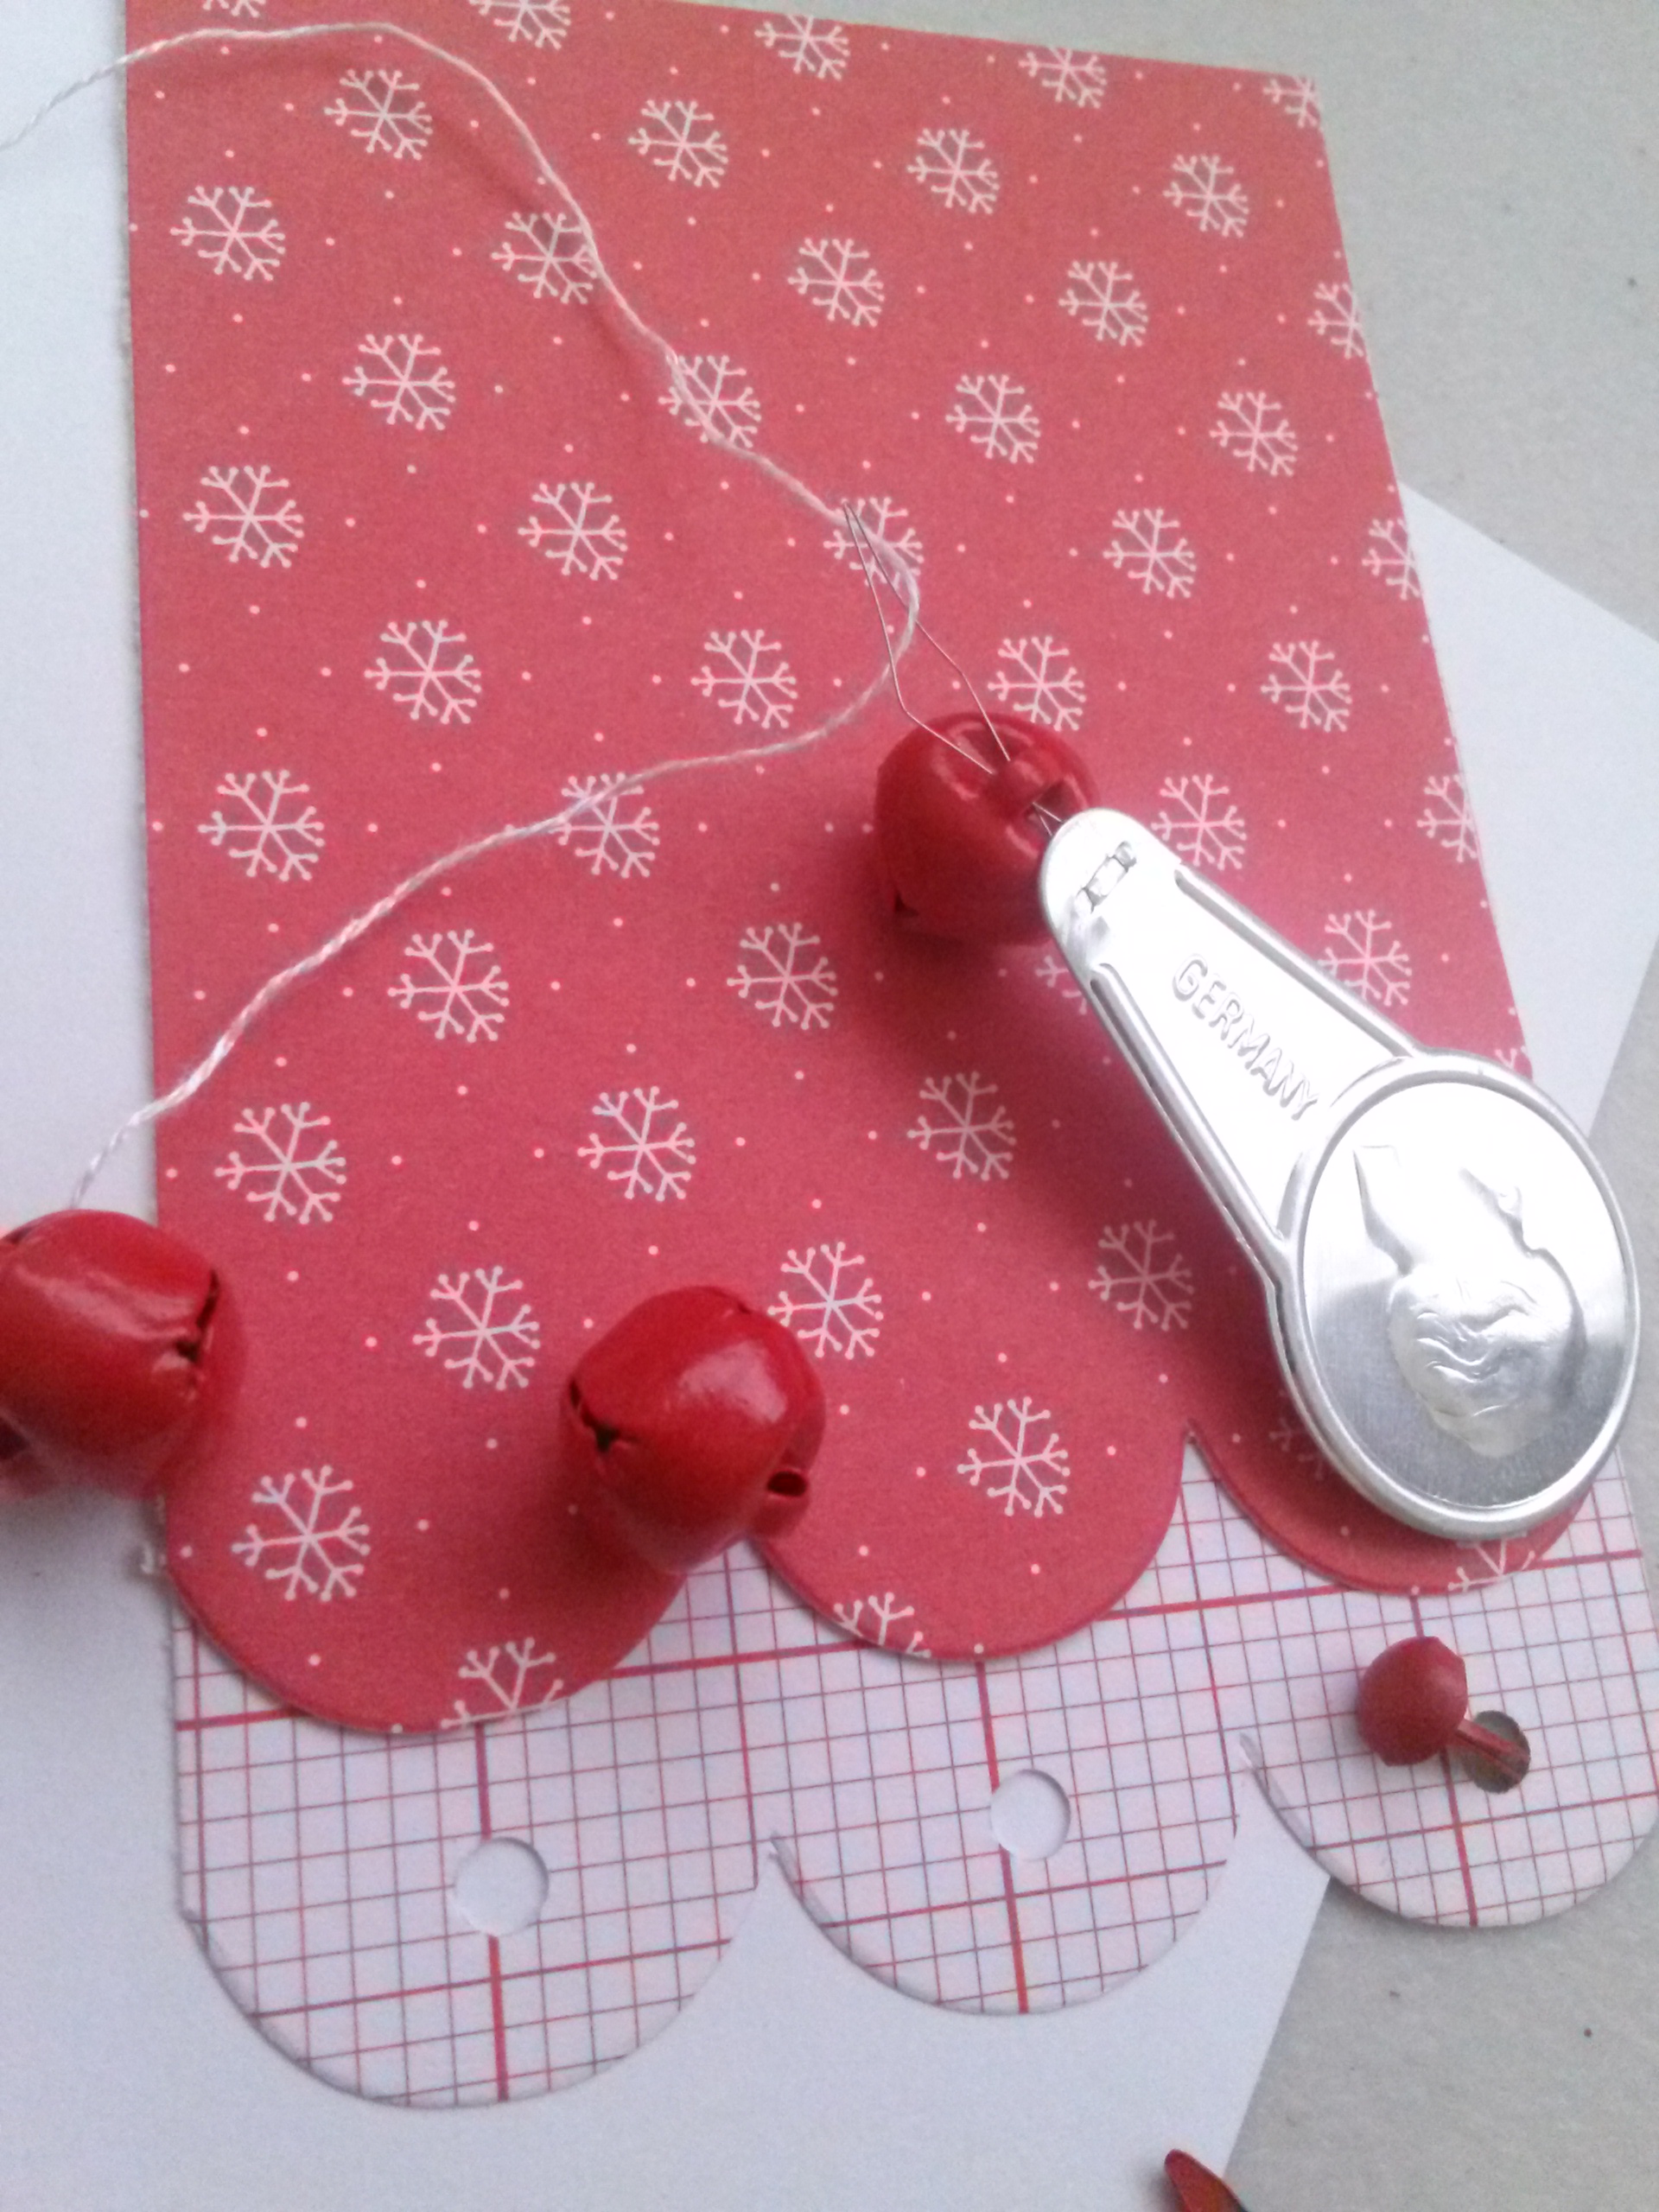
Making the tag can be a little more tricky, but is a piece of cake with a few simple tips! First of all, you'll need a base for your tag. I used some left over paper scraps that I had from a Me and My Big Ideas Christmas chipboard album kit, and the edges were already scalloped -- about 3/4" wide. If you don't have a stencil this size, use a penny to trace and cut the bottom border. The piece of paper for your tag base should be 3 1/2" tall. Add the scalloped border to the 3"x2 1/4" piece of paper and layer the two together, lining up the tops of both pieces so that the lower piece sticks out 1/2" on the bottom.
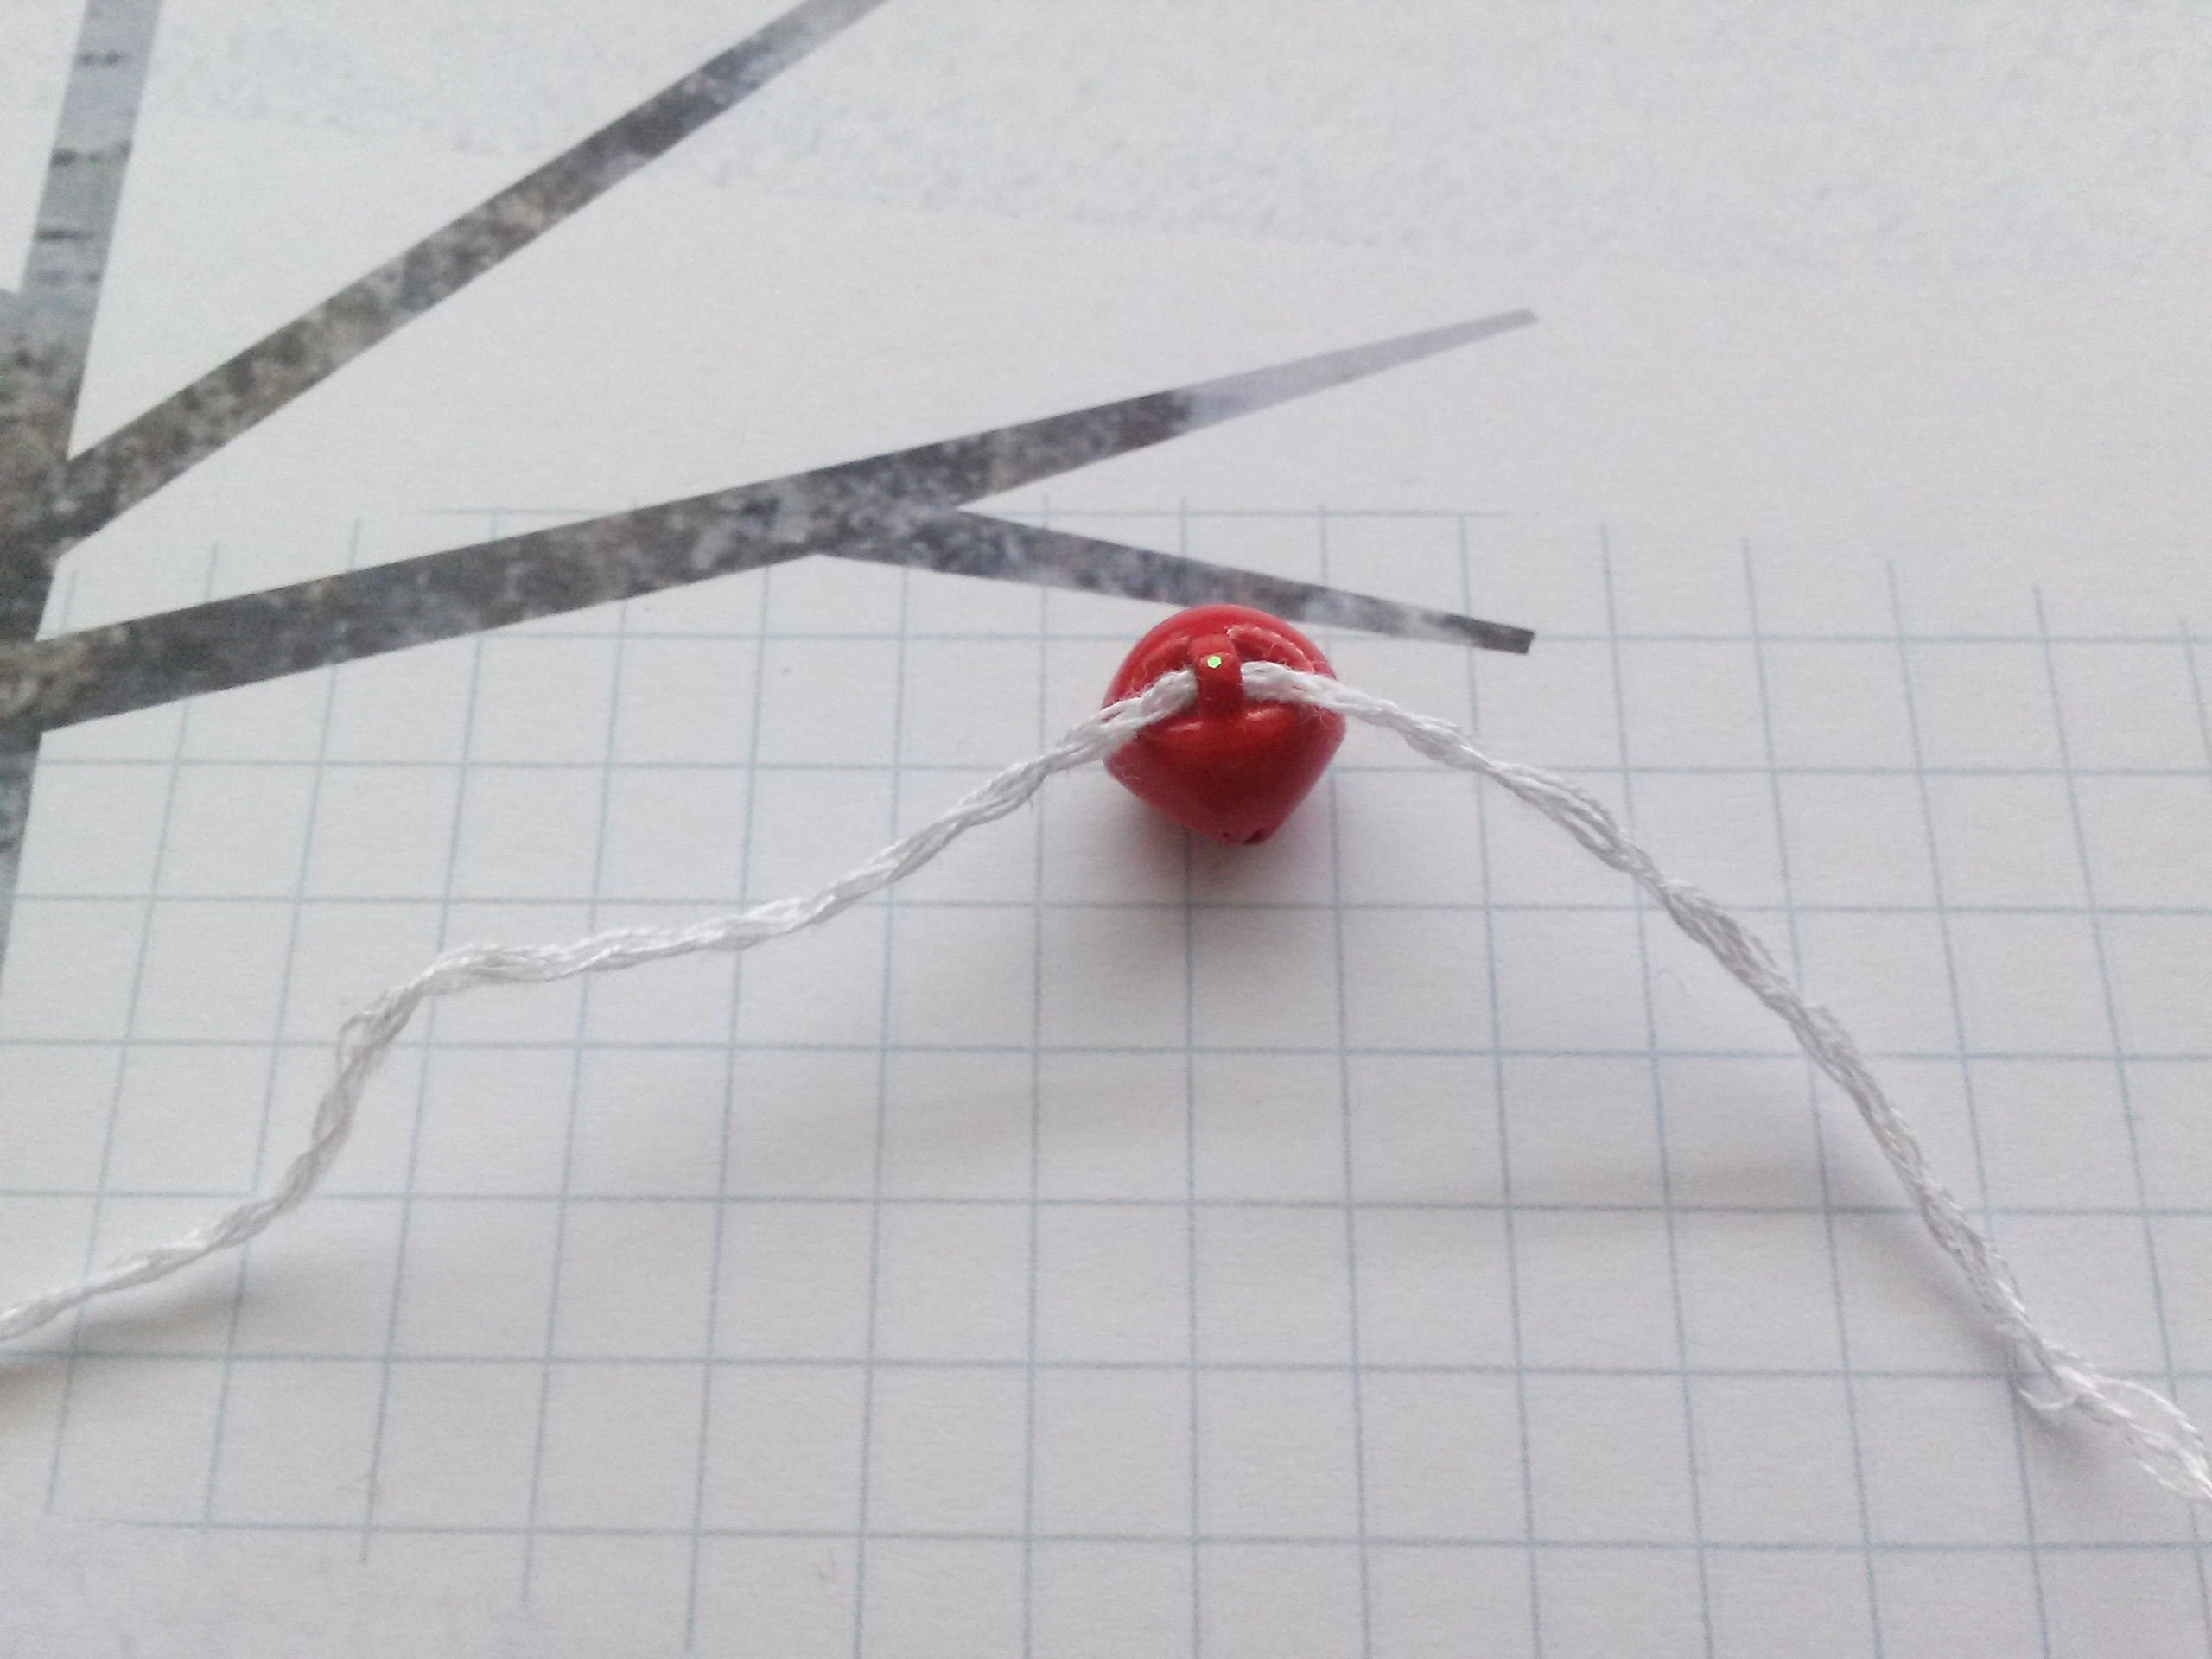
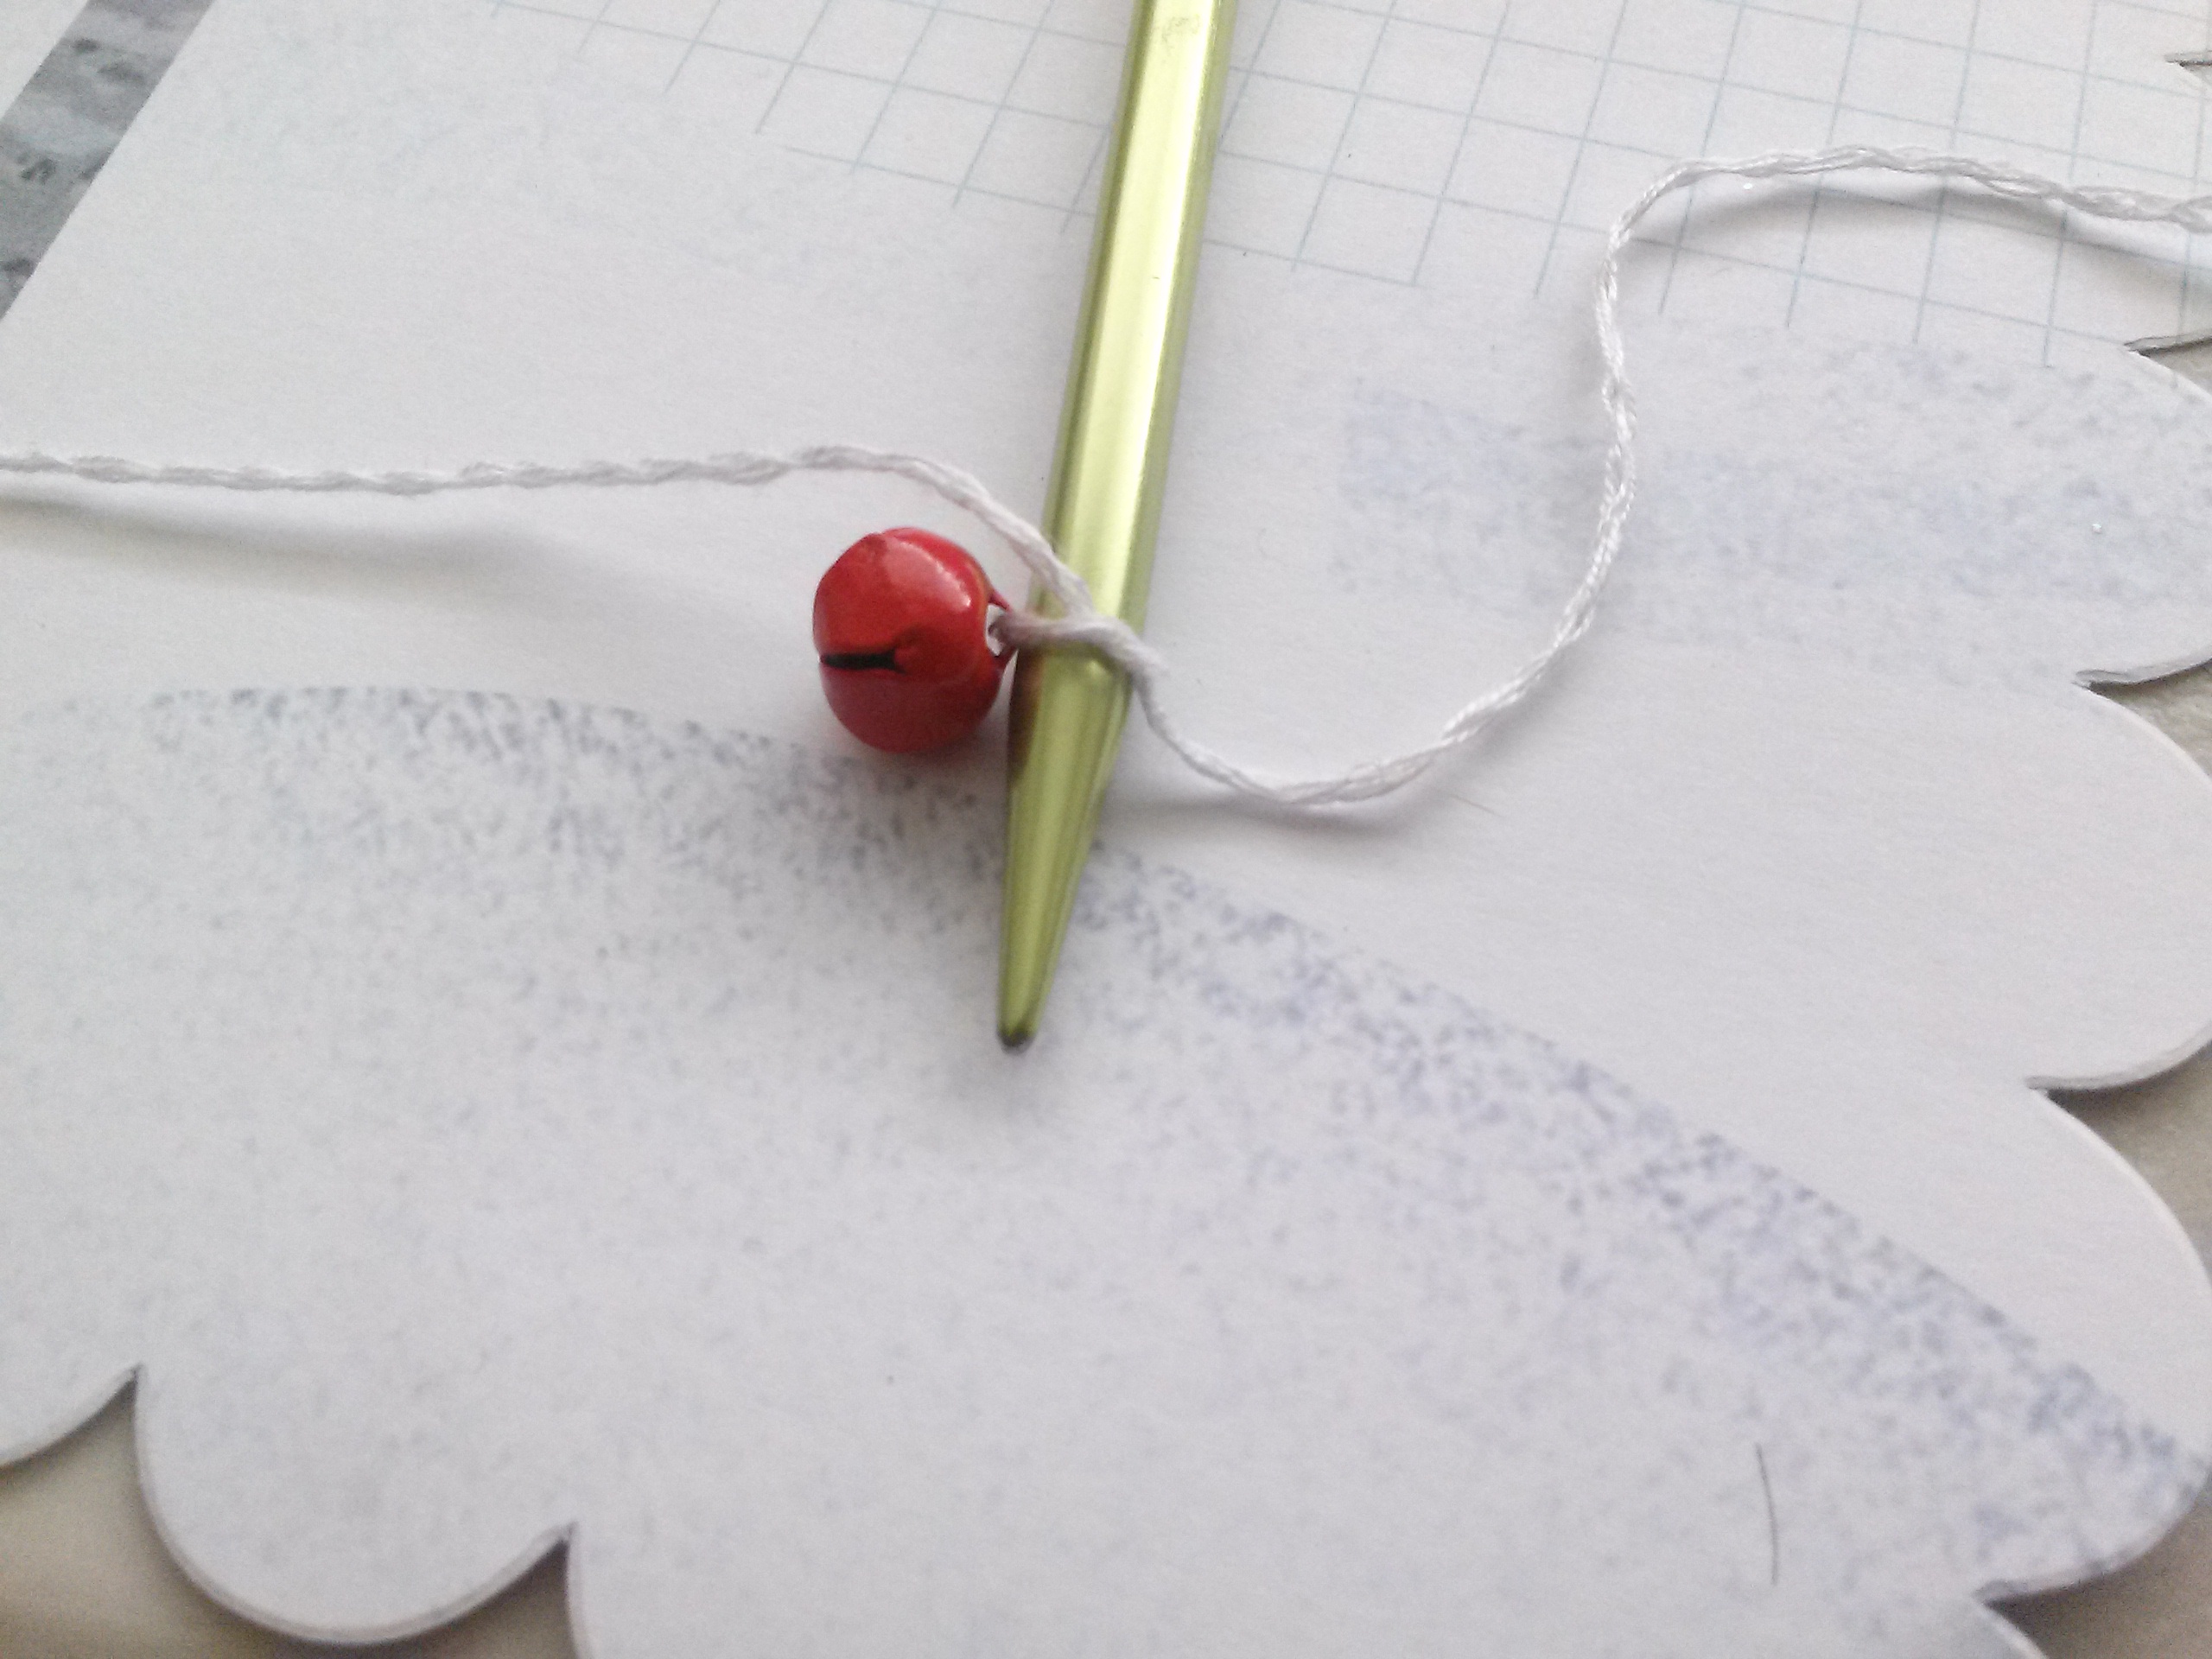
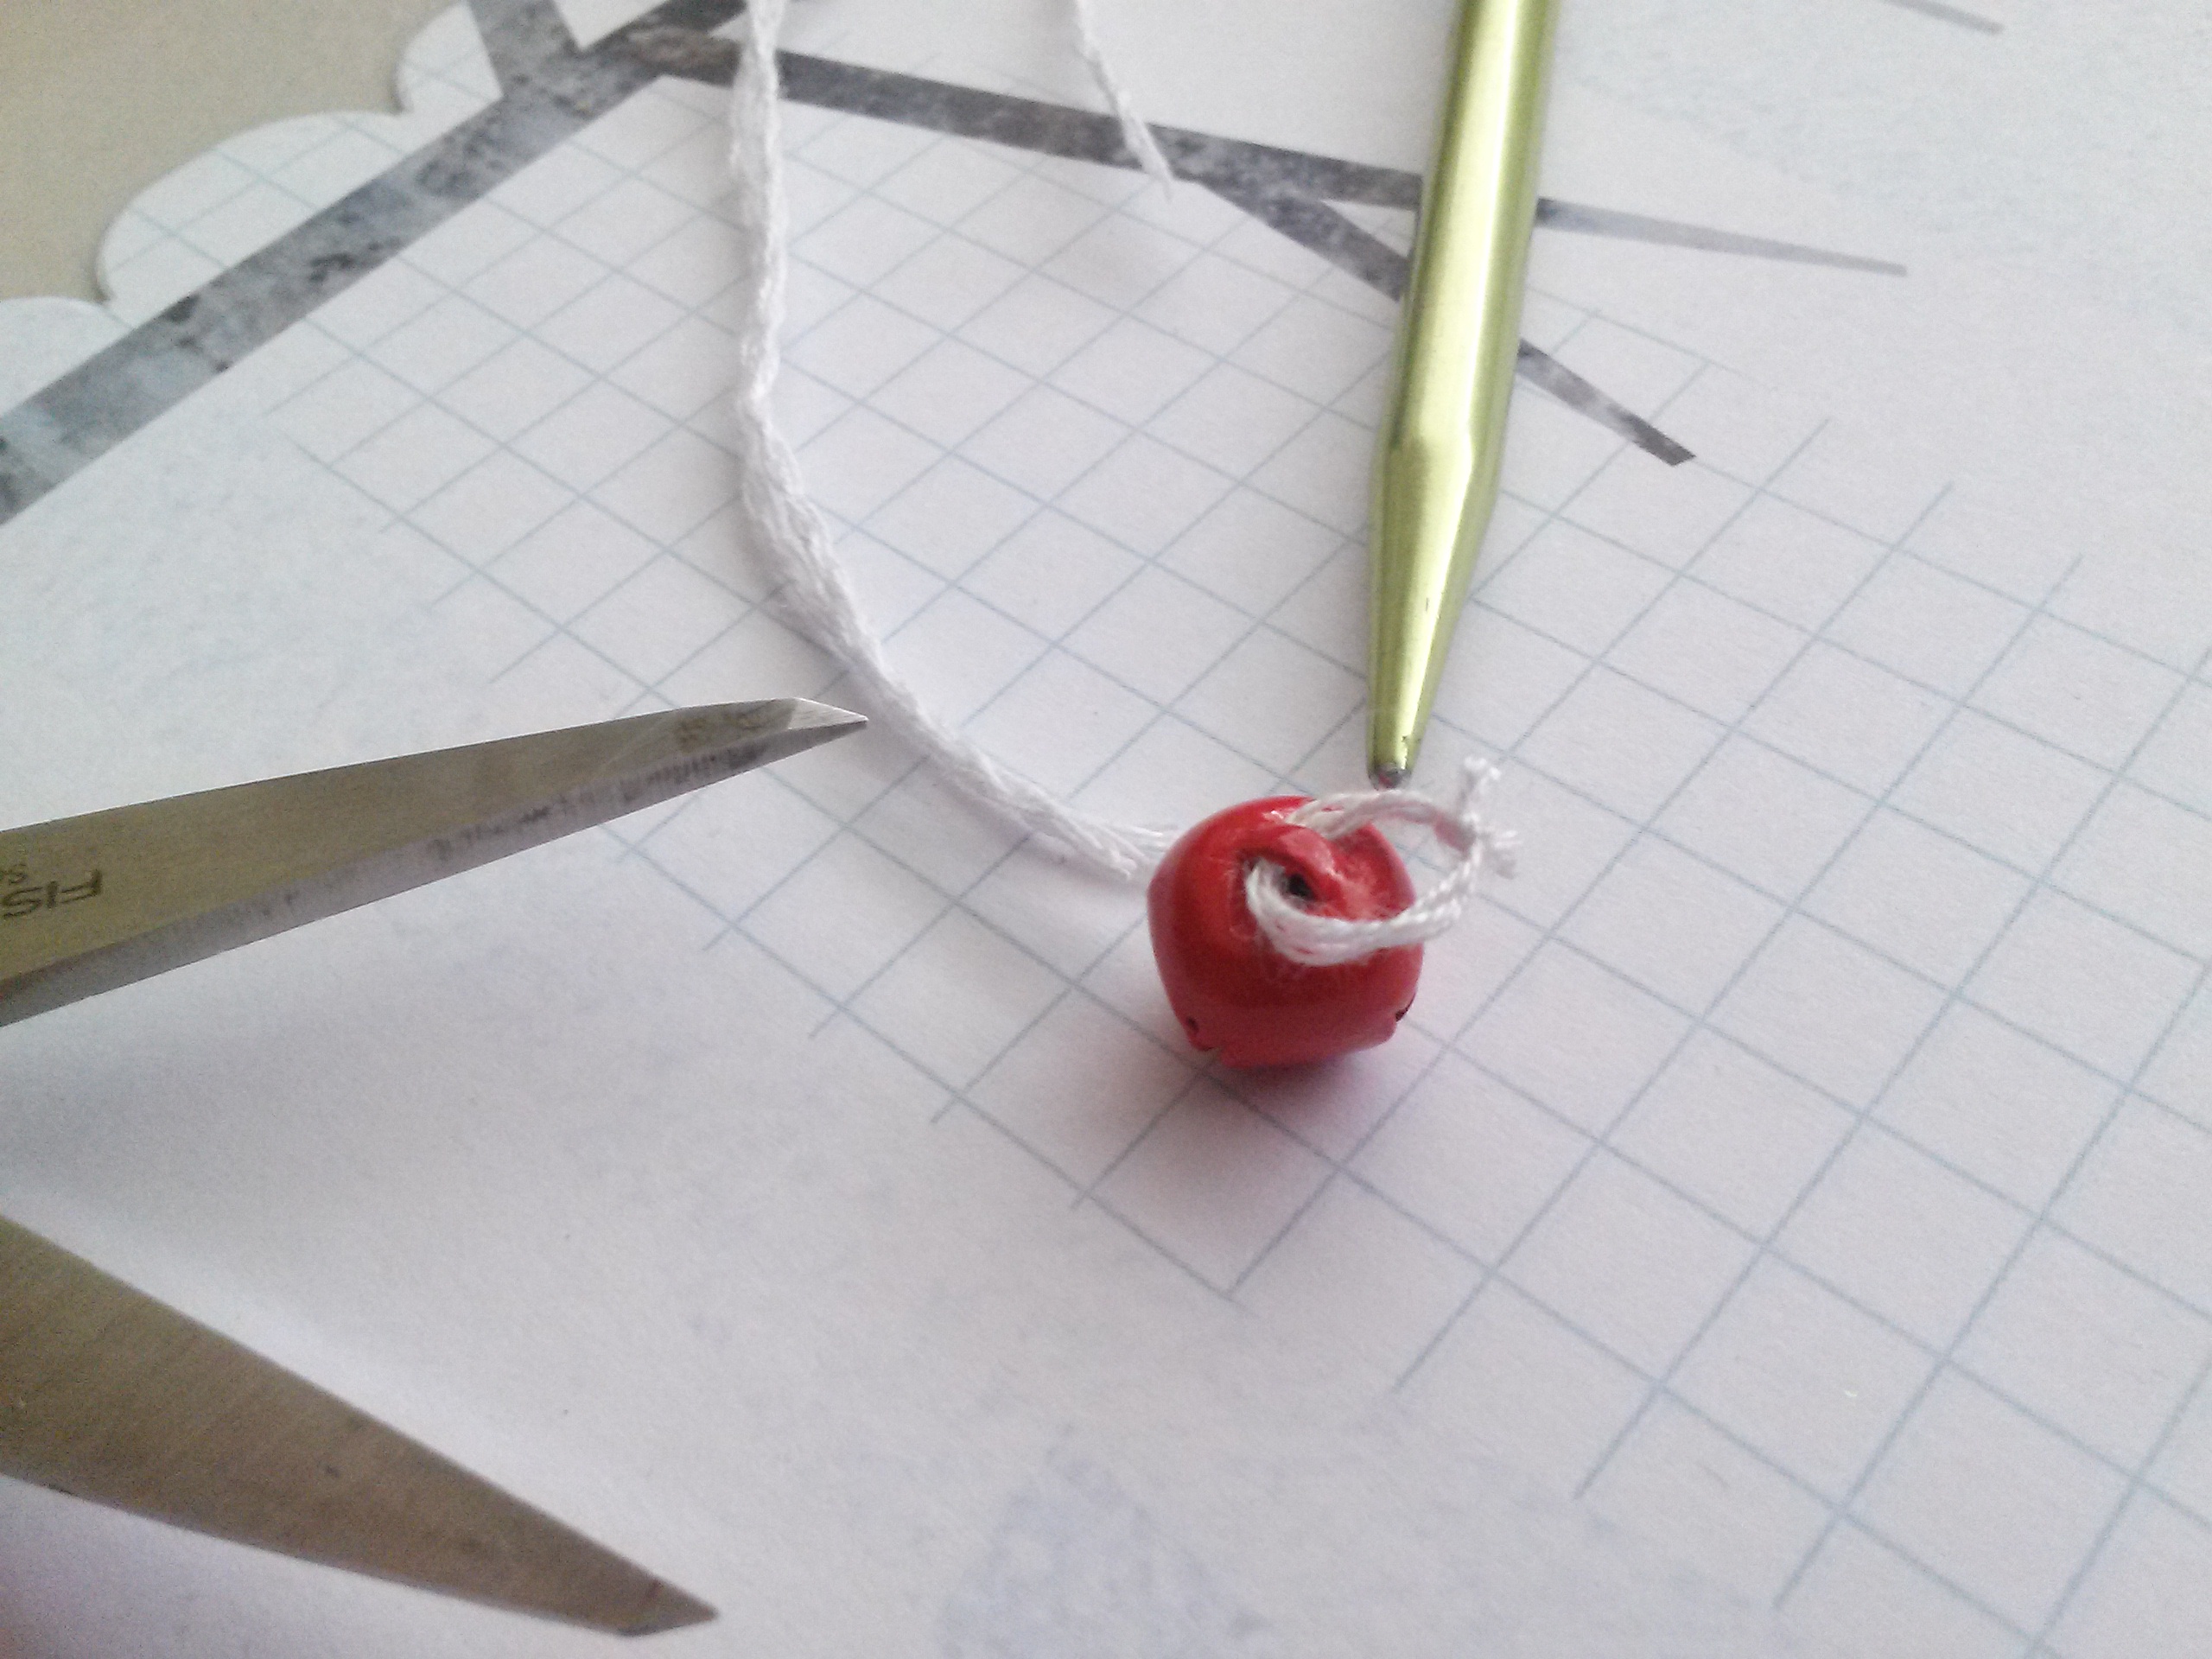
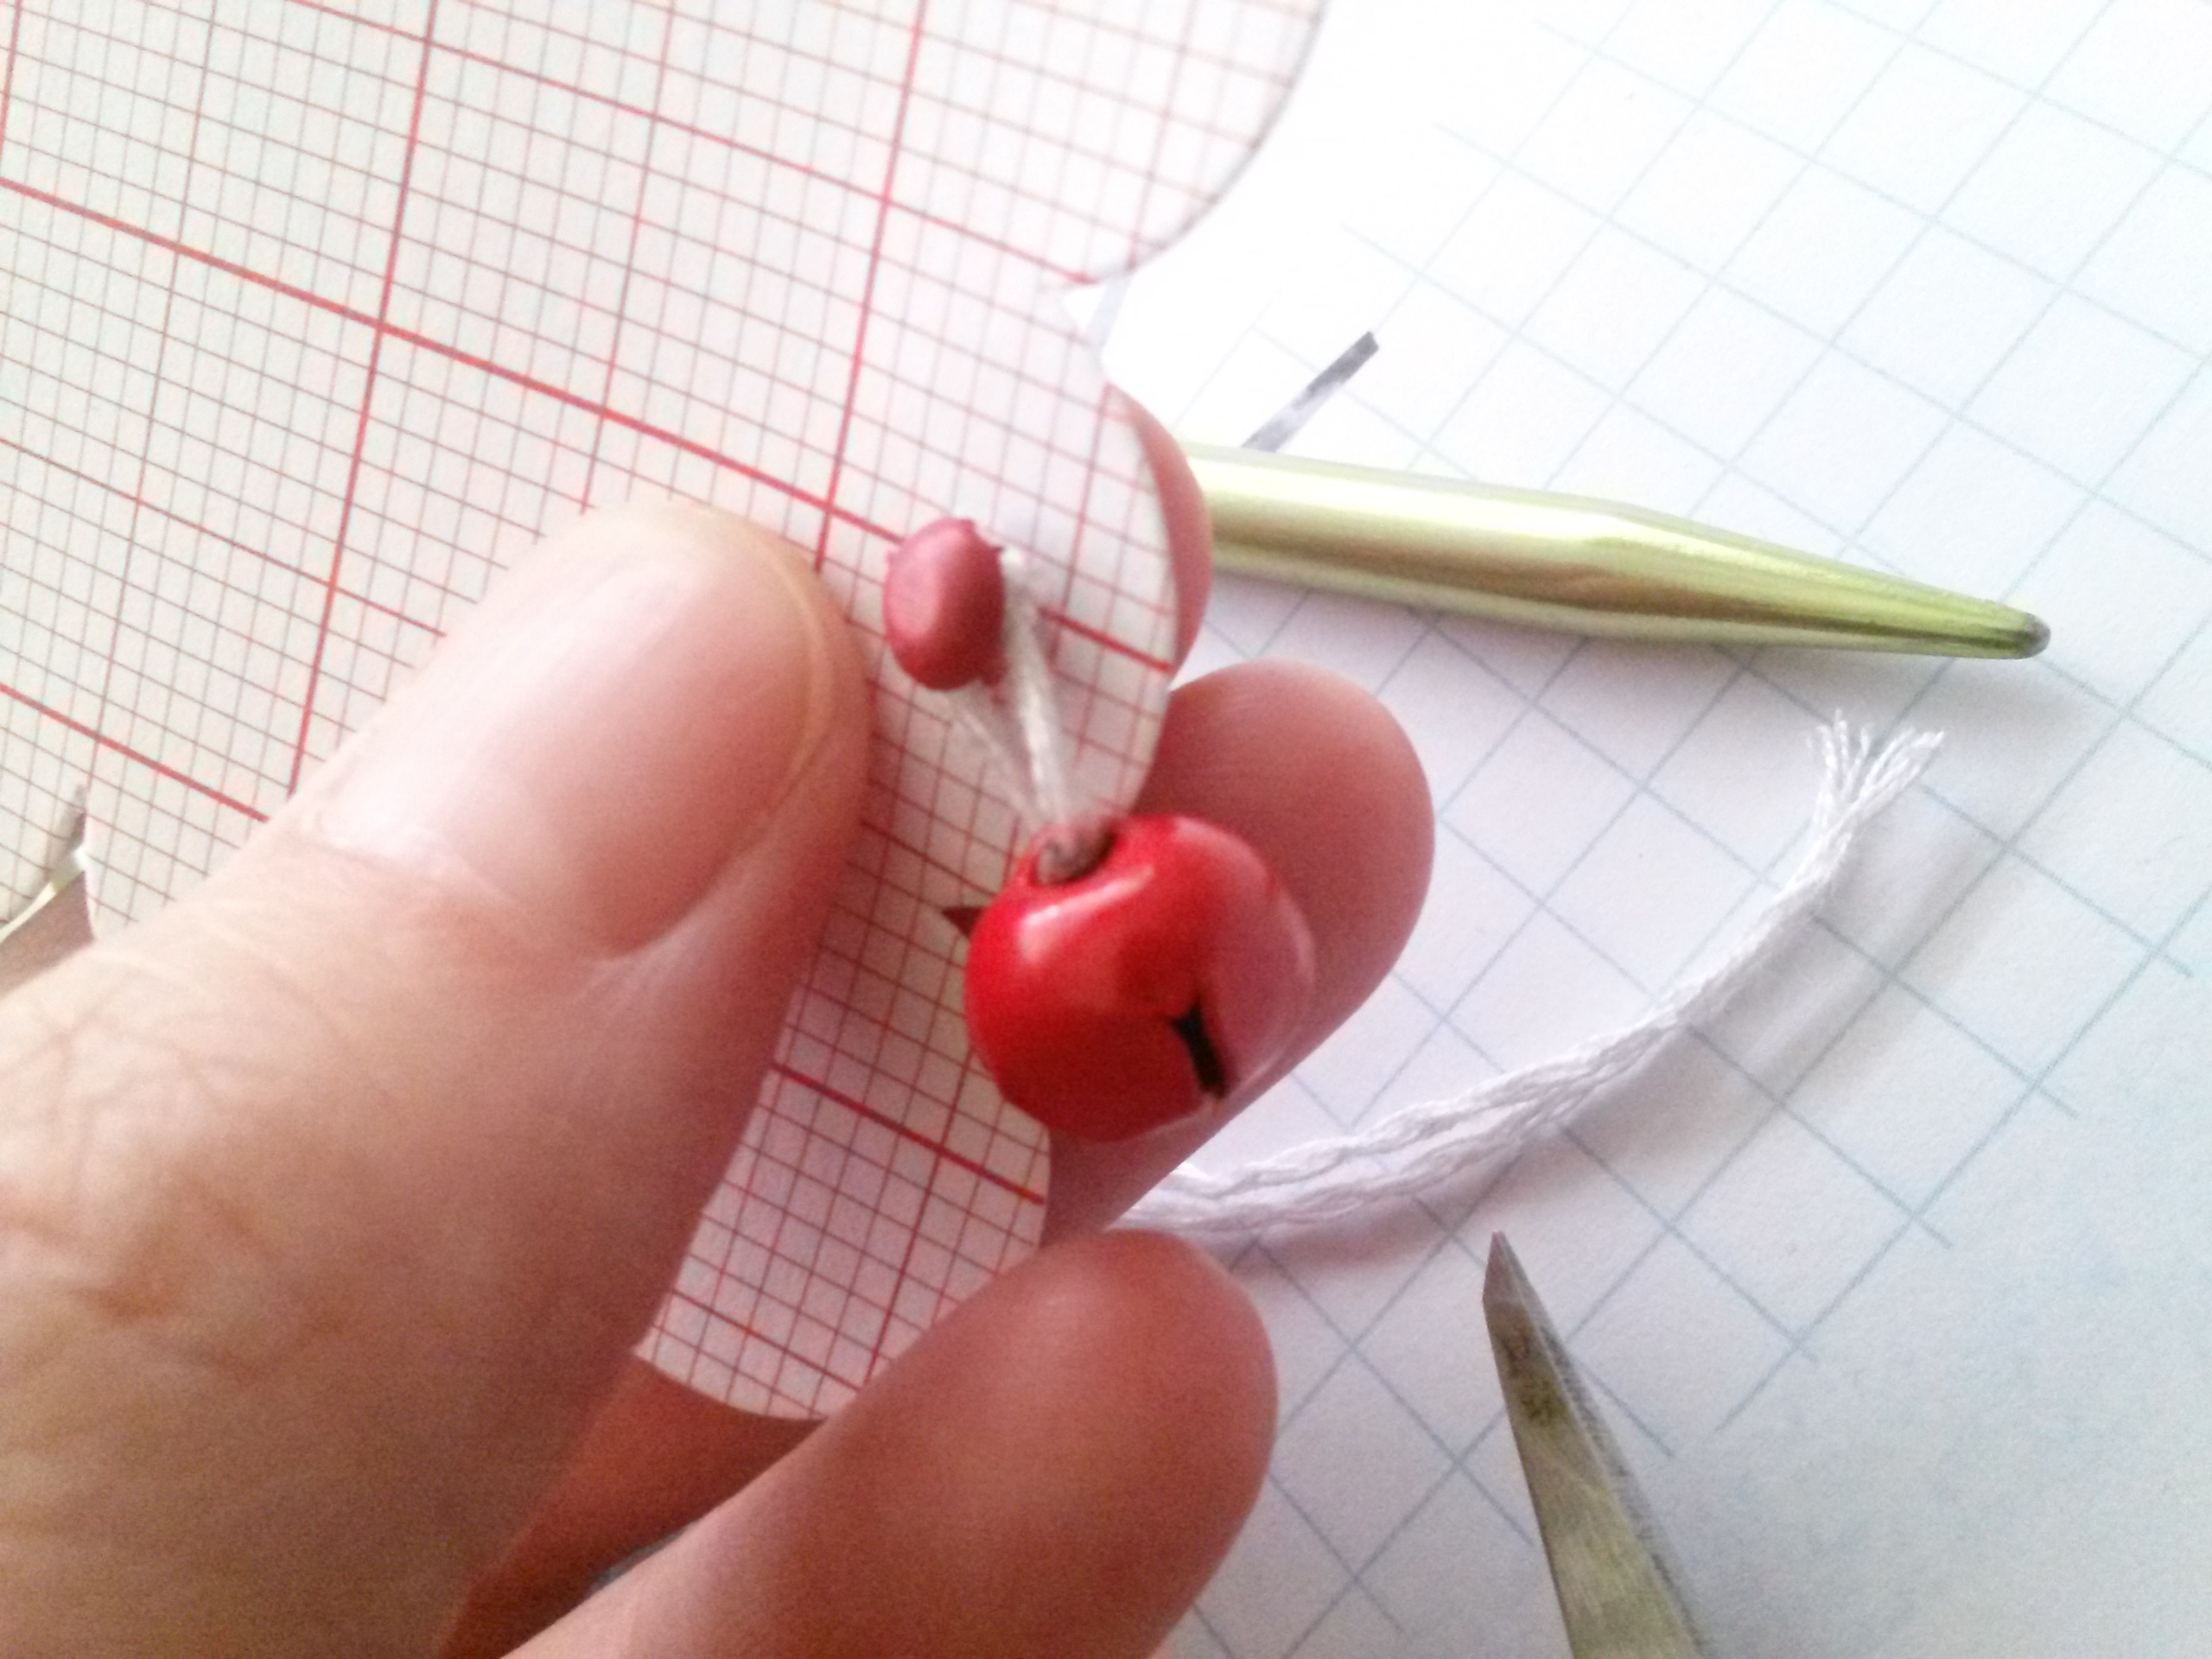
Add three holes to the bottom of the tag using the 1/8" punch. To hang the bells, take a piece of white thread and use a needle threader to string it through the loop on the bell. Getting all three bells a uniform length is very easy. Simply tie the thread around a knitting needle, pen, or other slender object. Double knot it, and slide it off! They'll all be uniform in size every time! Cut the ends short. Feed the loop over the brad and secure the brad through the hole.
Once you've finished your card, don't forget make a matching envelope! Use a standard A2 envelope and line it in under a minute using our easy Envelope Lining tutorial. For more holiday greeting card tutorials, click here!

Repeat the process with the two remaining bells, and add the reindeer (or other) embellishment and lace border to the tag. Adhere the tag on the inside of the card, centered through the window on the front cover.