You might
also enjoy...

Do you buy your craft supplies online? Be sure to sign up for EBates to save even more!
If you enjoyed our tutorial or found value in it, we'd love it if you'd give us a thumbs up or a share on social media!
Share these
pins on
Pinterest!
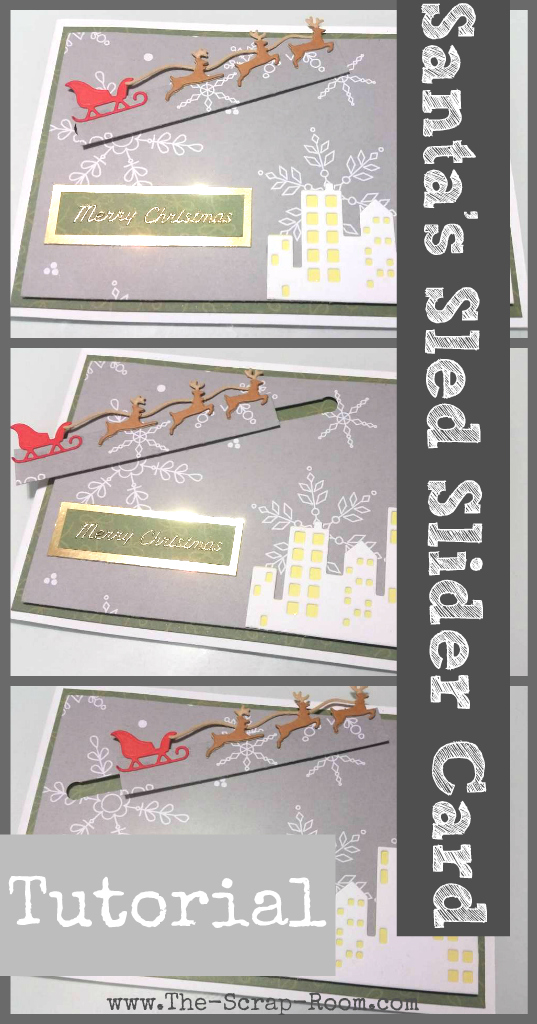
Santa's Sleigh Slider Card
This interactive card is really simple to make! Here's my two cents: get creative with Santa's flight path! But make sure you place the adhesive out of his way! Now go get your own two pennies and give it a try!
For this project, you will need:
-Blank 4"x6" Card and envelope (I cut my own cards from white cardstock. If you do this, simply cut an 8"x6" piece and fold it in half. I like to use at least a 90# paper so it's good and durable.)
-Craft knife and ruler
-Standard 1/4" hole punch (optional)
-3 1/2" x 5 1/2" piece of "sky" printed paper
-About 3" x 1 1/2" of skyline / cityscape from a die such as Memory Box's Skyscrapers die
-2 Pennies
-1/2" x 3 1/2" piece of the same cardstock you chose for the "sky"
-Matted sentiment embellishment.
Like this card? Pin it for later!
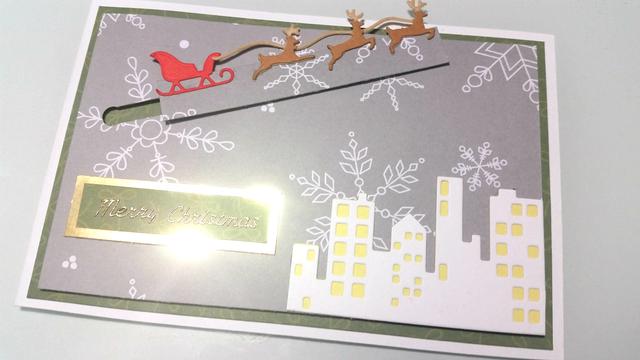
Begin by laying your 3 3/4" x 5 3/4" piece of printed paper or cardstock onto the front cover of your blank card. Next grab your "sky" piece and (without adhering it yet!) lay it on top of your card and place all your embellishments where you want them to go. Decided where you want your track for the sled and reindeer to travel. You'll want to keep your track less than 3 1/2", so keep that in mind in your design planning.
Once you know the desired path of your movable object, cut a track that is 1/4" wide. It's easiest to use a standard hole punch and punch a hole at the beginning and end of your path, then connect the holes with a craft knife, making about a 3-3 1/2" x 1/4" trough.
Use the foam adhesive to secure the sky background onto the matted card. Do not put foam anywhere within 1/2" of the cut track, otherwise it will obstruct the movement of your sleigh. Be sure to watch the video for tips on this part!
Prepare your main, interactive embellishment for the card. I used the "Small Reindeer Team" by memory box, and cut it out in triplicate, layering them together for the finished design. Mount your finished embellishment onto the 3 1/2" by 1/2" piece of "sky" paper for stability. It's okay if you have it hang off the edge. The pennies/slide mechanism is going to be concealed underneath.
To attach the pennies, cut out a small rectangular piece of foam adhesive for each. Make sure that they are more narrow than the width of your track, so that your embellishment slides easily without catching. Add the foam adhesive to the pennies, but don't pull off the other side's protective backing. We'll do that step in just a minute!
Slide the two pennies between the sky and background paper so that the foam adhesive sticks up through the cut path. (The protective backing should still be on the pennies adhesive at this point or else it can stick to the back of the "sky", which you definitely don't want!
Position your pennies side by side in the trough/track and remove the protective backing, exposing the sticky foam. Carefully place the prepared embellishment onto the pennies so that the 3 1/2" x 1/2" paper hides the cut path, and the embellishment doesn't hang over the edge of the card. This "neutral" position is ideal for when the card is in an envelope, ready to mail.
Add any remaining embellishments to your card, making sure that they don't hinder the movement of your moving piece. When your card is all finished, line your envelope with some matching paper using our 60 second envelope lining tutorial!
Click below to see a quick excerpt from our interactive card class demonstrating this card.
Disclaimer: Please note that some of the links in this post are affiliate links. There is no additional cost to you, but The Scrap Room will earn a small commission should you choose to purchase through those links. Thank you for helping support our business!