Disclaimer: Please note that some of the links in this may be affiliate links. There is no additional cost to you, but The Scrap Room may earn a small commission should you choose to purchase through those links. Click here for my full disclaimer. Thank you for your support.

The Digital Crafter's
Online Course
Learn how to work with and create digital files for crafts -- plus how to use them to make handmade things!
Different types of Sticker Paper, and the projects to use them for

You might be surprised to find out that all adhesive backed paper for sticker making is NOT the same. If you need a quick run down of which style of paper to use for your stickers and labels, start here. This page will show you the different kinds that are available, and give you some ideas for what types of projects you may want to use them for..
The nice thing about digital designs is that they aren't "one and done" labels. You can use them over, and over, and over. That means you can create lots of amazing projects that match, or even use them to create some gifts for your friends!
Even if you're BRAND NEW to working with digital downloads, don't worry! Printable stickers are really easy to use.
The easiest way to use regular sticker paper to make your stickers is to simply print them directly onto adhesive backed paper, cut them out. You can print them onto WHITE sticker paper, but they also sell TRANSPARENT and even FROSTED sticker paper! The color you choose to purchase for your labeling project is all personal preference. You may want to consider some of YOUR project specifics when you're making your choice. Do you want the sticker to have a background? No background? Just a faint background?
If you have a craft cutting machine that is compatible with png designs, you can cut the individual stickers out on it after you've printed them (machine must be capable of PNG print then cut function.)
If you don't have a cutting machine, you'll need to cut the stickers out by hand. If you're using a sticker set that comes with rectangle or circle stickers that are outlined, that's pretty easy to do with scissors or a craft knife! Do you want a white background or not? Choose! Either way will look great and the basic shapes won't take too long to cut out.
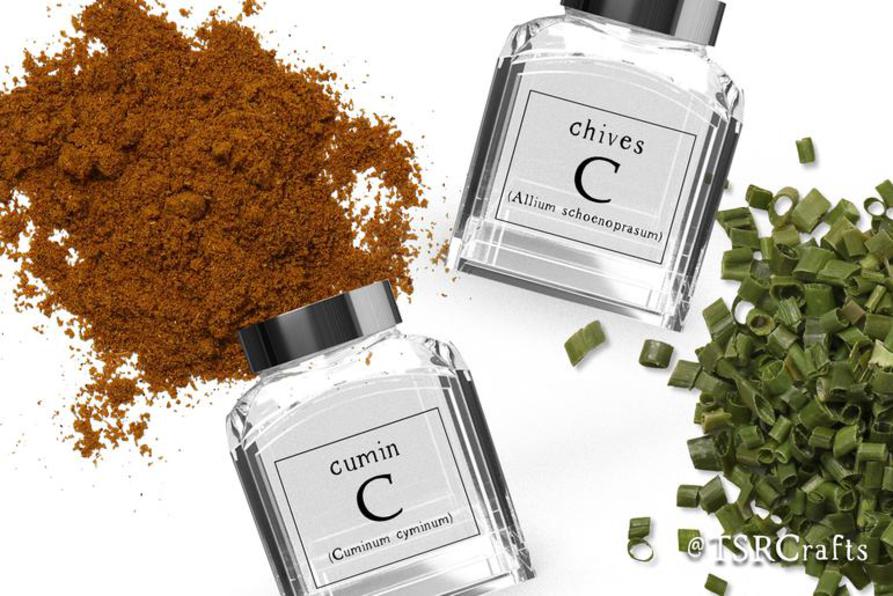
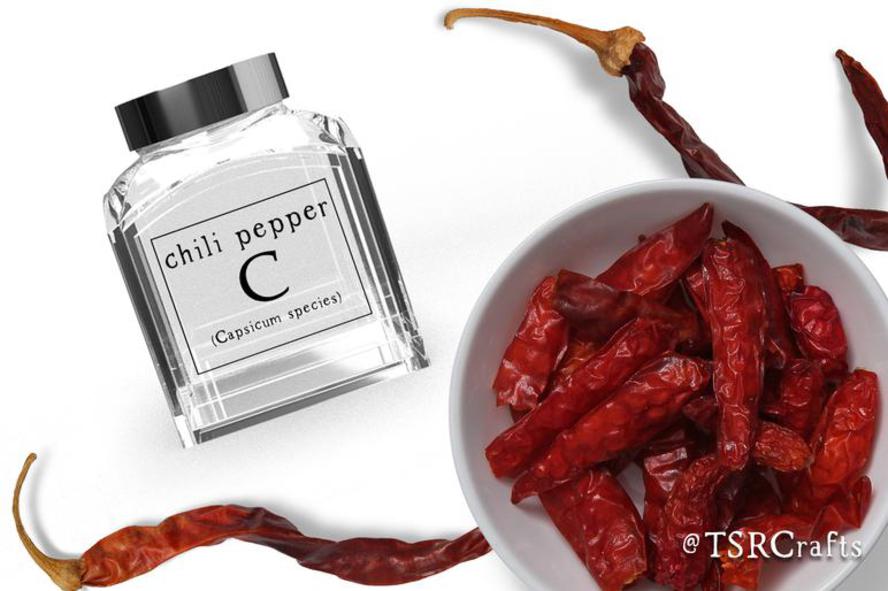
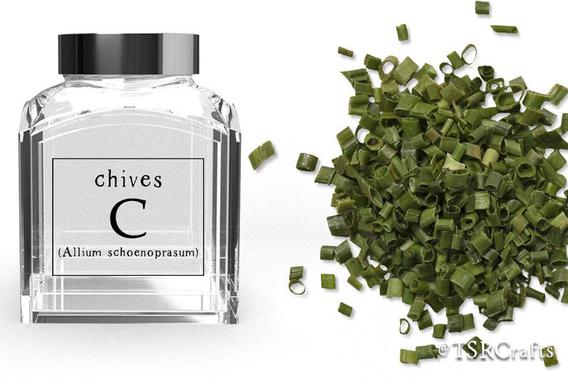
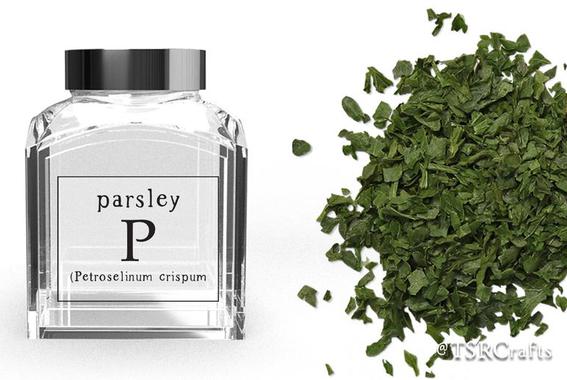
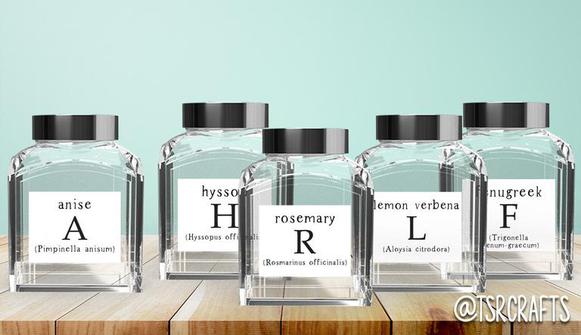
If you're using text designs, or have something very detailed for your sticker and need to cut them out by hand, you might choose a TRANSPARENT sticker paper -- which will allow you to cut your designs out in whatever shape you like, such as a rectangle or oval, and the focus will be on the actual design, not the shape of the sticker. You can also use a craft knife and carefully cut out the details or each letter by hand, or make a suuuper close outline of the design, but I don't really recommend this method. It will take you forever and is easy to mess up! Cutting a basic shape by hand to fit your digital design will look nice and professional! (Great for making tip jars, spice jar labels!)
It's important to use a good quality sticker paper, but please note that sticker paper can act up a little in certain printers, (I've had some trouble with a couple transparent vinyl sticker papers feeding through my printer) so I recommend buying a smaller pack of sticker paper and trying it out with your specific printer, and when you find one you (and your printer) like, write down the name so you know what works best with your machine for next time.
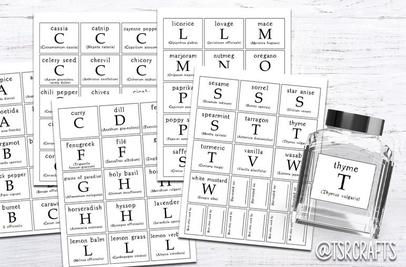
Below are a couple examples using some of my popular kitchen label designs, so you can get a feel for how your stickers might look using the different types of adhesive paper.
I don't have a sublimation printer and haven't tried that method, so I don't have any recommendations on sublimation supplies. If YOU are a sublimation artist and interested in sharing a guest post on my site, or have a great tutorial you want to share, don't hesitate to reach out!
Ink Waterslide Method or Sublimation:
I will work on adding full tutorials for these methods, but you can apply the printed design directly to your containers using waterslide paper (laser printer only) or via sublimation (ink jet printer using special sublimation ink). Both methods are easy to do and involve printing onto special paper and transferring the design to your project. (Soaking the printed paper in water, and an acrylic spray sealing coat is usually required on the waterslide method, but read the directions on the package carefully.)
You *do* need a special, dedicated, printer if you're planning to start up sublimation art, but the waterslide paper works with laser printers and is less of an investment to get started. If you have a printer at home, check what kind it is, and if it's a laser printer, try out the waterslide option if you'd like to add the ink right onto your project.
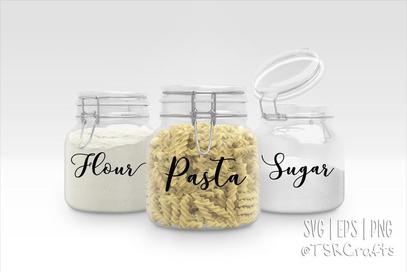
·script font cut out name designs for the basics in your kitchen·
·A large bundle set with HUGE variety·
>>This is the waterslide paper I have used and really liked in the past. I pair it with Aleene's Matte Acrylic Sealing Spray (it's *super* important to SEAL IT, unless the paper you're using says otherwise!)
See how easy it is? Depending on the specifics of your project, and the tools and supplies you have access to, I hope this page has helped you sort out the BEST method for your specific project, but if you have any other questions about how to create your own custom kitchen labels using digital designs, just send me an email at [email protected]. I'm always happy to help! <3
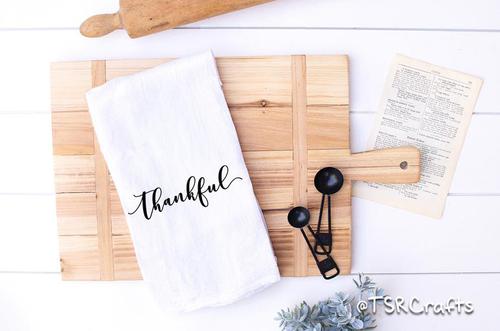
Ink Transfer onto fabric:
You can also transfer designs right onto FABRIC if you like. Make some DIY dish towels, custom napkins, aprons, and more! You'll need some heat transfer printable paper for this project.
With it, you can create personalized apparel for any occasion. The transfer paper works on (non terry) kitchen towels, reusable grocery bags, t-shirts, sweatshirts, tanks, bags, totes and more. Be sure to follow the directions on the specific transfer paper you purchase, but usually this method simply involves printing a mirrored copy of the design, and ironing it to the fabric. Easy-peasy!
>>This is the WHITE sticker paper I recommend. It's WATERPROOF, and great for kitchen projects like this! If you don't need waterproof labels, this is the one I'd recommend -- it's a bit cheaper than the waterproof stuff.<<