Disclaimer: Please note that some of the links in this may be affiliate links. There is no additional cost to you, but The Scrap Room may earn a small commission should you choose to purchase through those links. Click here for my full disclaimer. Thank you for your support.
The Digital Crafter's
Online Course
Learn how to work with and create digital files for crafts -- plus how to use them to make handmade things!
Creating a basic custom text SVG, EPS or DXF cut file

Creating a custom text word art design that you can cut out is really REALLY easy in Adobe Illustrator. It's my favorite program to create them in, and is significantly less steps over other popular software programs to do so.
Ready? Here it is in a nutshell:
Select the text tool, type your text, alter the stoke as needed, go to the object drop down menu and click on EXAND (or expand appearance first if it's available, then Expand), then click on Expand a 2nd time to also expand the outer stoke line if you changed the width of that to make your design thicker. Once your design is fully expanded, just click on "MERGE" (or Unite) in the Pathfinder window, and it will weld all the letters into 1 design, so overlapping areas will connect and become one layer.
That's it. Easy right? Below is a quick video if you'd rather watch it in action.
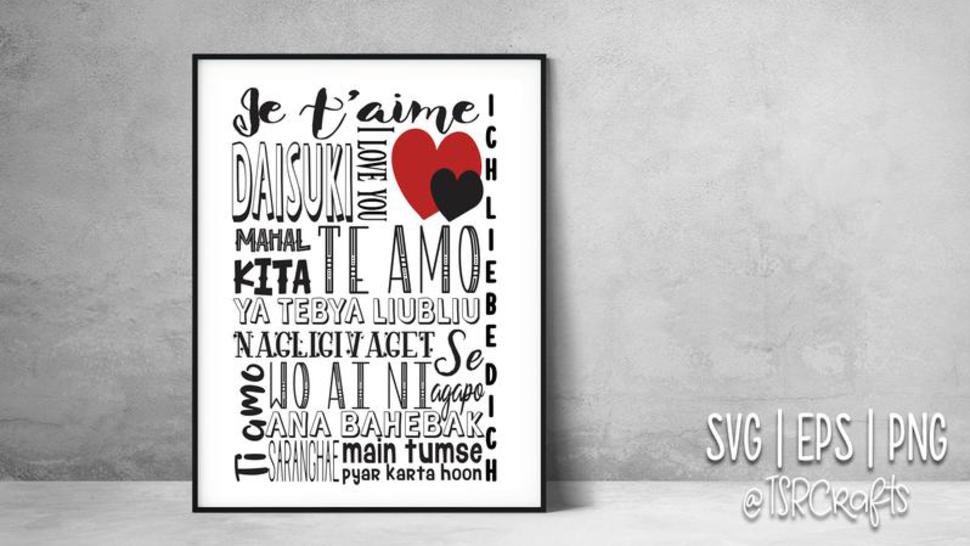
Once you understand this key step in making word designs, you can make all kinds of fun things, including Subway Art theme design, which are made using a handful of different fonts, with words arranged in different directions, sizes, and even colors!