Disclaimer: Please note that some of the links in this may be affiliate links. There is no additional cost to you, but The Scrap Room may earn a small commission should you choose to purchase through those links. Click here for my full disclaimer. Thank you for your support.

The Digital Crafter's
Online Course
Learn how to work with and create digital files for crafts -- plus how to use them to make handmade things!
How to Create a Clip Art Graphic from a photo

Okay, ready to make your first high resolution clip art graphic?
You'll just need a good, clear, high resolution picture that you yourself took, of the item you want to create, Photoshop, and a little bit of time.
In a nutshell, you'll be unlocking the background, selecting just the object you'd like to turn into a graphic, INVERSING your selection to just grab the background, then deleting the background to leave your new graphic remaining on a transparent background to save.
There are a couple different options you can use for the selections tool. The Object Selection tool is pretty helpful. If your design is basic and on a contrasting background, you may be able to use the object selection tool to draw a box around your item. Sometimes that will select your object perfectly, and you're done. The Magic Selection tool works similarly. You can also try just unlocking the background, clicking on the "Properties" window, and selecting "remove background". But often times you'll need to select your item manually, so I created this tutorial to show you how.
For this tutorial, I'll be showing you how to select your object using the Quick Selection Tool, where you'll have total control over what you select and don't, by using the "+" and "-" options, as seen in the video below.
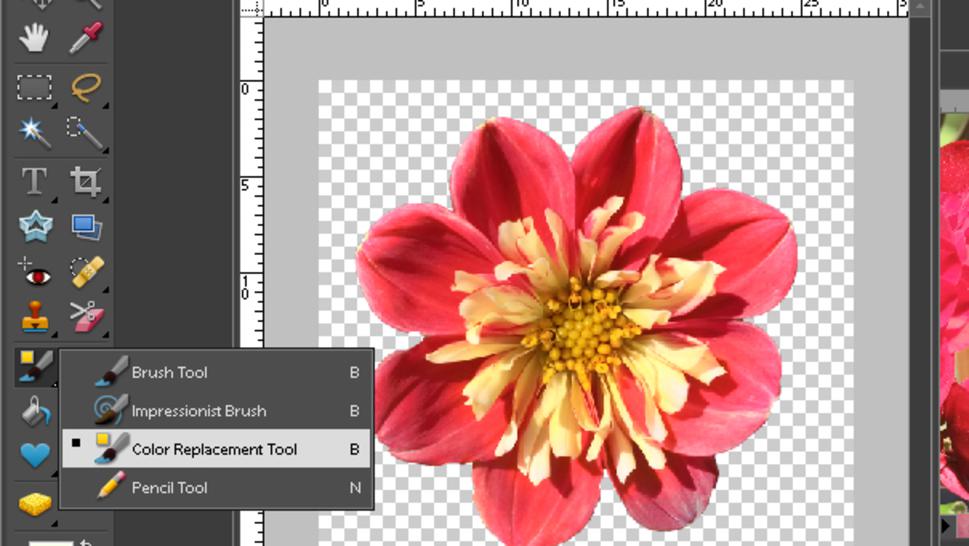
Once you've created your clip art graphic, you can use the "Color Replacement Tool" to adjust and change the colors.