You might
also enjoy...
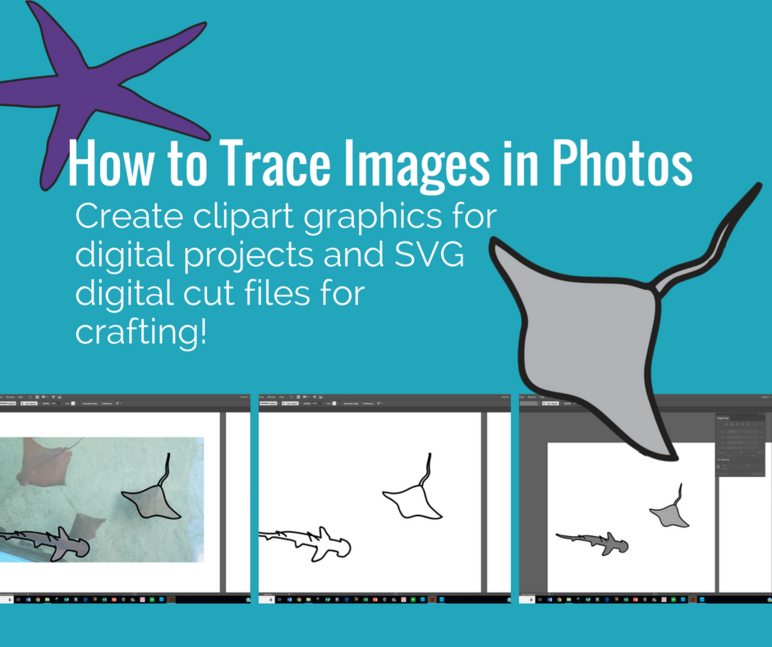
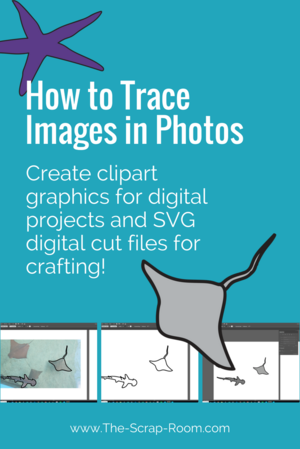
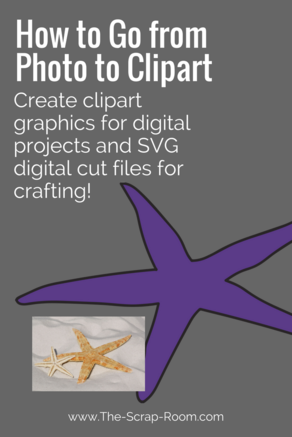
How to Trace things in Pictures to create Digital Graphics and Cut Files
This handy skill will allow you to make all kinds of custom designs! Create embellishments right from your photos!
Whether you want to make a simple silhouette or something with a bit more detail, this tutorial will walk you through the steps of using your own pictures to quickly, and easily, create you own custom digital designs. You can use these graphics in your digital projects, or cut them out on your compatible electronic cutting machine to use in your traditional crafts and DIY!
**You CAN trace items with your mouse, but it will save you hours of time if you upgrade to an inexpensive tablet. A $50 tablet is better than a $100 mouse any day when it comes to graphic design work. Read my full post on this Ugee tablet in my Reviews section here.**
For this project, you will need:
-Ugee M708 Tablet (This set I purchased on Amazon.com came with pen, extra nibs, cleaning accessories, gloves and more and only about $60!)
-A Computer (Mac or Windows based is fine! I used my HP Envy Laptop, here's the link for the latest version)
Once you see how easy and affordable this project is, you're going to want to create custom graphics for ALL of your new projects!
You don't need to spend a lot of money to purchase a great quality, graphic design tablet. I picked up this Ugee M708 tablet for less than $60 on Amazon.com and it's already saved me hours of time, and allowed me to create some more complicated designs that I may not have even tackled with a mouse. If you're looking for a great starter tablet, I highly recommend it. It comes with everything you'll need to get started -- besides a computer, and the design software itself.
This tablet is pretty universal; it will work on a a Mac or any Windows based computer, and is designed to be used in most editing programs. I use, and absolutely love Adobe Illustrator. They have affordable monthly plans so you don't have to spend a lot of money up front or make a big commitment if you don't want to. (You can also purchase annual plans and save a little money!) ;)
If you haven't already read my review on this tablet, you can catch it here. It IS possible to do this project with a mouse, but you'll have a lot more clicks and drags involved, and using a tablet will just make it faster, easier, and will save you a ton of frustration!
To begin, open up Adobe Illustrator and start a new project. (It doesn't really matter what size artboard you use. I like to use a 12" x 12" so I have plenty of space. But since vector designs are completely resizable, you could create something an inch tall, and enlarge it to fit a billboard, and it wouldn't reduce it's quality. So really, use whatever size artboard you want. :)
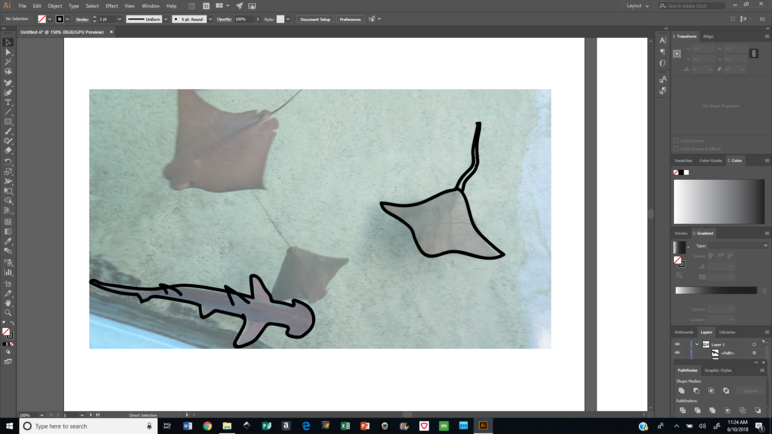
PLACE the photo you'd like to trace onto your document, (Do not "Open" it. Make sure you "Place" it.) and resize it to fit your workspace. If you'd like, in the top menu bar, change the opacity of the photo to something more transparent if you have trouble seeing your trace lines.
Select the PENCIL tool, and trace! Make the outline all one consecutive line so it's a solid shape when you're finished. To do this, whenever you lift up your stylus and go to put it back down, you'll see a little line icon pop up next to your cursor when you try to continue drawing the line. That means it will continue the same line, instead of starting a new line, allowing you to pick your hand up and move while you drawn while still keeping the outer trace line solid. (You need to put your stylus down close/on top of the spot you picked it up at for the line continuation to icon to pop up.)
If you enjoyed my tutorial or found value in it, I'd appreciate it if you gave it a little love on social media!
Disclaimer: Please note that some of the links in this post are affiliate links. There is no additional cost to you, but The Scrap Room will earn a small commission should you choose to purchase through those links. Click here for my full disclaimer. Thank you for your support.
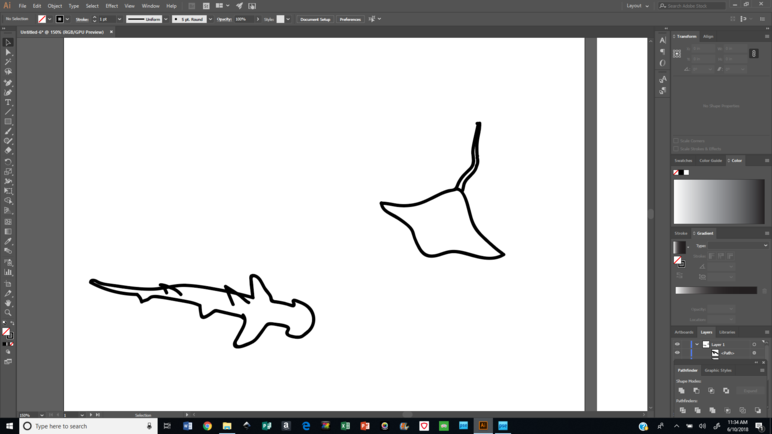
Once you've traced your image, and drawn in any detailing you'd like to add, select the photo with your SELECTION TOOL and DELETE your reference picture.
Zoom in and use the DIRECT SELECTION TOOL to select and move individual anchor points, and clean up your design.
Right now your design is a path. You can change the stroke width to make the lines more or less bold (while drawing or after). Paths are great for if you want to use the "Drawing" feature on your cutting machine with a pen tool or foil quill tool, but you'll want to EXPAND the lines to make solid shapes if you're planning to use your designs as cut files.
With your entire drawing still selected, go to OBJECT in your top menu bar and click on EXPAND. Then UNGROUP all of your newly created shapes so you can edit their colors individually. You can change the color by selecting a shape, and changing the fill color in the left menu bar.
If you want to be able to cut out the outline line as just an outline (like as a big hole with just the outline), make sure you change the stroke width to the thickness you want, then EXPAND THE STROKE. This will turn your outlined line (the stroke) into a shape itself. You won't be able to redraw the lines anymore, they'll be a shape, and when you send it to your cutting machine, it will see it as a shape to cut out, opposed to a single line to "Draw".