Baby Shower Basic Diaper Cake
Here's a decoration that's as useful as it is adorable! If you're new to making diaper cakes, here's a good place to start. This "cake" is simple enough for crafters of almost all skill levels. Learn how to make it using our step-by-step tutorial or order your own custom diaper cake today!
Check out our Diaper Airplane Cake for a bigger challenge!
Supplies and Materials:
-A crafting buddy (optional). This project is easier with an extra set of hands!
-40-50 diapers
-Wide Ribbon (Amount will vary, see tutorial below)
-Several feet of strong string or yarn
-Gerber Newborn 4 pack flannel blankets
-"Elephant" made from 2 of the above blankets or other "cake topper" (I found a great tutorial to make the elephant here!)
-2 Round cake pans
-Cake plate/platter
This project requires a little time and patience, so if you're short on either, consider hiring a professional. Our Diaper Cakes start at around $75 and are completely customizable. Send us an email today to start designing one for your next shower!
Looking for more of a challenge? Try our Airplane Diaper cake here!
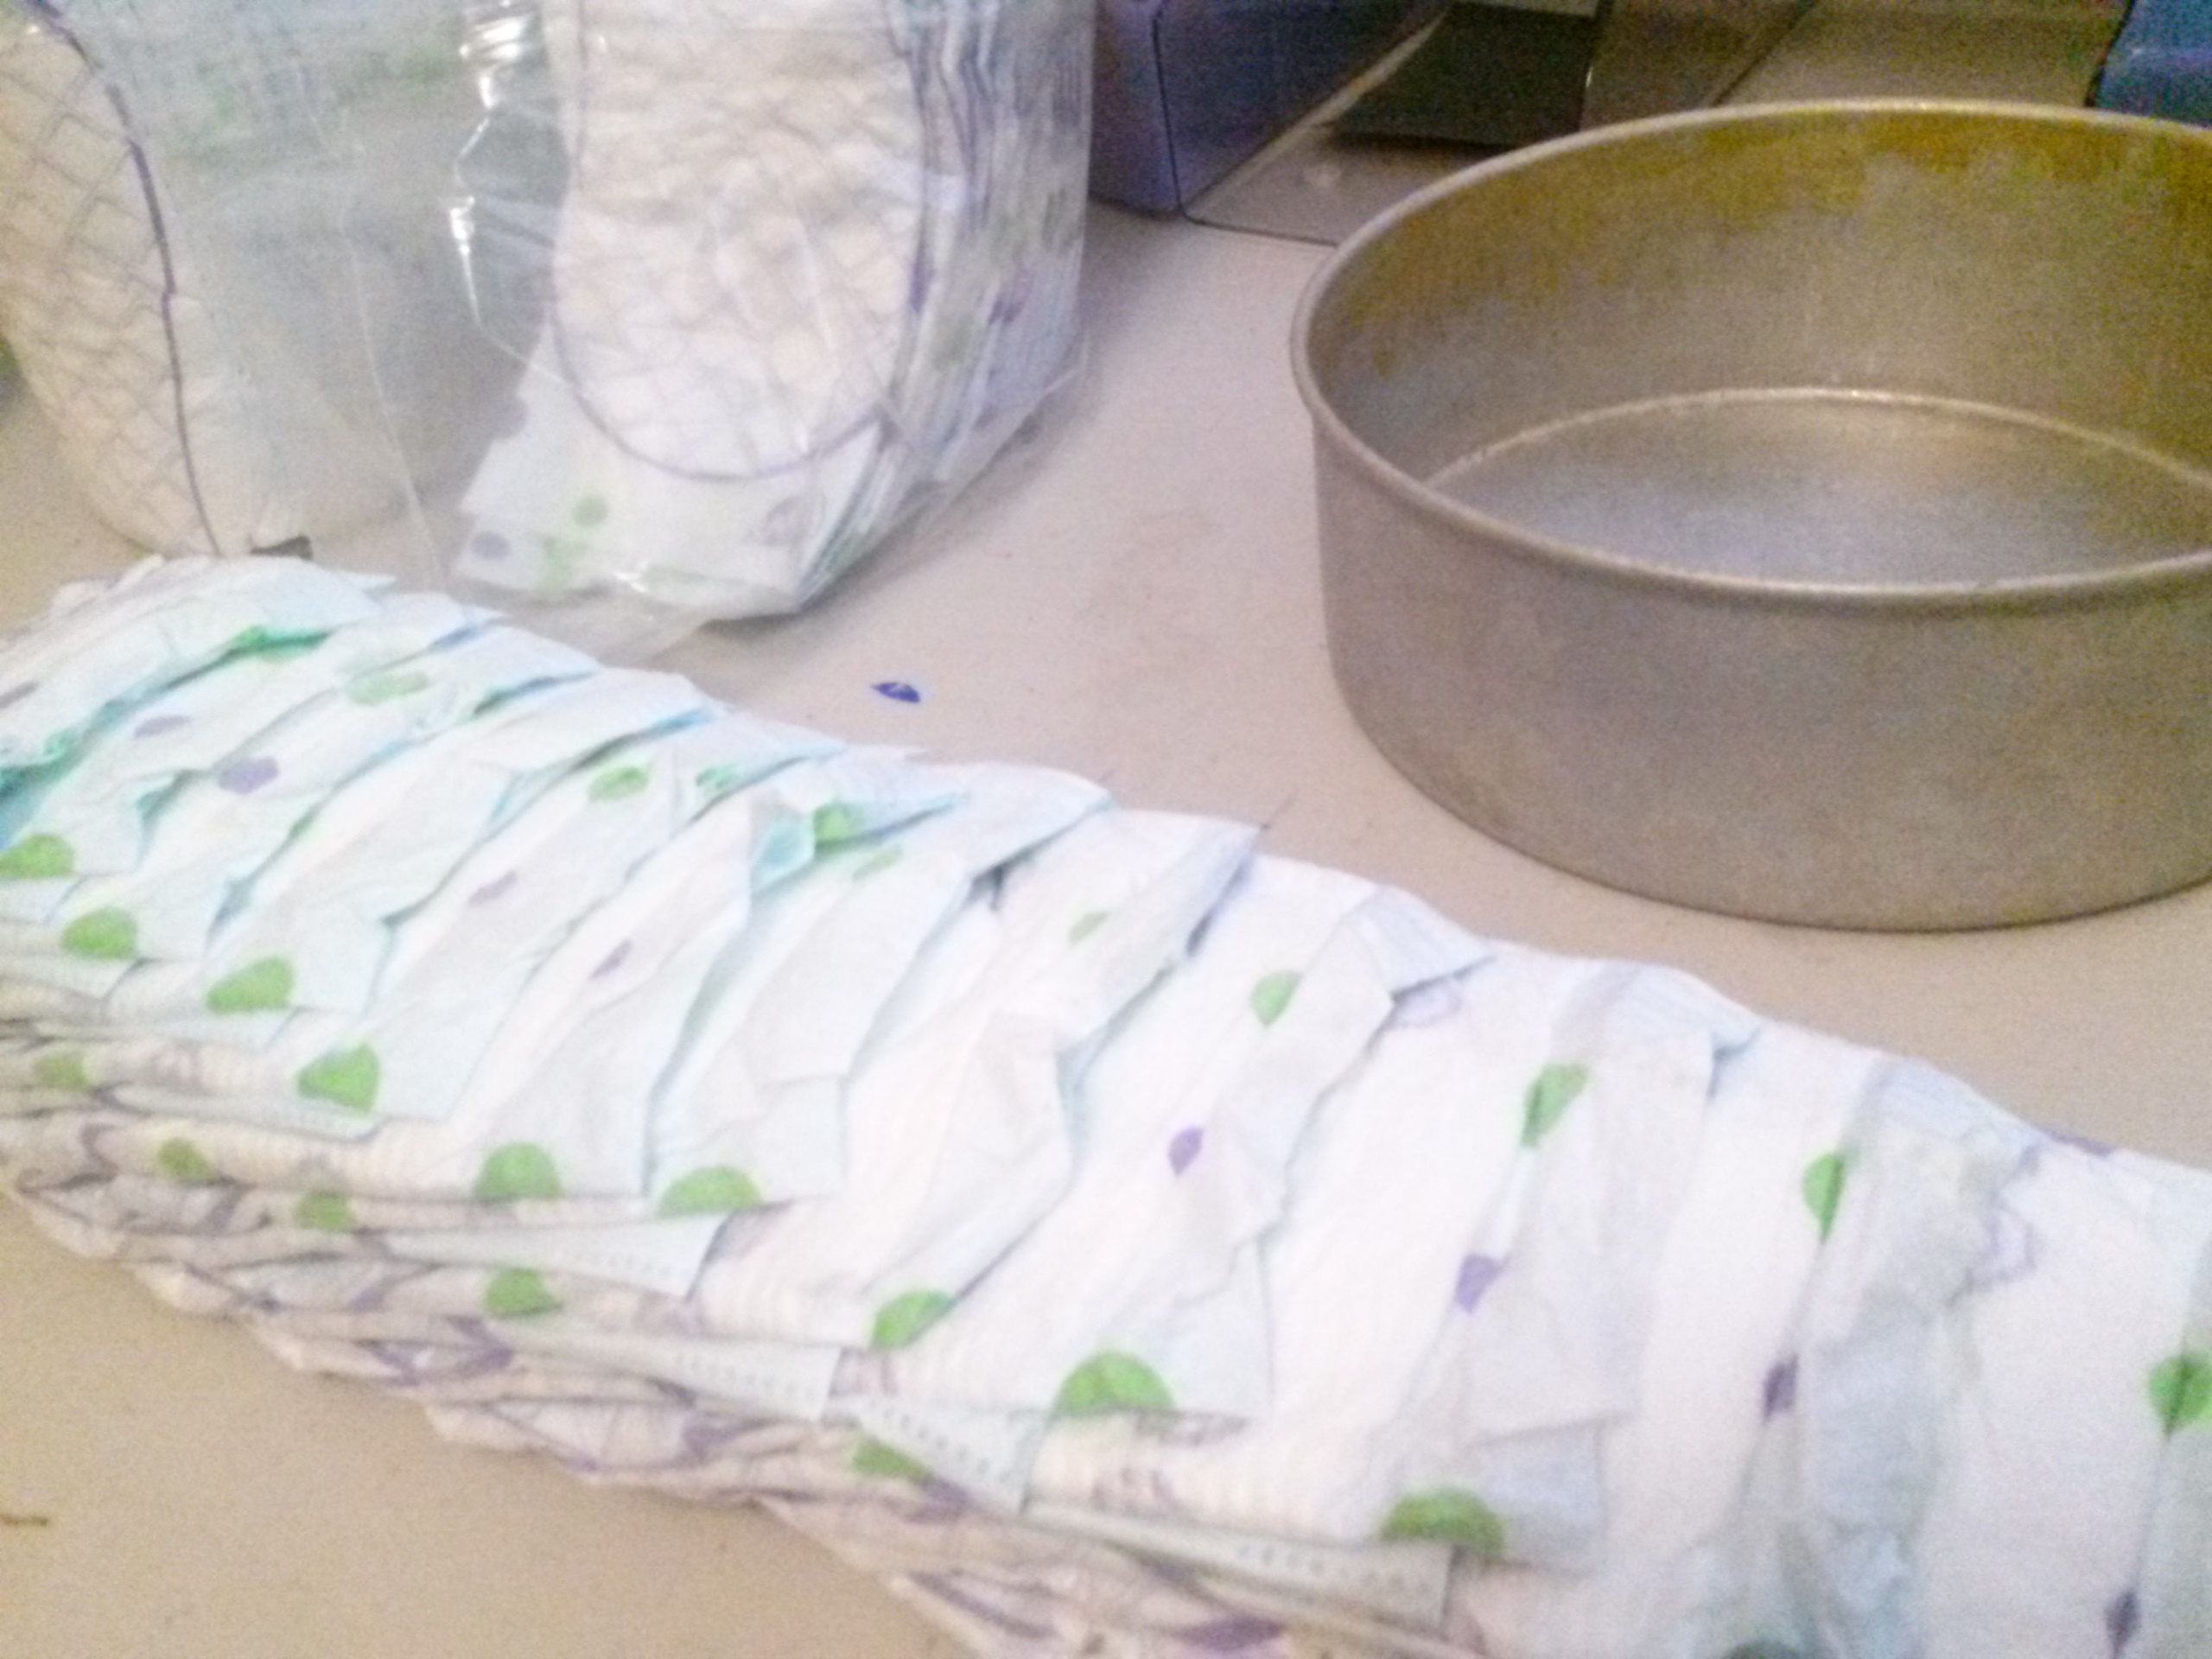
This diaper cake makes an adorable display and a useful gift, and takes less than an hour to put together. I used almost 50 Luvs, size 2, diapers. About 30 for the bottom layer and just under 20 for the top layer.
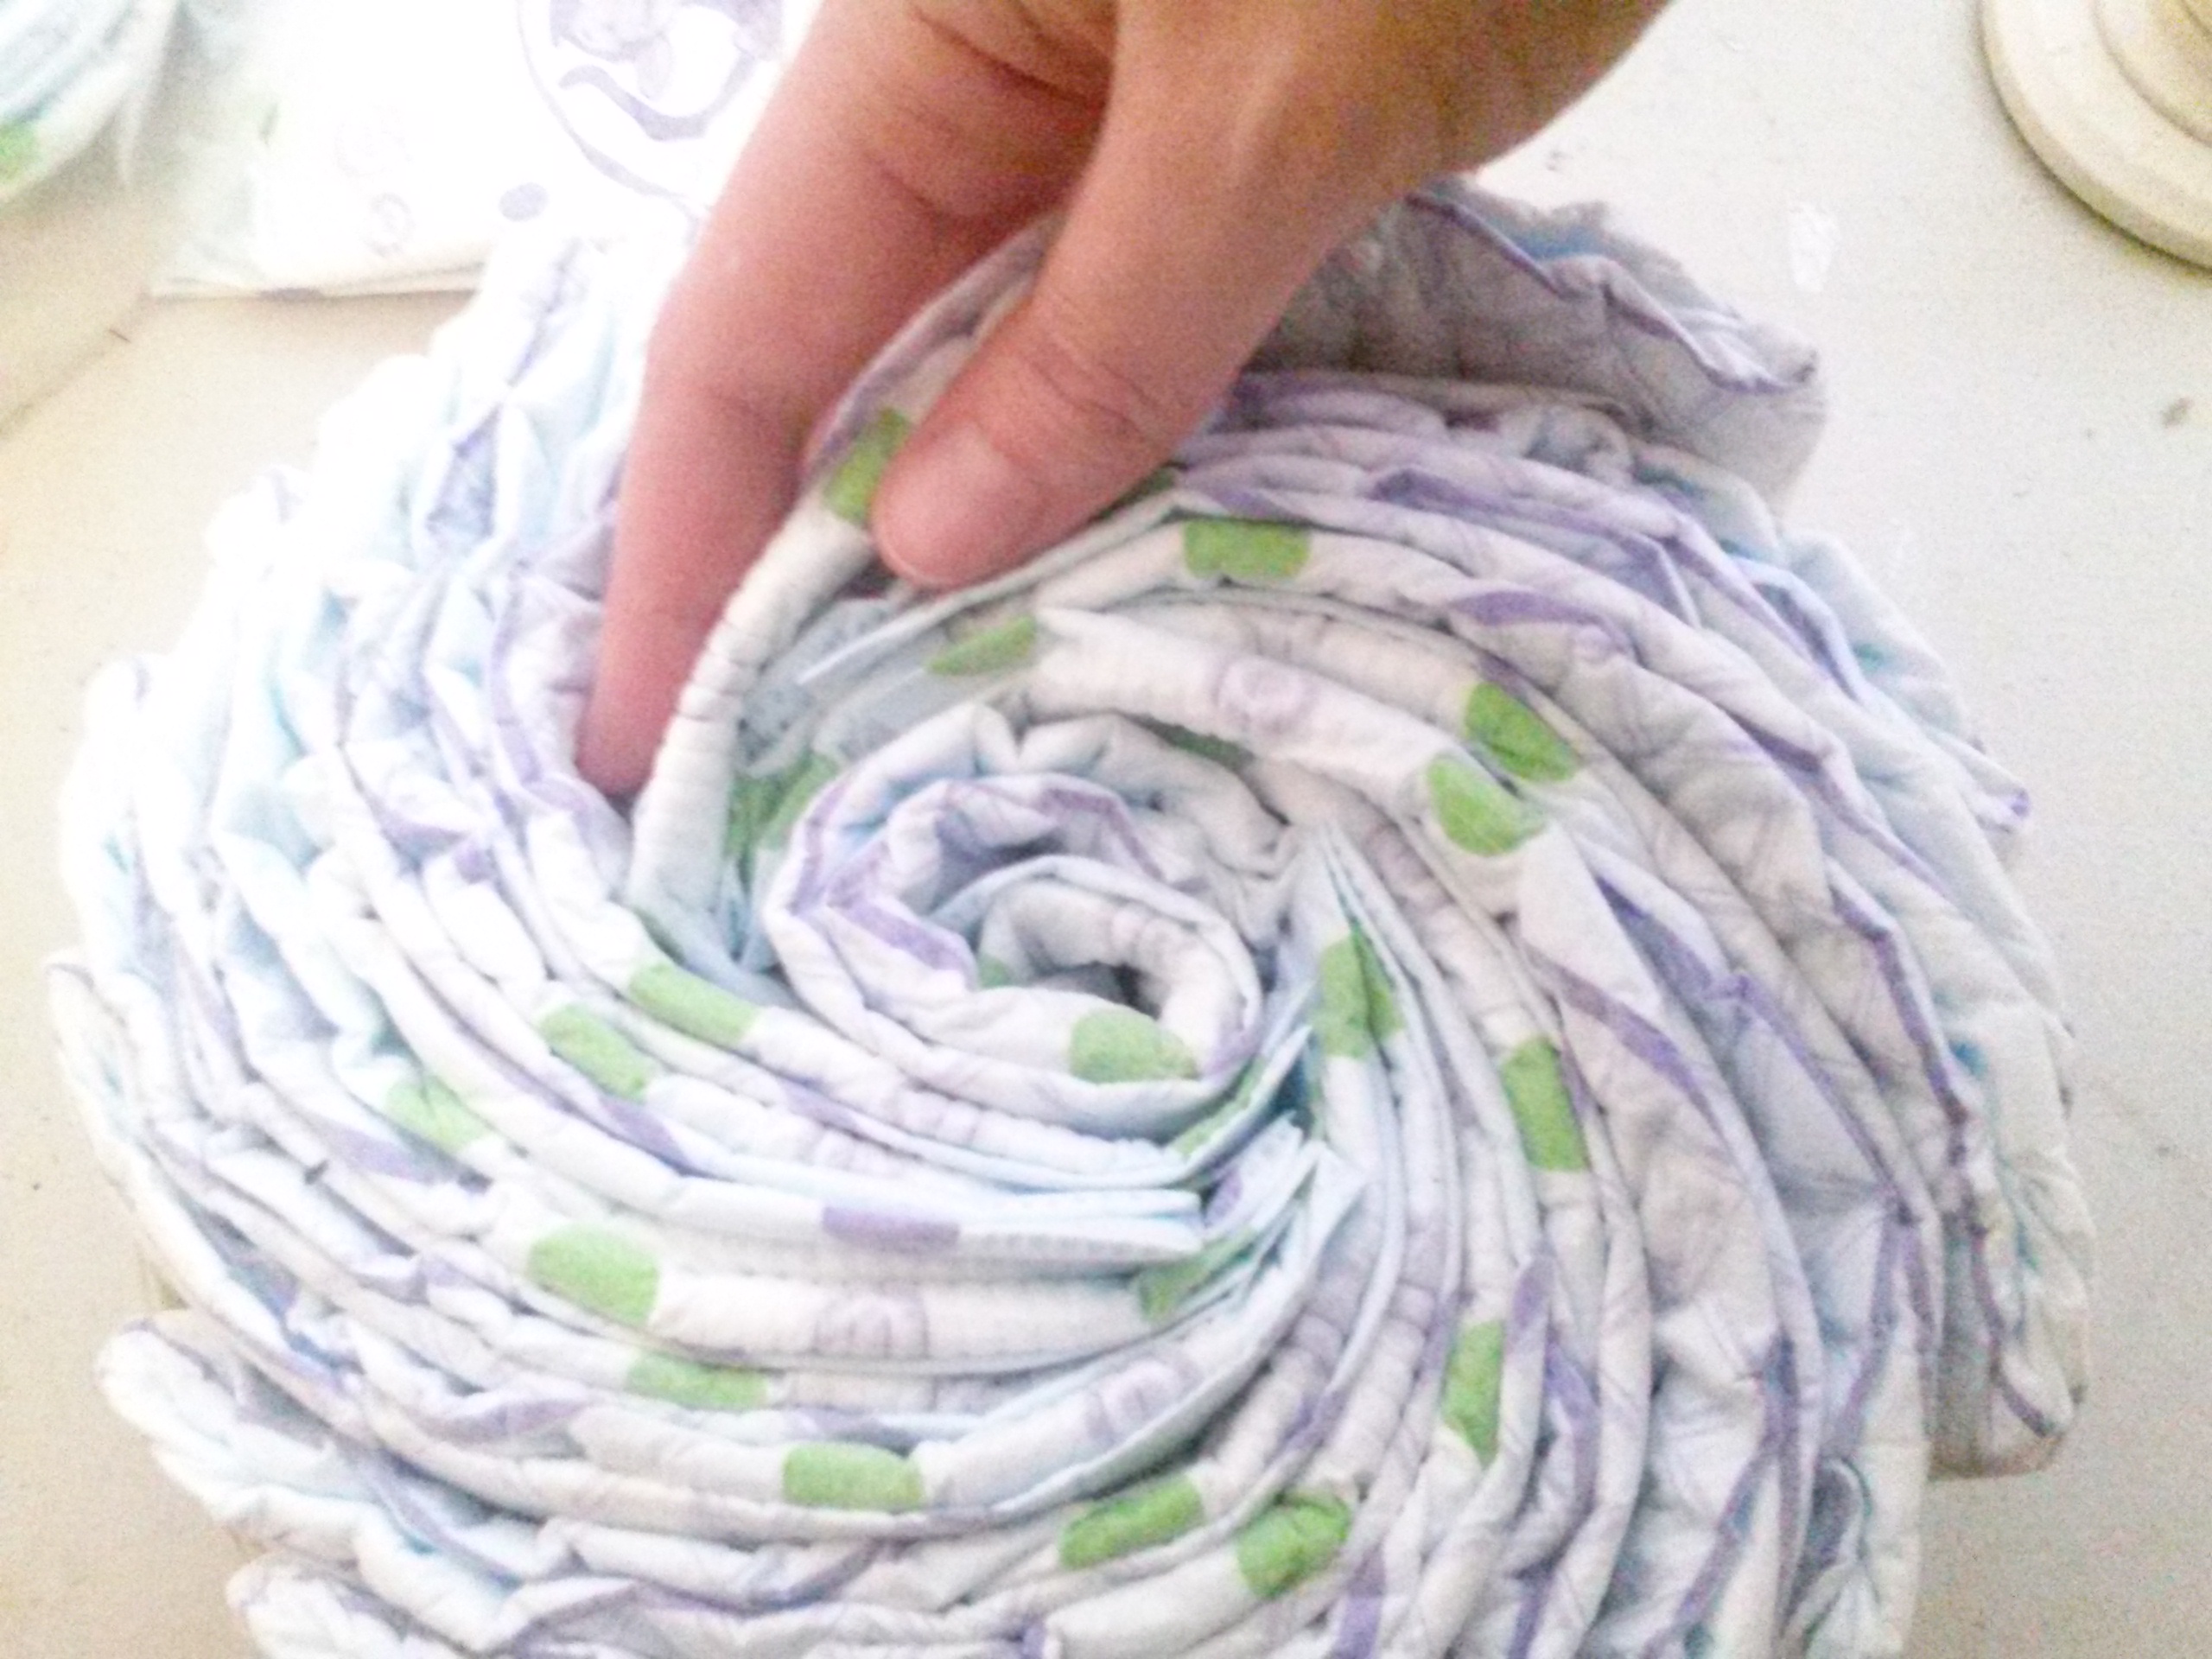
Begin with a stack of diapers for the bottom cake layer. I used about 30 diapers for my 10" round cake pan. Turn the stack of diapers so that a long sides is facing you and the tops of the diapers point to the right. Carefully fan the diapers to the left in a straight line, overlapping them so that just the top inch or so sticks out from every diaper. (As shown in pictures.)

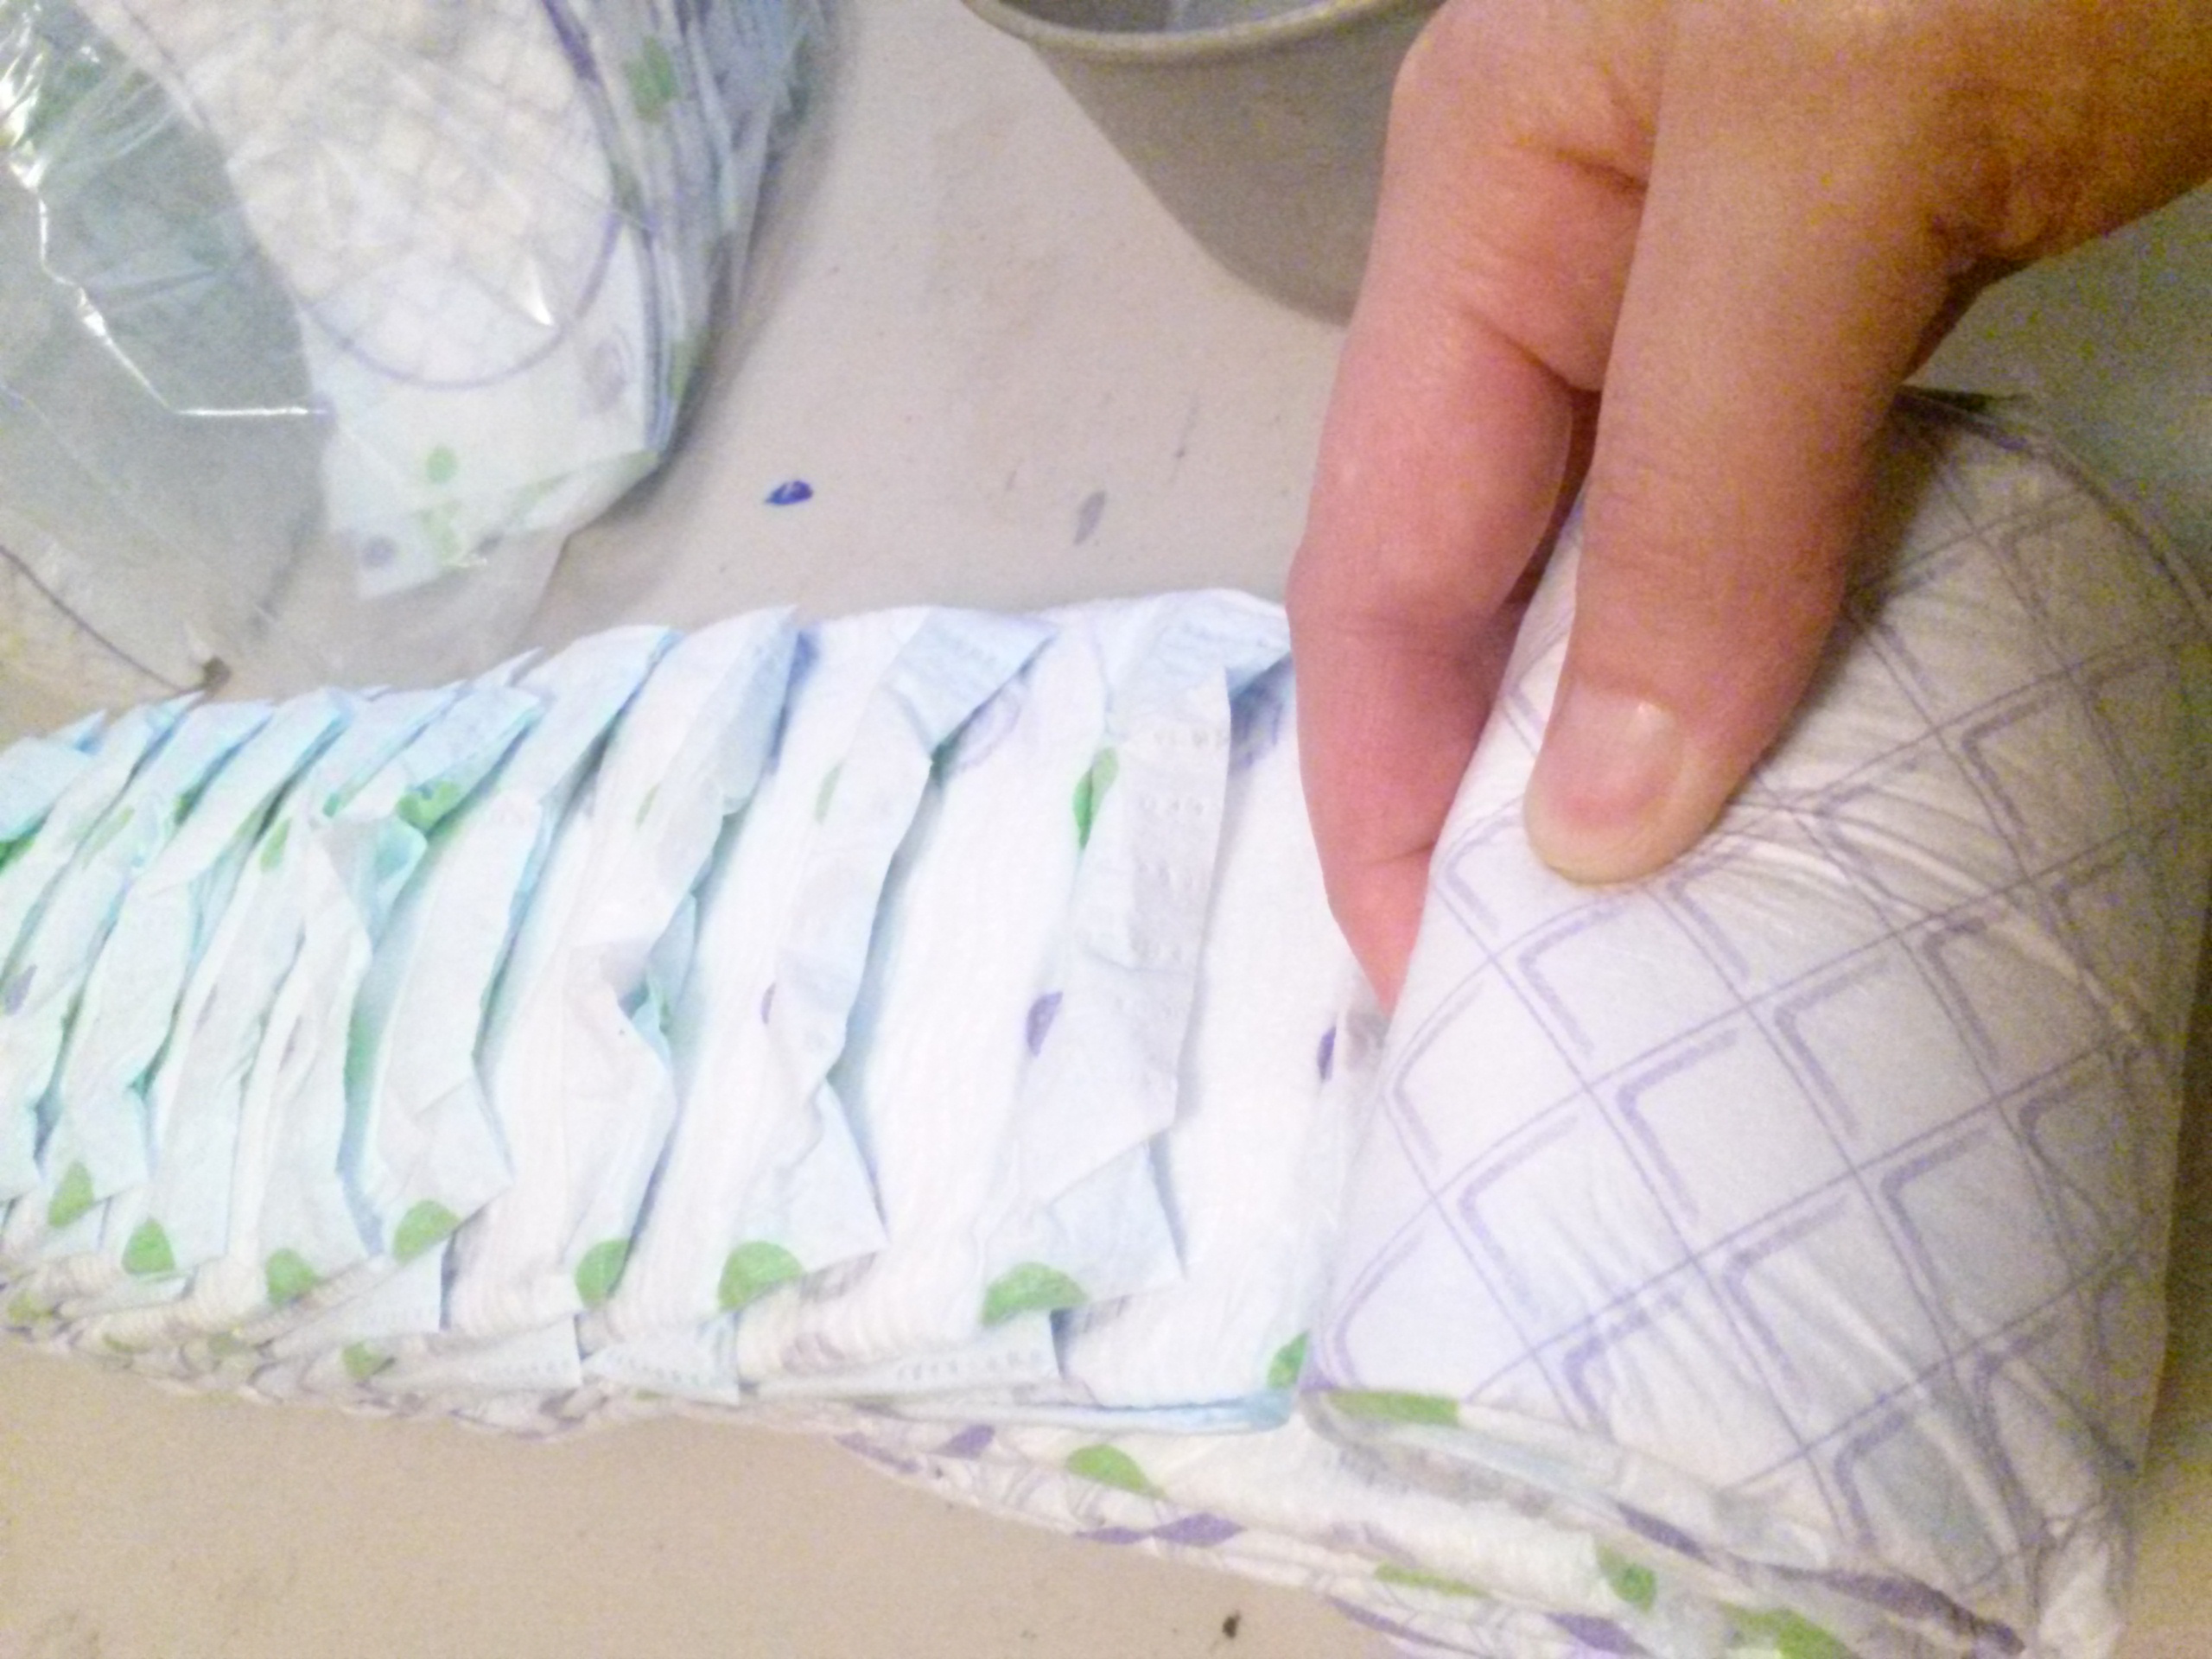
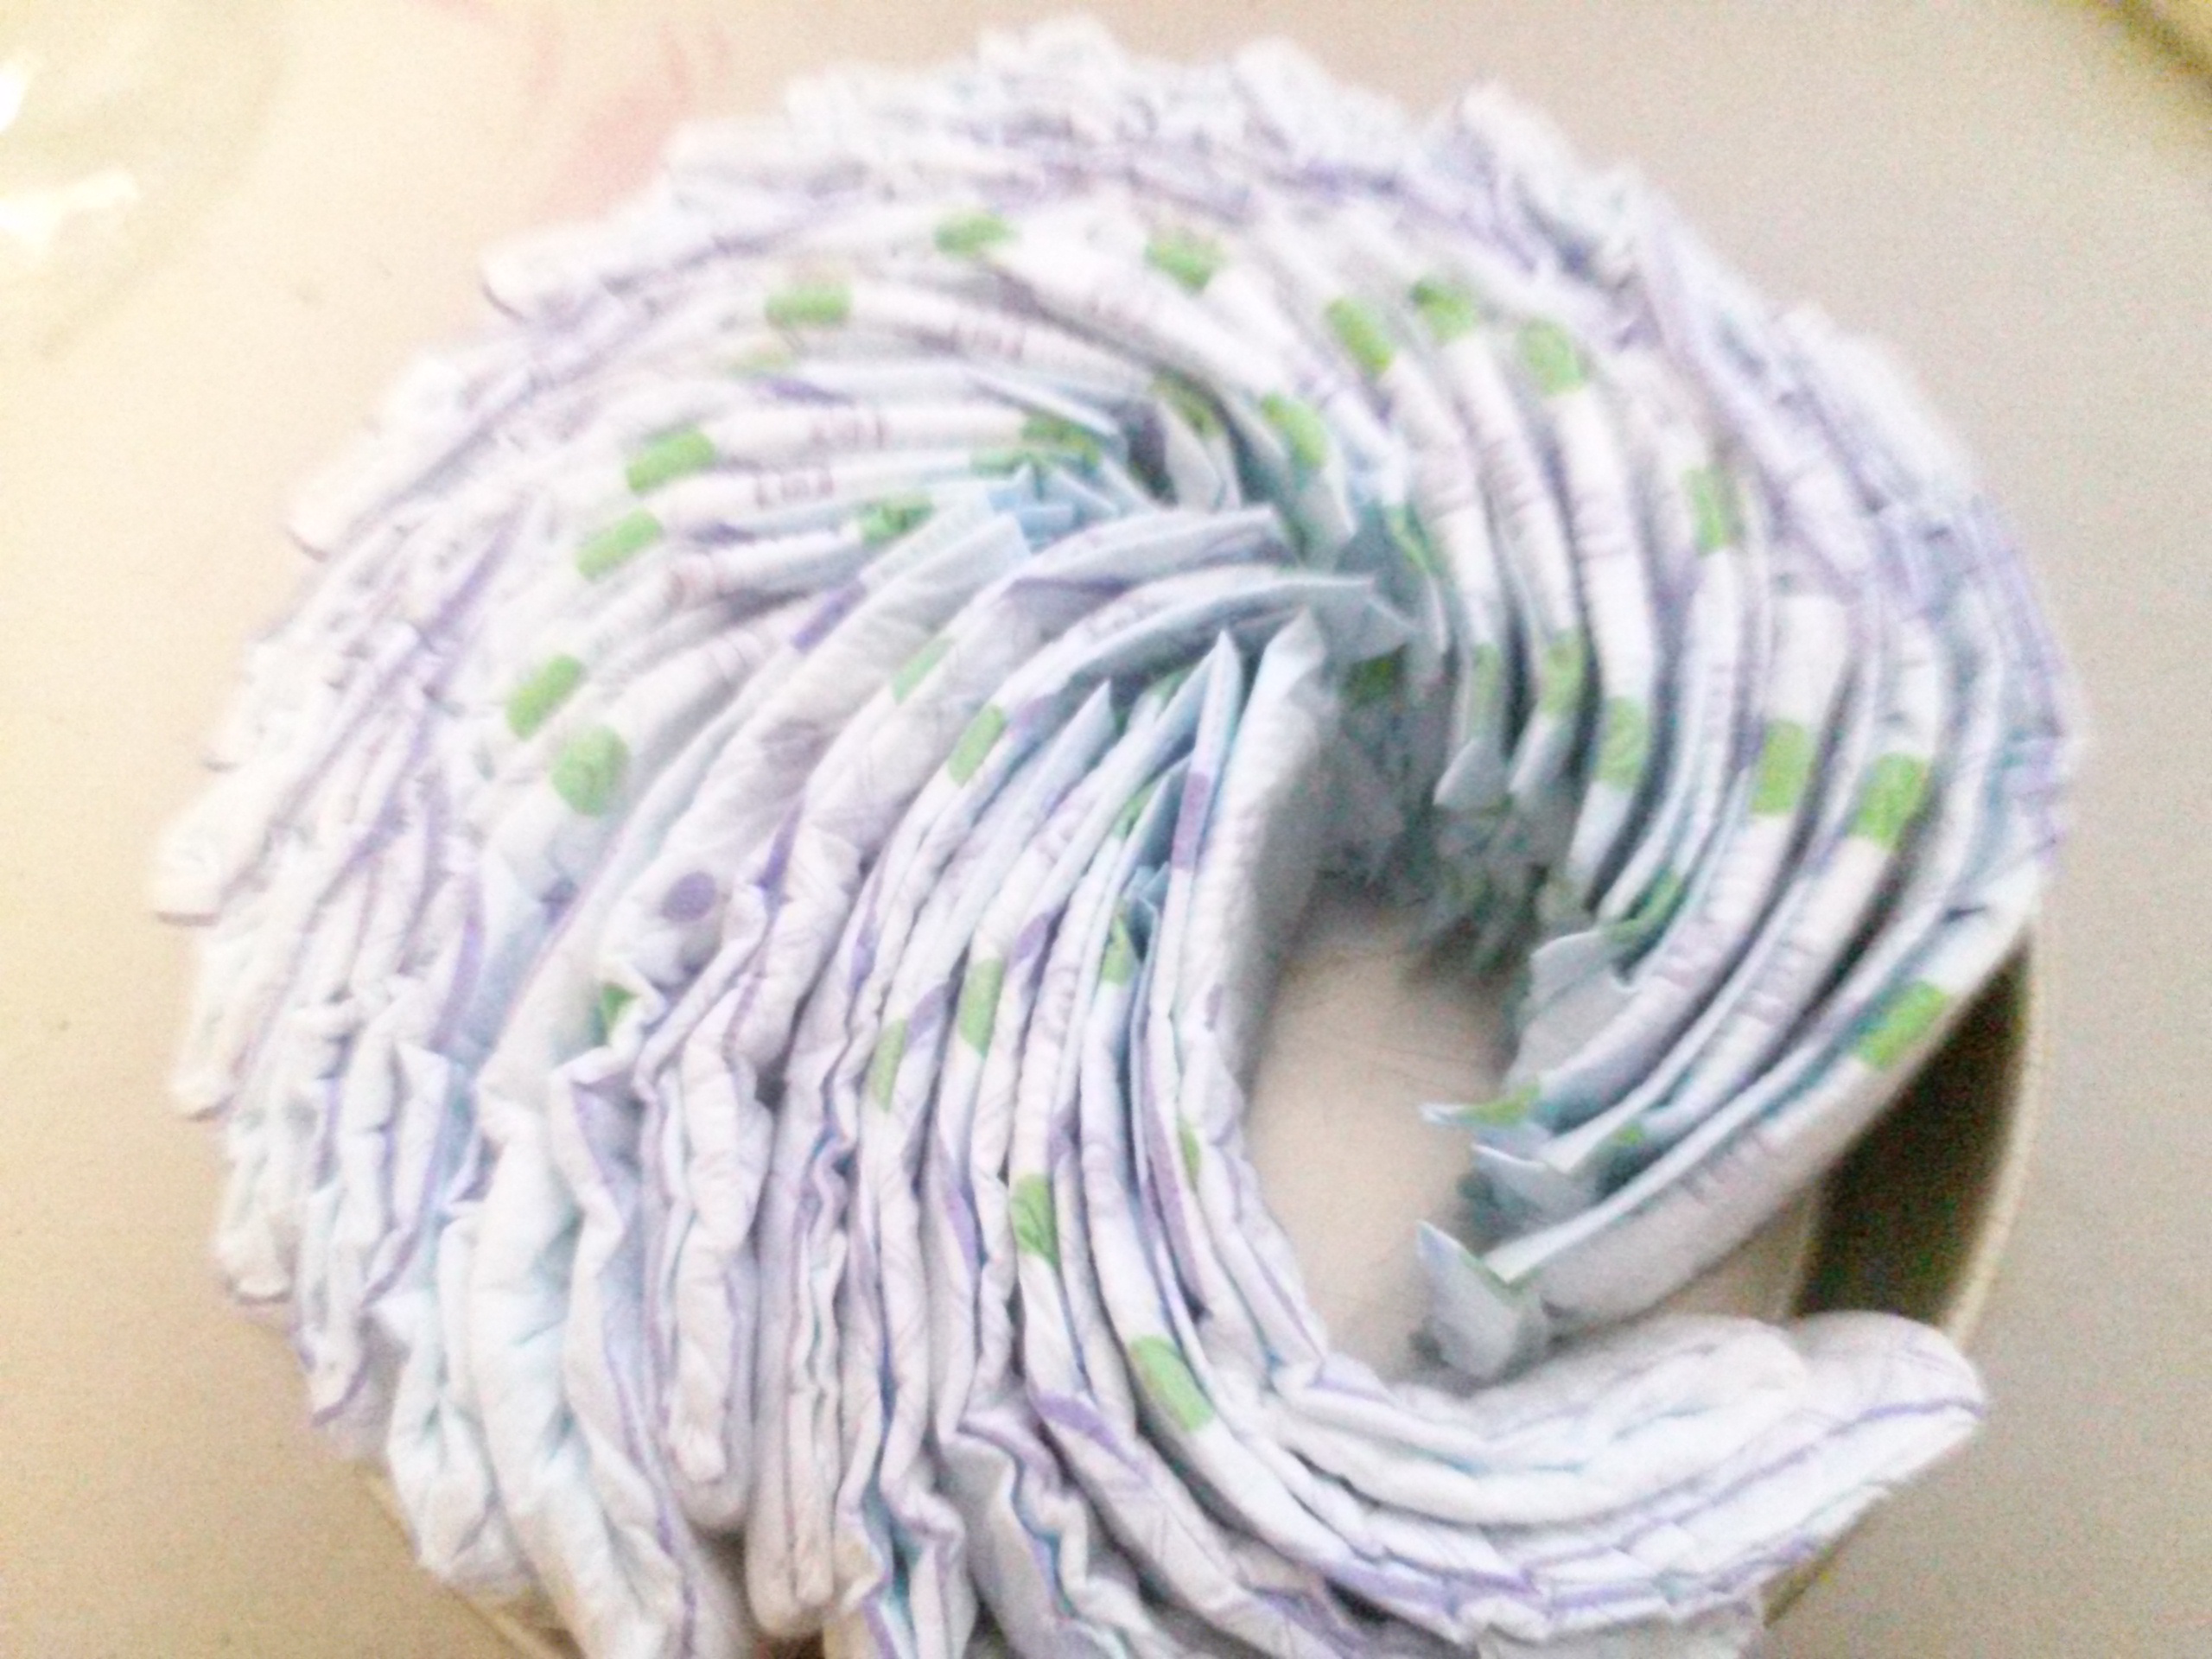
Starting at the end with the tops of the diapers, carefully roll the row up into a (sort-of) circle and place it in the baking pan. (Don't worry, it will not look perfect at first!) Beginning your roll with the "tops" end will give you a cleaner edge on the outside of the cake. Once you have the diapers in the pan, add more if necessary, and adjust so they are evenly spaced, filling the entire pan. Repeat the process for the smaller top layer. I used about 20 diapers in my 8" cake pan for the top layer of this cake.
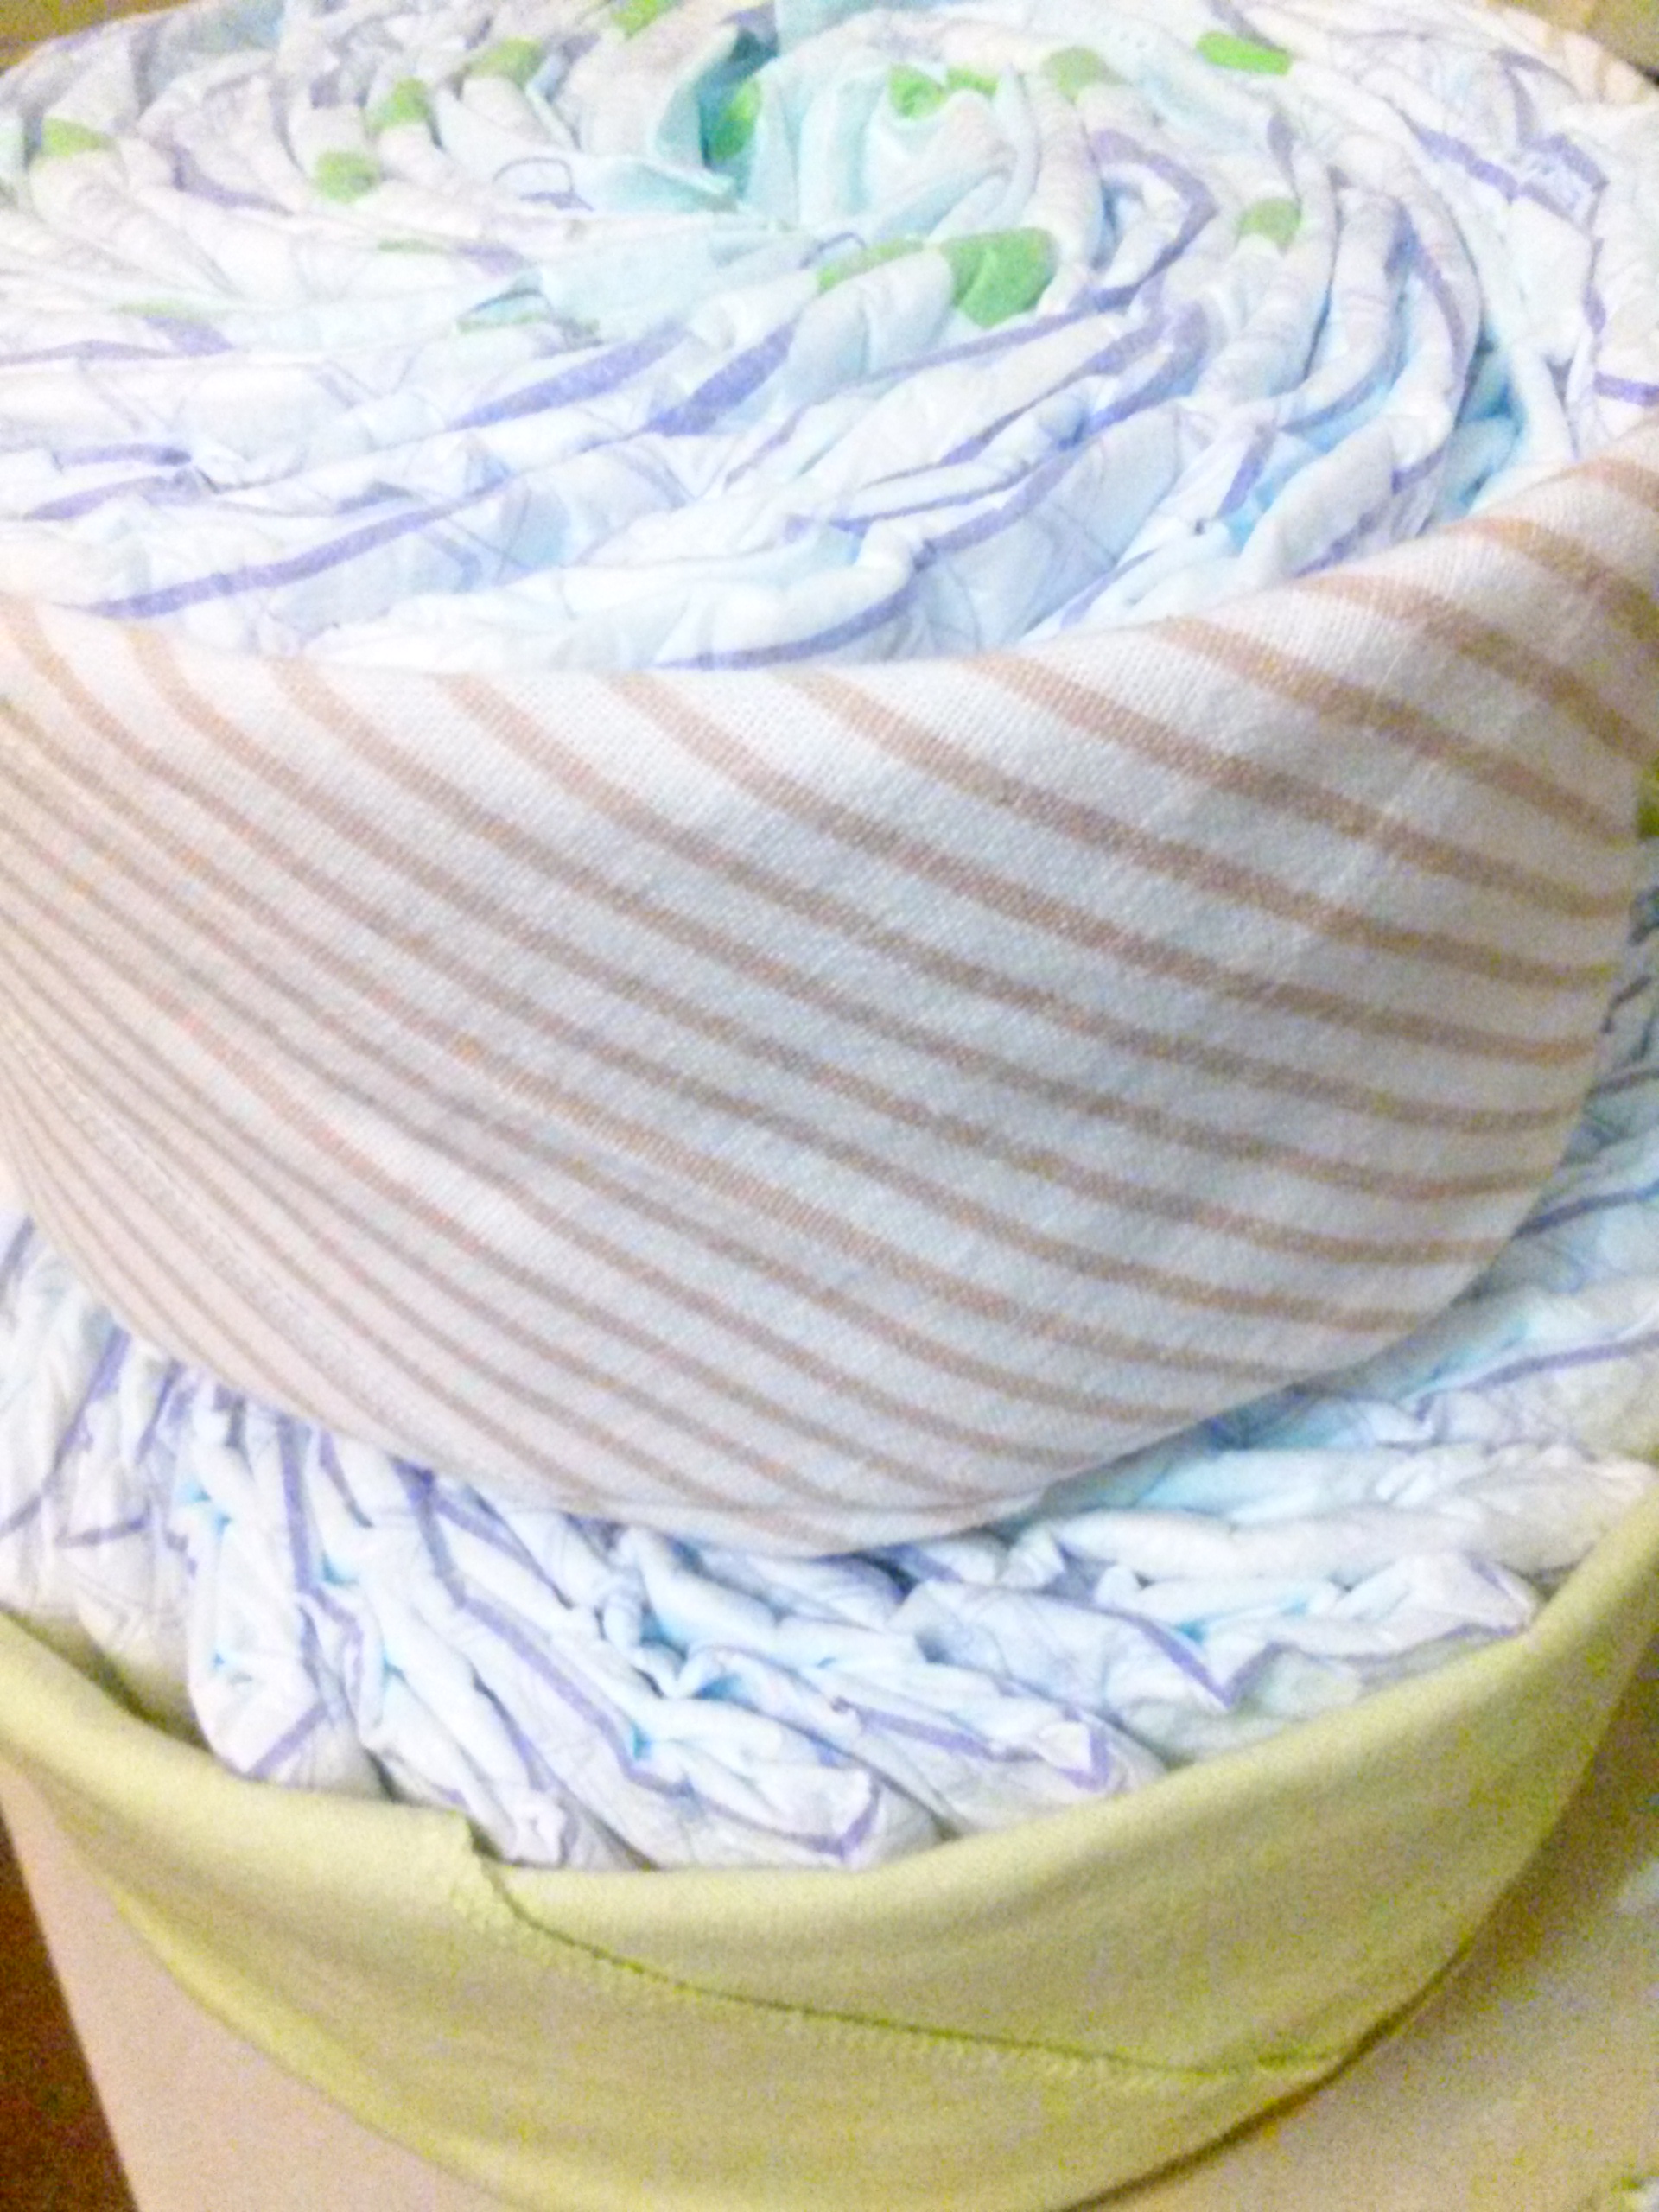
Use some strong string and tie it around each cake layer to hold the diapers in place. As you (carefully) remove the layers from the pans, adjust the strings lower so that they end up centered around each layer. Use two of the blankets to create the origami elephant (link here) and fold two blankets to wrap around the cake layers for an extra pop of color and to conceal the string. I suggest folding the blankets starting at one corner, on a diagonal. This way you'll get a little extra length out of the blanket, and it will have more texture with the overlapping layers. Make the folds of the blankets the width of your diapers (or smaller if you choose). You can tuck the ends of the blankets into their own folds to hold them in place (or use a small piece of packing tape if you feel the need). Decorate with wide ribbon and/or a fun cake topper -- that's it!
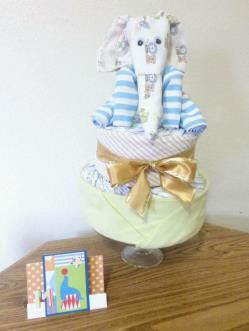
Basic Diaper Cake

Thank you for your patience while we're updating our website!
You Might
Also Enjoy:
Disclaimer: Please note that some of the links in this post are affiliate links. There is no additional cost to you, but I will earn a small commission should you choose to purchase through those links. Thank you for your support.
If you enjoyed our tutorial or found value in it, we'd love it if you'd give us a thumbs up or a share on Facebook or Pinterest!