You might
also enjoy...
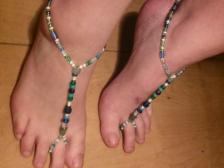
Barefoot Beaded Sandals
Fun, fashionable footware to show off this summer!
Adorn your feet with these fun and easy to make beaded sandals and you won't have to worry about "getting sand in your shoes" at the beach! The bottomless design wraps around your toe and ankle, perfect for weddings, or even just a fun day trip, at the beach!
Disclaimer: Please note that some of the links in this post may be affiliate links or ads. There is no additional cost to you, but The Scrap Room will earn a small commission should you choose to purchase through those links. Click here for my full disclaimer. Thank you for your support.

Supplies and Materials:
-Measuring Tape
-Stretch Magic 1 mm or another stretchy string of your choice
-Beads (see tutorial)
-bead board (See below for a bead board you can make in minutes at home with supplies you already have. Very easy!)
-Scissors
For this project, I decided to go a little bit out of my comfort zone. I'm not a beader and had no supplies to start out (or so I thought). My sweetheart and I had decided to take a nostalgic trip down to Astoria, Oregon to see some of the sites from the movie The Goonies. We parked on a small residential street over looking the town, to venture up to the main Goonies house for a cheesy photo op. On the way back to the car we noticed an estate sale at a beautiful, nearby house so we decided to check it out. I found a simple vase right away and continued on. Then I saw it. A table covered in small bags of stunning beads. For a very reasonable price I cleaned them out, not knowing what I'd use them for, but knowing that I HAD to have them.
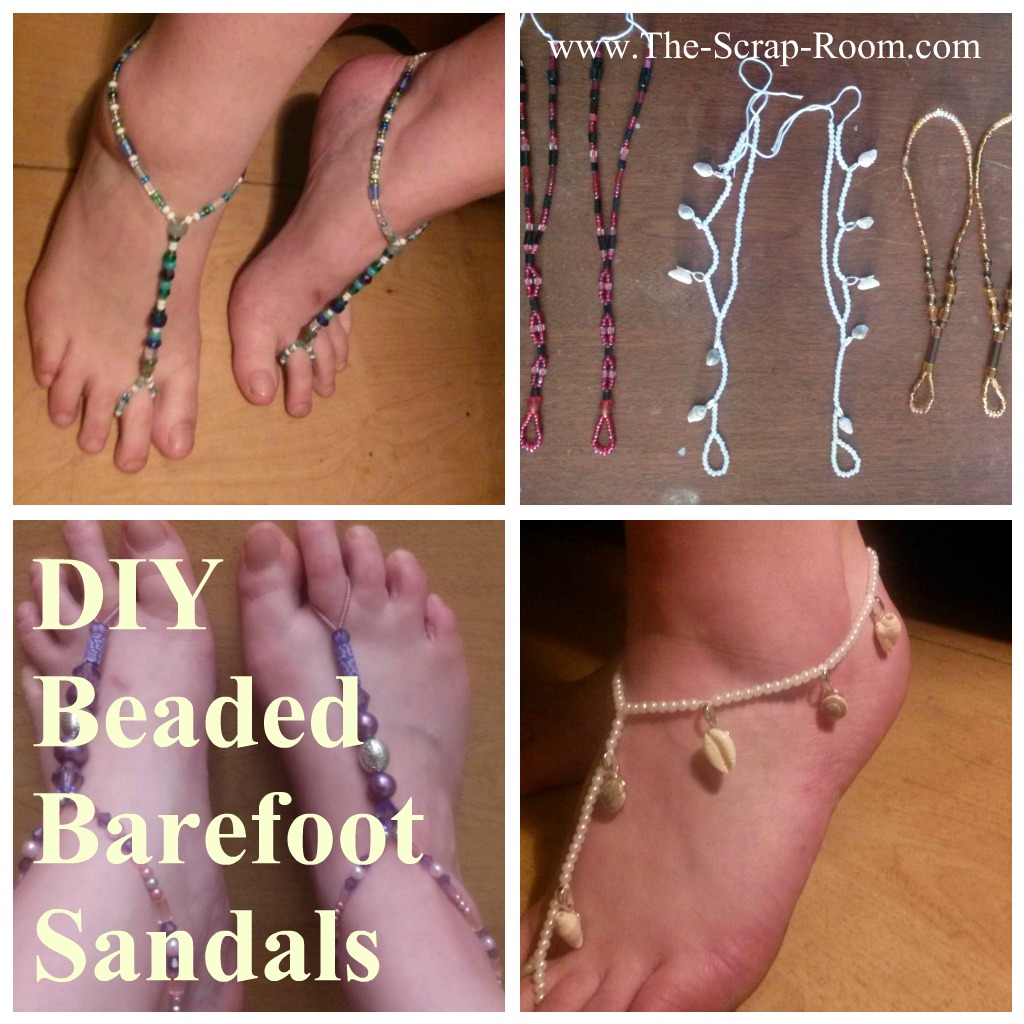
Then a couple of months ago I decided I wanted a pair of barefoot sandals. I have seen some beautiful crocheted sandals on Pinterest, but I don't know how to crochet, and then I remembered the beads. Having no additional beading supplies on hand, I made a couple of pairs out of embroidery thread. They were so much fun to make, I went out and bought some more supplies making 7 pairs in total.
I decided that I liked making them with the Stretch Magic 1 mm string best. They are a little forgiving when sizing, and are great if you're making them as a gift. They also have more "give" so when walking in them, you almost forget you're wearing them. I love mine so much that they have become my go-to footwear for beach foot wear!
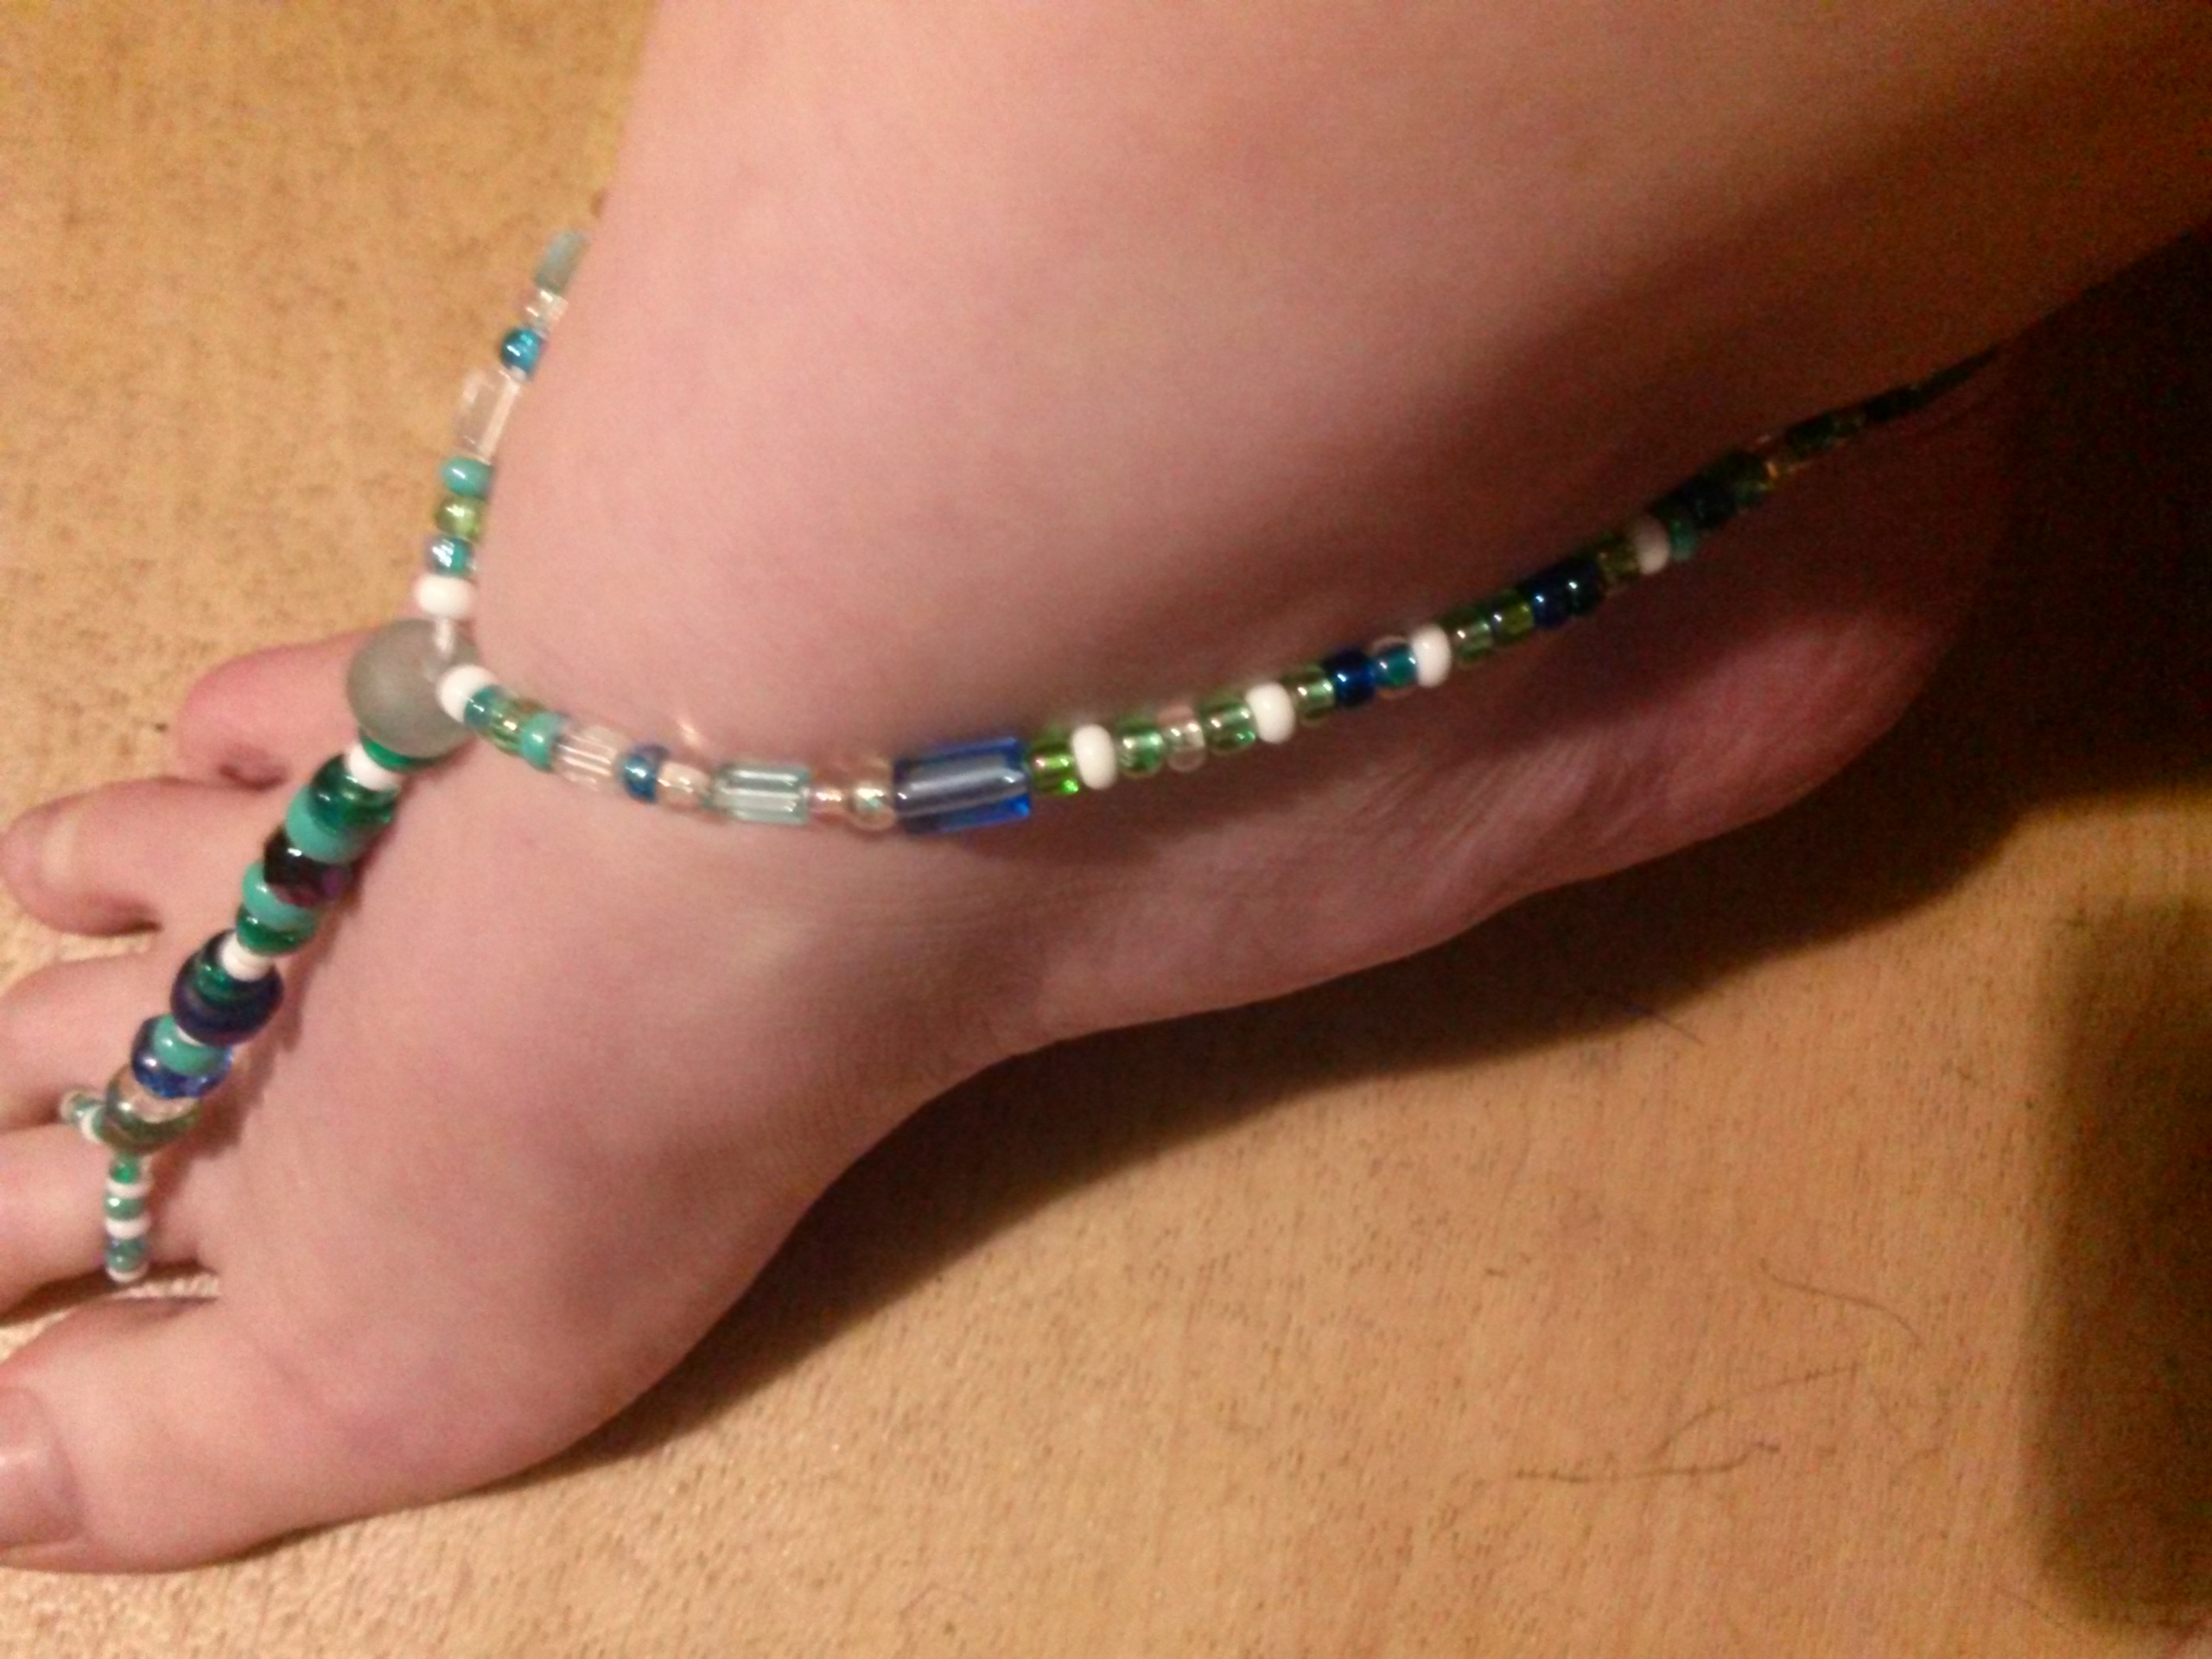
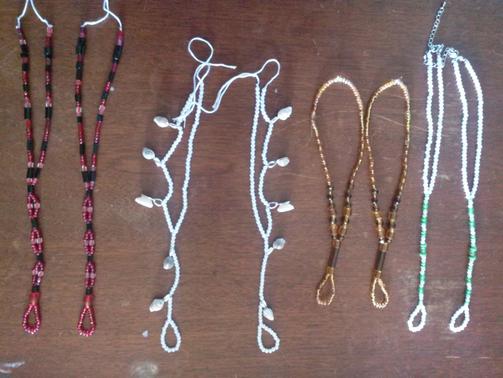
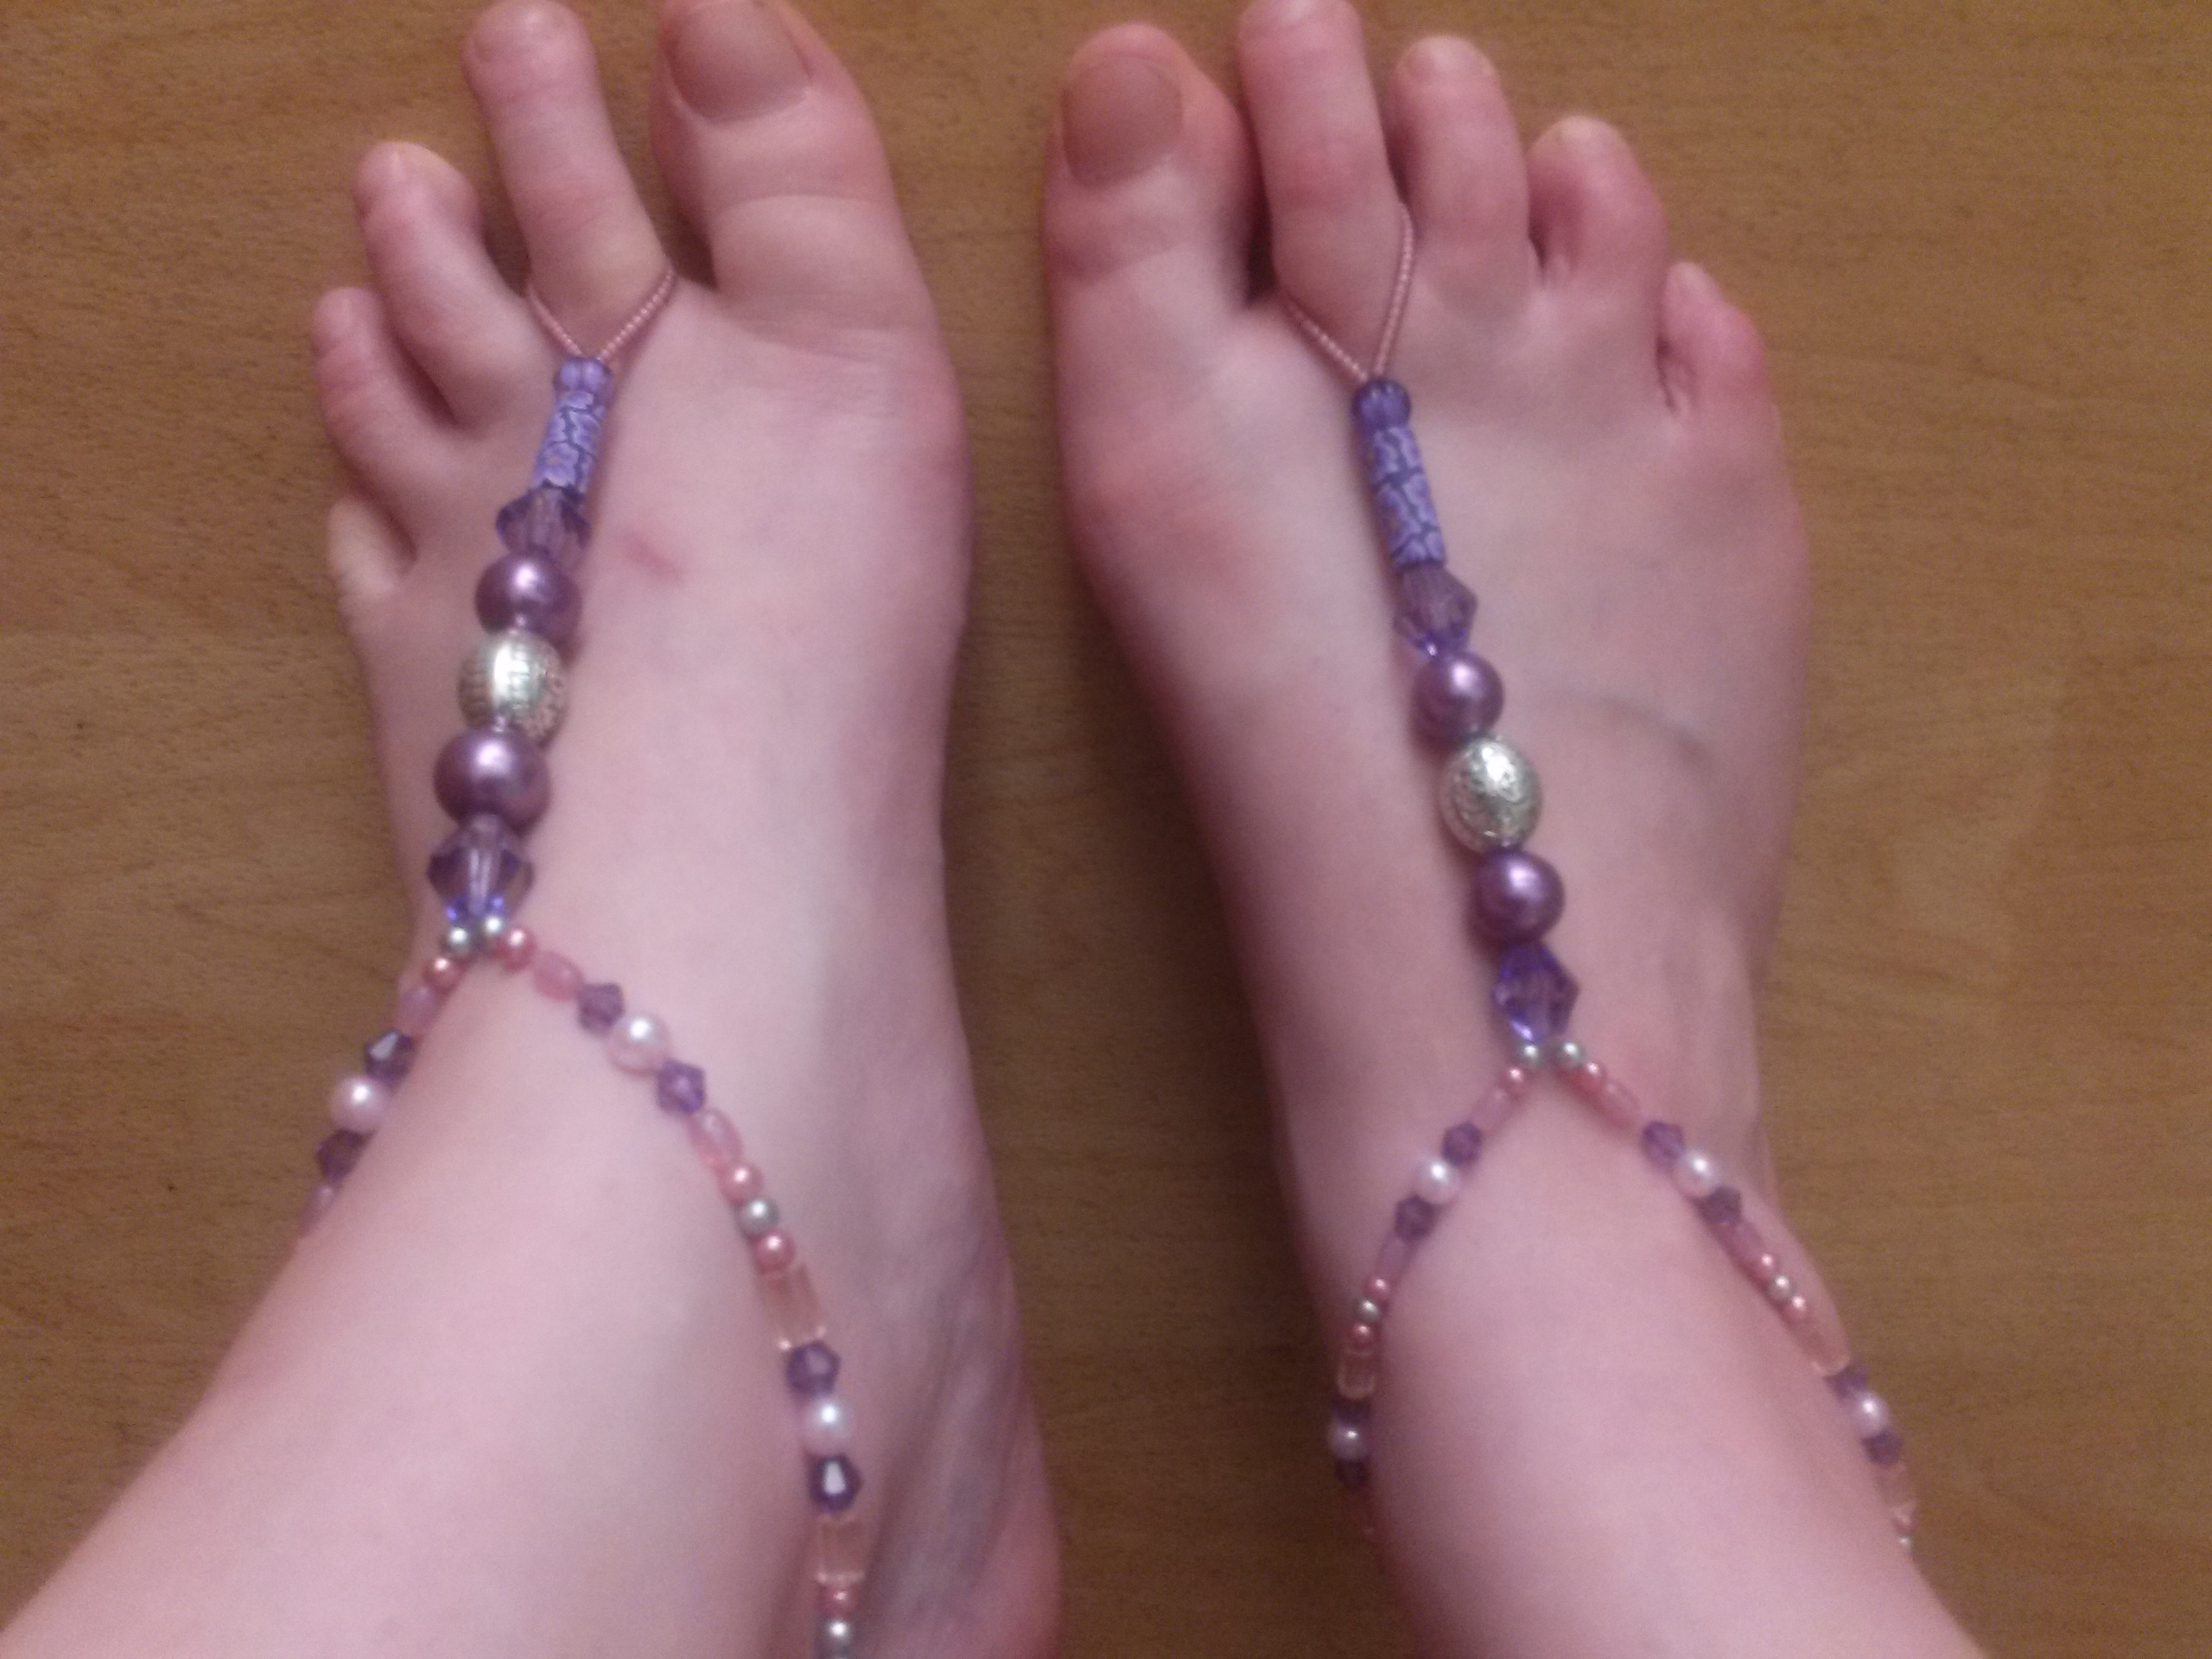
To make these simple styles shown above you only need one strand of your string. Start with the section that will wrap around your toe. (Any toe. I used my toe next to my big toe.) Use smaller beads for this section. That way walking in them won't be uncomfortable. I used about 20 small beads for most of my toe loops, but how many you will use will depend on the size of your feet and how far you want the toe loop to go up your foot. String the beads onto the elastic and push them to the very center; wrap it around your toe and see how you like it, then write down the length of section you beaded (so you can make the other sandal the same size). Keeping the loop for the toe, add another bead over both ends of the string, cinching it down to the top of the loop to close the loop. (See photo below, left.) From hern add the part of the sandal that will go up the top of your foot. String your beads on different ends of the string, or the same depending on the design you choose.
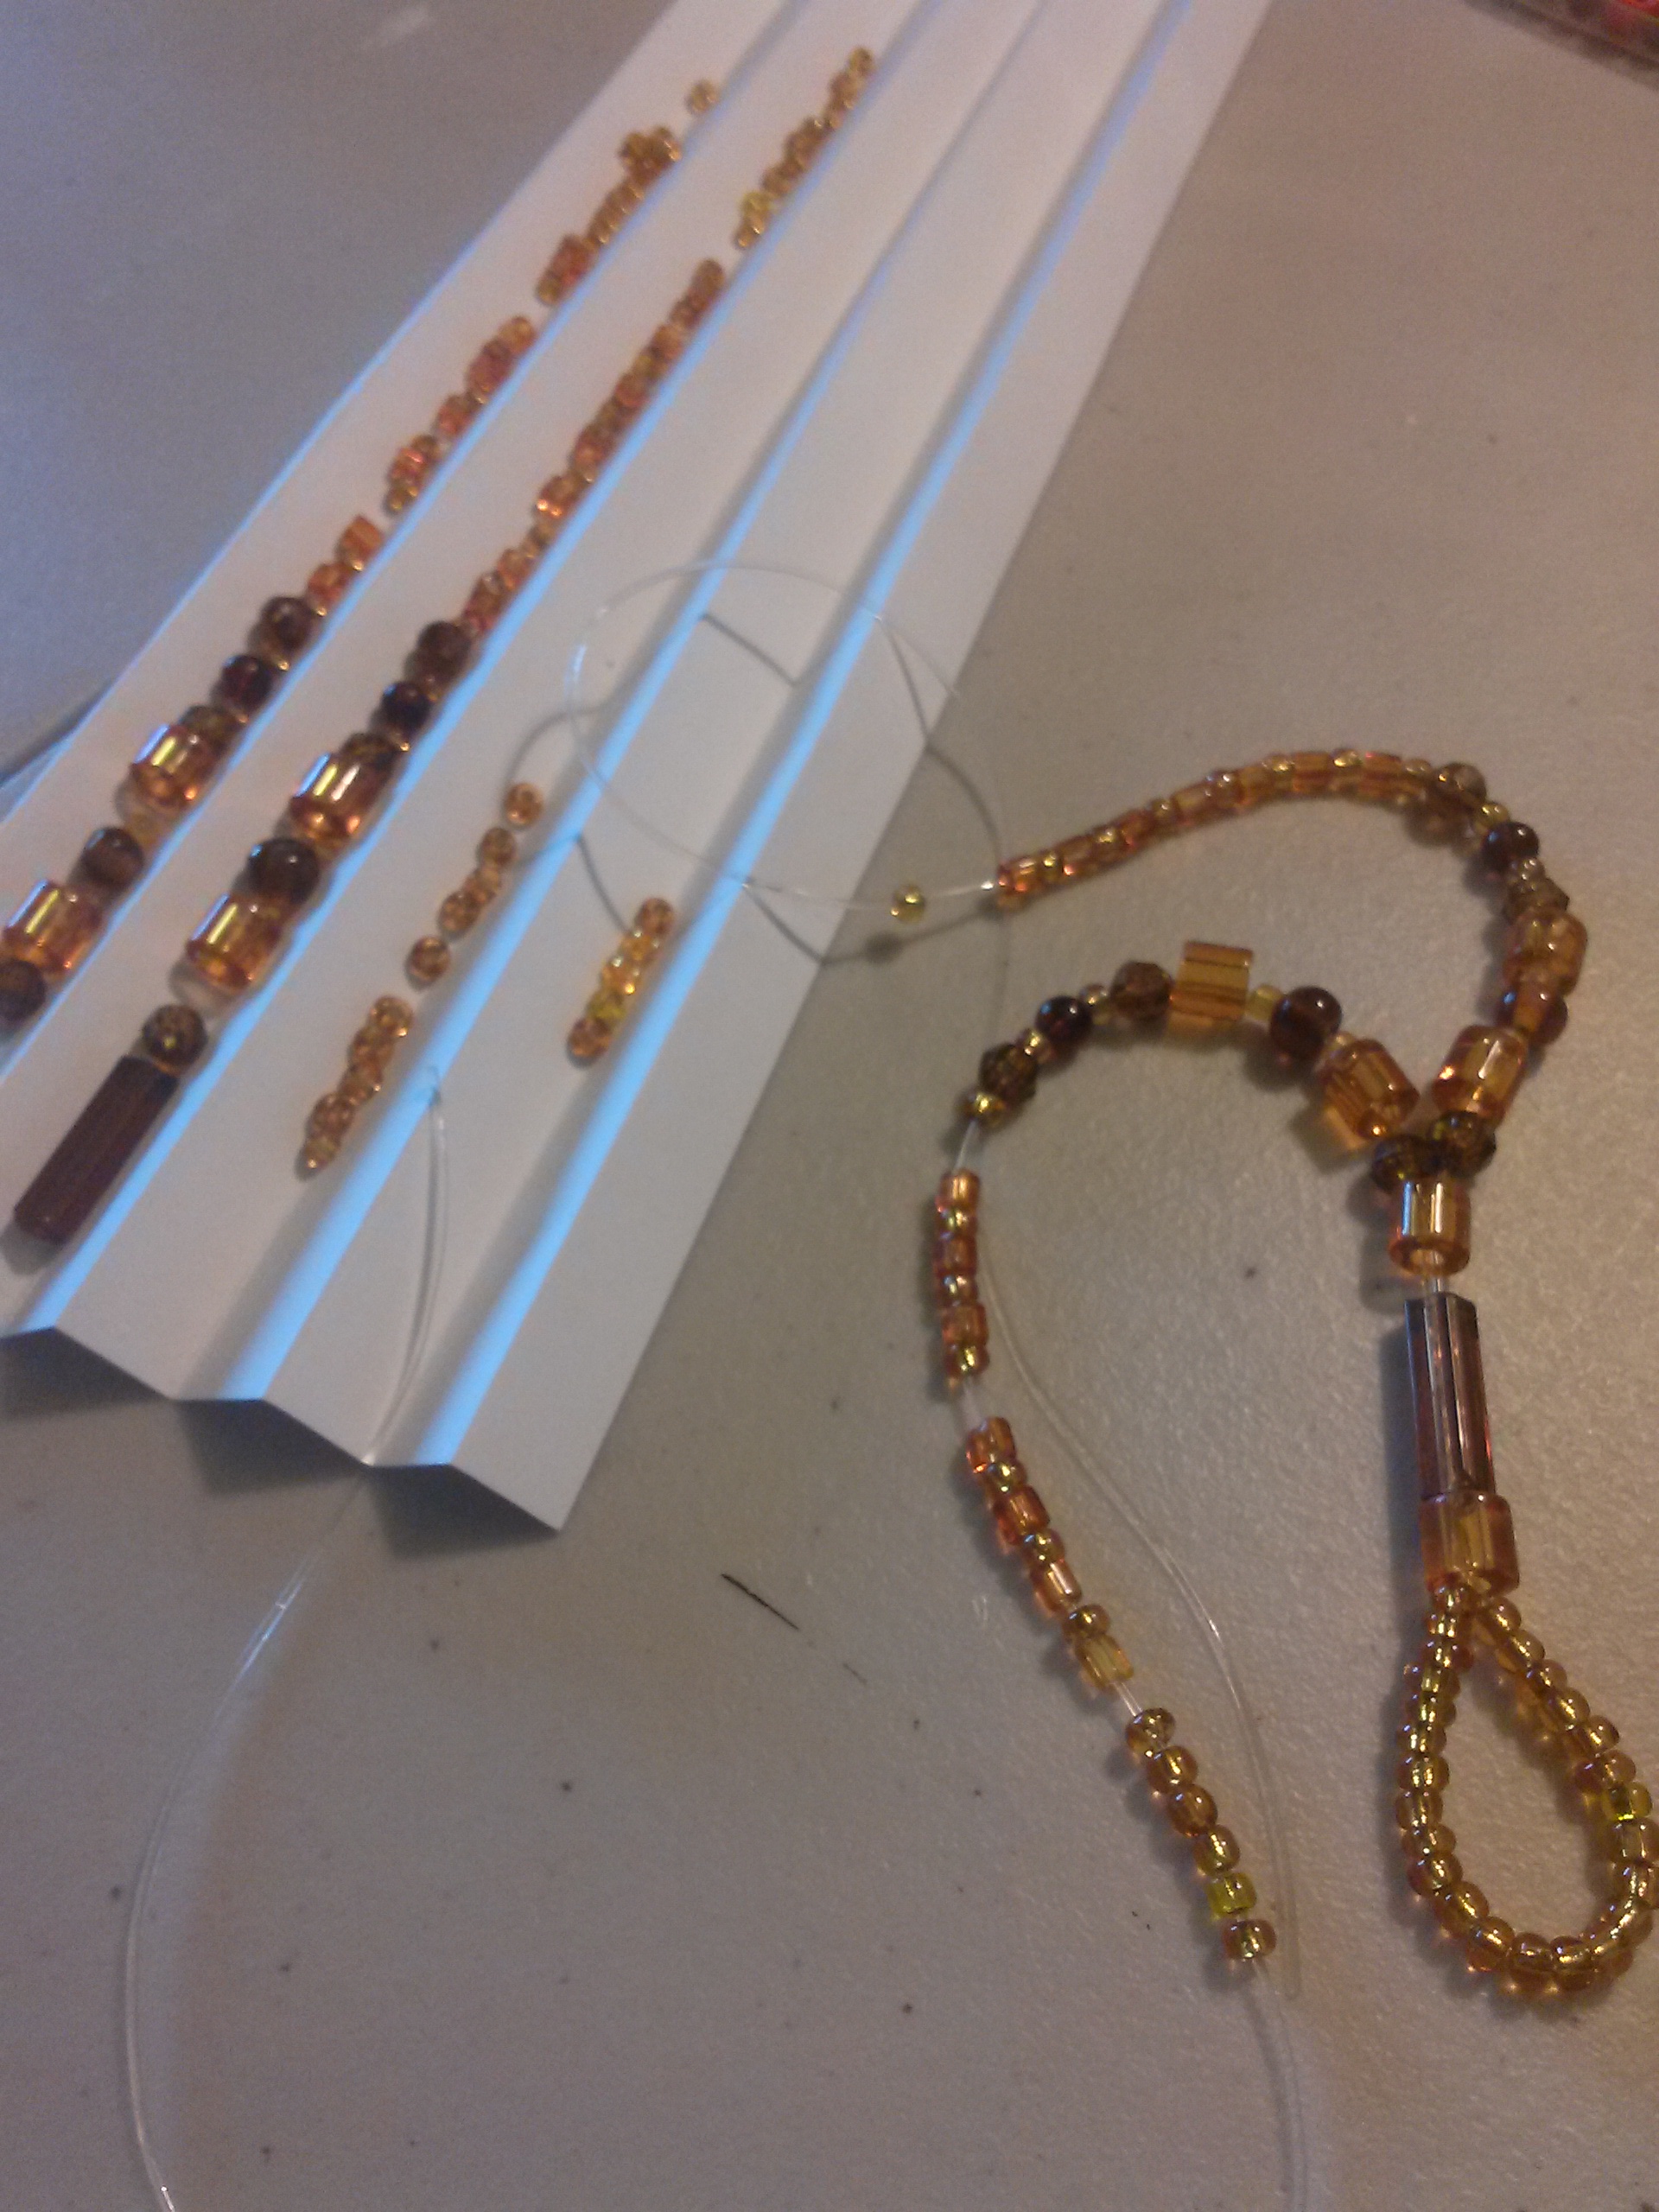
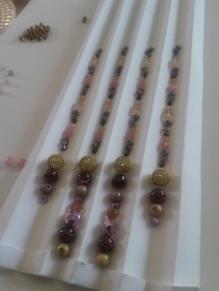
If you don't have a bead board to arrange your beads, make one for pennys with a piece of cardstock. Just use a stylus to score a vertical line every half inch, then accordian fold the paper. Fold the ends in to create a small barrier to keep the beads from rolling off.
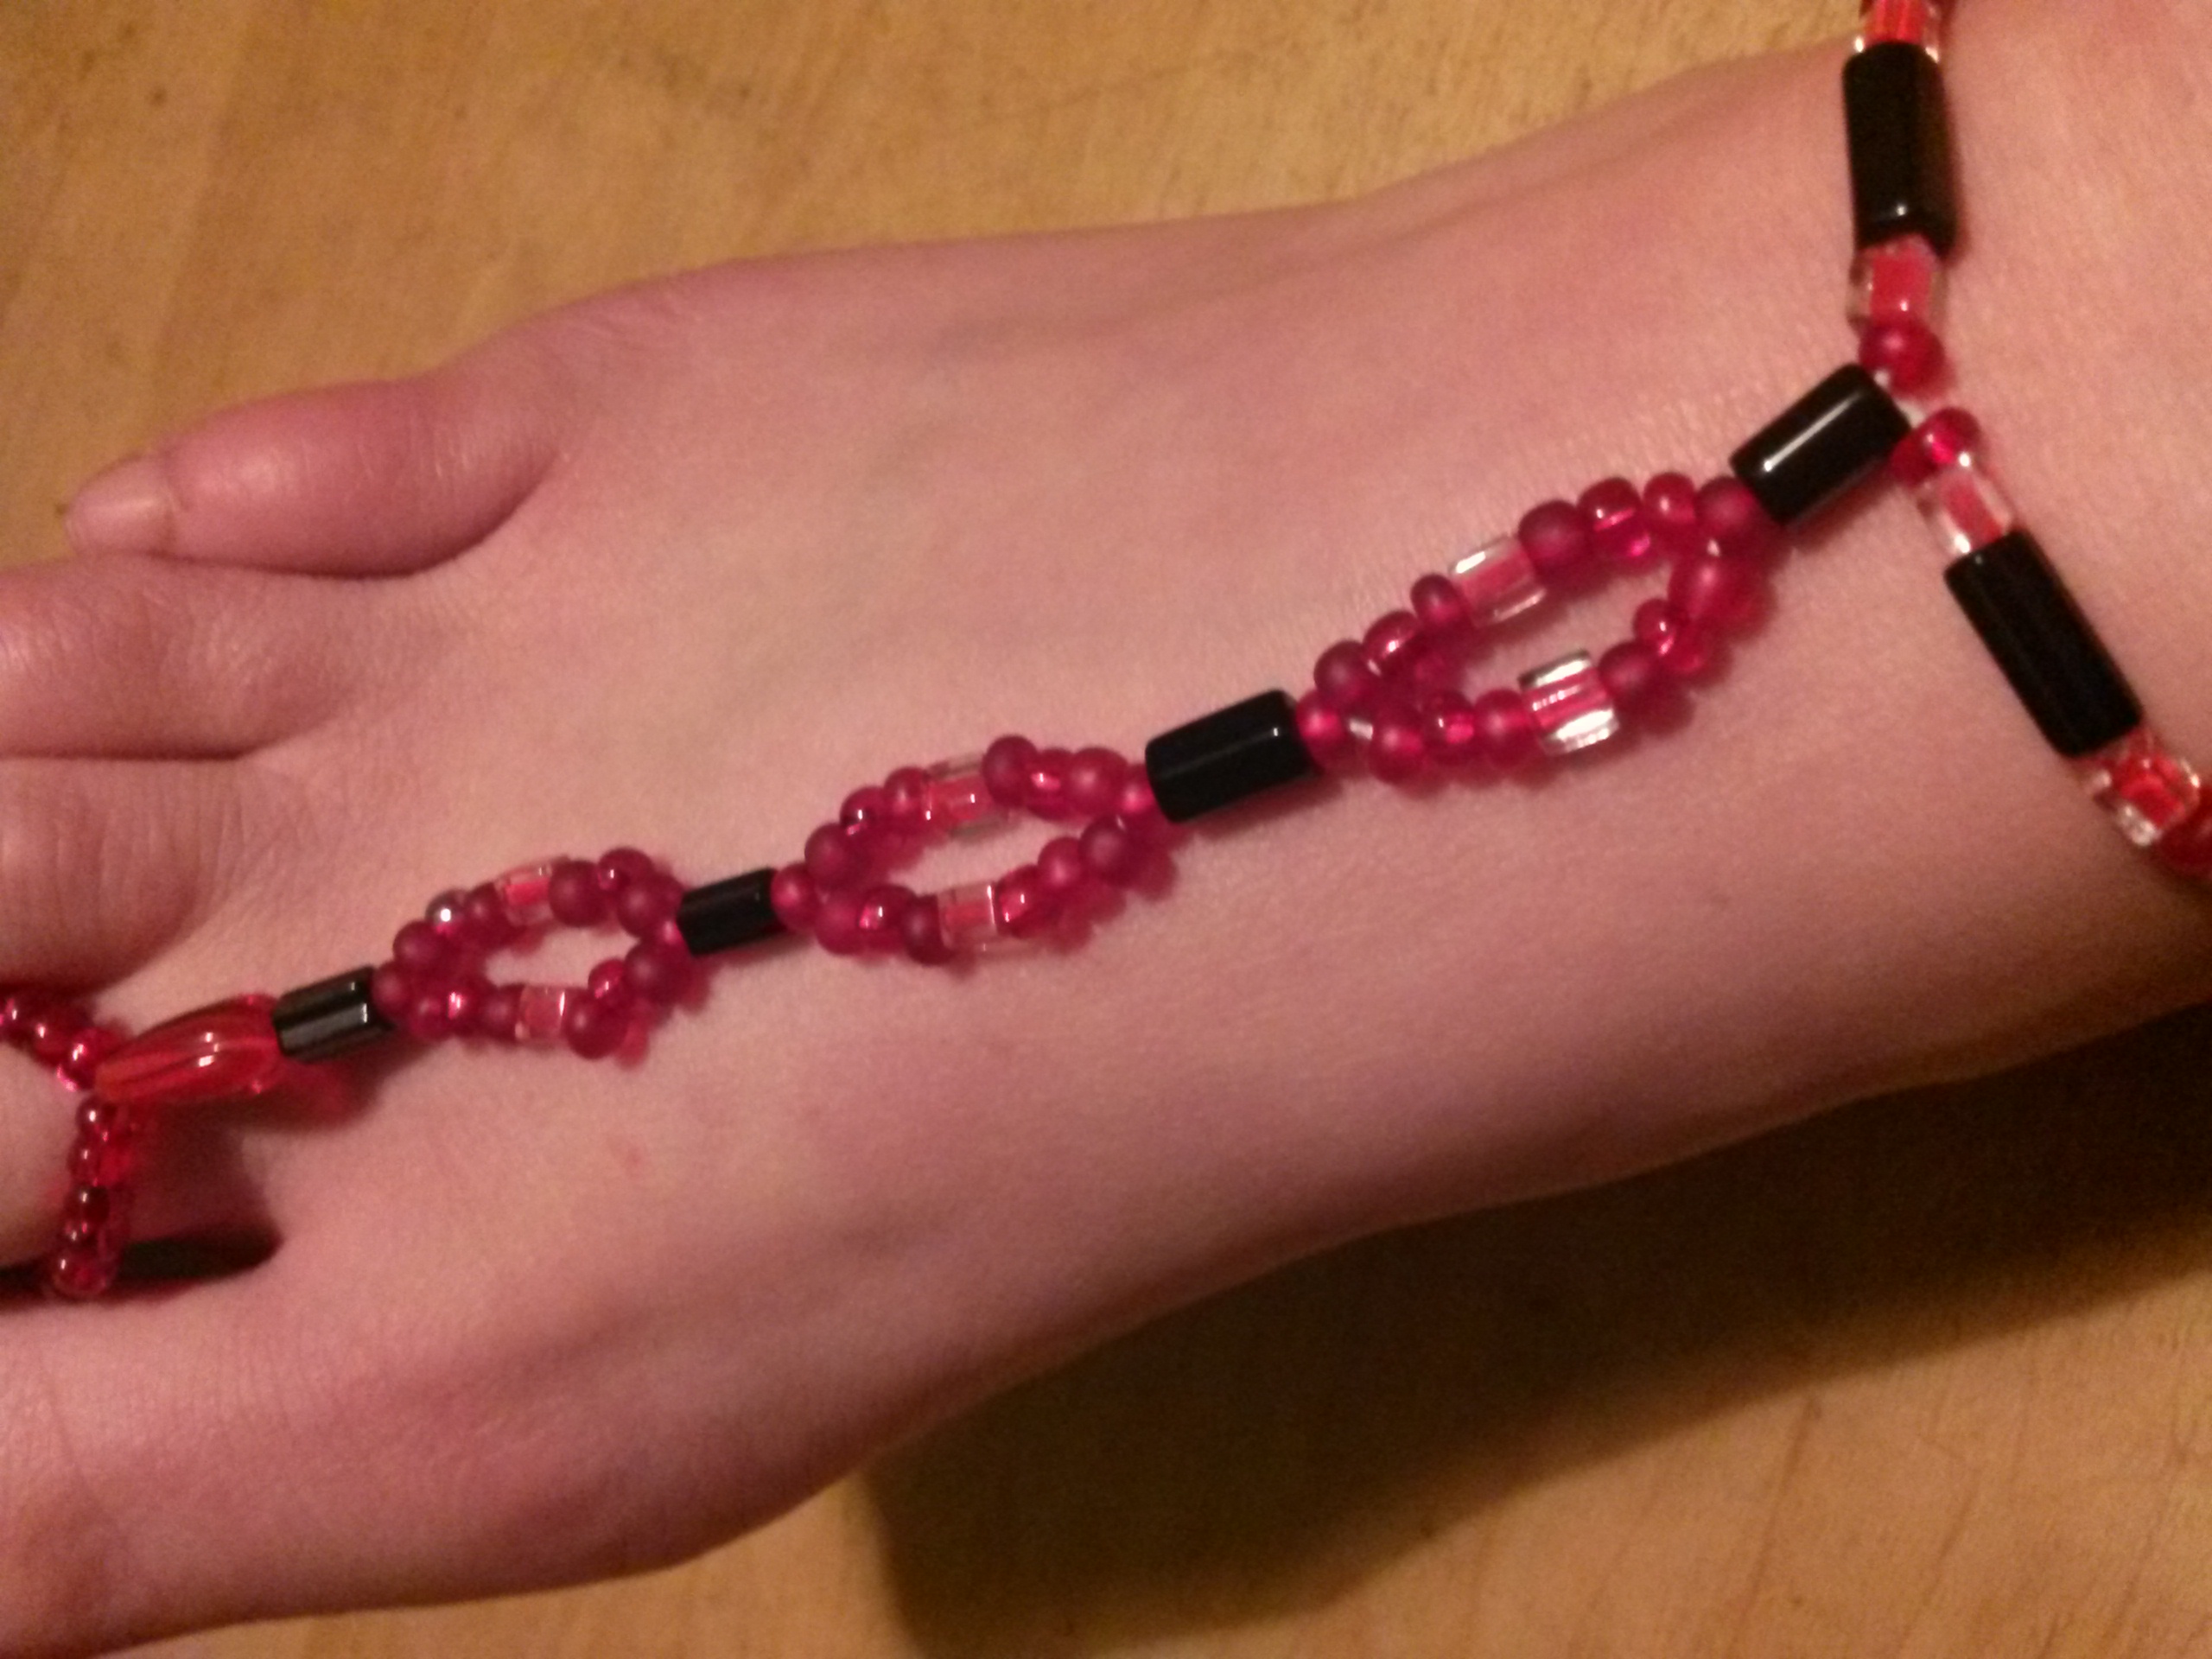
To create a look like the above, red sandals, simply string one bead onto both ends of the string and push to the base. Then string a pattern of beads onto each individual strand, then another onto both to make the strands meet in the center; repeat.
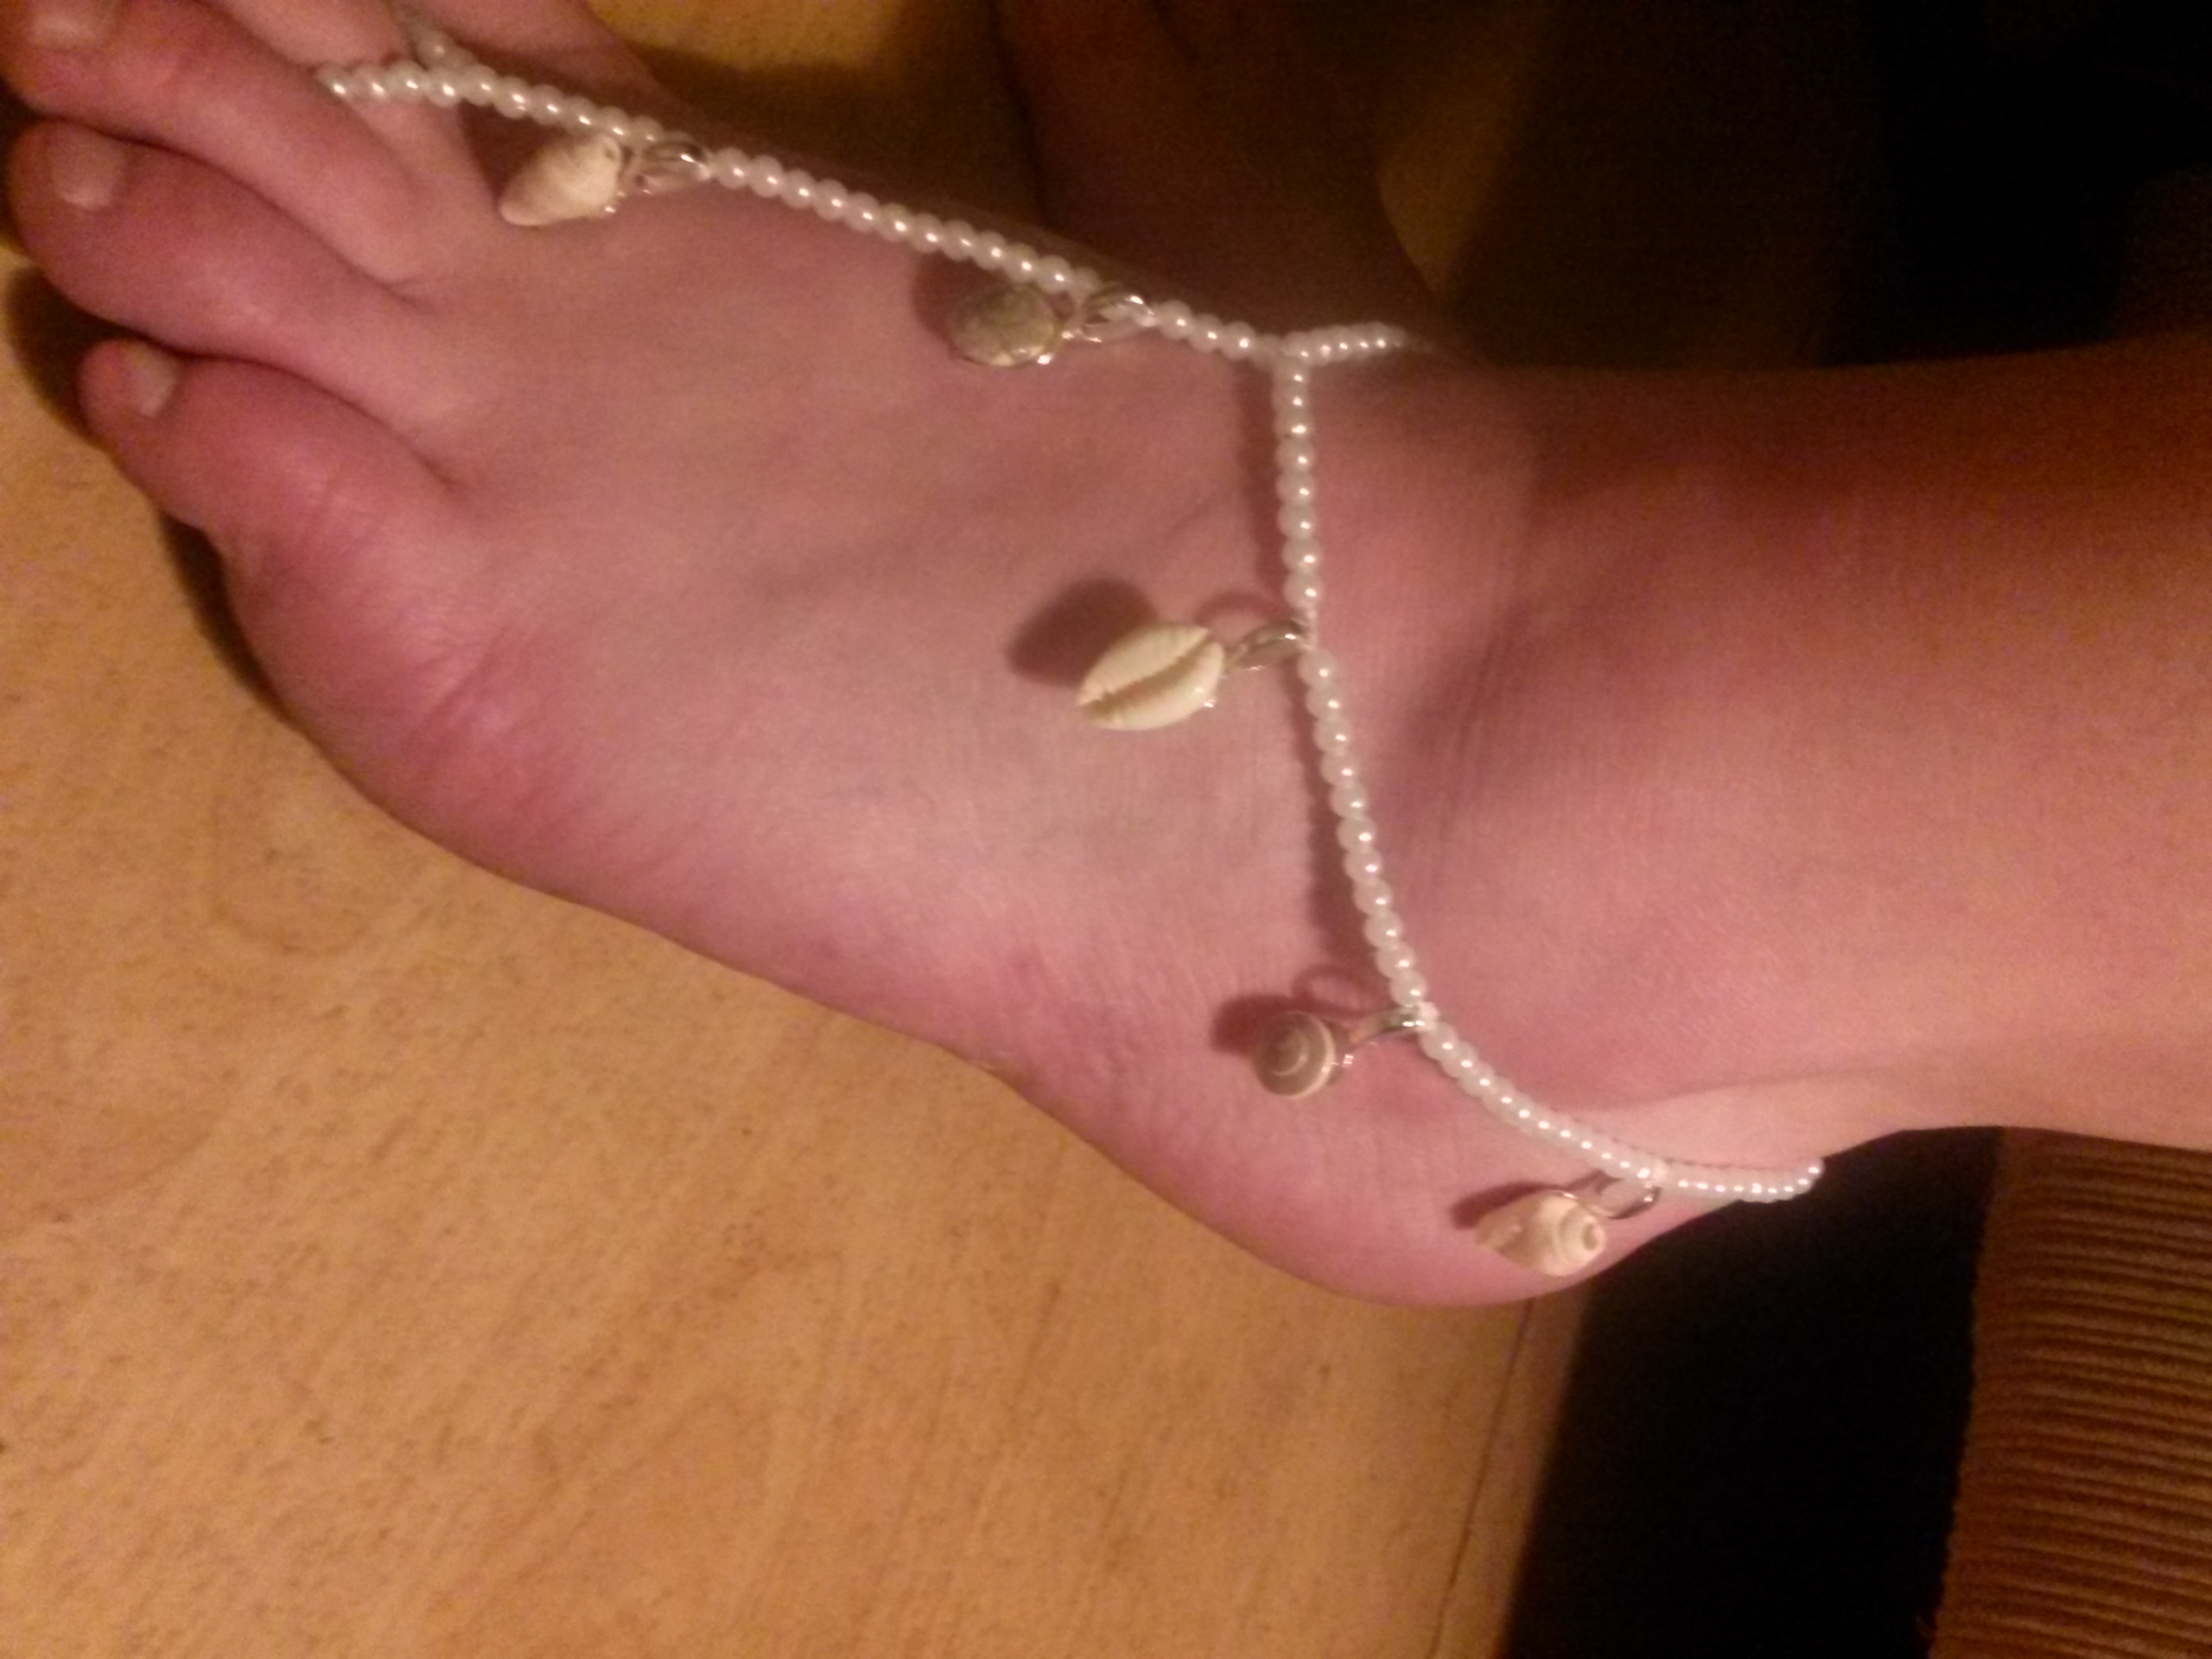
It's very easy to add charms or shells to your sandals. If they don't already have a way to connect them, some simple jewelry bales and a little E6000 glue should do the trick!
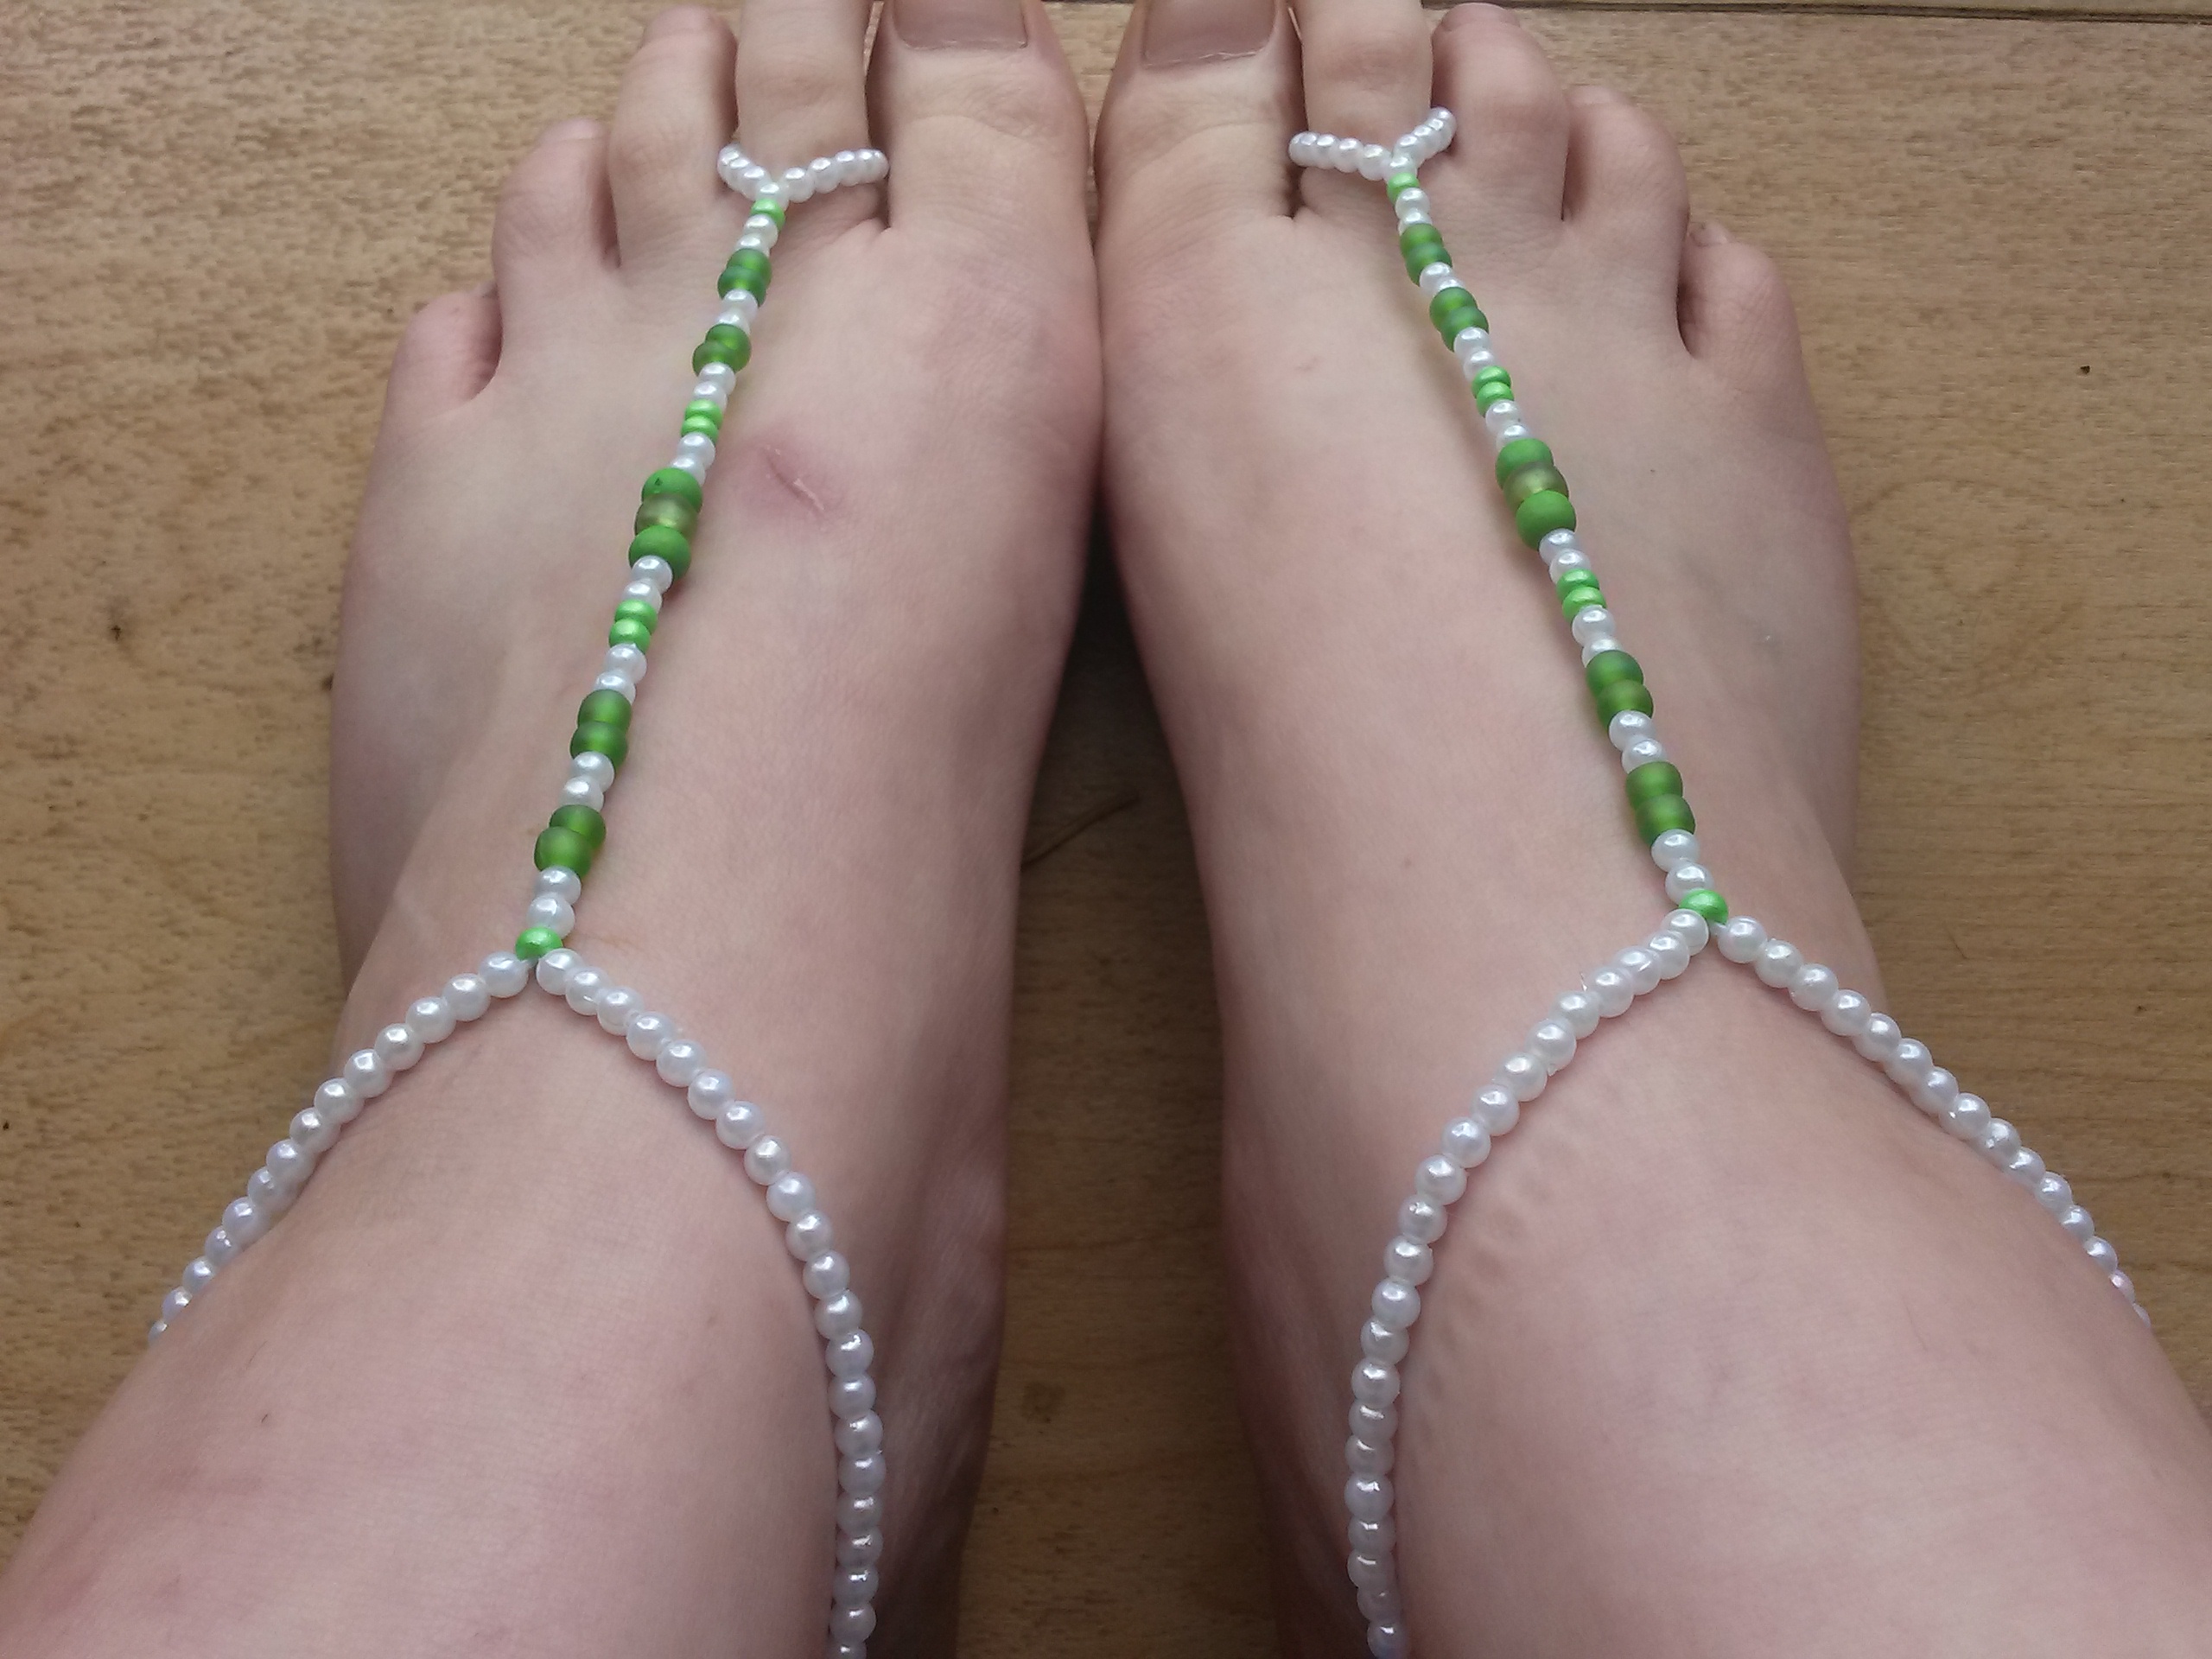
For the single strand look, just string all of your beads onto both ends of your string.
After the top portion of the sandal is complete (and number of beads or length noted to make your matching pair) string your beads on each strand individually, separating the strands to wrap around the ankle. Try them on and double check the sizing before you tie it off. If you're using a non elastic string, leave enough length to tie in a bow or to attach a clasp. If you used the elastic string, tie a double knot, pull tight and add a third knot for good measure. Cut the ends short. Again, note the amount of beads or the length of this section of sandal, then get started making that second sandal! If you use charms or jewelry bales with do-dads attached, make sure that you turn them the other way when making the second sandal so that they face out when worn.These are great to give as a gift, but be prepared, you'll want your own too!