After all your images are stamped, cut them out, leaving just a small sliver of white space around each image. This technique works with markers as well. You can draw onto tissue or stamp the outline of an image, then color the inside.
Don't worry if your tissue is wrinkled; it will even out in the coming steps. You may consider stamping extra images in case one tears while you're cutting it out -- tissue is very fragile and I ripped more than one stamped image when I was making my first candle!
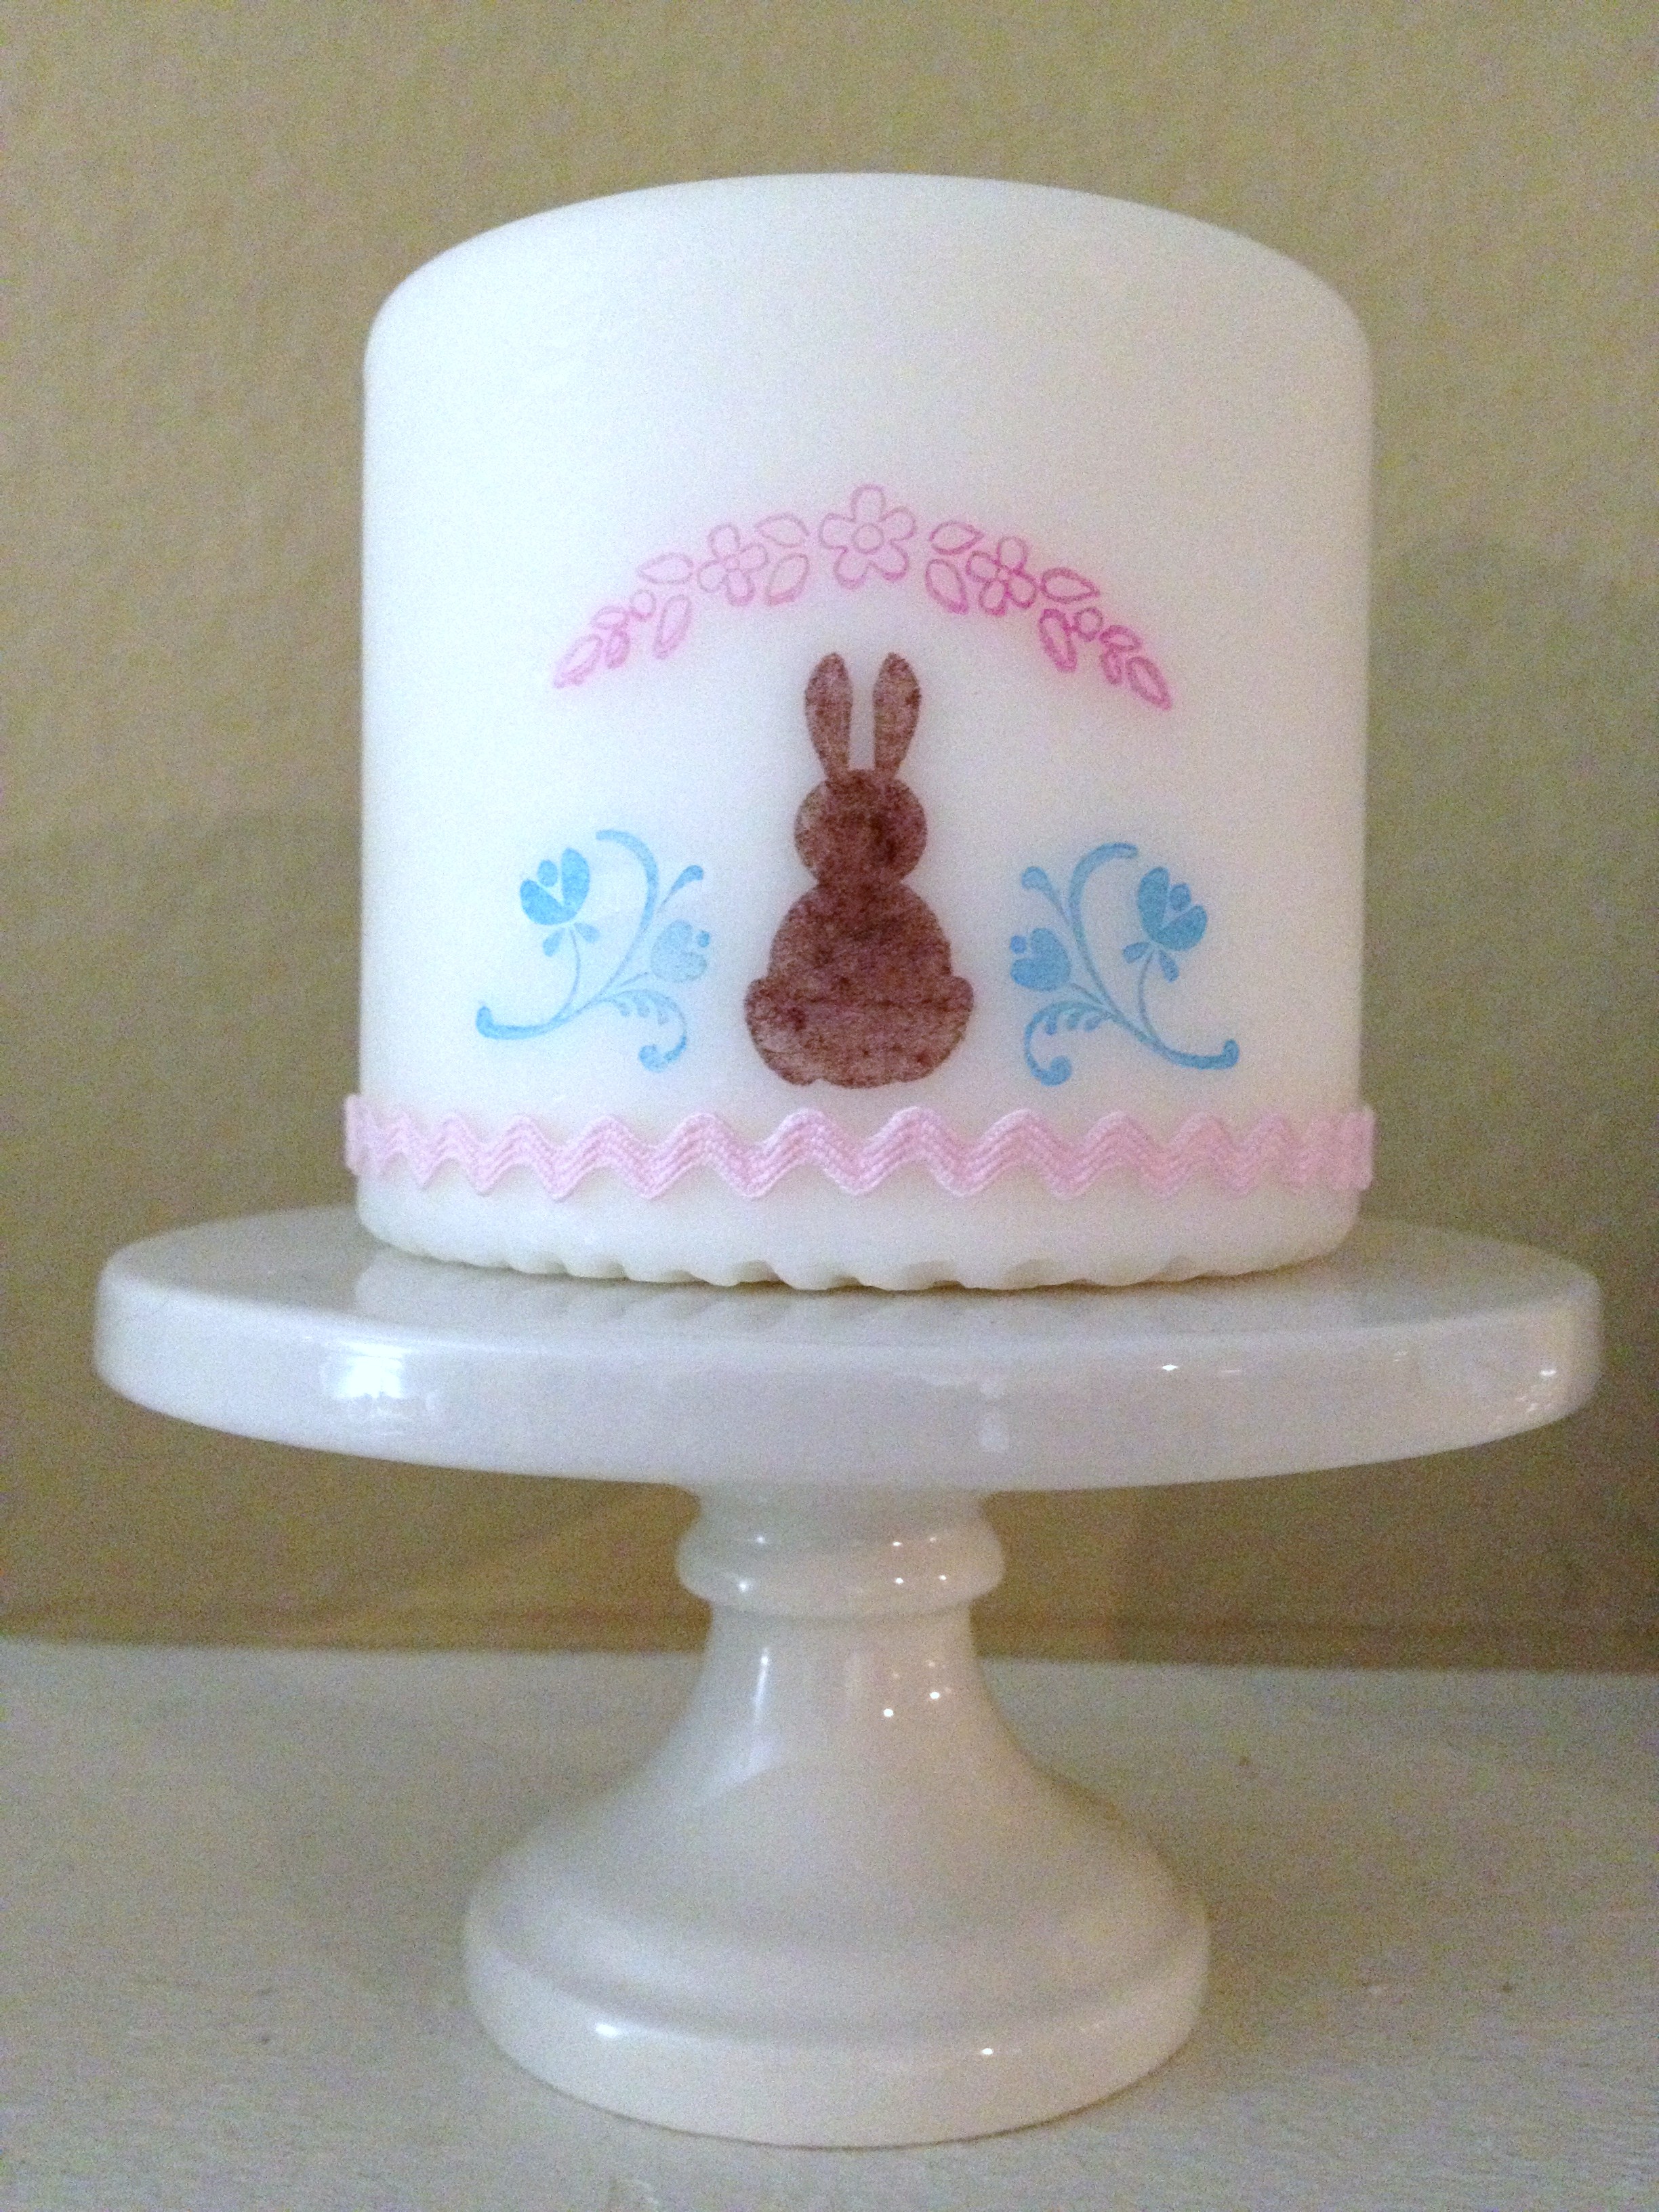
Bunny Candle

You might
also enjoy...

For this week's project we're going to take a plain candle and turn it into something gift-worthy! I chose to create a candle with an Easter theme, but the sky is the limit! Try a birthday or congratulations candle, or add a sweet quotation or favorite song lyrics for that special someone.
For this project you will need:
Supplies:
-White tissue paper
-White pillar candle (scented or unscented)
-Wax paper
Tools:
-Detail scissors
-Stamps
-Ink pad(s)
-Damp cloth (for cleaning your stamps)
-Markers (optional)
-Embossing heat-tool
Get creative and add some jewels or a ribbon to your finished product. Note that candles decorated with tissue are *not* to be burned and are for decoration only!
This project involves stamping onto tissue paper, so you'll need to use a craft board or old place mat beneath your project. Unfold your tissue paper so it's a single layer and stamp your desired images onto the tissue paper, pressing lightly so the ink doesn't bleed. You may want to practice stamping on some scrap tissue, as it's very different from stamping on regular paper.
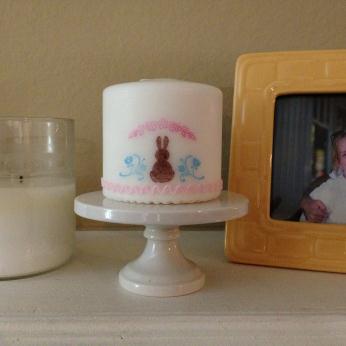
I chose to use a bunny stamp and some flowers, to create an Easter-themed candle. Your images do not need to be stamped on the paper the way you want them arranged on the candle, so if you accidentally mess up on one image, there's no need to start all over again! We'll be cutting out each piece individually before we place them on the candle.
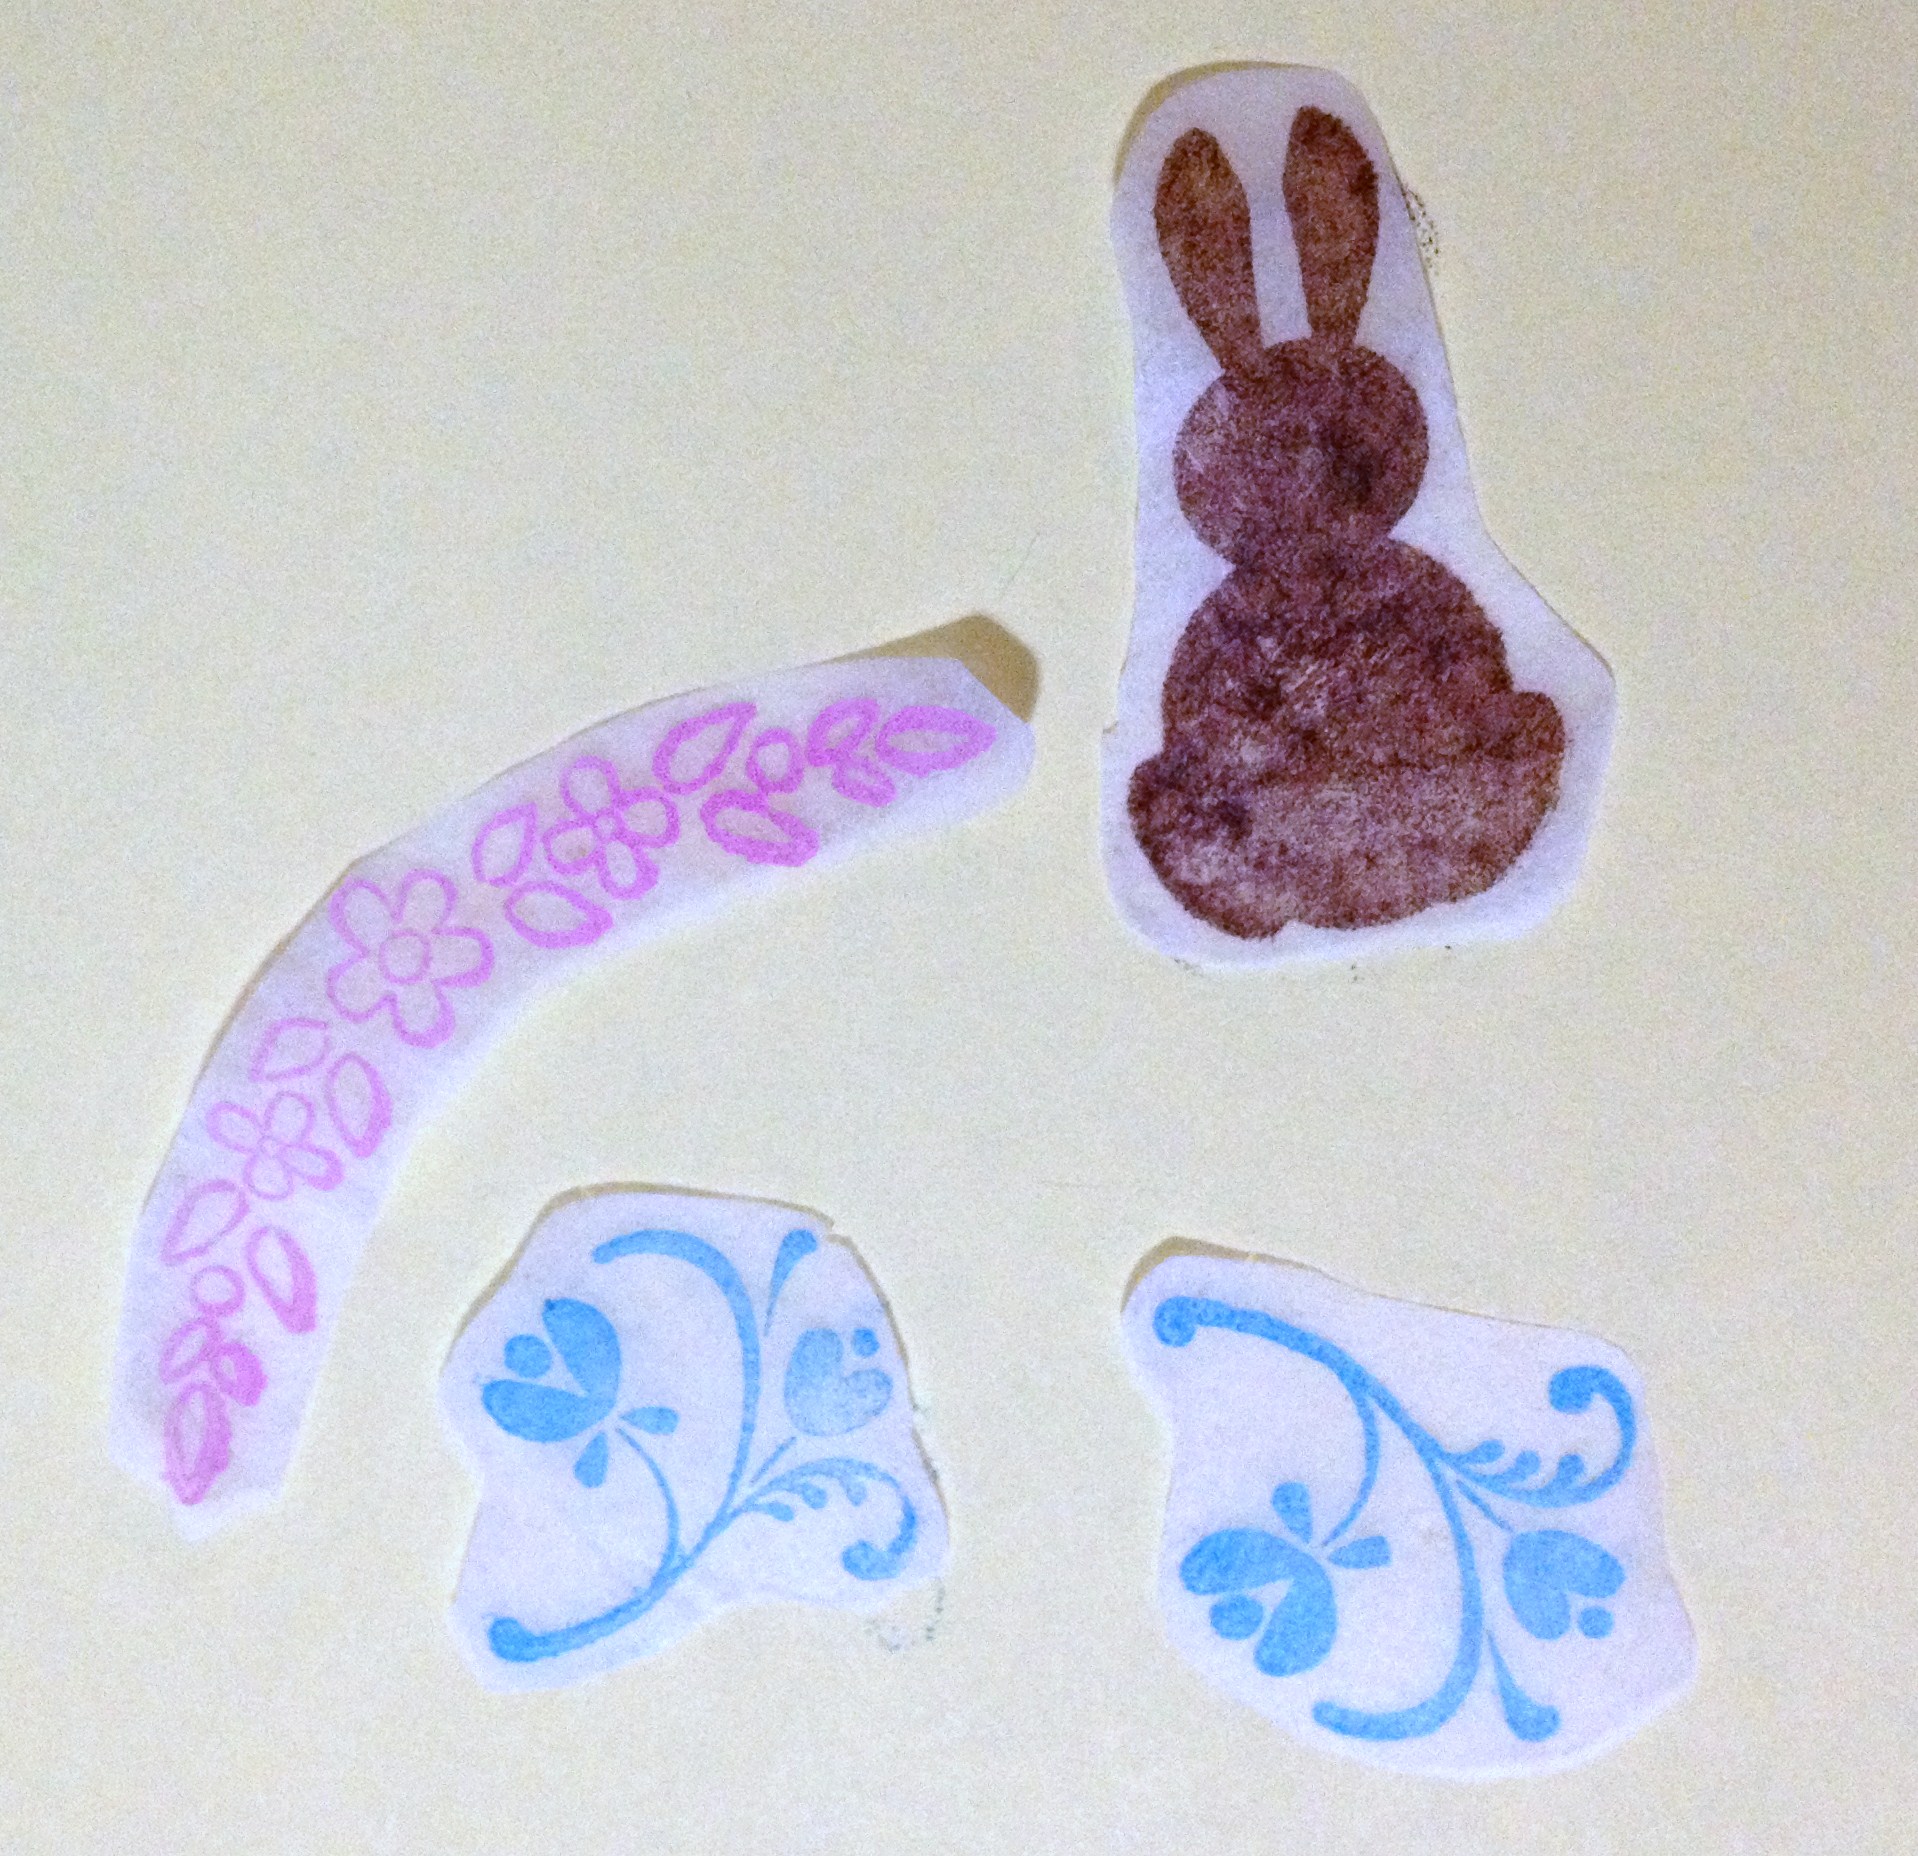
One cool thing about stamping onto tissue is that you can use the same stamp on both the front and the back of the tissue, and because it shows through, it will create the same image facing different directions. I used the flower stamp twice because I wanted one on either side of the bunny stamp, so I stamped once on each side of the tissue.
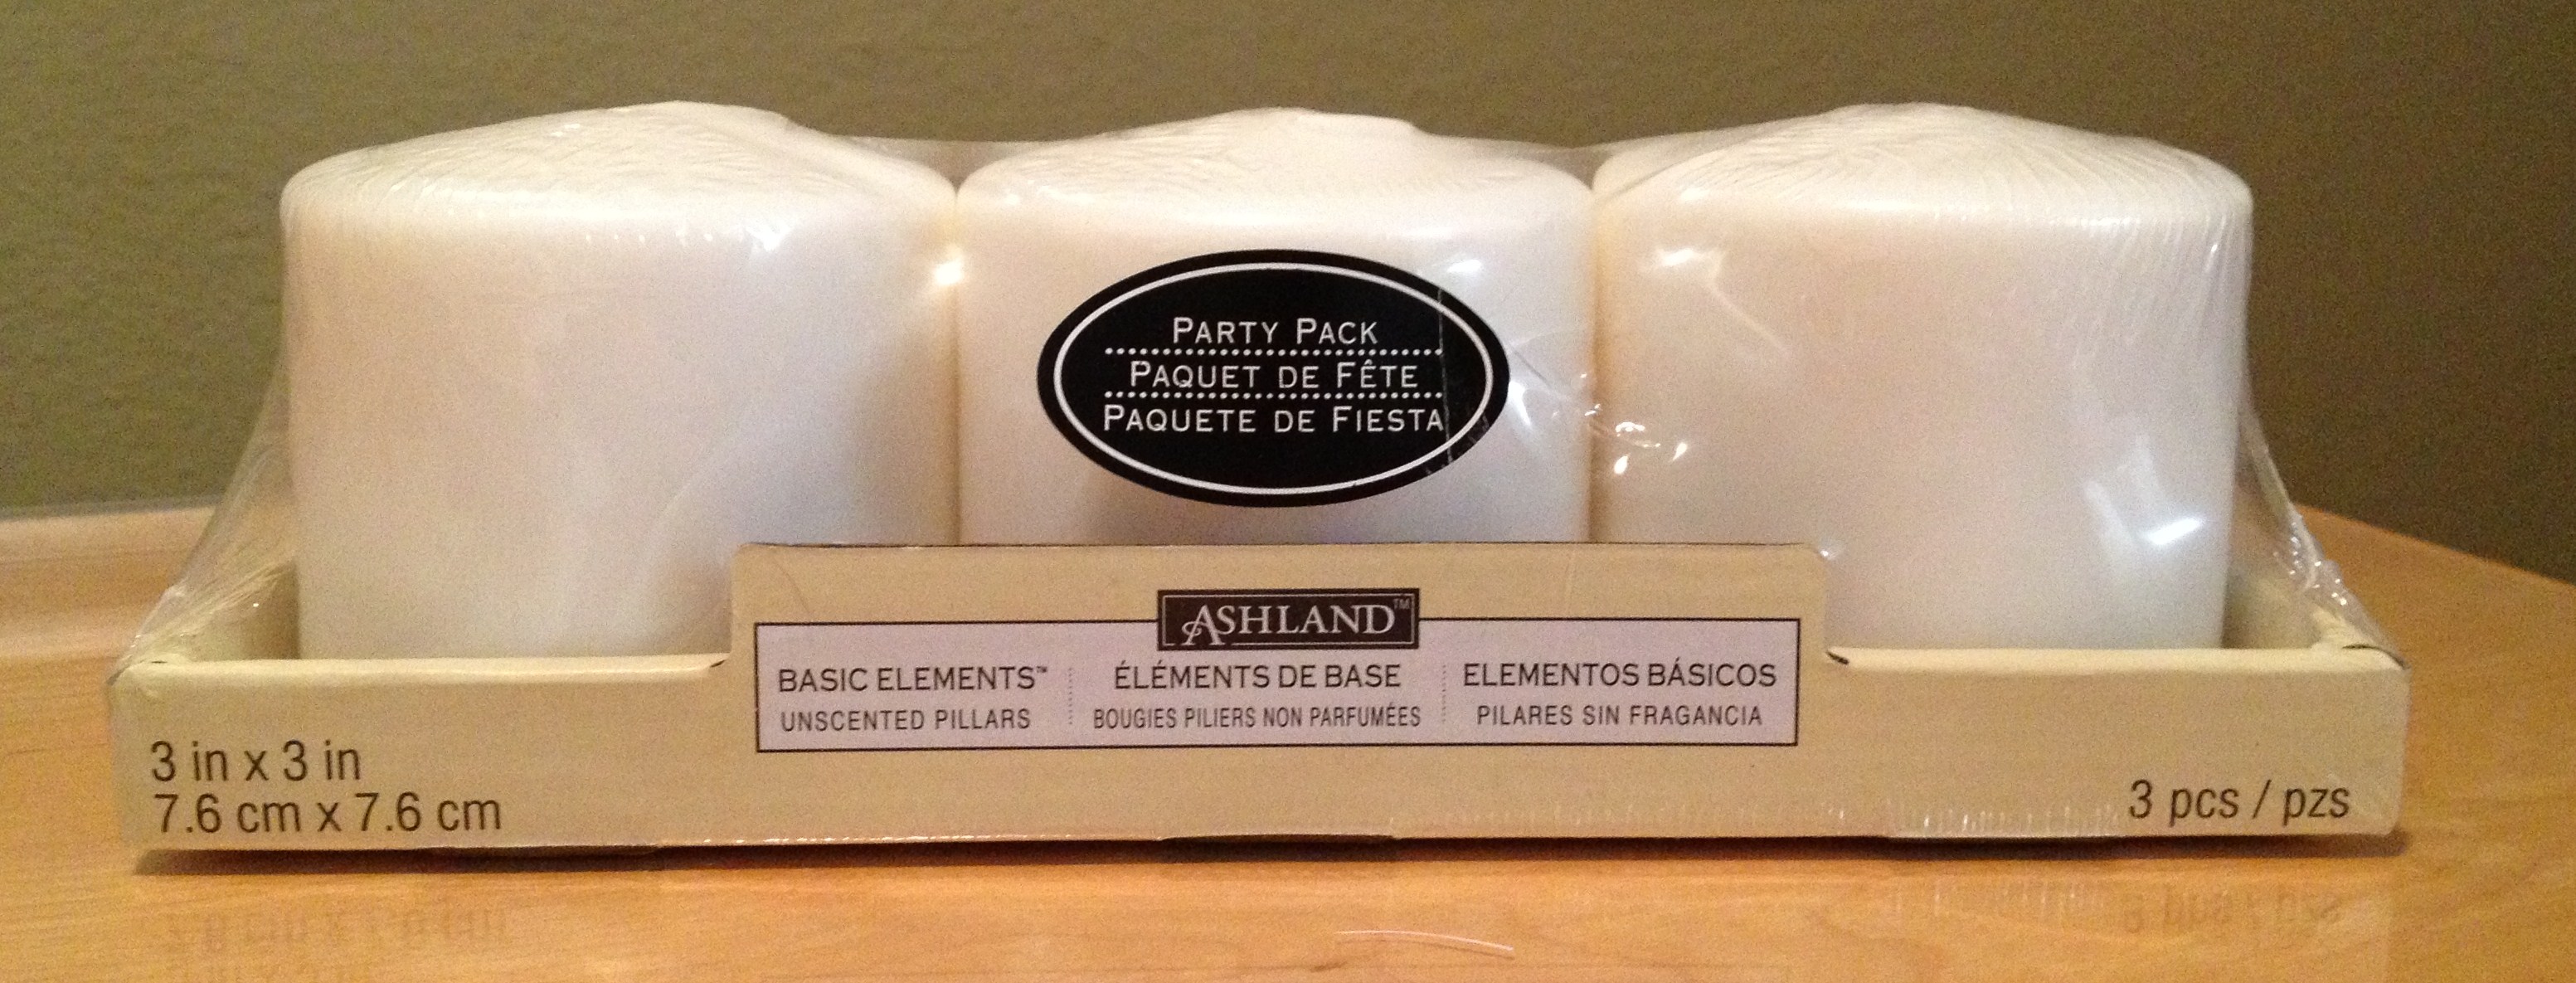
Now get your candle and wax paper ready. I found a three-pack of candles at Michael's for under five dollars, when I used my 40% off coupon.
Tear off a piece of wax paper large enough to wrap around your candle. Place your cutouts onto the candle and the wax paper on top of it. Hold it tightly in the back and use your heat tool to melt the tissue paper onto the candle. This will only take 5-10 seconds. Make sure not to heat it too long, or your candle will begin to melt.
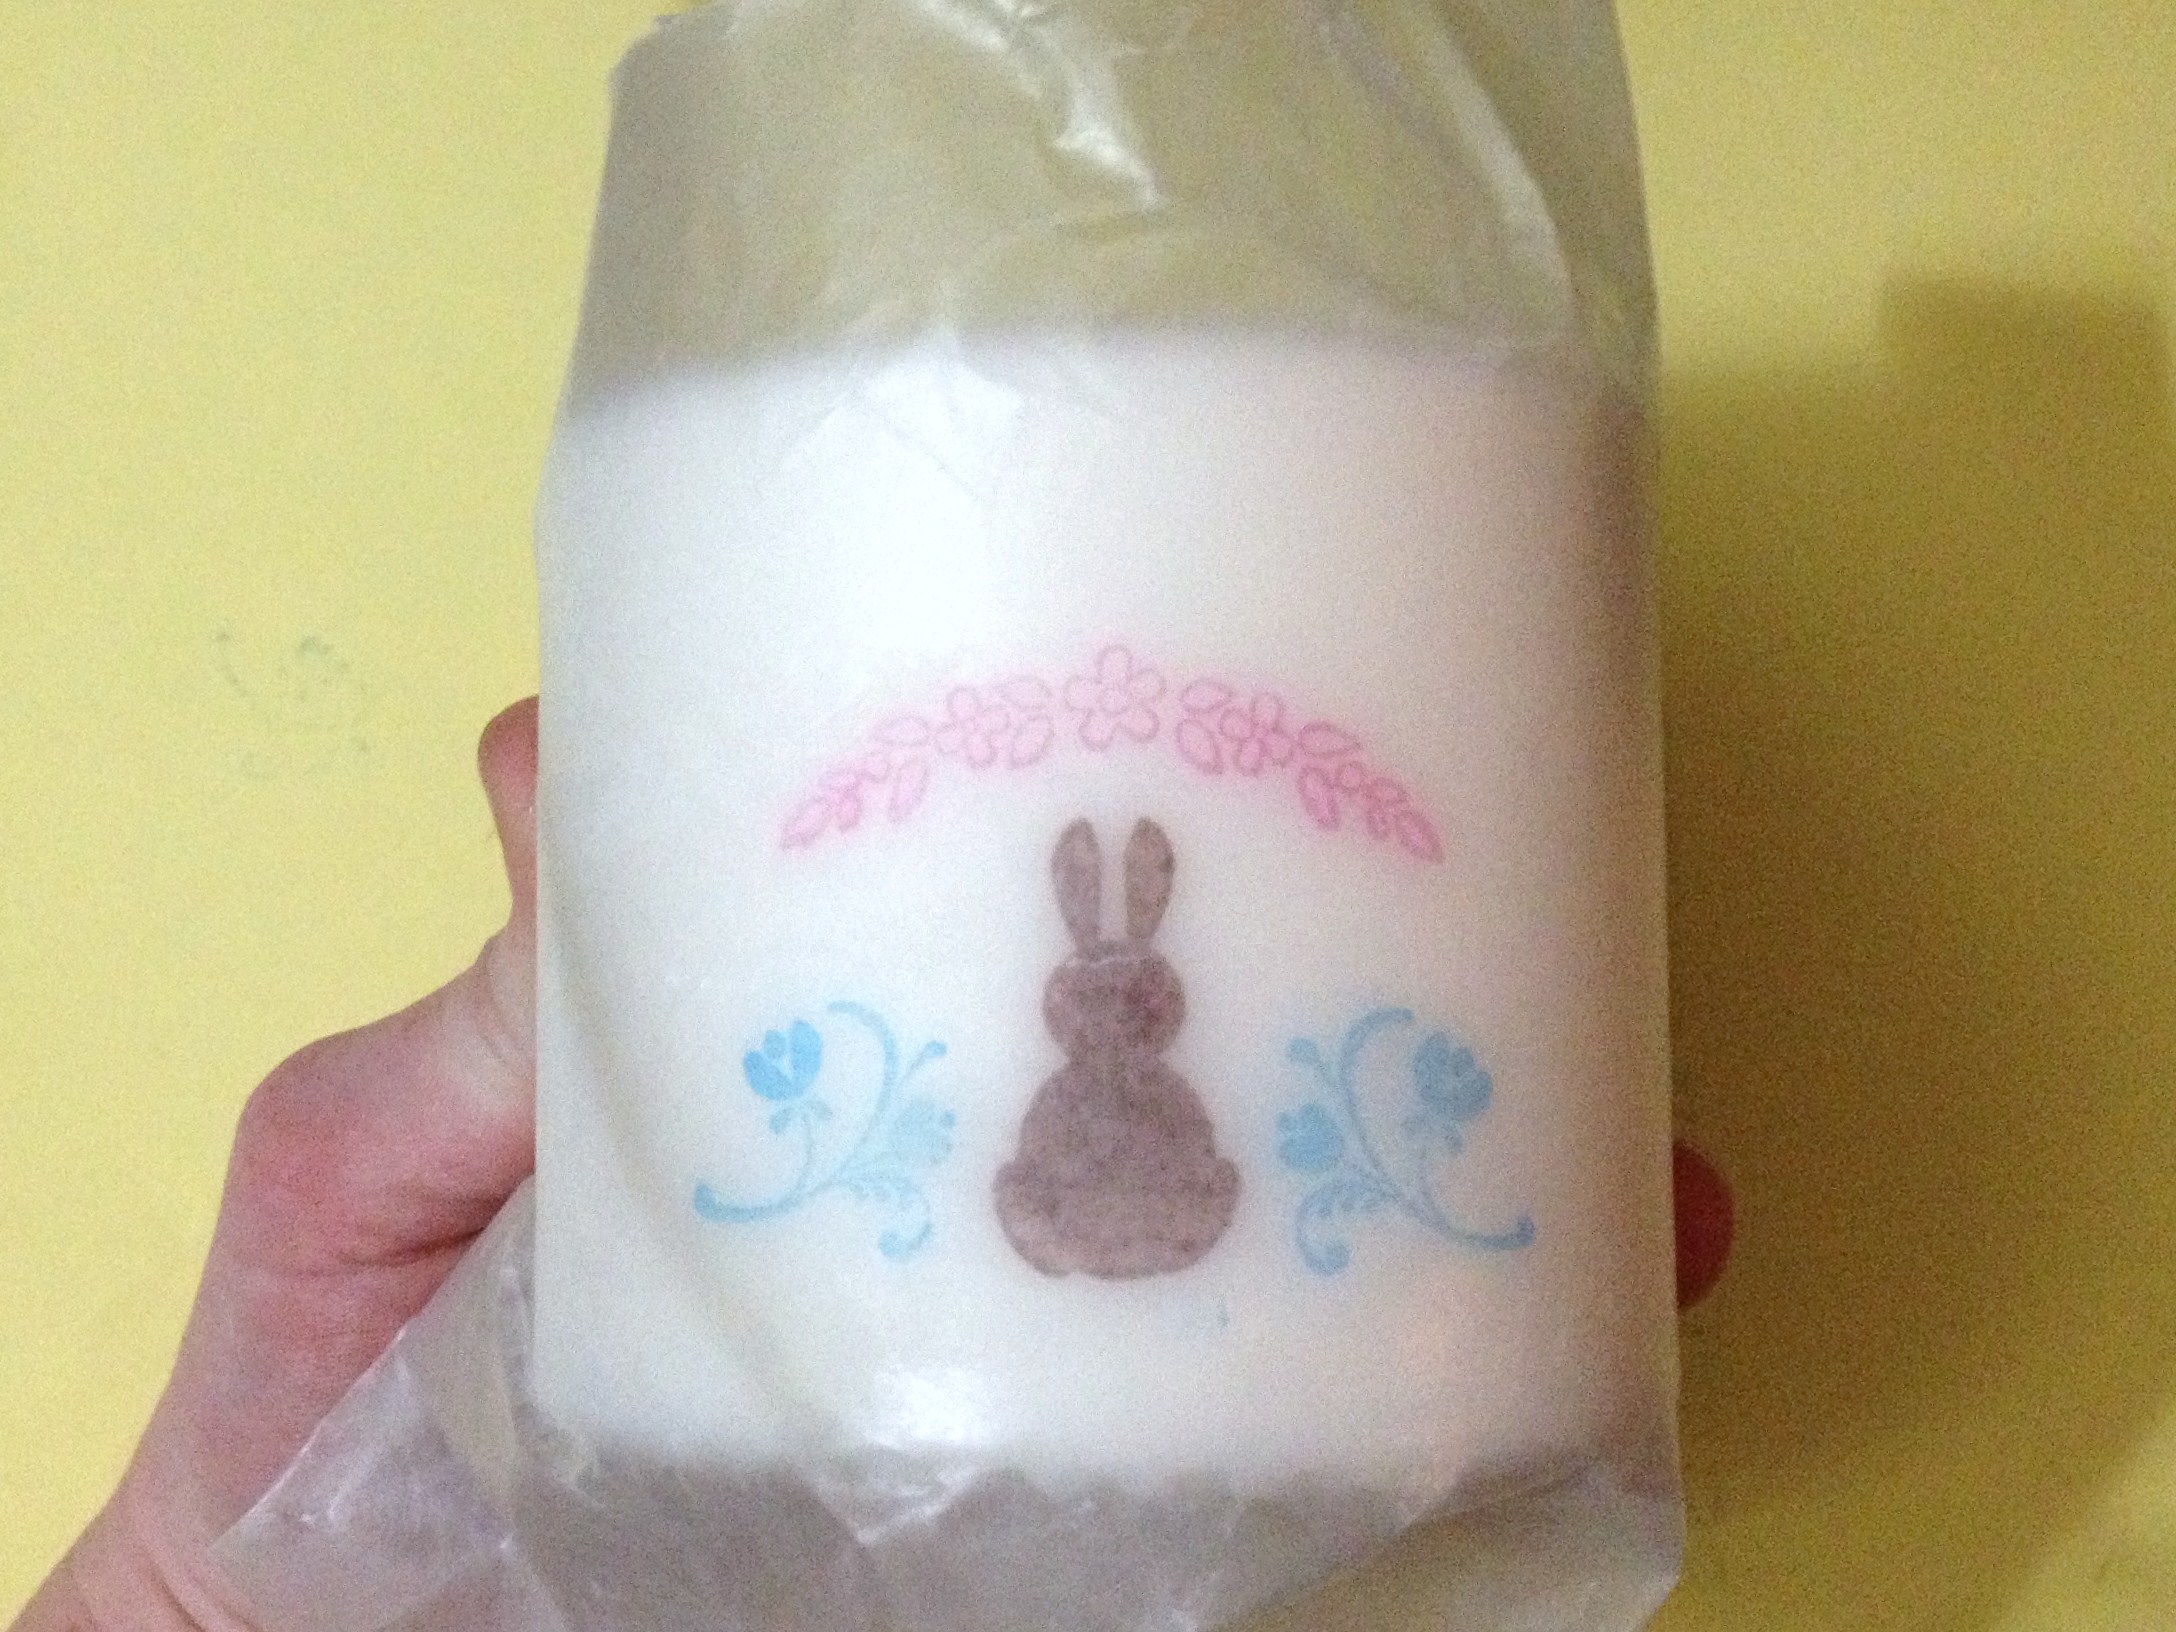
Let your candle cool for about 10 seconds before slowly peeling off the wax paper. It may take two or three steps to melt all of your images onto the candle, but keep in mind that the wax will melt a little more each time, so add as many images as you can at once so your candle doesn't begin to drip or get misshapen!
Disclaimer: Please note that some of the links in this post are affiliate links. There is no additional cost to you, but The Scrap Room will earn a small commission should you choose to purchase through those links. Thank you for helping support our business!