Supplies and Materials:
-Scissors
-Ruler
-Black marker
-Paper cutter (optional)
-Glue stick or double sided tape
-A2 card (4.25” x 5.5”) or 8.5” x 5.5” piece of card stock, creased and folded in half.
-Baker’s twine or ribbon
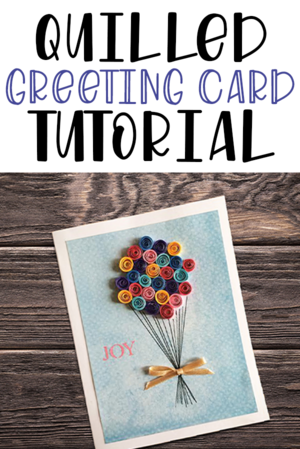
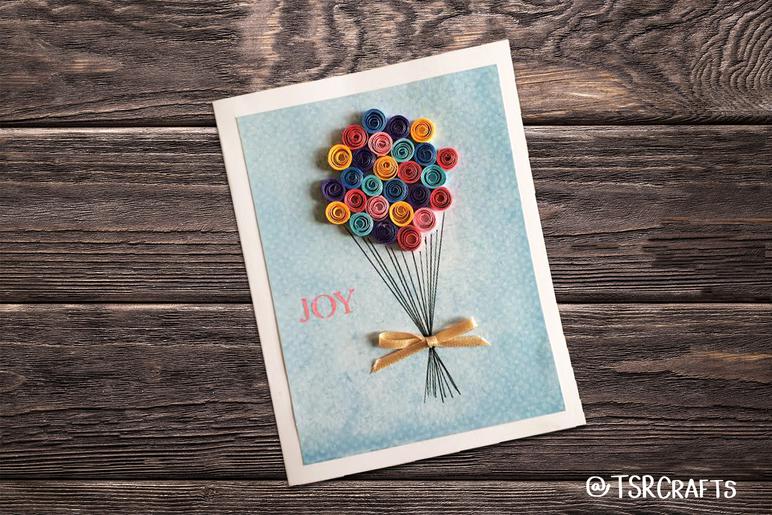
Everyone loves handmade cards! They are thoughtful and personalized; opening one can't help but make you feel loved and special. This handmade card is one of my favorites -- easy to make, yet always impressive to share! There's just something so fun about how the paper balloons jump off the page. A simple handmade card with a BIG affect. :)
Since this card is something that you could easily personalize with the right text, feel free to make a few all at one, then save them for a later occasion. You can play around with all different color schemes. Bright, soft, monochromatic... this card looks good in any shade! So grab your favorite bundle of quilling paper and let's get started!
Begin by cutting out a piece of blue or yellow card stock, just slightly smaller than your card size. Adhere to the front center of your card so a small white border shows around the edges. I chose blue to look like the sky.
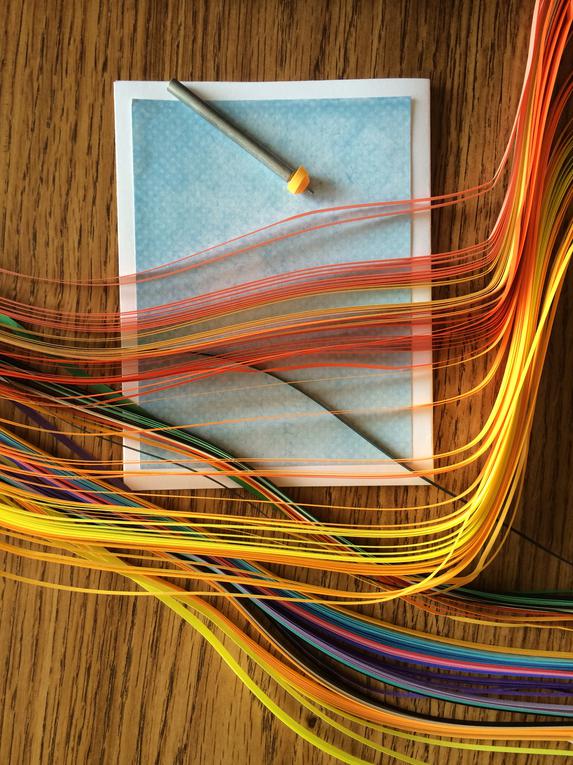
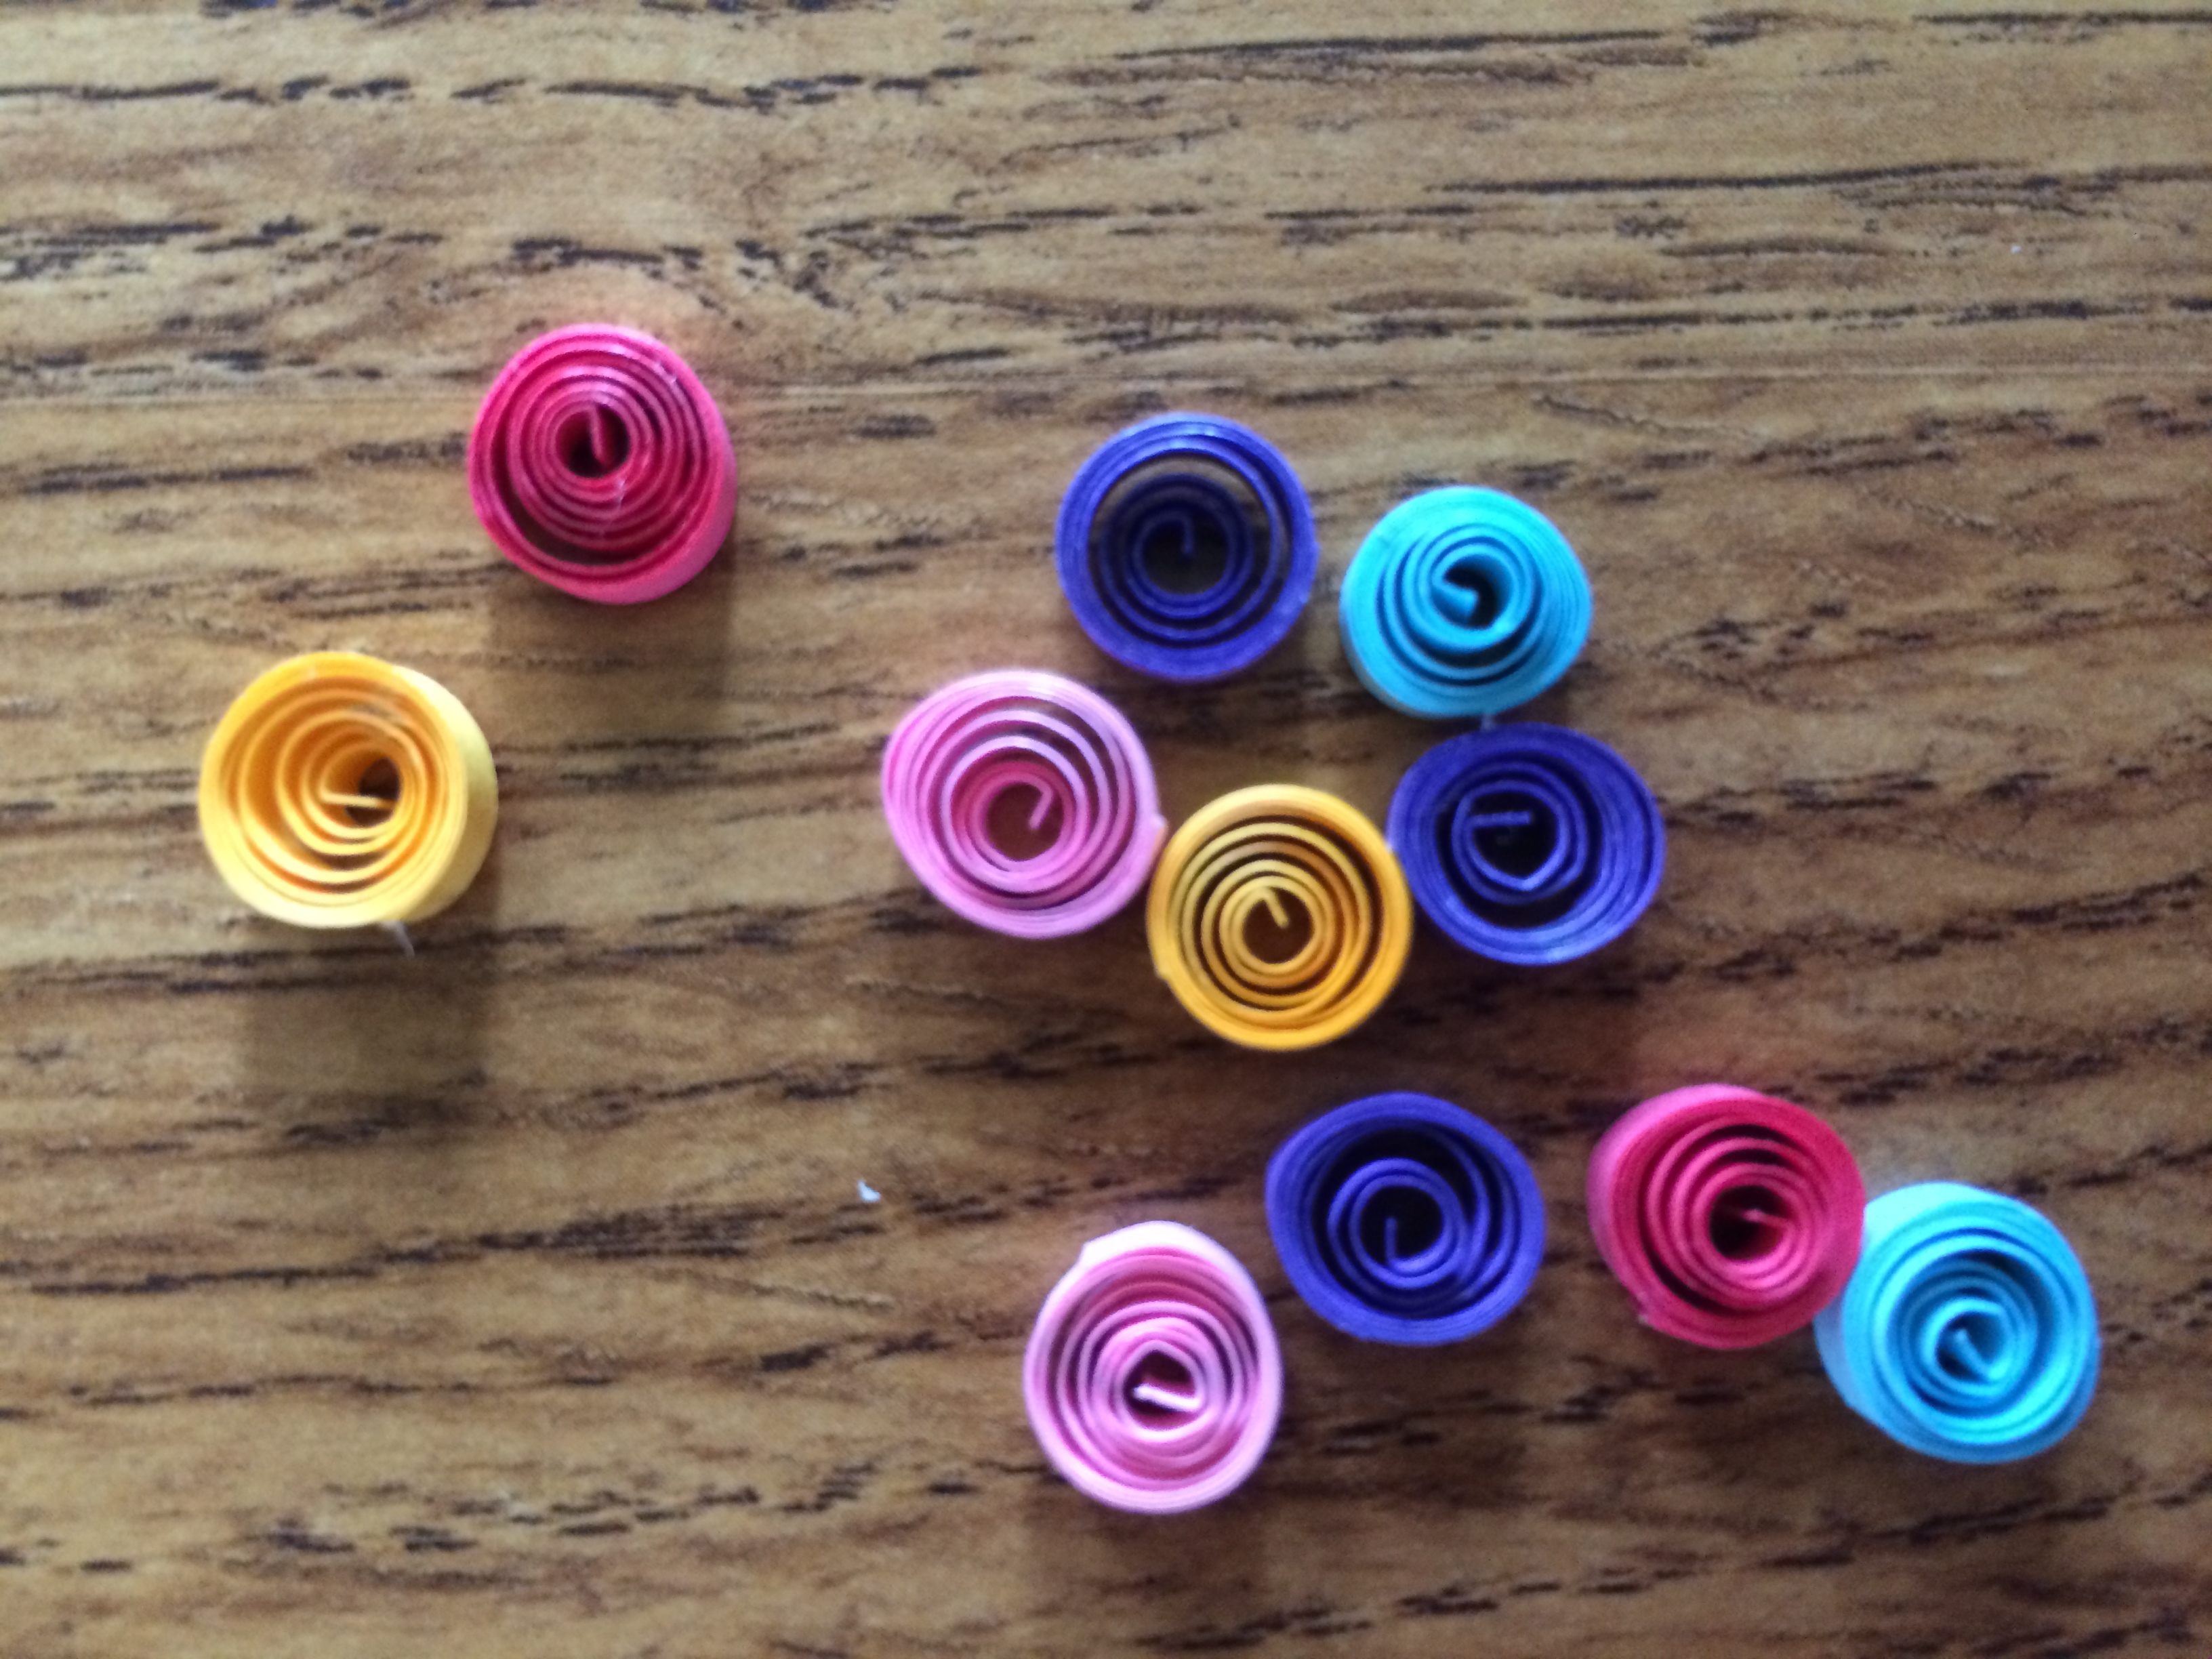
Now cut your quilling paper into 6” strips and make some basic circles. You will need approximately 25-30. Try to keep them roughly the same size.
To quill a circle, insert the end of your paper into the quilling tool and wrap the entire 6” strip around it. Remove the paper from your tool and let it loosen up a bit before you use a small dab of glue to adhere the end.
Once your circles are ready, attach them to the front of your card. I have found that the easiest way to apply glue to the quilled circles is to squeeze some Elmer’s glue onto a scratch piece of paper, then dip the circles into it and place onto the card.
When all your circles are attached, use your ruler and marker to draw straight lines that begin at the balloons and intersect toward the bottom of the page; these are the balloon strings.
Next tie a small bow with your ribbon or baker’s twine and adhere. If you want, you can add a stamp or rub on letters to either side of the balloons.

You might
also enjoy...
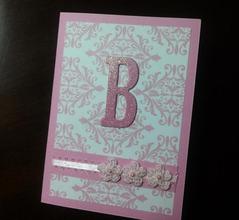
Basic Quilled Card
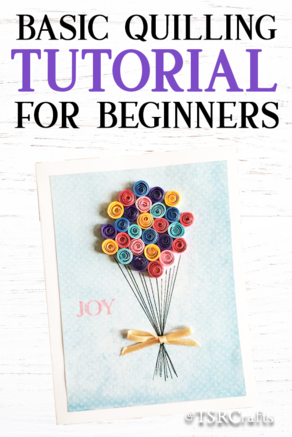
New to QUILLING CRAFTS? Here's a super easy card to get you started!
Ready to try your hands at QUILLING? START HERE! This card is so easy to make and will help you get used to working with this kind of paper! Follow along and make one yourself! You could adapt this card for birthday, just because, sympathy -- just about anything!
If you enjoyed my tutorial or found value in it, I'd appreciate it if you gave it a little love on social media!
Disclaimer: Please note that some of the links in this post may be affiliate links or ads. There is no additional cost to you, but The Scrap Room will earn a small commission should you choose to purchase through those links. Click here for my full disclaimer. Thank you for your support.


This is such an easy project to do, and definitely needs to be on your "Make" list! Bookmark this page if you haven't already, or save it for later on Pinterest.
Share your handmade cards in our Facebook group DIY Projects and Craft Chat, here, and checkout what everyone else has been making!
Wow! That was EASY, right? This is such a great concept to stash away for a rainy day! There are so many different ways you could apply it... add a hot air balloon basket, a house, a heart, a person, a message... the sky's the limit! (hehe, get it?! 😂) Just make a few alterations, change the text, and you've got an almost completely different handmade greeting card for a different occasion!


