Mason Jar Madness
Handmade Card Tutorial
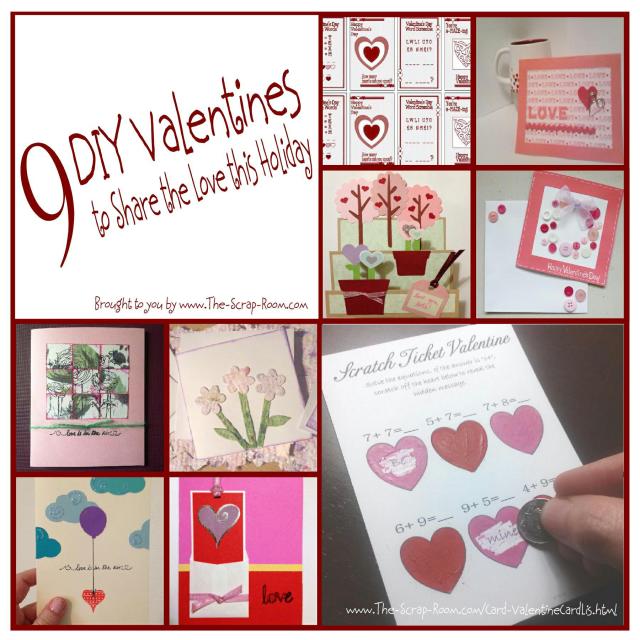
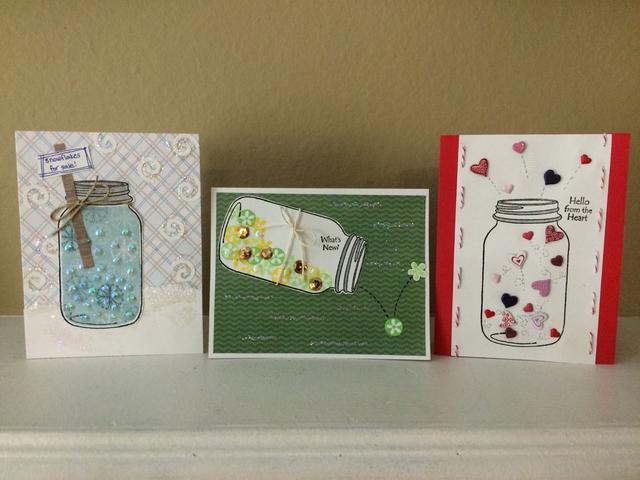
When it comes to mason jars, the crafting possibilities are endless -- and that includes greeting cards! Follow our step-by-step tutorial to recreate one of these bright and cheerful cards designed by Leslie or use them as inspiration to create your own!
Mason Jar Cards
Tools/Supplies:
-Double-sided tape
-Glue
-Scissors
-Paper cutter (optional)
-Blue ink pen and silver glitter pen (silver)
-Snowflake paper punch
-Paper piercer and guide
Stamping Products:
-Mason jar stamp -- stamp pictured is by Inkadinkado
-Miniature flower stamps, approx 1/2" in diameter -- Stampin' Up's "Little Pieces" shown here
-Black, yellow and green ink pads -- I like to use StazOn, which is doesn't smudge
Embellishments:
-Gold and opalescent sequins
-White glitter
-12" length of yellow or green baker's twine
-Two 6" pieces of red or pink baker's twine
-8" piece of natural twine
-Red, pink and purple heart shaped brads and/or eyelets
Paper:
-Three A2 cards: one white, one red and one blue plaid or striped (or card stock cut to size: 8.5" x 5.5", folded in half)
-8.5" x 11" white card stock
-Patterned snowflake paper -- large enough to accommodate your mason jar stamp
-4" x 5.25" patterned paper -- try to match this with your yellow and/or green ink pads
Brown paper scrap: approx. 1/4" x 3"
Glue your opalescent sequins onto the snowflake patterned paper and set aside to dry.
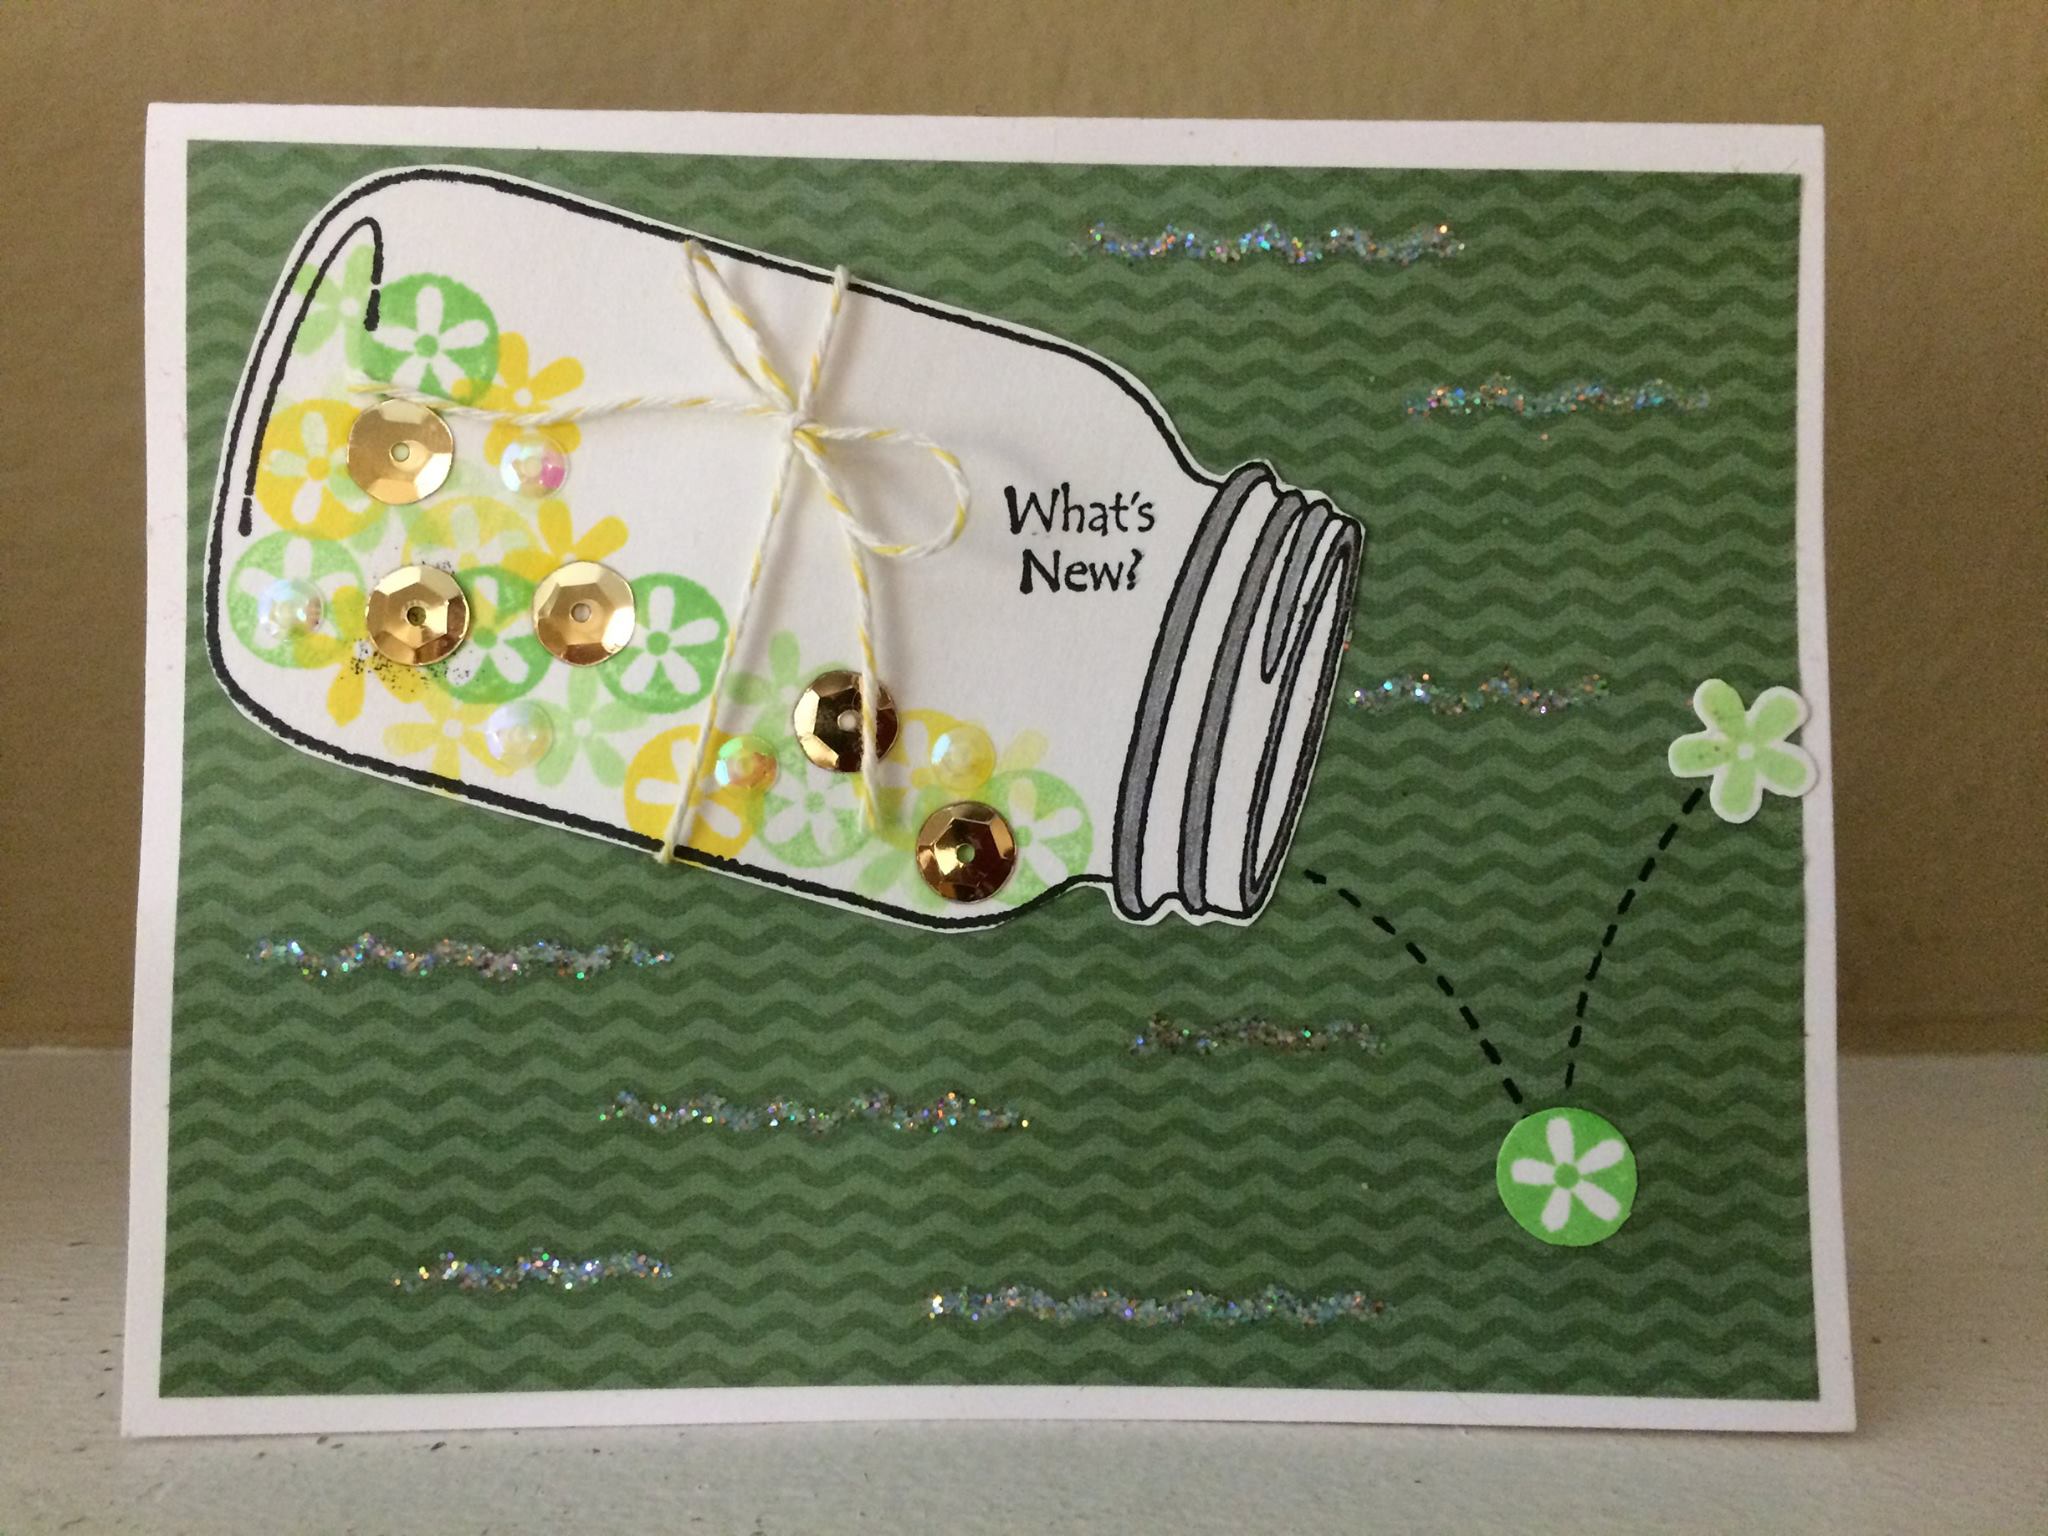
Grab your other mason jar cutout and use your flower stamps (with the green and yellow ink pads) to stamp the area from the top right corner to the bottom left corner (see photo below). Stamp two to three times without re-inking. Stamp two extras (freshly inked) on a scrap of white card stock and cut out. Tie a bow around the middle of the jar with the 12" piece of yellow or green twine. Next glue your gold and opalescent sequins randomly throughout the stamped area. Set aside to dry.
Looking for more craft ideas? Search our website below! Look up projects by supplies, categories, themes and more or visit our main craft page to browse through our entire library.
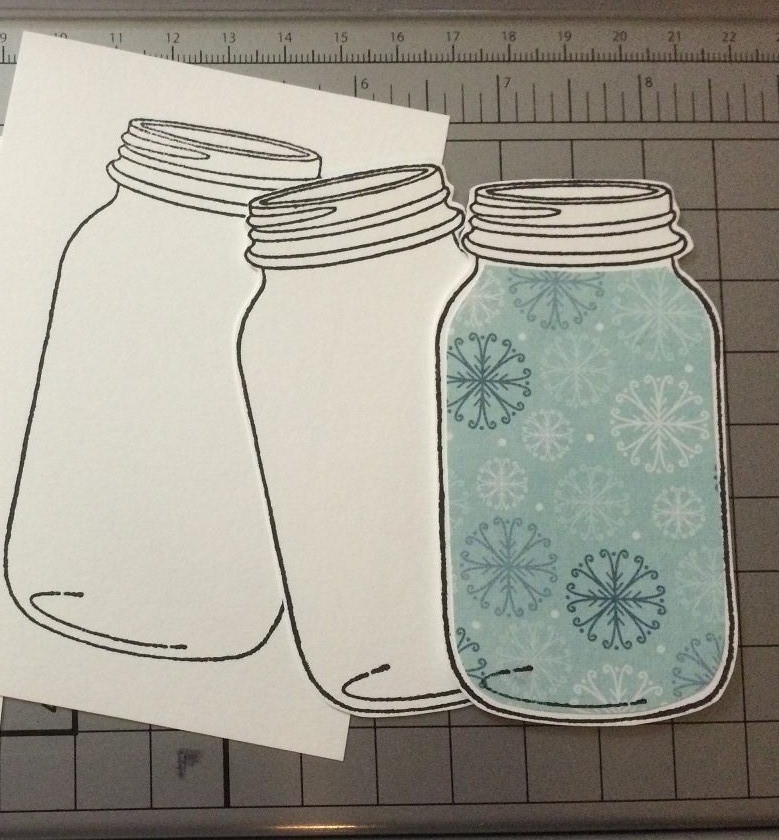
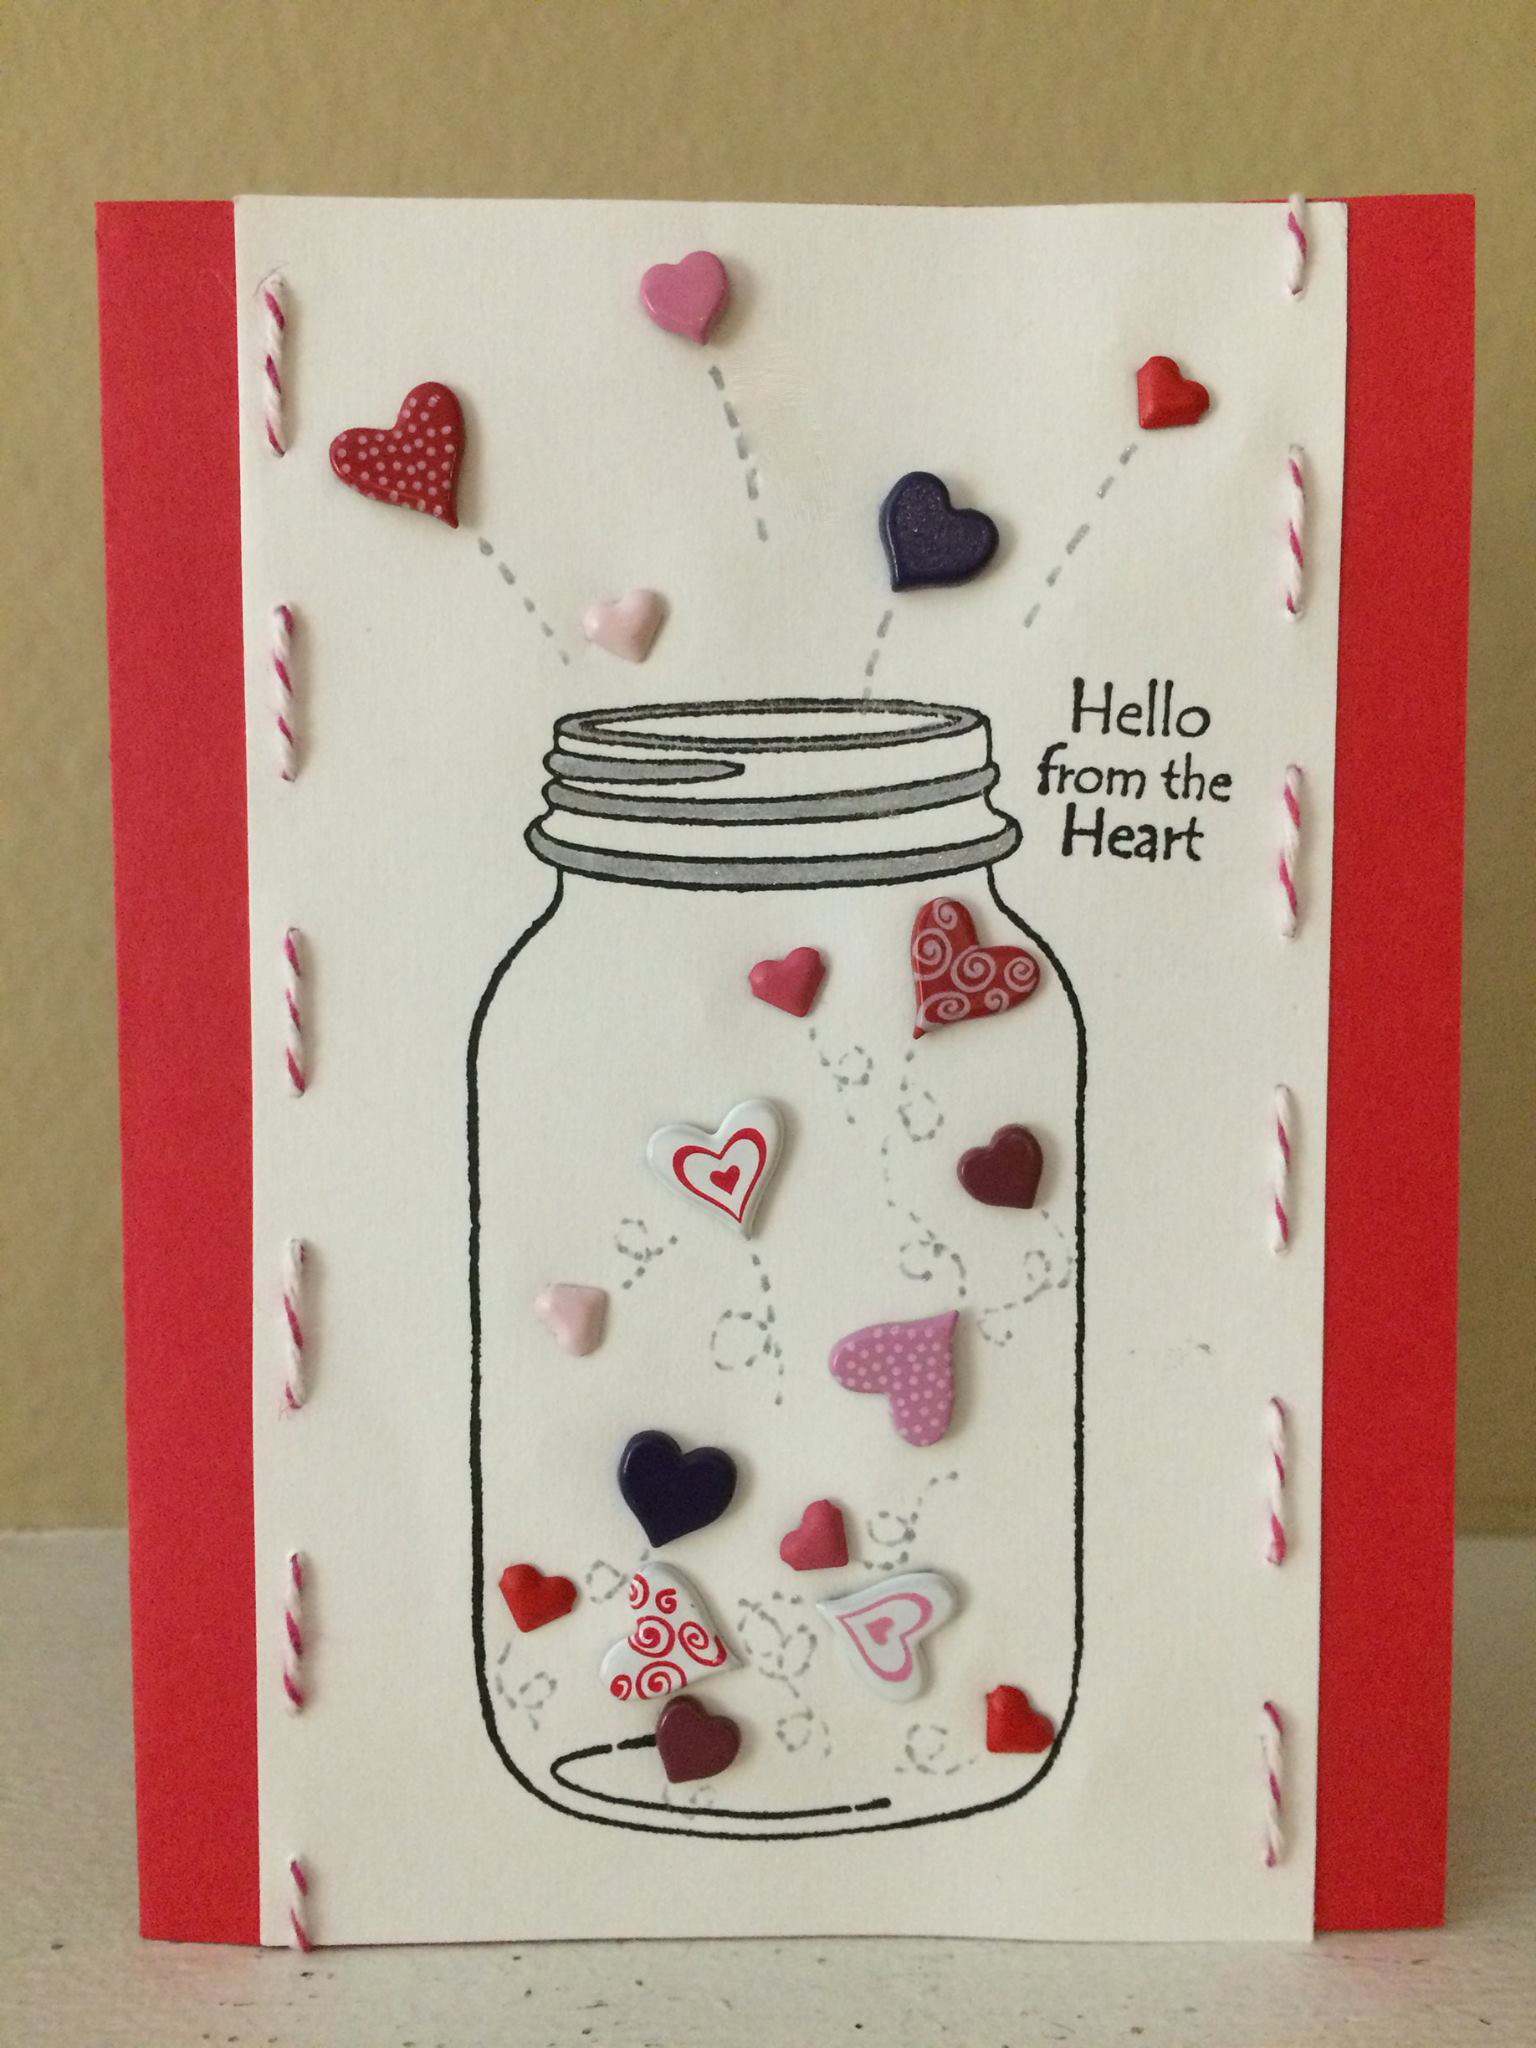
Begin by cutting your piece of white card stock in half. Set one half aside. Cut out a 3.5" x 5.5" rectangle and stamp your mason jar at the bottom center. Stamp two more jars on the other half of the paper and cut out the images, leaving a narrow border around the edges.
Stamp your mason jar one more time on your snowflake paper. I found the perfect pattern in my DCWV "Year Round" stack. Cut around the inside of the stamp, excluding the lid, and adhere it to the inside of one of your white cutouts.
Select 12-15 heart shaped eyelets and/or brads in different sizes and add to the inside of the mason jar on the 3.5" x 5.5" sheet of white card stock, with some above the top of the jar to look like they're "escaping". Use a glitter pen to color the lid of the mason jar. I like to use a mini hole punch (1/8") on my paper before I insert a brad so it doesn't wrinkle the paper. Draw swirly dotted lines behind each heart.
Adhere the decorated mason jar paper to the center of the red A2 card and use your hole puncher to punch holes down both sides of the white paper's edge. Weave your red twine through and tape the inside down. Make sure to use an even number; I used an odd number and ended up with one end of twine above the card instead of inside! Finish with a sentiment stamp or write a message with a marker in a coordinating color.
Rip a 2" x 4.25" piece of white paper across the long side and adhere to the bottom of your blue patterned card. Once the sequins on your snowflake mason jar are dry, color in the lid with your silver pen and glue onto the "snow" hill. Tie your piece of twine around the neck of the jar, insert your length of brown paper beneath, and adhere in place. Cut a piece of white paper into an asymmetrical rectangle and write "snowflakes for sale" in blue pen. Adhere to the top of the brown paper. Punch out a handful of white snowflakes with your punch (I couldn't find mine so I used a swirl instead) and use them to fill in the blank space around the jar. If you want, accent with a glue pen and glitter.


For the last card, glue your green or yellow patterned paper onto the blank card, leaving a small white border around the edges. Note that this card will be wider than it is tall, so the fold should be at the top. Adhere your mason jar at an angle, and glue your two cut out flowers in front of it so it looks like they fell out. Add dotted lines for the "bounce path" and accent with glitter. Color the lid in with your silver pen. Add a sentiment stamp and you're done!
You might
also enjoy...
Disclaimer: Please note that some of the links in this post are affiliate links. There is no additional cost to you, but The Scrap Room will earn a small commission should you choose to purchase through those links. Thank you for helping support our business!