You might
also enjoy...
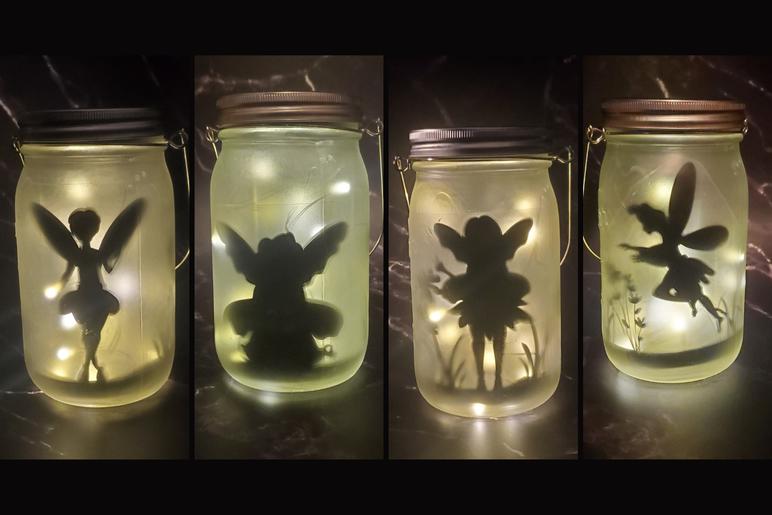
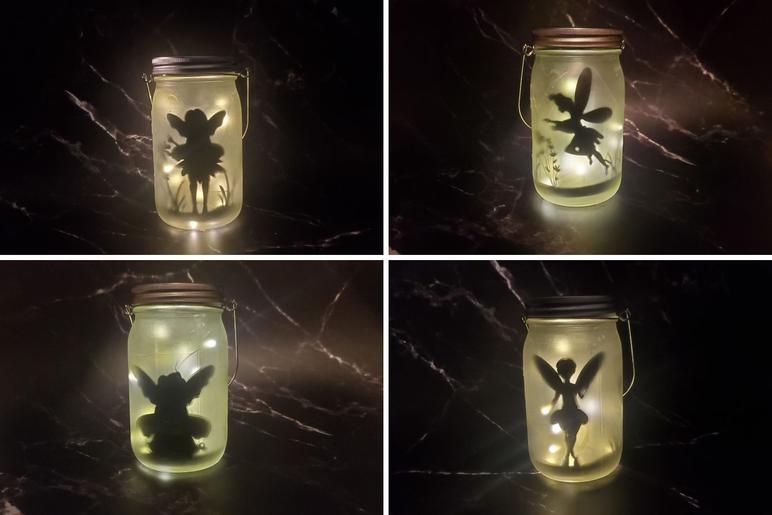
DIY Solar Jar Lanterns
Turn your old jars into cute solar lights for your garden
These little solar lights are adorable and really easy to make! Light up your porch, yard, garden, or give them as gifts to your fairy loving friends and family!
Perfect for upcycling your old glass jars!
For this project you will need:
-Compatible Electronic Cutting Machine for Crafting
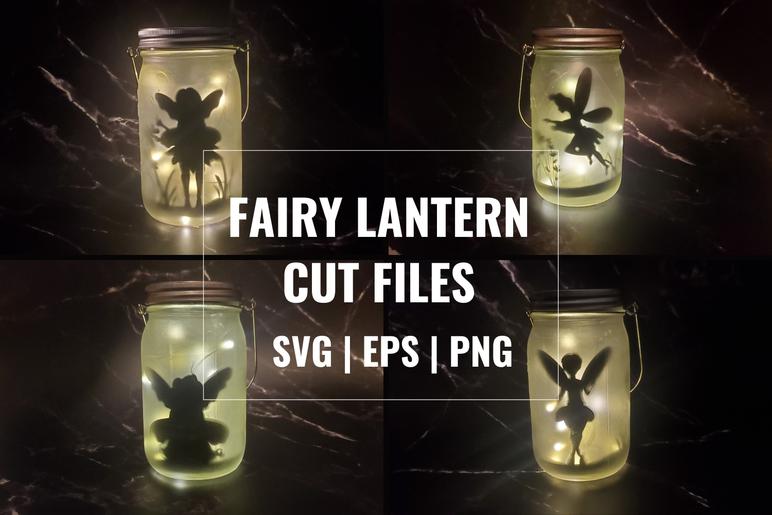
-Jar Lantern cut file designs (these are the fairy designs I created to use for these jars in this tutorial).
-Empty glass jars with solar twinkle light lids to fit. I used these wide mouth lids for my big jars, and these for my regular size ones.
-Frosted Glass spray paint (optional)
If you enjoyed my tutorial or found value in it, I'd appreciate it if you gave it a little love on social media!
Disclaimer: Please note that some of the links in this post may be affiliate links or ads. There is no additional cost to you, but The Scrap Room will earn a small commission should you choose to purchase through those links. Click here for my full disclaimer. Thank you for your support.


| ||||||||

| ||||||||


Are you a CRAFT BLOGGER? Join my networking group here!
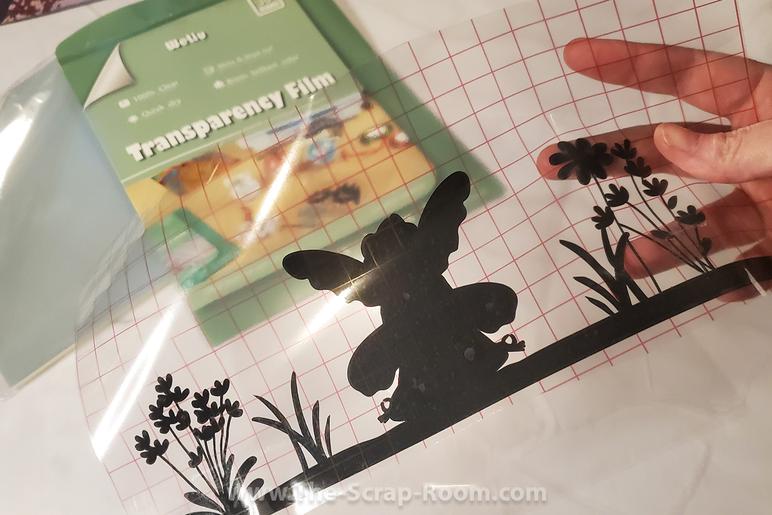
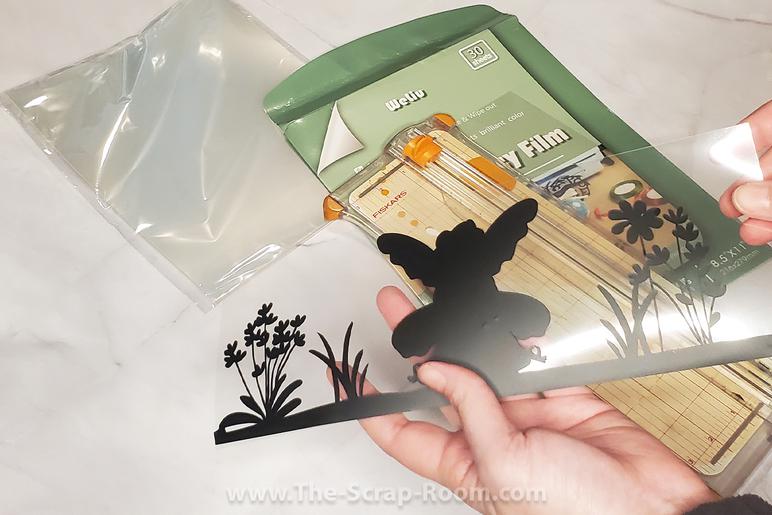
Once you've picked up the design, transfer it to one of the pieces of transparency that you've cut to fit in your jar(s).
.....and that's pretty much it! I won't waste your time with a bunch of fluff -- it's really that simple of a project!
After you've dropped the transparency with the design into the jar, just add the solar lid and use!
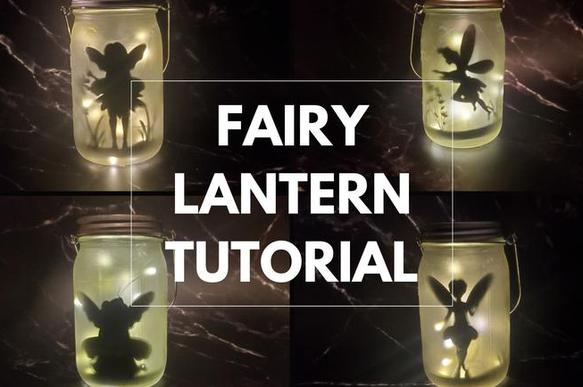
Ready to make these adorable light up fairy jar lanterns? They're really easy -- as long as you know the trick and have the right supplies! I've put a list of materials up above with all the supplies I used.
It may look as simple as cutting out some vinyl designs and sticking them to the inside of your jars, but if you've ever tried to stick your hand inside a small jar with a large sticker and smooth it out onto the glass with no bubbles, well then trust me, this is EASIER than that! LOL!
(And don't worry, you won't need to cram your hand into these jars AT ALL.)
The trick for this project is to actually cut the design out of the vinyl, and add it to the clear transparency. Then you can just drop the transparency into the jar and add the solar light up lid!
Let me back up to the beginning though, and walk you through this project step by step. :)

To begin, you'll need to have a digital design to use for this project (you can search for "solar jar cut file designs" on your favorite online marketplace, or pick up the set that I designed for this project in my shop on Etsy here).
You'll also need a compatible cutting machine to cut the designs out, like a Cricut that works with SVG files.
Start out by cutting the designs out in a dark color of adhesive vinyl. I used this matte black vinyl from Amazon.
While your design(s) are cutting, cut a piece of the clear transparency to about 11" x 6" for each jar. (If your jars are shorter, you may need to adjust the size of the designs and the transparency you're using. )
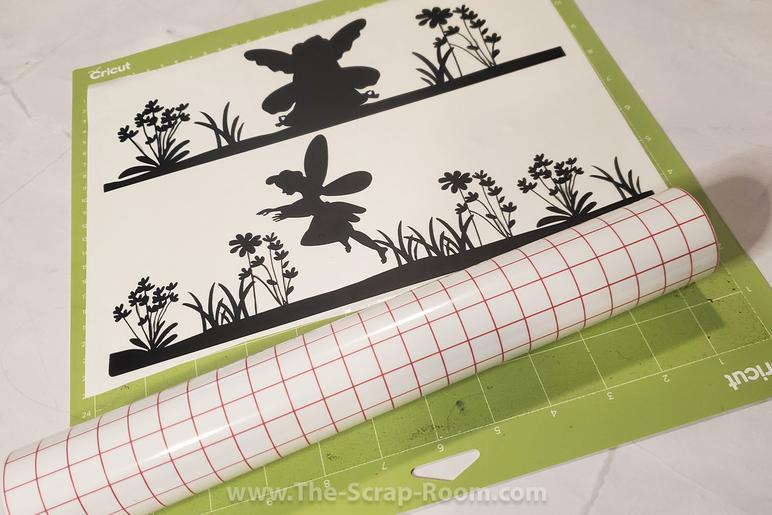
You'll need to weed the design completely removing all the negative space and extra vinyl around the design.
Next, pick up the design carefully using your transfer paper.
*Pull the transfer paper and sticker off the sticker backing carefully and slowly, keeping the transfer paper close and parallel to the sticker backing page. This will help pick up all the delicate pieces of the design better.
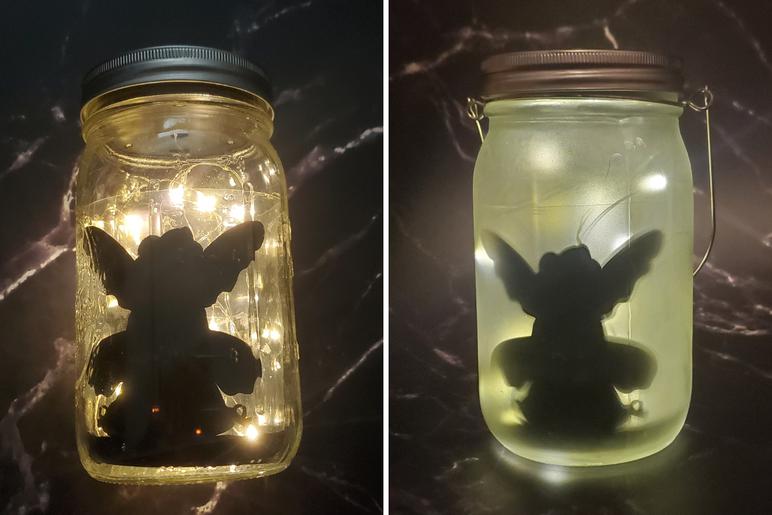
If you'd like to give your jars a frosted look, just spray them with a coating or two of this frosted spray paint from Rust-Oleum, it worked great! (Remember to spray this stuff outside, with proper ventilation, while using some gloves, safety glasses and a mask.) ;) I'd recommend spraying them at the beginning of the project and letting them dry completely before adding the fairy design on the transparency and the lights. But they look cute either way. Below is an example of a lantern that isn't frosted and one that is, so you can see the difference.
I'd love to see how cute your fairy garden lanterns turn out! If you feel like sharing, pop over to my Facebook Craft Chat group to share pics of your finished fairy lanterns here!