You might
also enjoy...
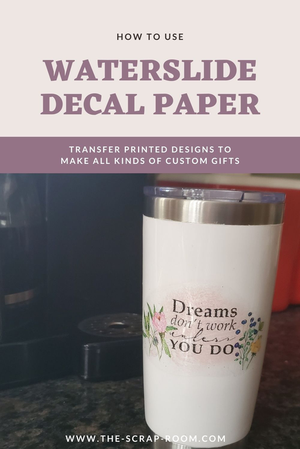
How to Use Waterslide Ink Decal Paper for DIY Craft Projects
See how easy it is to use and get started making amazing printed designs on mugs, plates, ornaments, wine goblets, signs, furniture, plastics and more!
Want to see how EASY it is to transfer printed designs onto objects? Keep reading! I'm going to show you how I used Waterslide paper to create a custom mug, but you can use this same technique to add printed designs onto all kinds of different hard surfaces, like glass, ceramic, plastic, and metal.
This is another one of those projects I took forever to get around to, simply because I thought it would be difficult. Let me save you from the same fate. This project is EASY!
FOR THIS PROJECT YOU WILL NEED:
-Inkjet Printer
-Scissors
-A printable design of your choice
-A bowl with a little room temperature water in it
and of course...
-A coffee mug or other hard object you'd like to transfer a printed design to (Keep in mind that light or clear surfaces will show your printed designs better than darker colors.)
-Mug Turner - If you're doing a mug you'll also want to use one of these
Silicone Accessories set - (I found it helpful to have extra spatulas, mixing cups, stir sticks etc, on hand, that are silicone and resuable. You may not need/want the extras, but if you do, this is a great set.)
If you enjoyed my tutorial or found value in it, I'd appreciate it if you gave it a little love on social media!
Disclaimer: Please note that some of the links in this post may be affiliate links or ads. There is no additional cost to you, but The Scrap Room may earn a small commission should you choose to purchase through those links. Click here for my full disclaimer. Thank you for your support.
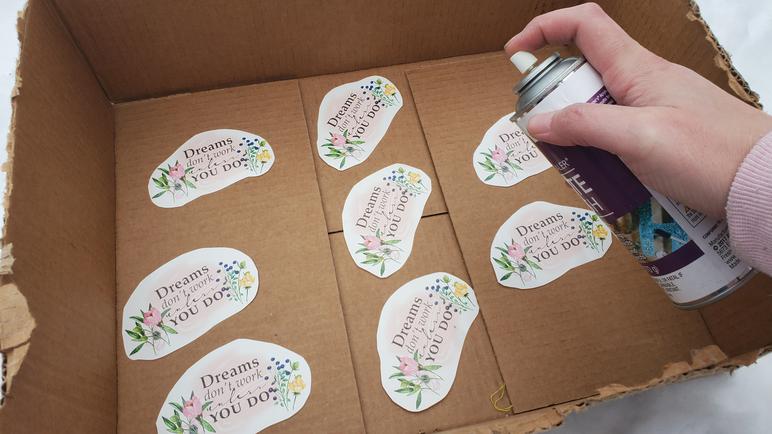
Before you can transfer your design, you'll need to seal it in with some acrylic sealer so the ink doesn't run everywhere once it touches the water. I usually use Aleene's Acrylic Sealer, especially for a project like this! It seals really nicely. You'll only need a couple of light, even coats of sealer -- like TWO. Don't go crazy with too many layers here. You just want a thin, smooth coating. Let each coat dry completely between layers. Always use the sealer OUTSIDE or in a well ventilated area.

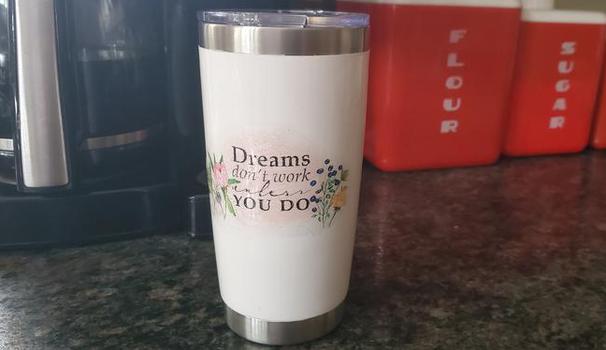
This is the coffee mug that I used for this project. It comes in a 2 pack, and works out to under $10 per mug (for the blank mug). It even comes with reusable straws and cleaning goodies so you can keep your new mug and straw squeaky clean!
Whatever you plan to transfer your image on to, make sure it is a LIGHTLY COLORED, WHITE OR CLEAR SURFACE. If you use something that is dark, you're going to have a *VERY* hard time seeing your design.
Ready to blow your family and friends away with a custom waterslide mug that looks more store-bought than homemade? This project is easy, but impressive. You're about to learn how to make professional looking mugs for wayyy less than the price of most custom mugs!
You'll need to follow the instructions for whatever waterslide paper you use, but I used Seogol Clear Inkjet Waterslide Decal Paper for this project, so if you're using the same, you can follow along with the same steps.
I've heard of people complaining about their designs not showing well on other decal paper, so I used this one based on reviews I read on Amazon, and I was not let down!
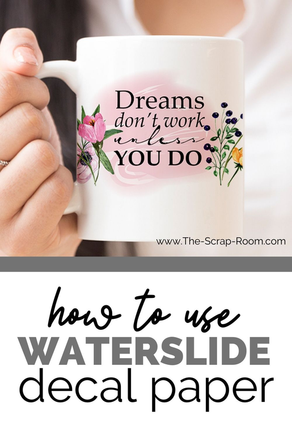
I created the design for this project using some beautiful watercolor graphics and text, and when printed on the Seogol Waterslide Paper, all the colors were vibrant and easy to see, and the decal paper worked well in transfer. (I will definitely continue to use this product!)
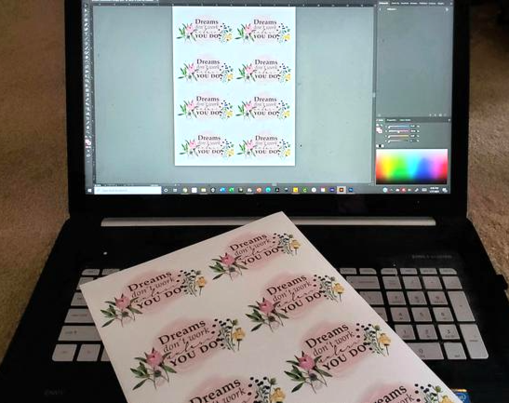
You can use almost any printable design for this project. Above is a download link for a free copy of this design I've created to use for this project. (There's a couple formats included, so please note the files are zipped and you'll need to extract the designs to use them after download.)
I printed my design at about 3 inches wide and in my opinion, it fit the mug perfectly! You can read it all looking straight on, without having to turn it at all, which is just what I wanted!
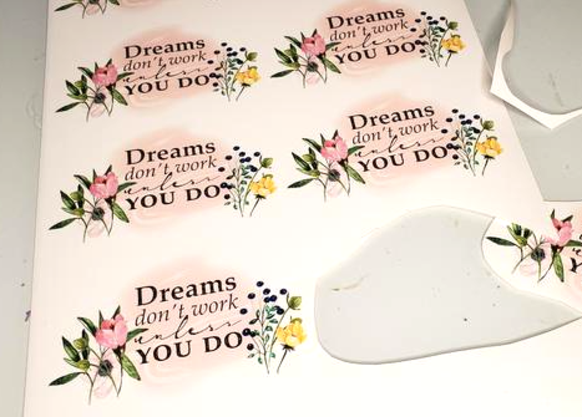
You'll need to let your waterslide prints set for a few minutes, so start out by printing out your design in the desired size on the SHINY side of your Waterslide Paper, then wait 3 or 4 minutes. After waiting a few minutes, carefully cut out your design leaving only a couple millimeters trim around it.
**Please note, you'll want to complete your image transfer within 24 hours of printing! Don't print and save for another day unless the waterslide paper you're using specifically says to do that. **
Now, you just put all this time and effort into making custom mug, let's make it LAST! A couple of thin coats of resin will do!
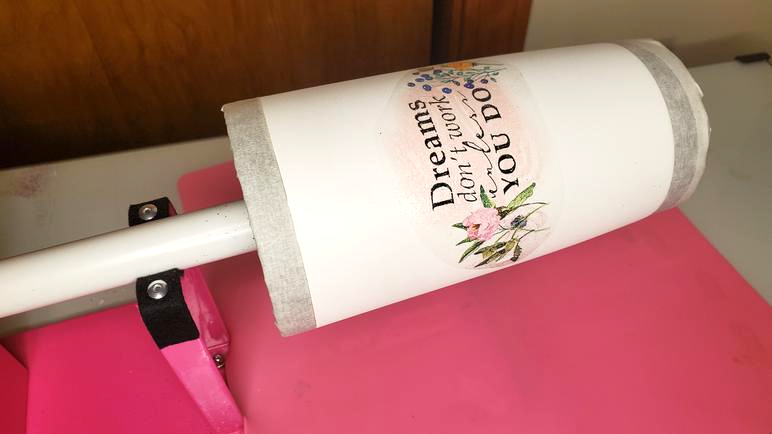
You'll be sorry if you try this project without a mug turner. This is the one that I have. It came as a kit and includes all sorts of essentials you will need for this project, such as mixing cups, stir sticks, masking tape silicone mat, spatula and gloves.
It's a great set and the turner works great. I love it and really recommend it for anyone looking for an inexpensive, but durable (and cute as hell) mug turner. You cannot get a smooth resin coating without one of these so please do not attempt this project without one.
Set your mug turner up, add the appropriate foam fitting, and lay the silicone mat underneath to catch any spills.
Once you reach this stage, it's really important to let your design dry and cure well. First, let it air dry away from direct lighting, for a few hours (3 should do it). If you're doing an oven safe item, follow the instructions on the Waterslide Paper to bake/cure it in the oven. Otherwise just let your mug sit out for several days. It will need to sit for about 3 days for the color fixation to strengthen.
Wait until the epoxy layer is COMPLETELY DRY before removing your cup.

Next you'll need to transfer the design, onto your mug. To do this, soak the printed design in a bowl of room temperature water for about 30-60 seconds. This will make the paper backing easy to peal away from the adhesive layer that has your design on it.
Make sure you use ROOM TEMPERATURE water. If you use water that is too hot, the adhesive paper can warm up too quickly and curl up or damage the image. If you use cold water, you may have a harder time separating the layers. For best results, I found it best to use room temperature water.
When the layers are easy to separate, carefully pull/slide them apart, and gently lay your printed design on your mug (or other transfer item). Use your finger to gently press the image down, and smooth it flat, removing any air bubbles and excess water.
Use this same technique to apply printed designs to all kinds of fun things! The mug turner is great for doing all different mugs and glasses. If you're working on a project that is difficult to seal with resin, you can also seal it with the Aleene's Acrylic Sealer, but you don't want to use the acrylic sealers where food or beverages will touch, or your MOUTH, so don't go coating the rim of your coffee mug with it! The resin I've used in this project is non-toxic and BPA free. You can find it on Amazon here.

Not all epoxy resin is the same. I don't want to point fingers, so I won't mention names, but other resins I've tried take DAYS to cure. Also, it's REALLY IMPORTANT to me to use a non-toxic, BPA free epoxy.
My research lead me to Unicone Art's Clear Resin set, and I really love it. I also really like ArtResin's epoxy, which has been approved by the FDA to be used with food items, so it's the one I recommend you get. You can find it on Amazon here. It's virtually odor free and is completely non-toxic, so you can use it inside no worries -- just crack a window or turn on a fan to be "extra" safe. ;)
Very carefully, "paint" on the epoxy resin with the spatula, or drizzle small amounts at a time. Make sure that everything is relatively evenly covered, but don't stress too much! The spatula in the kit makes this easy as it has a nice curve in the center -- perfect for smoothing resin on curved surfaces like a mug!
This resin is self-leveling, so as long as you do a good job at making sure every bit of the mug has a smooth fairly even layer, it will all sort itself out over the next 8 hours or so while it spins and dries.
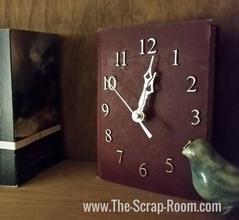
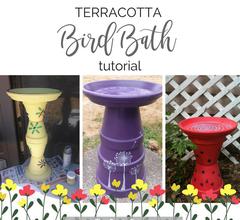
I hope you've enjoyed this tutorial! Now that you know the basics, you can use waterslide decal paper to make all kinds of fun custom crafts. Decorate your sewing machine, make a plate for Santa's cookies, dress up a piece of furniture, create a hanging sign -- there's no end to the ways you can use this stuff!
Here are a few other things you could
use Waterslide Decal Paper on:
Glass
Ceramic
Wood
Rocks
Plastic
Metal


