Disclaimer: Please note that some of the links in this may be affiliate links. There is no additional cost to you, but The Scrap Room may earn a small commission should you choose to purchase through those links. Click here for my full disclaimer. Thank you for your support.
The Digital Crafter's
Online Course
Learn how to work with and create digital files for crafts -- plus how to use them to make handmade things!
Adding a photo or image to text
Here's an easy skill to learn!
You can use this for alllll kinds of fun things, like creating sublimation designs, making clip art, designing art prints and more!
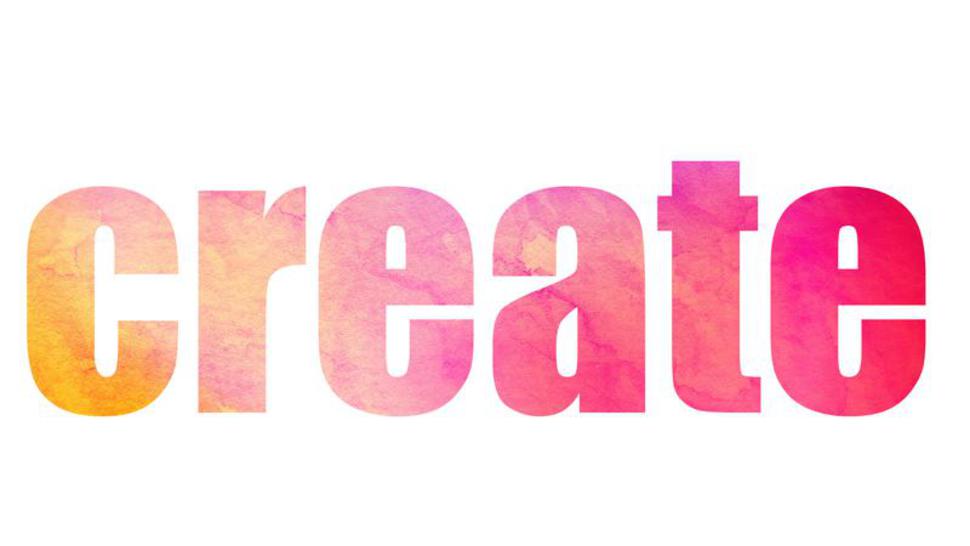
It may look tricky, but you can add color or a digital pattern to text with only a few clicks!
Ready?
Simply open a new project in Photoshop, and add your desired text. Change it to a font you like (bold or thick fonts usually work best for this project).
Place a digital paper or background, or add a square block of color, over your text (resizing as necessary).
Making sure the color or background pattern is just above the text layer, with no layers in between, then right click on the color in the layers window, and click on CREATE CLIPPING MASK.
That's it!
You can change the artboard's background color if you need to for your project, but if you're going to export it as PNG clip art to use later, layered over other photos graphics or documents, you'll want it on a transparent background. You can always change the background color of your artboard clicking to select the background layer, then go to the properties window, and swap it to something different.
Remember to also save your design as a PSD file in photoshop to keep an editable copy.
Watch the video below to see it in action!


