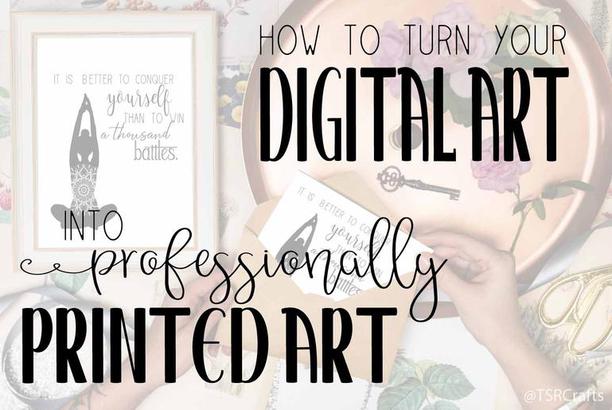
Turn your digital art into framed artwork for your home
How to frame your artwork for a professional look
Let's talk about framed art for a minute. Have you ever had something professionally framed?
It sure looks beautiful, but it can also cost a pretty penny! (Some places charge $70 just for ONE 8"x10"!)
It's not cheap to get things professionally framed because it requires tools most people don't have on hand, and supplies that can be a little overwhelming to pick out. Plus it takes *knowledge* to be a picture framer. You can't just walk in, cut a random hole out of a piece of cardstock, throw it in a frame, and get amazing results. You need to know what you're doing!
You don't *need* to be a professional picture framer to get professional results however. You just need to know a few easy tricks, and then you can turn any photo into a beautiful framed piece of art in no time - for a fraction of the price! And since you're a crafter, you probably already have some of the tools on hand that you'll need to get it done, like a cutting machine, or craft knife and cutting mat.
To start with, you'll need to purchase a frame that will fit your photo or artwork. You can buy a frame that is just a frame (like *only* the outer frame) but that involves a lot of steps and some pretty pricy equipment so I'm not going to cover all that here today. For this quick hack, you'll need the standard type of picture frame that you can buy at most stores, that comes with a frame, glass, a picture of random people you don't know, a backing layer or two, and a hanger, all ready to go.
Since store bought picture frames often aren't made with archival quality materials (so weird, right?!), you'll also probably need to some acid free mat board and backer board too. Make sure they're both acid free, archival quality, or else your photo or artwork will yellow over time. I like this white 4 ply mat board. It comes in a variety of sizes and is a nice bright white color throughout, including the core. It's about 1/16th inch thick, so it's sturdy, will give a slight depth to your border, and is really nice for cutting photo mats. These backer boards are great to use for the backing, as many picture frames do not come with an acid free mounting board. They often use cardboard with is extremely acidic! You'll also need some archival quality double sided tape to mount your photo.
If you can afford it, it's best to upgrade the glass to a glare resistant, UV protected acrylic or glass as well. This is important to help prevent fading. Replacing the glass can be expensive, but a good investment. I'd recommend picking up UV replacement glass at a local framing or craft store.
Aside from knowing what supplies to use for this project, cutting the mat that goes over the photo is the most challenging part. You'll need to know what size you want the outer dimensions to be and what size (and shape!) the opening should be. Then you'll have to do the math to find the center of each, and line everything up so your hole is perfectly centered when you cut it out. If you're not doing it digitally and lining it all up with a computer, it can be a little tricky, and if you're off even a little -- it will show!
These photo mat frame cut file designs are so easy to work with. If you have an electronic cutting machine, you can use the files to cut them out directly from mat board to add to your frame! (Use the "Poster Board" setting for the depth.) If you don't have a cutting machine, just print them out and cut by hand with a craft knife to make physical templates you can trace from over and over again. That way your opening will be centered, and the size you wanted, each and every time.
I offer rectangle photo mats, and oval designs, and a several other shapes, but if you're looking for something specific, or need a size that isn't already available in my shop, just let me know!
Once you've cut out your mat from your mat board, use some archival quality double sided tape to adhere your mat to your print, and your print to the mounting board, then add your mounted photo to the frame to hang or display!
Don't forget to clean the glass well on both sides, and make sure it's completely dry and free of dust and lint before adding it to the frame. You may want to wear some cotton gloves when you're working with it to avoid transferring fingerprints or oils.
Remember, when you're assembling your framed piece of art, the layers should go in this order:
Frame
Glass
Mat
Artwork
Mounting Board
Frame Back
Practice this and when you're ready to splurge on a framer's point driver and install your own hardware, you'll be able to buy the frame on it's own, and create your finished frame from scratch! This Logan Graphic Frame Finishing Kit includes a point driver, points, hardware and wire to hang your art, frame backing paper, and a few other useful supplies.
You might
also enjoy...
Disclaimer: Please note that some of the links in this post may be affiliate links or ads. There is no additional cost to you, but The Scrap Room will earn a small commission should you choose to purchase through those links. Click here for my full disclaimer. Thank you for your support.


