Disclaimer: Please note that some of the links in this may be affiliate links. There is no additional cost to you, but The Scrap Room may earn a small commission should you choose to purchase through those links. Click here for my full disclaimer. Thank you for your support.

The Digital Crafter's
Online Course
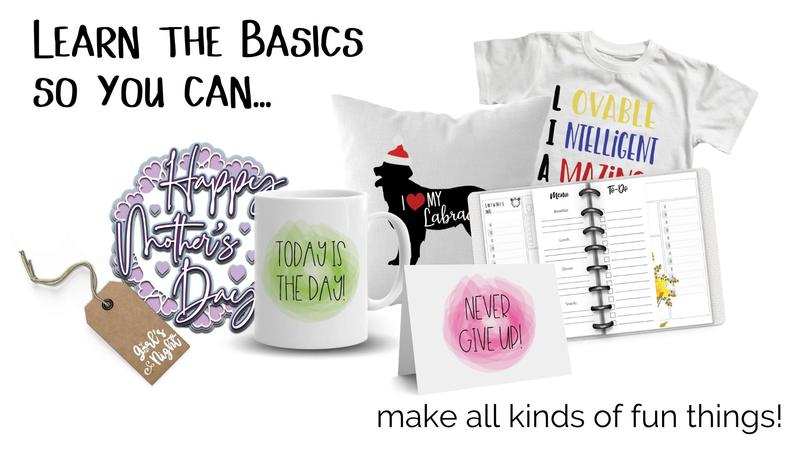
Learn how to work with and create digital files for crafts -- plus how to use them to make handmade things!
Editing Photos for Beginners

Editing photos has never been easier! These days, you don't have to know all the ins and outs of fancy editing software to improve or enhance your digital photos. You just need to know a few things...
I like to call them the ABC's of Photoshop
Actions & Adjustments are amazing
Band-Aids (spot healing brush) fix (most) boo boos
Clean up & Crop before you Craft
Do these things to each of your photos before you use them in your craft projects to go from mediocre to mind-blowing!
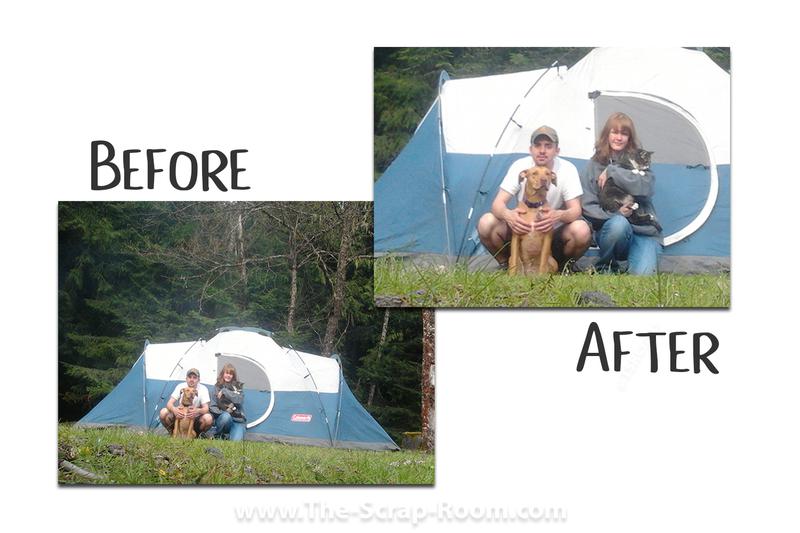
The Spot Healing Brush (the one that looks like a bandaid) tool is one of the most handy and powerful tools that you're likely to use in Photoshop if you plan to use it for your photo editing.
It's sort of like wielding magic. You can fix all sorts of things with a simple brush tool that is able to simulate the surrounding colors and textures.
Like a smooshed hand in an up close ring pic for example, or any other small photo details that drive you nuts!
Watch how easy this edit job was below, and learn how to do it yourself in less than a minute!
The key with this tool is to make small adjustments at a time. otherwise your results won't look natural and can have weird textures and patterns. Remember the handy "undo" option (control + Z) for brush strokes that don't turn out how you want.
Have patience and work slowly and you'll get the hang of it in no time!

Actions are a pre-recorded set of steps to help you achieve a specific goal in Photoshop.
They can be handy to record and use, if you're doing the same thing over and over again. They're also great for beginners and advanced users alike, to complete heavily involved or difficult tasks with just a few simple clicks.
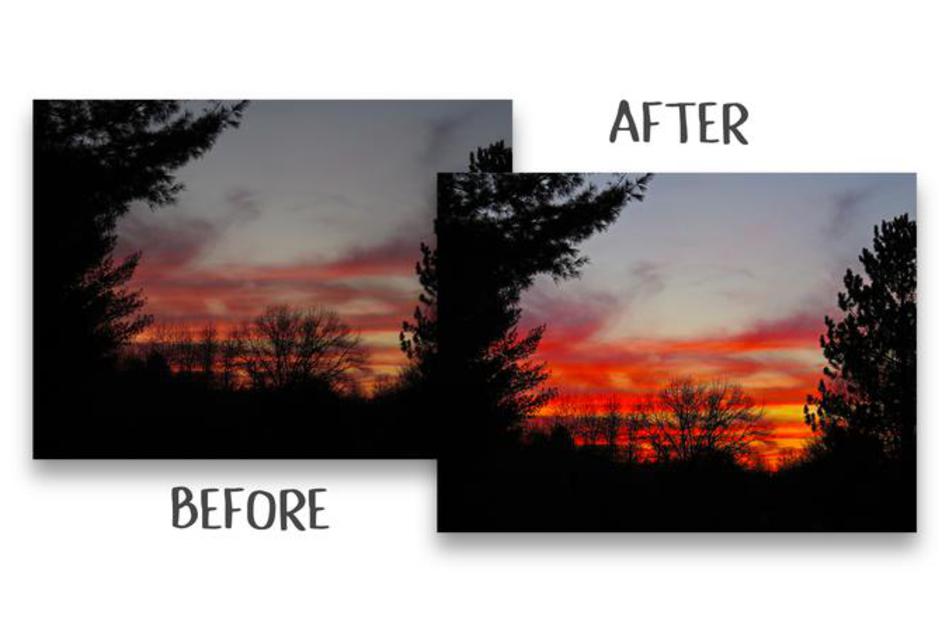
You can also make changes in the Adjustments window, but they're a little more complicated and settings will vary for individual projects. Of all the adjustment settings, BRIGHTNESS is the one you'll probably use the most. It's perfect when you just need a little more light in a photo.
Click here for my more in-depth tutorial about how to use Actions here. This page also includes a list of some of my very favorite and/or most useful Actions as well.
Cropping your photos in Photoshop is so EASY! It's only a couple of simple clicks and it can change the whole look of the pic!
Begin by opening your photo in Photoshop.
Select the crop tool, adjust the ratio settings if needed, and click and drag to create your cropping box. Once it's made, you can resize it, and move it around on your photo before hitting the check to complete it. Below is a quick video clip walking you through it.
ACTIONS
SPOT HEALING & BRUSHES
CROPPING YOUR PHOTOS

There's a lot you can do with brushes, in addition to using the Spot Heal brush to edit or repair photos.
Brushes are a great way to add artistic elements to your design. And the best part is, there are THOUSANDS of different brushes available from designers all over the world, that you can use to open up new worlds of imagination!
They are easy to use, and can give you really cool effects!
My #1 tip for using brushes on a photograph? Remember to create NEW LAYERS to add your brush designs to. That way it's easy to show or not show different layers, which can be useful in editing. My #2 tip? Remember that "Control + Z" is the short cut for undo, so get creative with your brushes! Get wild! And if you don't like that last stroke, just "undo" it and keep going!
Photoshop itself comes with some nice brushes, and you can always take the time to create your own. (I'll be saving the brush creation part for another class.) But there are thousands of talented designers all over the world that create and sell amazing brushes of all different kinds!
In this tutorial, I'll show you how to upload a new set of downloaded brushes into Photoshop, and the basics of how to use them.
Okay, ready to watch the walkthrough?
Have you ever worked with overlays?
Overlays are a form of digital artwork that come on a transparent background, so that you can overlay them on top of a digital photo to add artistic elements.
They may look like complicated compositions when they are done, but you're going to love how easy they actually can be to create!
Below are a couple of quick tutorials using 2 different overlays. The they are both done in Photoshop, but the second one could easily be done in Canva. Photoshop has a lot more powerful tools, so you'll be able to use it for all kinds of overlays (like the ones from the first walkthrough below). You'll need to stick with simple PNG clip art if you're using Canva for your overlays. (If you are only using Canva, the 2nd tutorial includes a file you'll be able to use there.) ;)
You can use these same steps for all kinds of different overlays, ranging from simple text png clip art, all the way up to complex designs!
A photo overlay is exactly what it sounds like. It's a graphic that you lay on the top of another, such as digital glitter on top of a digital photo like shown above. They are great for decorating and embellishing your digital projects and you can stack and layer them as much as you want!
The overlay that I used in this tutorial comes from a HUGE variety sampler pack that comes with 30 different overlays in a variety of themes. It's really a lot of fun to play around with and comes with overlays containing glitter, bubbles, branches, rose petals and more! There's LOADS you can do with it! Here's the link to purchase it on DesignBundles if you're interested. It's a great well rounded bundle, so if you're new to working with overlays and want some variety, it's my #1 pick!
Ready to watch the video? It's just below!

WORKING WITH OVERLAYS
The second overlay tutorial I want to share with you is a "glowing" fairy design that was created by yours truly.
I've shared a copy of the fairy below for you to download as part of this course. It's a PNG file, so you can use it in Photoshop, or any other PNG compatible program that is capable of working with layers, like Canva. You'll just need to open a new project with your digital photo of choice, and layer over the PNG design. Easy peasy! (Note: Canva won't work for all kinds of overlay designs, only simple PNG on a transparent background like this one.)
Here's a step by step walk through, complete with some extra tips that you'll be able to build on and use in other photo editing projects.
Don't forget to download your PNG Fairy design below!