You might
also enjoy...
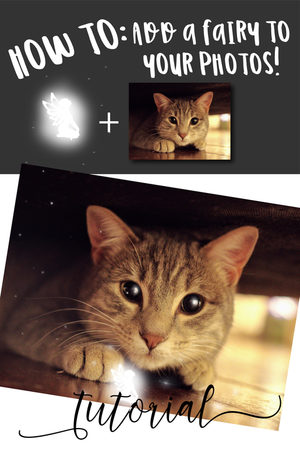
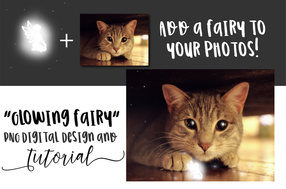
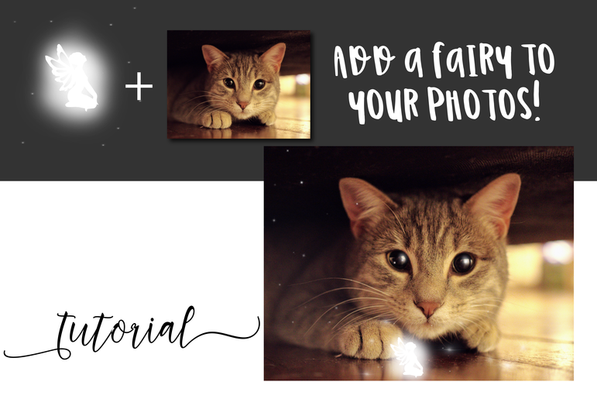
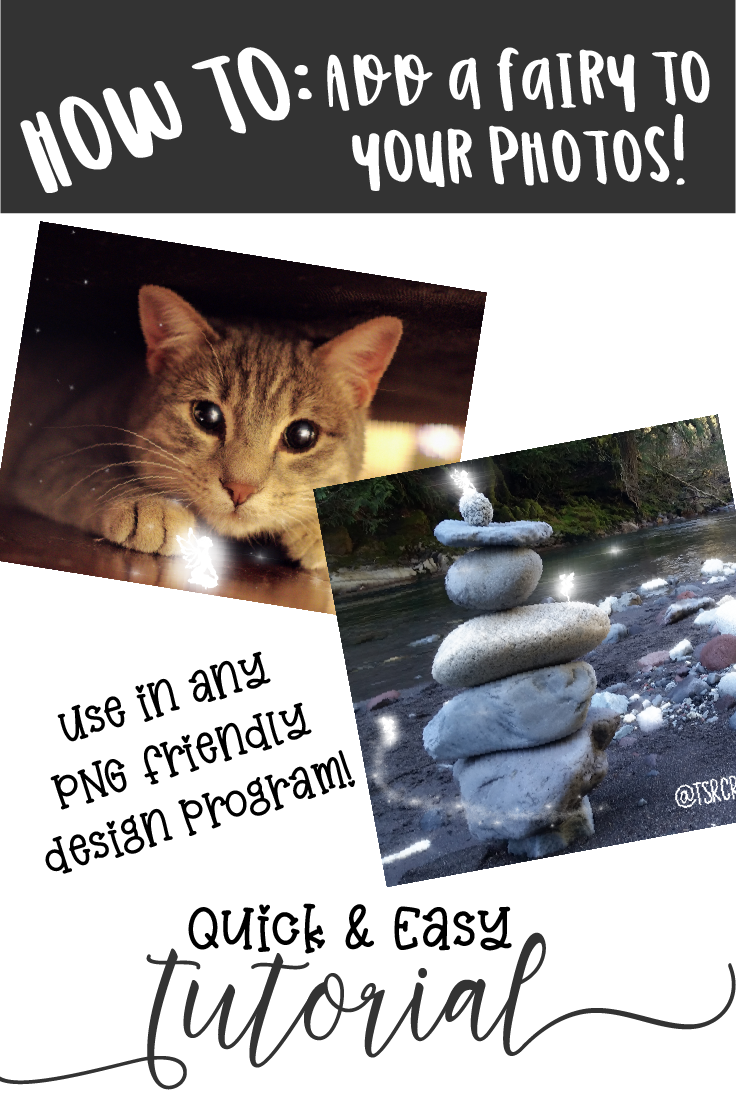
How to Add a FAIRY to your Photo
Want to learn how to add an adorable "glowing" fairy to your digital picture? Keep reading!
This might look like some FANCY,TRICK that requires expensive software and a bit of graphic design skill, but don't worry, it's NOT! This project is done with the simple layering of digital designs, and if you keep reading, you'll be able to apply the technique yourself, and create your own custom photo in minutes!
'Cause really, this world could use a LOT more magic! <3
For this project, you will need:
-Photo editing software:
My 2nd choice (free option): Canva.com
-PNG "Glowing" Fairy design - Free download:
USED IN THIS TUTORIAL: (optional)
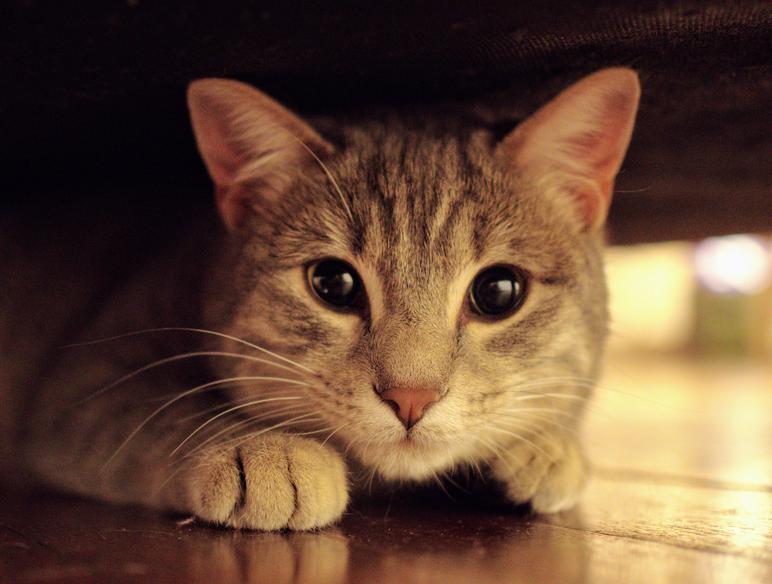
-I found this FREAKIN' ADORABLE Cat photo thru Pexels.com. It's available courtesy of Pixabay, here.
Disclaimer: Please note that some of the links in this post are affiliate links. There is no additional cost to you, but The Scrap Room will earn a small commission should you choose to purchase through those links. Click here for my full disclaimer. Thank you for your support.
You are going to LOVE how EASY and quick this project is. (And as soon as you master in -- so in like 5 minutes -- you're going to be racking your brain, mentally going thru all your digital photos in your head, thinking about ALL THE PHOTOS YOU HAVE THAT NEED A LITTLE FAIRY MAGIC!
So let's just jump right in, because this project is just so. much. fun!
You aren't going to need any expensive software for this project. Most likely you are going to be working with JPG and PNG OR PNG and PNG files for this project. That gives you a TON of options for choosing your design software.
If you're just starting out in the design world and don't have any software on your computer for this project -- have no fear! I promised you you wouldn't need expensive software for this one, remember? Just hop online, and pop over to Canva.com. They off a free, basic design program. Once you've created a free account, open a new document workspace, and from the left menu bar, upload the picture you want to add the fairy to from your computer, as well as the PNG fairy design. You can do this with ANY fairy png design that comes on a transparent background.
Once you've uploaded your picture and fairy design, you can just click and drag them into your project window! Make sure the fairy is on TOP and re-size and move it as desired! When you're ready, click the DOWNLOAD button in the upper right corner to SAVE YOUR PNG PHOTO to your computer! That's IT!

Save 25% on my glowing fairy design in my Etsy shop! Use coupon code "FAIRYMAGIC1" at checkout!
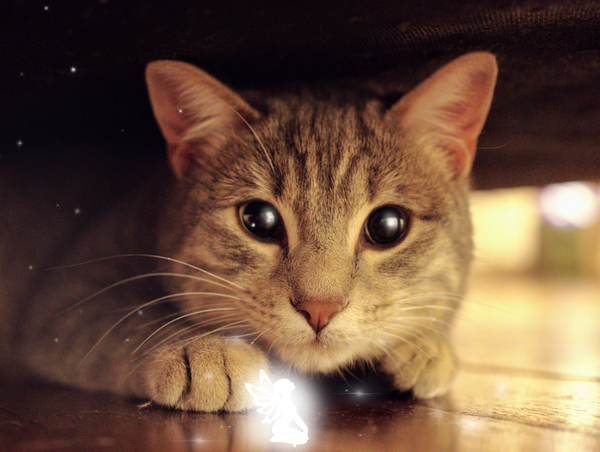
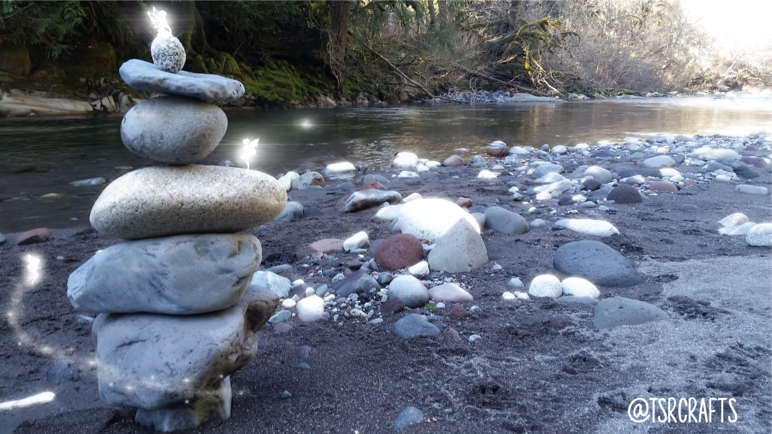
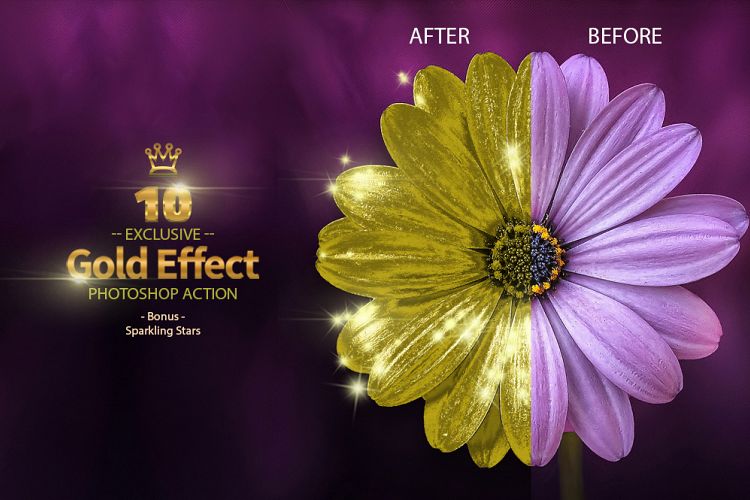
For the cat photo, I also DUPLICATED my fairy design, dropped the opacity down to 30%, and added the lightened design to each of the cats eyes, to give the effect of the fairy's reflection. If you'd like to show your fairy in motion, like my flying fairy in the river pic, add a simple trail of fairy dust using a variety of white paint brush effects! I did a lot of the design work for both of these photos using the star brushes that came in THIS DESIGN SET I found on DesignBundles. If you're looking for some AWESOME brush (and amazing ACTION) presets to use in Photoshop - this is the set to buy!
Okay, ready to give it a try? I'd absolutely LOVE to see what you create! Be sure to tag me in designs you share on social media! #TSRCrafts

You can also do this project in Photoshop. (Which is the program that I designed the kitty photo in.) If you don't already have Photoshop, you can sign up for an affordable monthly subscription plan here. I prefer working with Photoshop, just because it's a way more powerful program that enables you to do so much more! For example, you can use brushes to create additional sparkles and "fairy dust" like I've done in both the cat photo above and this fun "Fairies by the River" photo below. (Fun fact -- this Fairies by the River photo was taken by me while on a hike with my sweetie and our pup, down by the Carbon River near Mount Rainier. Such a beautiful place! <3) When working with Photoshop for this project, simply OPEN your choice of photo, then go to FILE - PLACE EMBEDDED, to add your Glowing Fairy! When you add the fairy, you'll be able to resize it to fit your project. If you deselect the fairy, and need to alter the size again, just click on the fairy's layer in the "LAYERS" panel, then hold CONTROL on your keyboard and press "T" for transform.