You might
also enjoy...
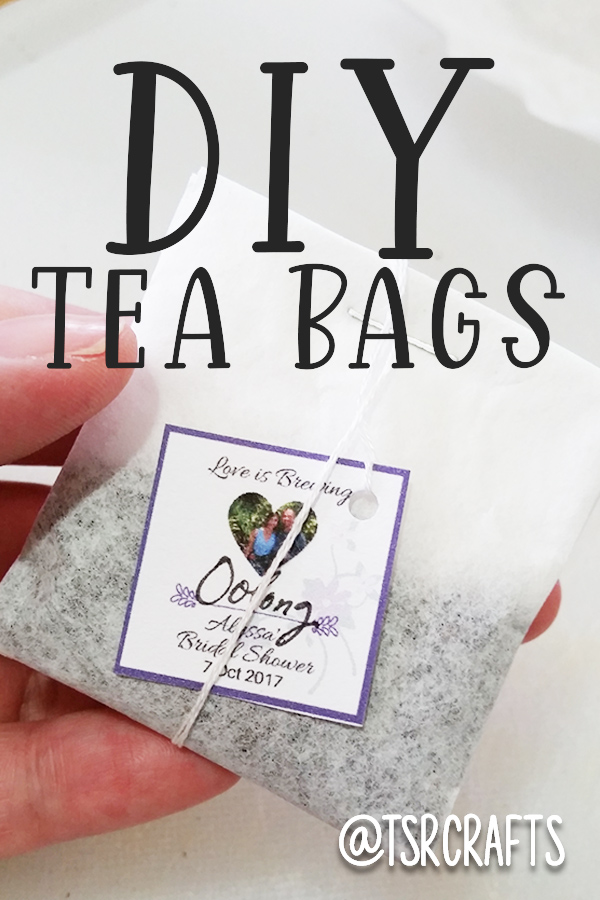
DIY Tea Bags using Coffee Filters
Create your own custom tea bags to share with friends and family or enjoy on your own!
Here’s a thoughtful present for the tea drinker on your gift giving list! These personalized tea bags are really easy to make -- use loose-leaf tea that you grow or purchase, and customize the tags for a truly one-of-a-kind gift!
For this project, you will need:
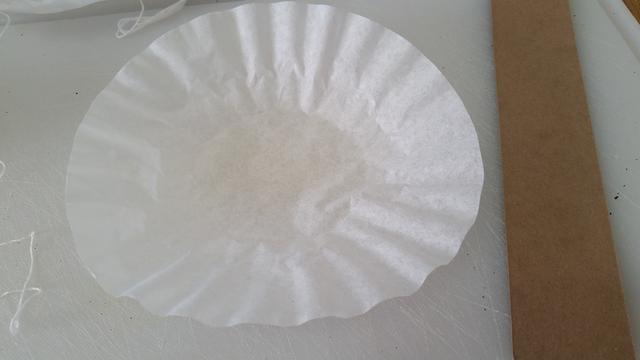
- “Basket” style coffee filters (8-12 cup size)
- Loose-leaf tea
-teaspoon
- *DIY Guide / Template (see below)
- Embroidery needle
- Organic Cotton String
- Personalized Tags
Once you see how easy this project is, and get a good rhythm down, it’ll likely take you less than a minute to make each tea bag! Set up your workspace in front of the TV and settle in for a good movie – you’ll have dozens of bags made by the end of it! In addition to making a great gift, you could also use these tea bags for a special event or party. I made these especially for my dear friend Alyssa’s bridal shower in the fall of 2017, and they were a hit! I made 8 different flavors, and well over a hundred tea bags in just a couple short hours, including designing, printing and cutting the tags!
If you enjoyed my tutorial or found value in it, I'd appreciate it if you gave it a little love on social media!
Disclaimer: Please note that some of the links in this post are affiliate links. There is no additional cost to you, but The Scrap Room will earn a small commission should you choose to purchase through those links. Thank you for your support.
Once the filter is wrapped completely around the guide, use your fingers to press firm creases along both edges. Remove the guide from the filter and open.
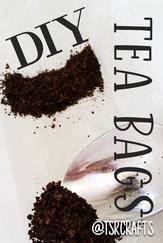
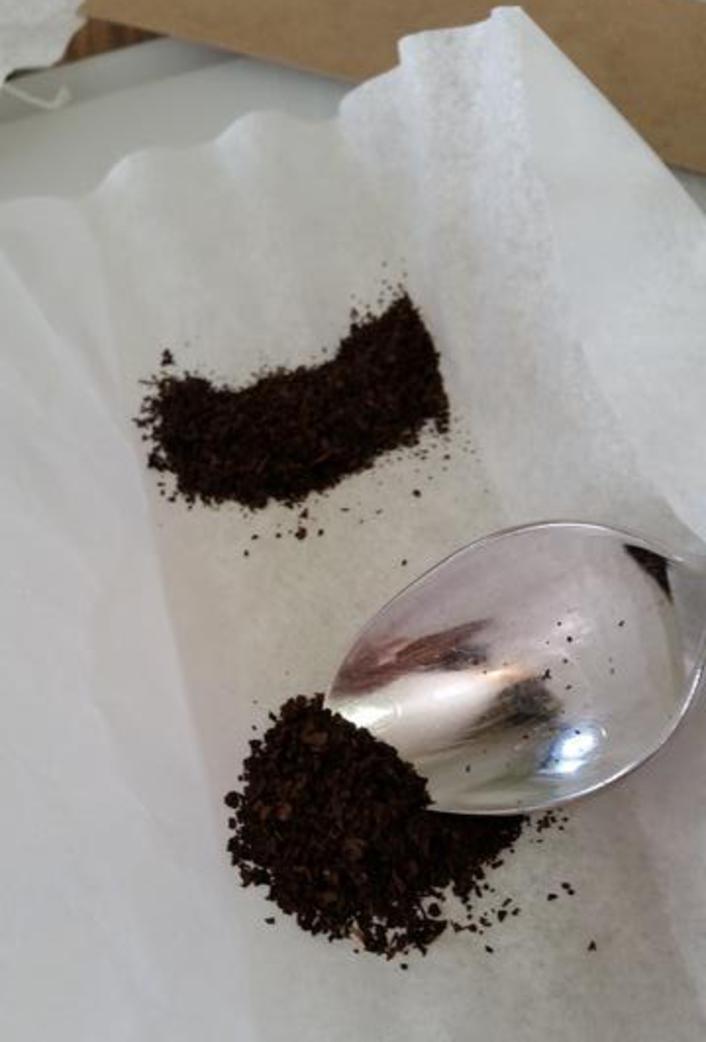
Eye-ball the center of the filter, and divide about a teaspoon of loose leaf tea just above and below it. (You may need to vary this amount depending on the type and strength of tea you’re using, or the size tea bag you’re making.)
Enjoy this project?
Save a Pin to Pinterest!
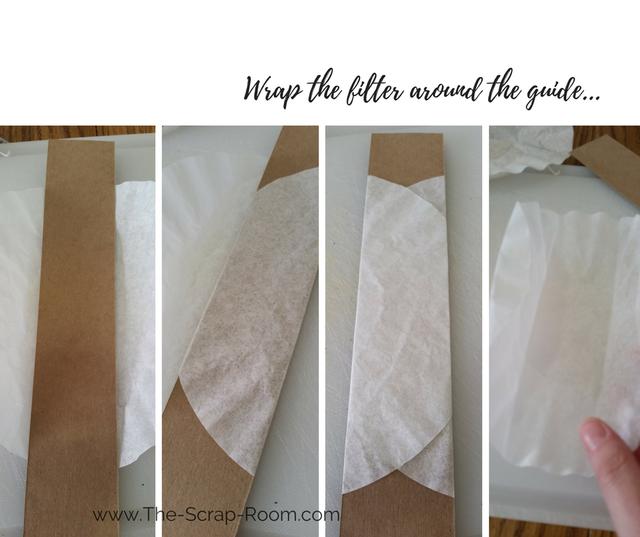
To make your tea bags all uniform in size, you’ll definitely want to use a guide or template. You can create your own easily using a piece of chipboard or heavy cardstock. Cut a strip that is the same width that you want your tea bags to end up and longer than your filters are when spread flat so that it’s easy to hold on to. I made my tea bags 2” wide, and 2.5” tall. You can measure up from the bottom and make a mark to double as a ruler and compare the height if you like. (I didn’t do this. When you make the folds using the guide, they come out the same each time and it’s easy to fold it in the same spot.)
With your filter spread flat, lay your guide down vertically in the center on top of it, then wrap one side around the front, and continue around to the back. Do the same with the other side. The filter should be wrapped all the way around the guide, sort of like a hug!
Keeping the tea away from the center of the filter makes it easier to fold up. It will also keep the tea more evenly spread out so the hot water will flow through it more evenly.
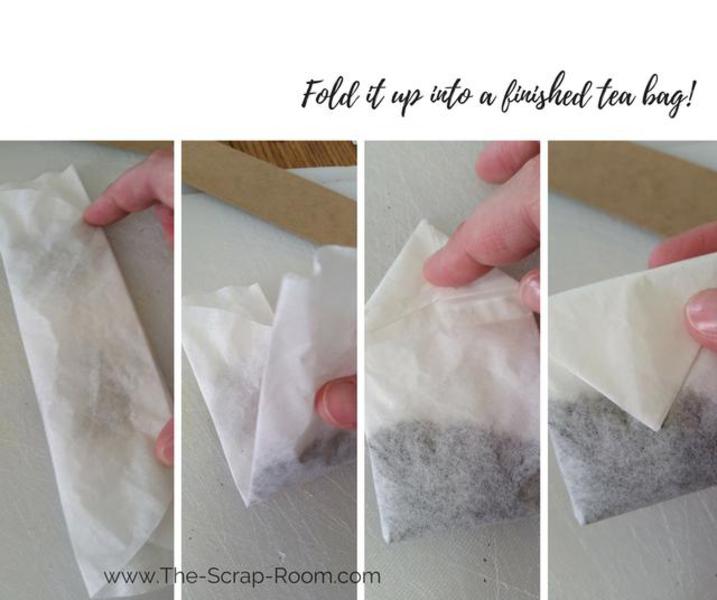
Following the folded creases, carefully fold the filter back up to how it was on the chipboard guide, without rustling any tea around. Just tuck in the tiny extra bits of paper on each end.
Fold the “almost” tea bag in half. It’s starting to take shape now! Fold the top corners in towards the center, creating a point at the top. Fold the pointed top down. Leave enough room above the tea so water can flow through the bag. Don’t squeeze the tea leaves too tightly!
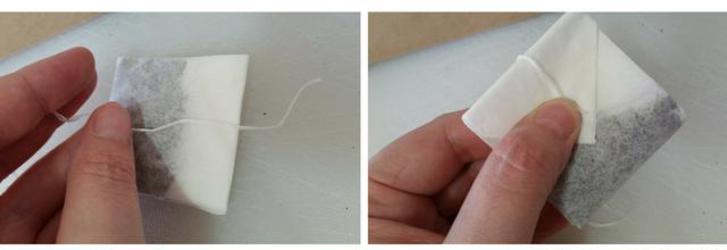
Cut and thread a piece of all-natural cotton string, and use it to sew a thread "staple" through the center of your tea bag, holding everything together. Use a 2nd piece of thread to add a string to your tea bag.
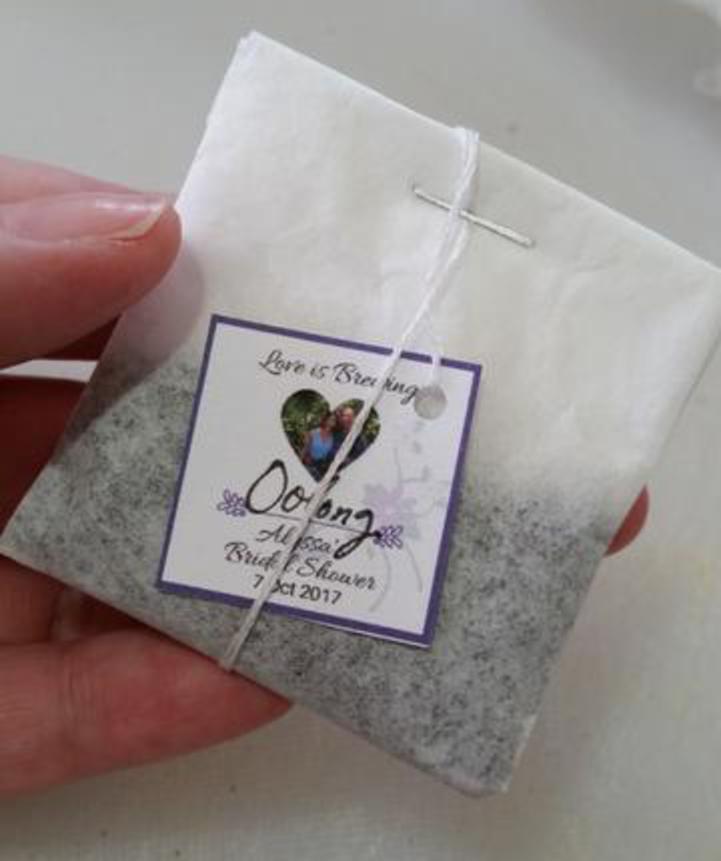
Once your string is added, and the bag sewn closed, add personalized tea tags! Don’t forget to write (or leave space to write it) what kind of tea it is. Since I was making 8 different flavors, and wasn’t sure how many I’d have of each, I left a blank, and designed the tag to commemorate the event.
If you’re not sure how to create your own tags, visit my website, www.The-Scrap-Room.com, and click on the “Digital” tab in the menu bar. I have several tutorials using a variety of editing programs that you can use to design your tags. I designed the tags for this tea using free software on www.Canva.com in about a half an hour.
Don’t stop there! While you’re at it, keep reading for our Tea Napkin tutorial! These hand embroidered keepsakes cost almost nothing but time to make, and are a perfect addition if you’re putting together a tea lovers gift set!


This is a FREE Tea Tag Template that I put together that you can use for this project. It's slightly different than the one I used (and didn't save lol) and was created in Canva's FREE online design program. (So you do need a free (or Pro) Canva account to use it.)
It features a "Love is Brewing" title and heart picture holder, along with some space at the bottom to add your event and date. All elements of the template are editable so you can change the colors and swap out elements or remove them completely if you're not making yours for a wedding shower like I did. Click the link below to sign up and get this template sent to your inbox.