You might
also enjoy...
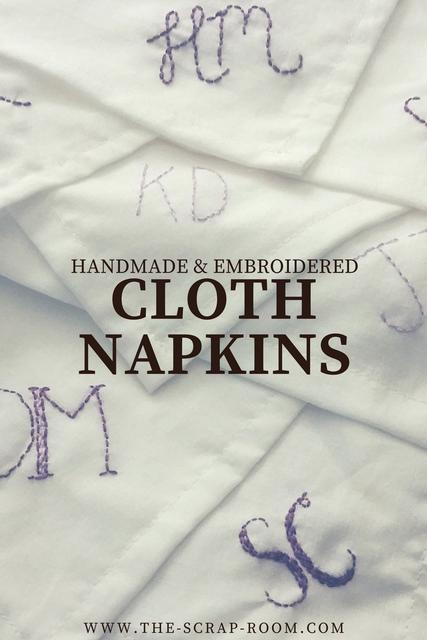
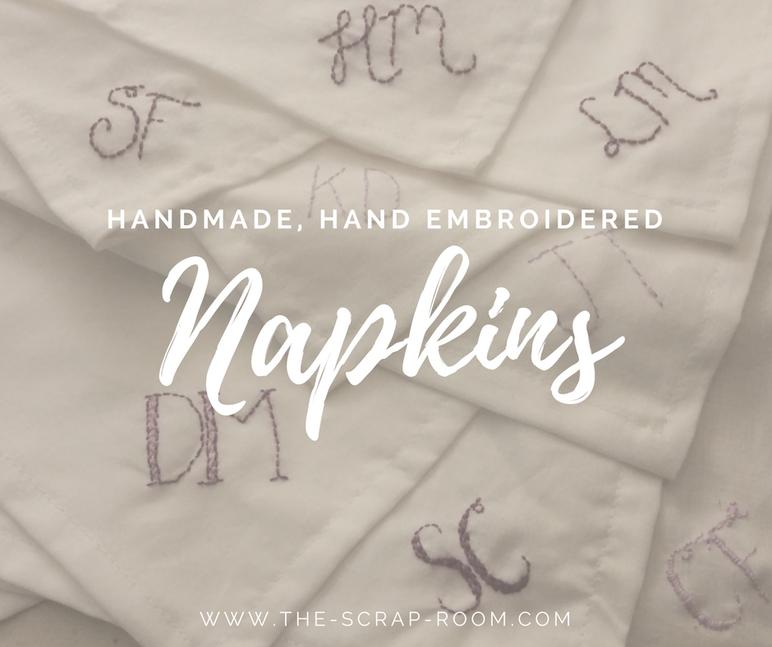
Handmade, Hand Embroidered Cloth Napkins
These one-of-a-kind napkins are keepsakes your family and friends will cherish!
Whether a favor gift for a special event, part of a tea themed basket, or simply by themselves, these sweet, embroidered napkins make a lovely, handmade gift! This project is easier than it looks, and great for both beginners and those with a little more experience!
For this project, you will need:
-DIY Template (see below)
-Iron
-Sewing Machine with plenty of white thread
-Lots of Straight Pins
- Embroidery Thread & Needles
- Vanishing Air / Water Erasable Pen
- Doodle Stitching books by Aimee Ray (Optional)
Books I used for inspiration for this project:
So Jane, by Hollie Keith
If you’re new to sewing, or embroidery, don’t worry, SO WAS I! This was in fact, my first “big” sewing project and my first “big” embroidery project, and everyone loved them at the bridal shower I made them for. If you have a tight budget, but are able to spend the time, definitely give this project a go! I was able to make 18 handmade, hand embroidered (cocktail sized) cloth napkins for about $20!
These napkins definitely take some time, but if you make them assembly line style, you can do them in stages, and break up the work. Since this was my first big sewing and embroidery project, I especially found the repetition helpful for developing my skills! I’m now a lot more comfortable with filling the bobbin, sewing basic hems and I even learned a handful of embroidery stitches I can use on future projects as well!
I got the idea for this project in the book “So Jane” by Hollie Keith. She actually makes applique tea towels, but I felt that was a little out of my league, especially since there was only a few weeks until the shower I needed them for, plus I needed about 18!
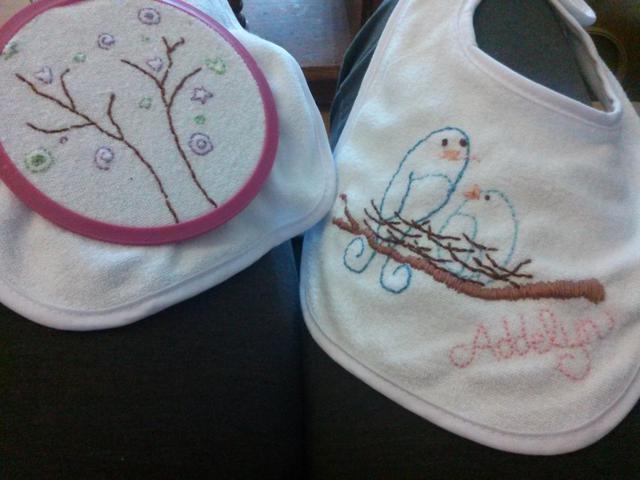
My mom bought me a couple of Doodle Stitching books by Aimee Ray a while back that I had looked through dozens of times but only tried out once or twice. They were filled with adorable designs! Other than throwing a piece of scrap fabric on a hoop and playing around, or decorating a couple of premade baby bibs a few years back (pictured below) I hadn’t really tried my hand at very many embroidery projects, and definitely didn’t know more than 3 different stitches!
If you enjoyed my tutorial or found value in it, I'd appreciate it if you gave it a little love on social media!
Disclaimer: Please note that some of the links in this post are affiliate links. There is no additional cost to you, but The Scrap Room will earn a small commission should you choose to purchase through those links. Thank you for your support.
Learn how to #repurpose an #old #book into an amazing piece of #homedecor! #make this #clock for yourself, or as a #gift for a #bookworm you know!
— Lindsay (@TheScrapRoom) January 9, 2018
Get the full tutorial here:
https://t.co/ipmRgFnfkr pic.twitter.com/WN7EINIDUg


Enjoy this project?
Save a Pin to Pinterest!
Aimee Ray’s books were invaluable! They not only had tons of great designs and ideas, but she also teaches you all of the stitches you’ll need to know, right at the beginning of the book! (I kept post it notes on pages with stitches I was learning to make it easy to jump back and forth.) If you’re looking for some fun, helpful books either to get started in embroidery, or just to develop you skills and try out her designs definitely check these books out! I used both her “Doodle Stitching” and “Doodle Stitching, the Motif Collection” for this project. But first, you’ll need napkins to embroider, so let’s start there!
You’re definitely going to want a sewing machine for this project. You can sew the napkin hems by hand but it will take you a very, very long time! If you’re thinking of getting into sewing but not looking to spend a fortune, look at quality “Kid’s” sewing machines! I use the basic Janome, Hello Kitty, kid’s sewing machine. It does a handful of different stitches and works really well. I highly recommend it if you’re looking for something basic and budget friendly! Their latest edition of the machine is available in a few different colors and has the ability to do 15 different stiches, adjust the stitch length, and is even capable of more heavy duty sewing projects. (And you can order them easily online through Amazon.com for under $150!)
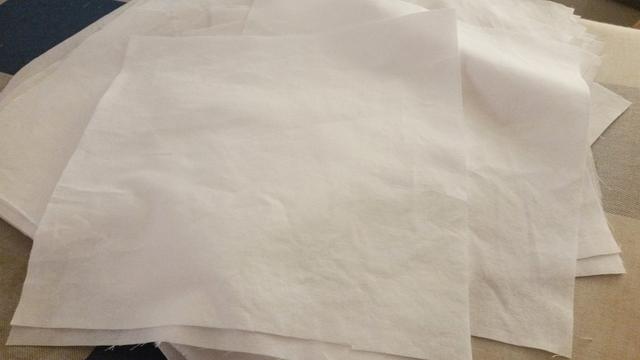
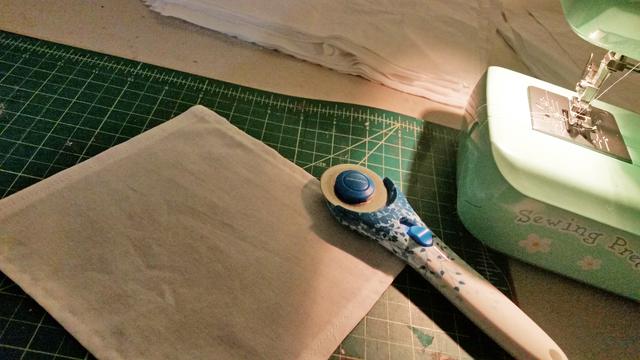
I picked up two yards of 100% cotton fabric for about $10 for this project. Making measured and careful cuts you can get a lot of napkins out of 2 yards! I wanted the napkins I made to fold up into quarters, and be about the size of a cocktail napkin. Honestly, I couldn’t tell you how big that is exactly, I didn’t look it up! But since the cloth I was starting out with measured 44” x 72” I did the math and came up with a size that looked about right, and worked out well mathematically. By cutting the cloth into 11” x 11” pieces, you can cut out 4 (with very careful cuts!) rows of 6, giving you 24, 11” (well, 10” after you hem them) cloth napkins, with enough fabric left over to make 7 “kid sized” 6 inch napkins. If you cut yours the same way, you’ll only have a small handful of scraps when you’re done. To make the measuring quick and easy, make yourself a template. I used the back thin chipboard cover of an old 12” x 12” paper stack and just cut it to size.
Once you have them all cut out you can put away the cutting mat, rotary cutter and guide or ruler. If you’re making these all assembly line style it’s probably time for a quick break! Go make your self a cup of tea (with your own DIY tea bag perhaps???) and take a quick breather!
Next is the tedious task of hemming all these napkins! This will take some time and your fingers will probably need a break or two, but it’s so rewarding, as they turn out so nice! I actually bought MORE fabric right after I finished this project just so I could make a set of larger dinner napkins for my own home! (Then the winter holidays came … and went… and they’re still on my to-do list lol!) Use the ironing board as your workspace, and have your straight pins ready! I used 8 pins per napkins. (I don’t know if this is “right”, it’s just what I used. It seemed to hold everything in place well.)
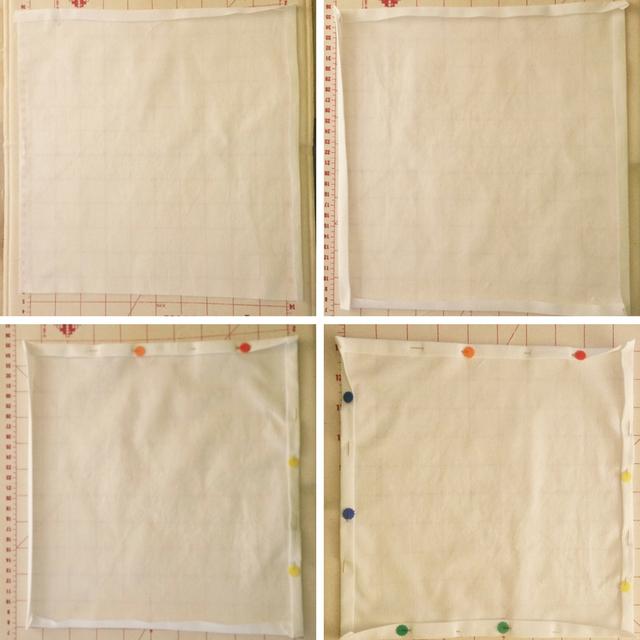
Place one of the squares of fabric in front of you and iron out the wrinkles. Fold the top edge over a quarter of an inch, ironing the crease all the way across the top to help the fold stay. Rotate the fabric 90 degrees to the right and again, fold the top edge of the fabric over a quarter of an inch, ironing the crease. Continue this until the remaining two edges are folded over once.
Rotate the fabric 90 degrees to the right again, so that the first edge you folded is back up top. Carefully fold it over a quarter of an inch again, ironing and pinning it in place. Rotate the fabric 90 degrees to the right and continue the process to all four sides have been folded over and ironed twice, and pinned in place.
Repeat this process to all of the cut pieces of fabric. Once you’re done with this step you won’t need the iron and ironing board again until the end so you can go ahead and put that away. If you’re making a handful of these napkins, you probably won’t need it this afternoon. 😉
Okay, now it’s time to bust out the sewing machine! If you don’t have one of these, or it’s not in your budget, that’s okay, you can still do this project, it will just take you a lot longer!
I’m sure there are several different ways you can do the corners. I opted for the simple “fold over nicely and sew” route and it was easy to find a groove in no time and get consistent, well finished looking corners.
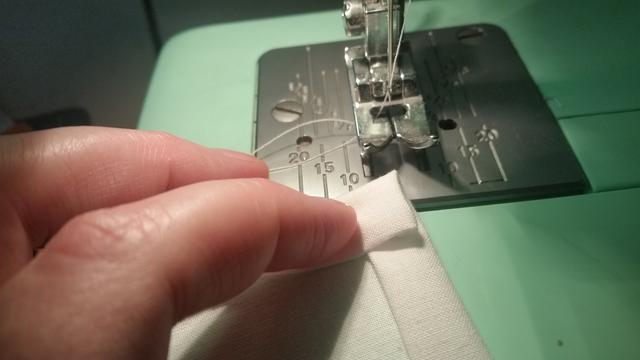
Sew the hem around your napkin as closely to the inner edge of the folds as you can, so that the edge that can flap up is minimal. This project is so great for those wanting to practice their sewing skills! Making a simple napkin, over and over and over, will help you get a lot of the basics down. I started my napkin project a little nervous and unsure, but by the end was more than twice as fast and as confident! I sewed 31 napkins in all, even though I only needed 18 for the shower. I’m sure there’ll be times in the future where I’ll want to embroider a napkin or two for an individual gift, so I just tucked the extras away, plain, to embroider another day.
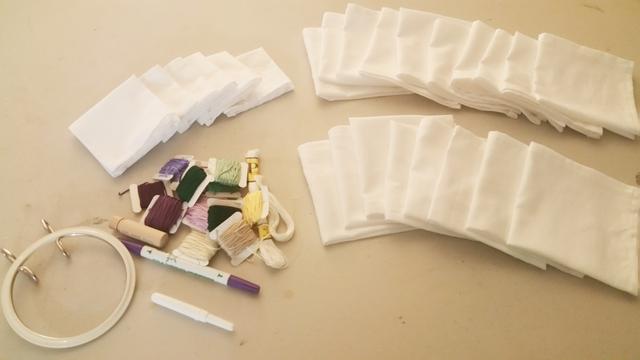
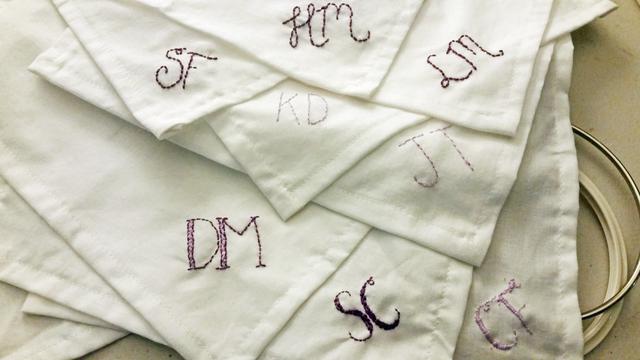
Once all your napkins are finished and ready to decorate, it’s time to put away the sewing machine and pull out the embroidery supplies! Use a small embroidery hoop to hold your fabric is a position that’s easier to work with as well as keep your napkins a consistent tension while you’re stitching. I wasn’t really sure how long it would take to finish all these napkins, so I started out just monogramming them all. When I finished that, I went back through and added small “Doodles” in the diagonal corner.
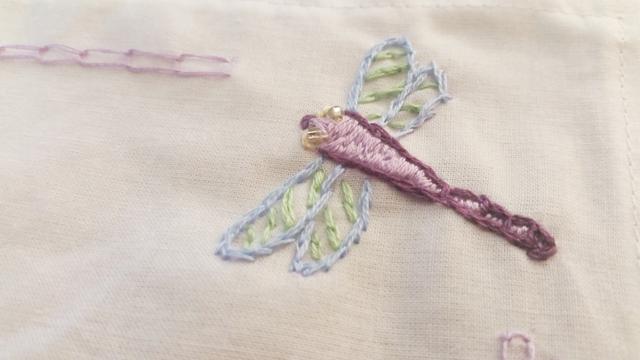
Since this was for a small, private party, I had a guest list of all who would be in attendance which made it easy to monogram them. You could also embroider on a short phrase, nuptial or baby details, or something else relevant to your event if you don’t know everyone’s names. If you’re making these for people you know personally, you could customize them that much more! For example, since I knew the bride-to-be loves dragonflies, and Aimee Ray’s Doodle Stitching, The Motif Collection actually had one in it (!!!) I embroidered a small dragonfly on the corner opposite her (new, married) initials and made a chain link border about an inch in from the edges.
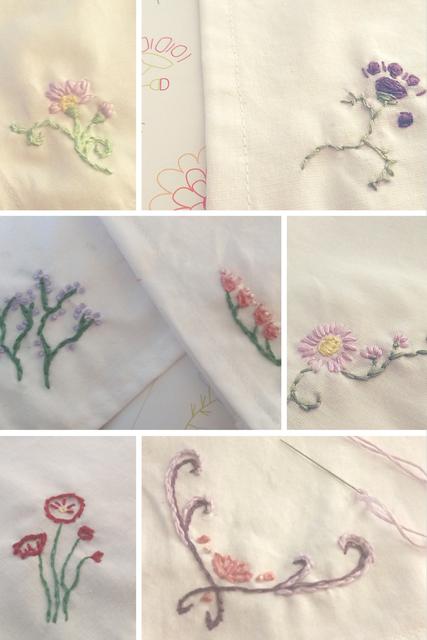
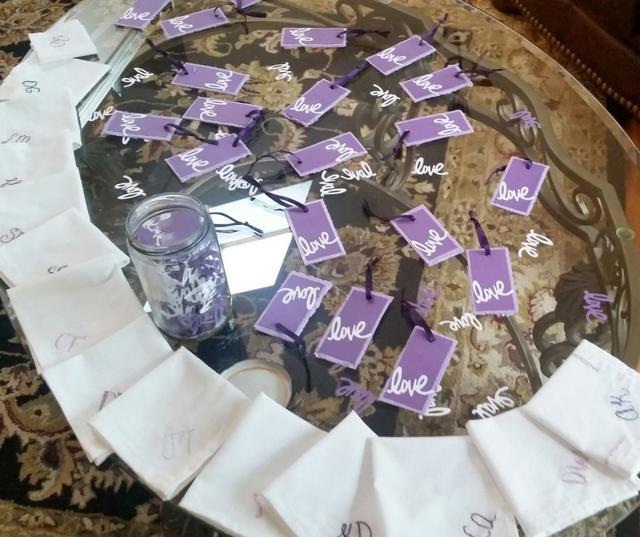
I played around the napkins, trying my hand at all different designs from the book, mostly floral. In the end I made 18 “adult” napkins and 1 “kid’s” napkin over a period of about 3 weeks, working on them for an hour or so most evenings. These books have so many great ideas in them – for all different themes and ocassions! I used a water erasing pen to free hand the designs onto the fabric and picked colors that coordinated with the event. You could also use a lightbox or thin paper to trace them. Here’s a few more pics of some “doodles” I made. We laid the napkins out as favor gifts on a table for guests at the shower, along with some “love” bookmarks made with handmade seeded paper (using daisy seeds, the bride’s favorite flower of course!)
Need a little something extra to go with your handmade tea napkins? Check out our DIY Tag Bag tutorial to create your own personalized tea to share!