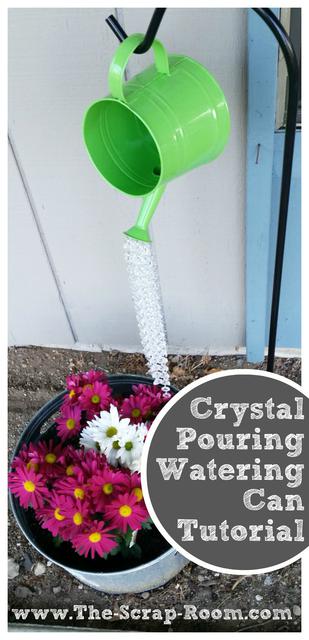
Crystal Pouring Watering Can
Here's a garden feature that is bound to add some sparkle to your yard!
Add a touch of magic to your garden with our Crystal Pouring Watering Can Tutorial! This step-by-step guide will teach you how to transform a simple watering can into a dazzling garden centerpiece that looks like it’s spilling a cascade of sparkling crystals. Perfect for garden enthusiasts and DIY lovers, this project brings whimsical charm and a little shimmer to any outdoor space. Dive into this enchanting craft and create your own unique, show-stopping garden decor!
Supplies and Materials:
-Watering can of your choice
(I can't emphasize this enough!!!)
(Don't skip this step!)
This is such a fun project. I enjoyed it so much I ended up making three! One for myself and two as gifts. It's pretty easy to do, doesn't take a lot of time, and there's hardly any mess to clean up. Yet it will make a lasting decoration for your garden (or a friends) that will make you smile every time you see it. (I know I do!) <3
You might
also enjoy...
Disclaimer: Please note that some of the links in this post may be affiliate links or ads. There is no additional cost to you, but The Scrap Room will earn a small commission should you choose to purchase through those links. Click here for my full disclaimer. Thank you for your support.


Begin with a watering can of your choice. You can use either metal or plastic. I chose to use metal for mine. We have some pretty cold temperatures in the winter time, and I was worried about them eventually cracking. If you go with metal, pick up some UV-Resistant Clear Gloss. I prefer Krylon's, it really holds up well against the elements. Give your watering can a good, thorough coating and let dry completely before moving on.
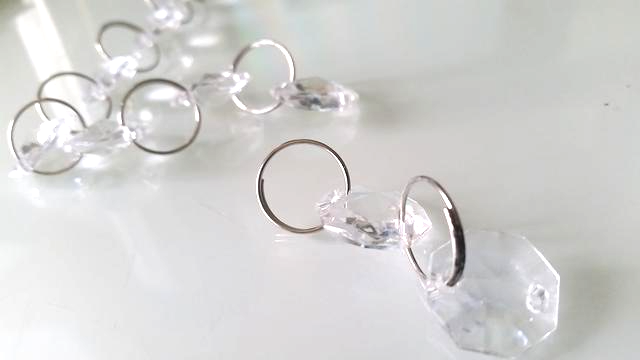
One your watering can is ready to go, pull out your crystal strands and decide how full and how long you want the crystal cascade to fall. Take into consideration where you will be hanging it, and how you want it to "fall" relative to your plants. If your garland is one big piece, shorten it down to the size pieces you need. If you purchased a garland that comes in several short sections, remove or add bits until you get the desired lengths you're looking for.
To really help your watering can creation last, lay the crystals out on some newspaper, and give each one a quick coating with the sealing spray. If you don't seal all the metal it can quickly begin to rust -- especially if you live somewhere humid or don't use the tarnish resistant wire.
When the crystals are dry, attach them through the holes of the watering can with the craft wire. You definitely want to make sure you use a copper wire for this step. It will keep your art bright and shinny, not dingy and rusty. A spool of Artistic Wire's Non Tarnish Silver Plated is a good investment and will get you through this project a couple times over if your use it sparingly. To adhere the crystal garlands, make a "U" shape with the copper wire, and carefully feed it into a watering hole and out another. Twist the wire ends together to form a circle. Feed the metal loop on the end of a garland stand onto this loop. Repeat with the remaining strands of crystal garland.
Once you're finished, hang it in your garden on a sheppard's hook and sit back and enjoy! (But don't forget to *really* water your flowers.) ;)


