Thinking of getting into letterboxing or just want to learn how to make you own stamps? This is the page for you! Learn the basics here and get carving today! A fun and easy hobby to learn!
Stamp Carving Basics
For this project you will need:
-Pencil / pen
-Image to draw or transfer
There are many different ways to carve and you should definitely go with what works best for you. But I'll share my preferred method, and you can tweak it as feels comfortable for you.
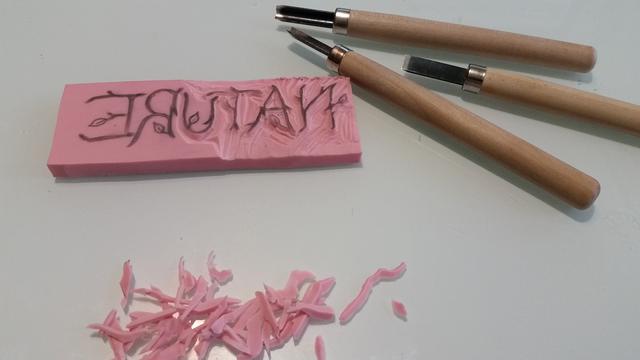
Use a straight blade with a fine point to trace around any fine details. For teeeny tiny spots, try a needle or pin. If you're using a fairly pliable carving material, you can bend the material back a little to stretch your carving surface and make even smaller cuts. You don't need to go very far into the carving material, in fact, if you go too far, the rubber can rip all the way through. If you don't carve deep enough -- well, that is an easy fix.
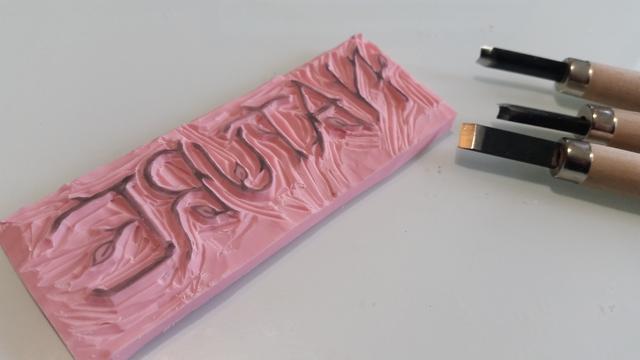
Use the gouges to scoop away the carving surface around your image. Go slowly and be careful. Once you've carved a spot, you can't undo it! I found it easier to rotate the rubber carving material in my hand while carving it, opposed to rotating the knife around the carving material.
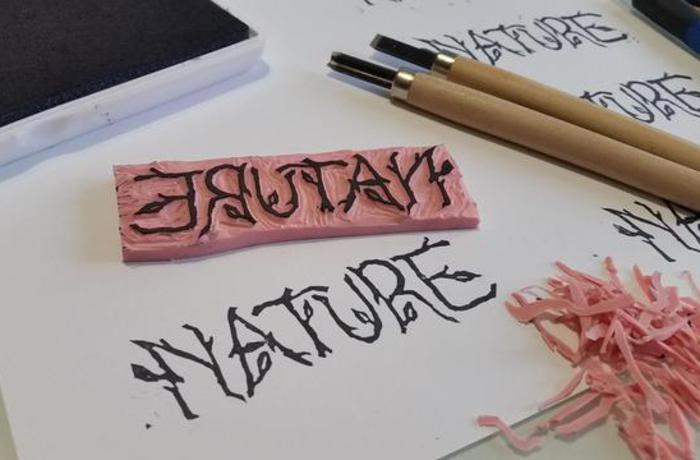
Once you've finished carving, give your stamp a good inking and try it out! At a quick glance you'll see what areas need to be carved out a little more, or what edges need to be cleaned up a little.
Use the gouges to do a little touch-up work on your stamp until the image stamps the way you want. And that's IT! It's really that easy!
Disclaimer: Please note that some of the links in this post are affiliate links. There is no additional cost to you, but The Scrap Room will earn a small commission should you choose to purchase through those links. Thank you for helping support our business!
You might
also enjoy...


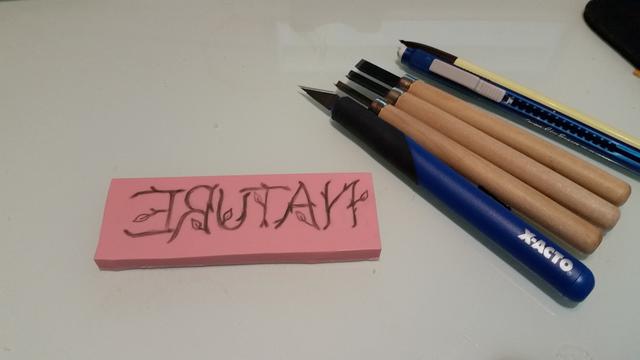
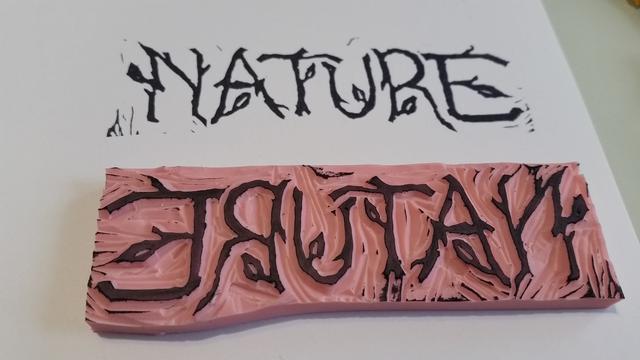
Begin by drawing or transferring your selected image onto your carving surface. Remember, if you're doing text you'll want it to be backwards, so when you stamp the image, the letters face the right way. To ready a photograph for transfer, try using editing software and add a "stamp" or "photocopy" filter to create an image that is easier to carve. I prefer to use the "photocopy" filter. You can also easily adjust the detail and thickness settings for this filter with the slide bars if you're using Photoshop.
For a quick and easy photo transfer (or any digital graphic from your computer) using a desk-jet printer, cut a piece of 8.5" x 11" wax paper (yes, wax paper, like the stuff you probably have in a kitchen drawer) and use double-sided tape to layer it on top of an 8.5" x 11" piece of white cardstock. Print your image directly onto your wax lined paper, and press it to your carving block to transfer a "backward" copy of your image. (Don't worry, it will be back to facing the right direction when you use the carve to stamp your final image.) It's been my experience that the black in smudges a little, so in the past I've let it sit out to dry over night, and that has worked well for me, however I recently heard that printing your image in blue transfers and smudges less -- I'll definitely give this a go on my next transfer and report back with an update!
**UPDATE 14 Apr 2017: I did two transfers using the blue ink (pictures below) and the ink seemed to dry faster than the black and therefore smudge less. It's not quite as easy to see as the black, but I like that I didn't have to wait near as long before I could carve it. I gave it a couple of hours to be safe. Also, printing with less ink will also help minimize smudging and bleeding of ink. I print my transfers on a medium or draft quality setting, with the "plain paper" option.
Another method, that is a little more work, but will give you a better transfer (sharper lines) is to print it out using a copier that uses toner. Lazer printers also use toner, so if that's what you have in your home, you'll want to transfer your image using the following process. Make a couple copies if you have to go out of your way -- just in case you need a "do over". For this transfer method, you'll need some acetone (nail polish remover will work fine, just make sure it's "100% acetone" remover). Place your picture, image side down, onto your carving surface. Hold it in place while you gently rub a acetone soaked cotton ball to the backside. This will transfer the toner from the photograph, onto the carving surface.
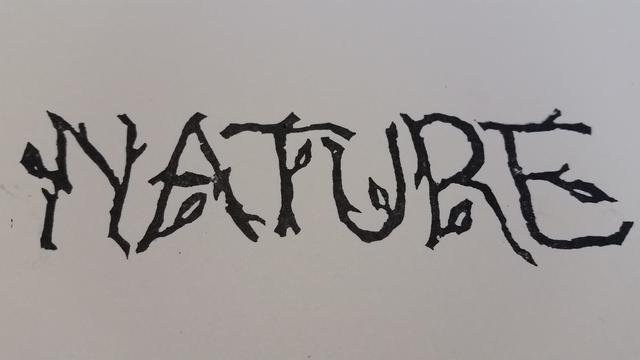
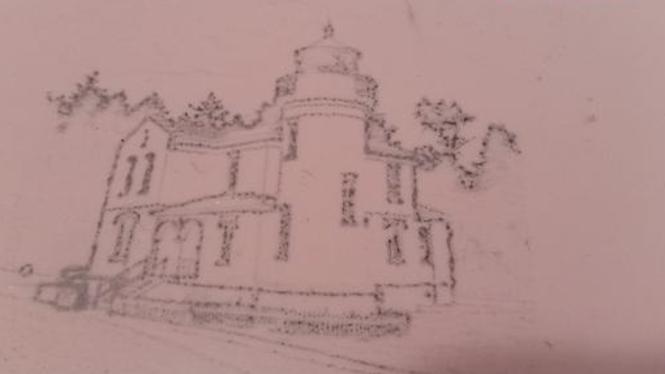
I have a desk-jet printer at home, so that is the method I usually use for transfers. The lighthouse image below is an example of a photo transfer from a desk-jet printer. (The "Nature" stamp shown was hand drawn directly onto the carving surface using a pencil. )