For this project you will need:
Supplies:
- a bunch of your scrap paper!
- warm water
- wax paper
- hemp string, very small die cuts, glitter, dried flowers or other items you wish to add to your paper
Tools:
-A blender (I recommend keeping a separate blender just for your crafting projects!!!)
-A mold or screen for your paper (directions included in tutorial)
-Lots of towels (The process didn't stain my towels, but you probably shouldn't use your good towels...)
-An ultra absorbant towel such as a Shammy or Shamwow (optional, but incrediably helpful!)
Although time consuming and a little messy, this project is loads of fun and very kid friendly! I hope you've been saving your paper scraps -- this project is perfect for even your smallest pieces! Don't save your scraps? You should start! I save a large paper bag full of my tiniest scraps specifically for this project!
If you're using this paper in your scrapbooks, you'll want to only save your acid and lignin free scraps, but for most other projects, it's fine to throw your other scraps in. So grab your scraps and let's get started!
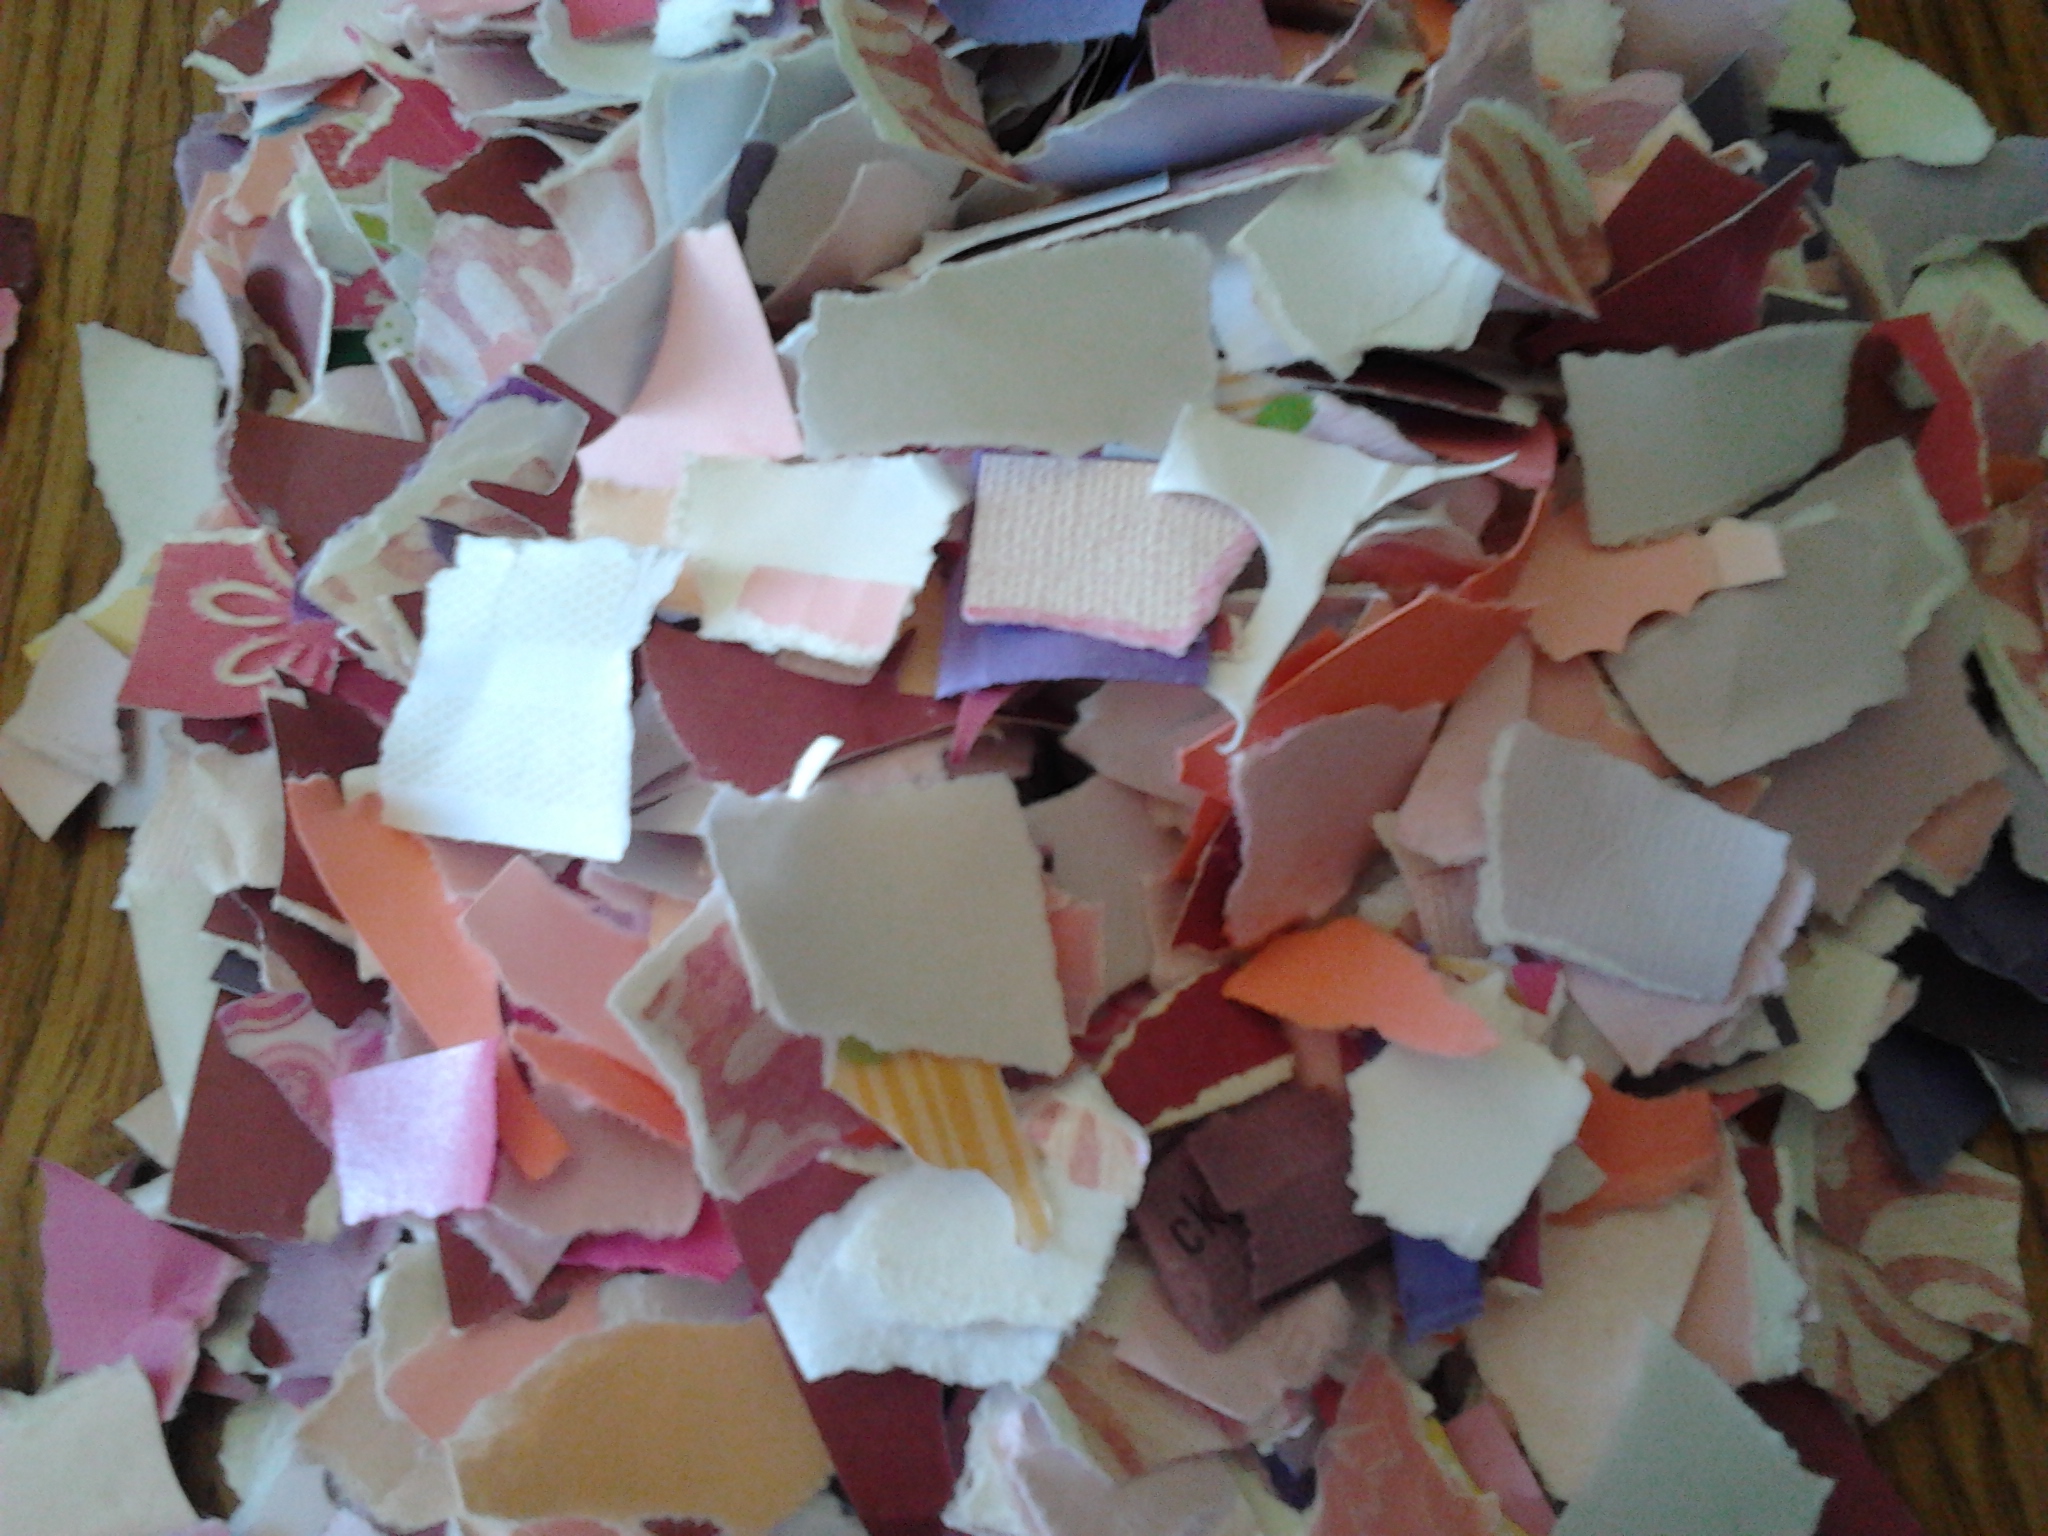
Find a comfy spot to sit and rip paper -- like in front of the T.V. watching one of your favorite shows. You can use a paper shredder, it will save a lot of time, but I personally prefer the look and texture of the paper that is made with small ripped squares. When you get to the blending process, the less you blend it, the bigger the pieces of paper will be and they will add more character to your paper!
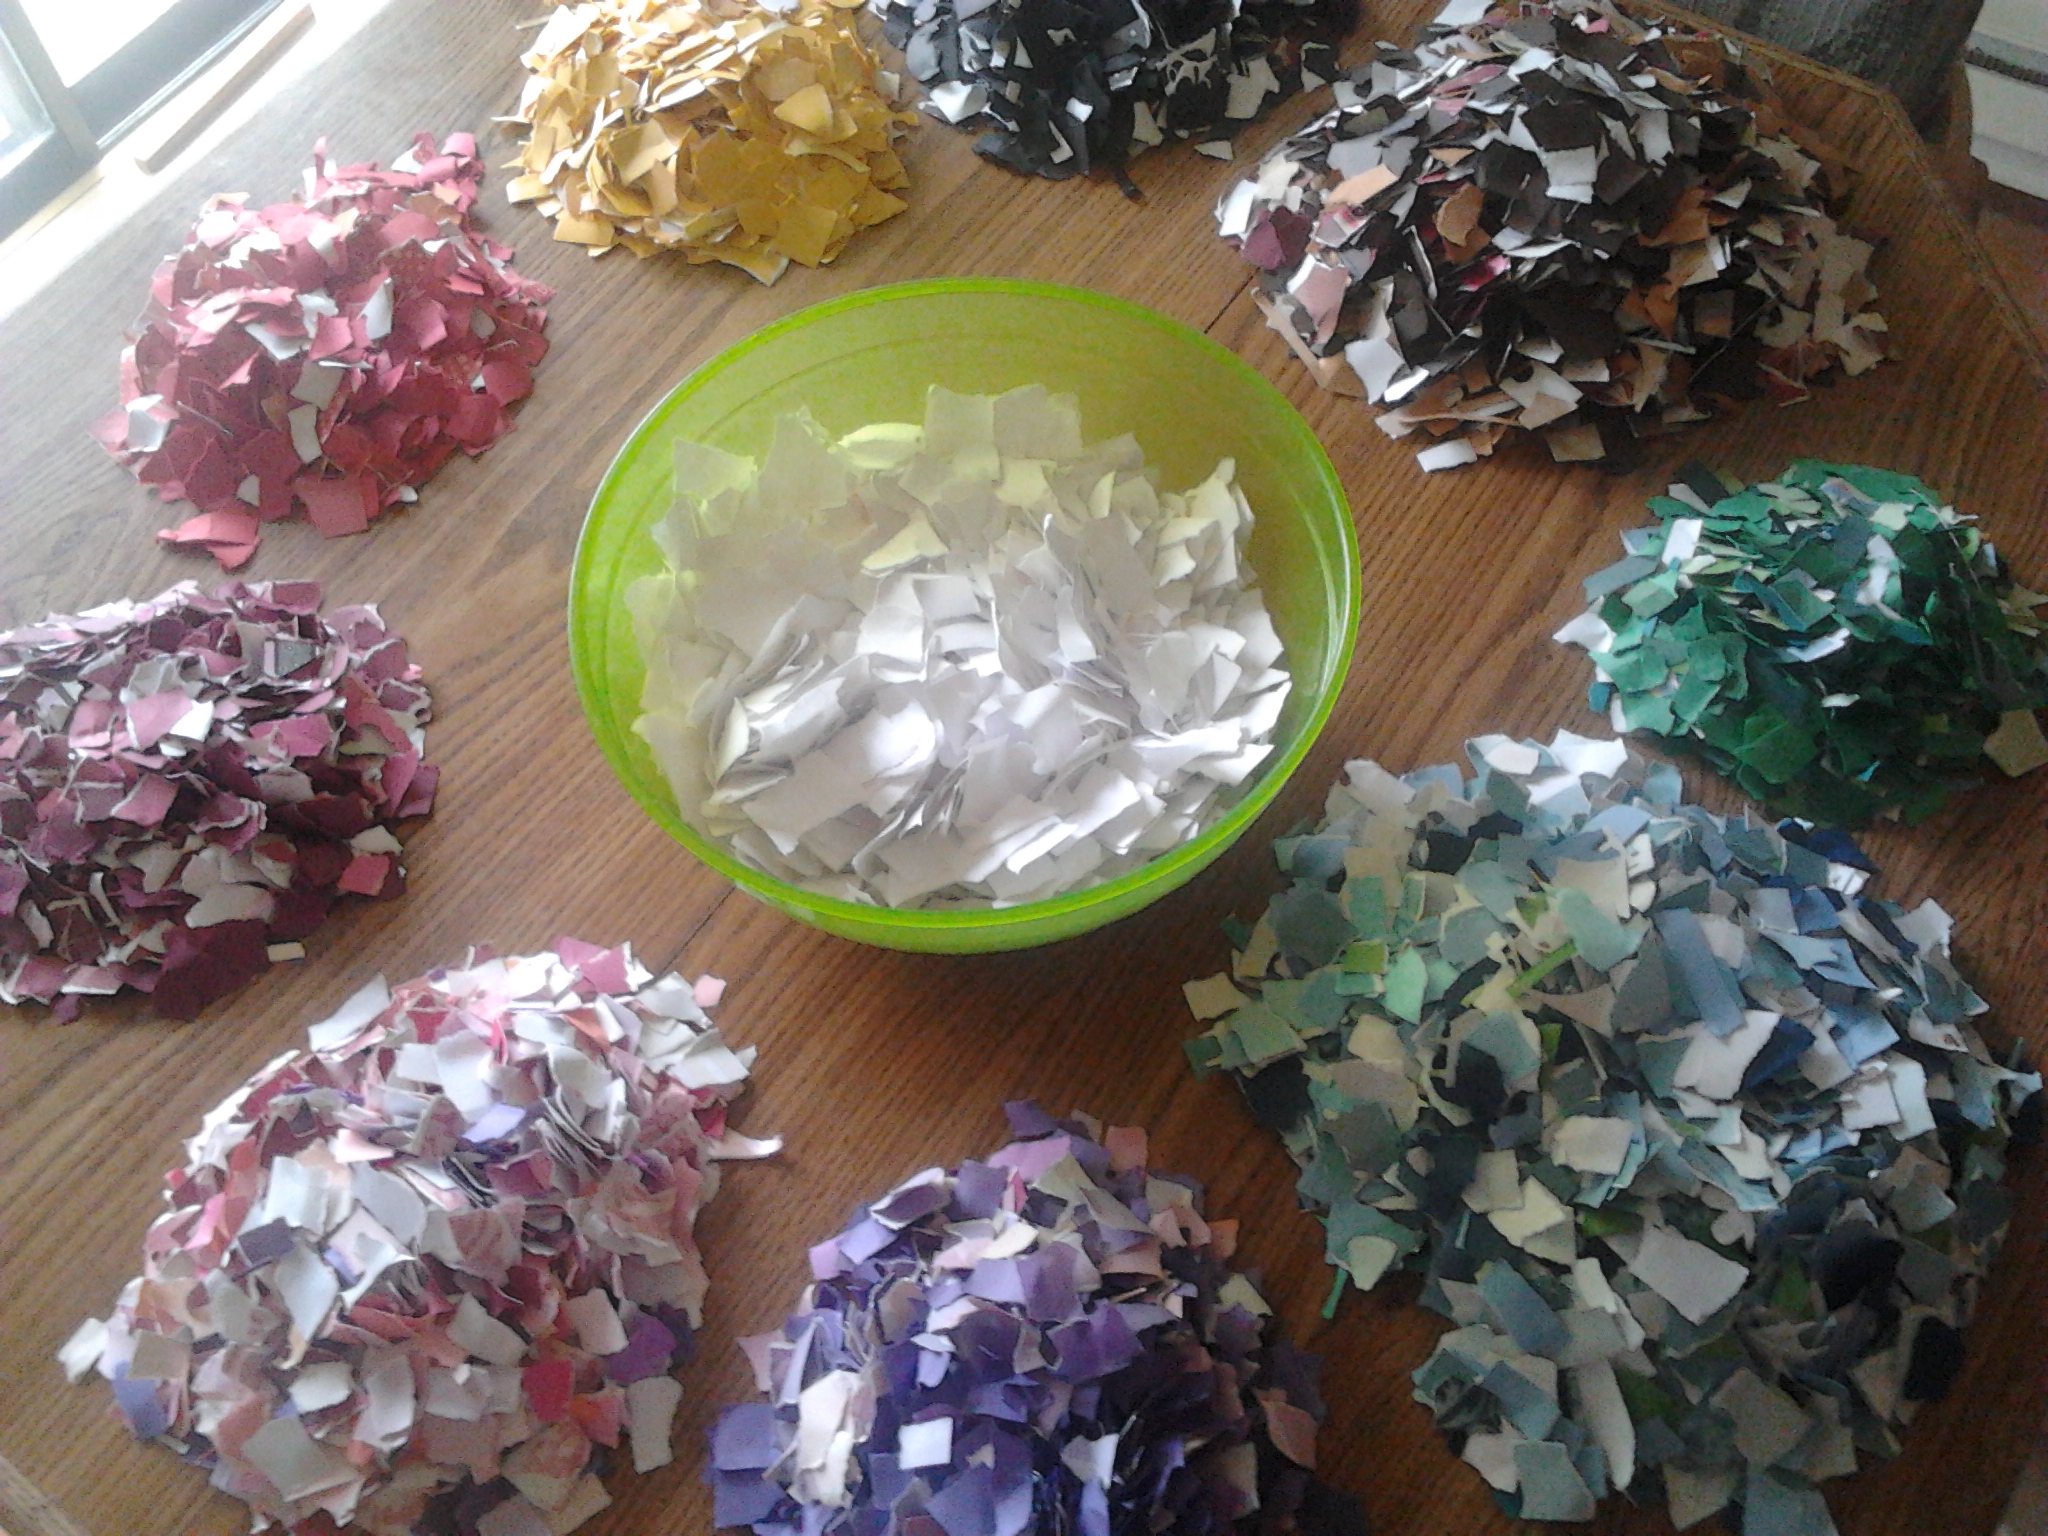
Before you start ripping your paper, sort your paper into color piles. You'll want a lot of white, especially if you are wanting to do different shades of colors.
In general, I find that the paper ends up darker than you might think it would be, so if you're looking for lighter shades, you'll want to make sure you have plenty of ripped white paper on hand to add in.
Making Paper from Scraps
Now that you have your paper all prepped, you need to ready your work station. You'll need plenty of table space, several dry towels, (I went through 1 full sized towel per 12"x18" sheet of paper that I made), a screen or mold, your wax paper and of course, a blender. For the screen or mold you have many options. You can use a screen method, like we used back in our Seeded Valentine's tutorial. For that one, I wanted a thicker paper to hold the seeds better, so I used a rubbery cabinet liner and a curtain dowel, cut in two, and zip-tied together. For this project, since I wanted to make larger sheets of paper, I used a rectangular concrete mold, with no holes in it and lined it with wax paper. This allowed me to keep the larger pages in tact easier while wet, and although probably used more towels, was less messy than the screening method in "Seeded Valentines".
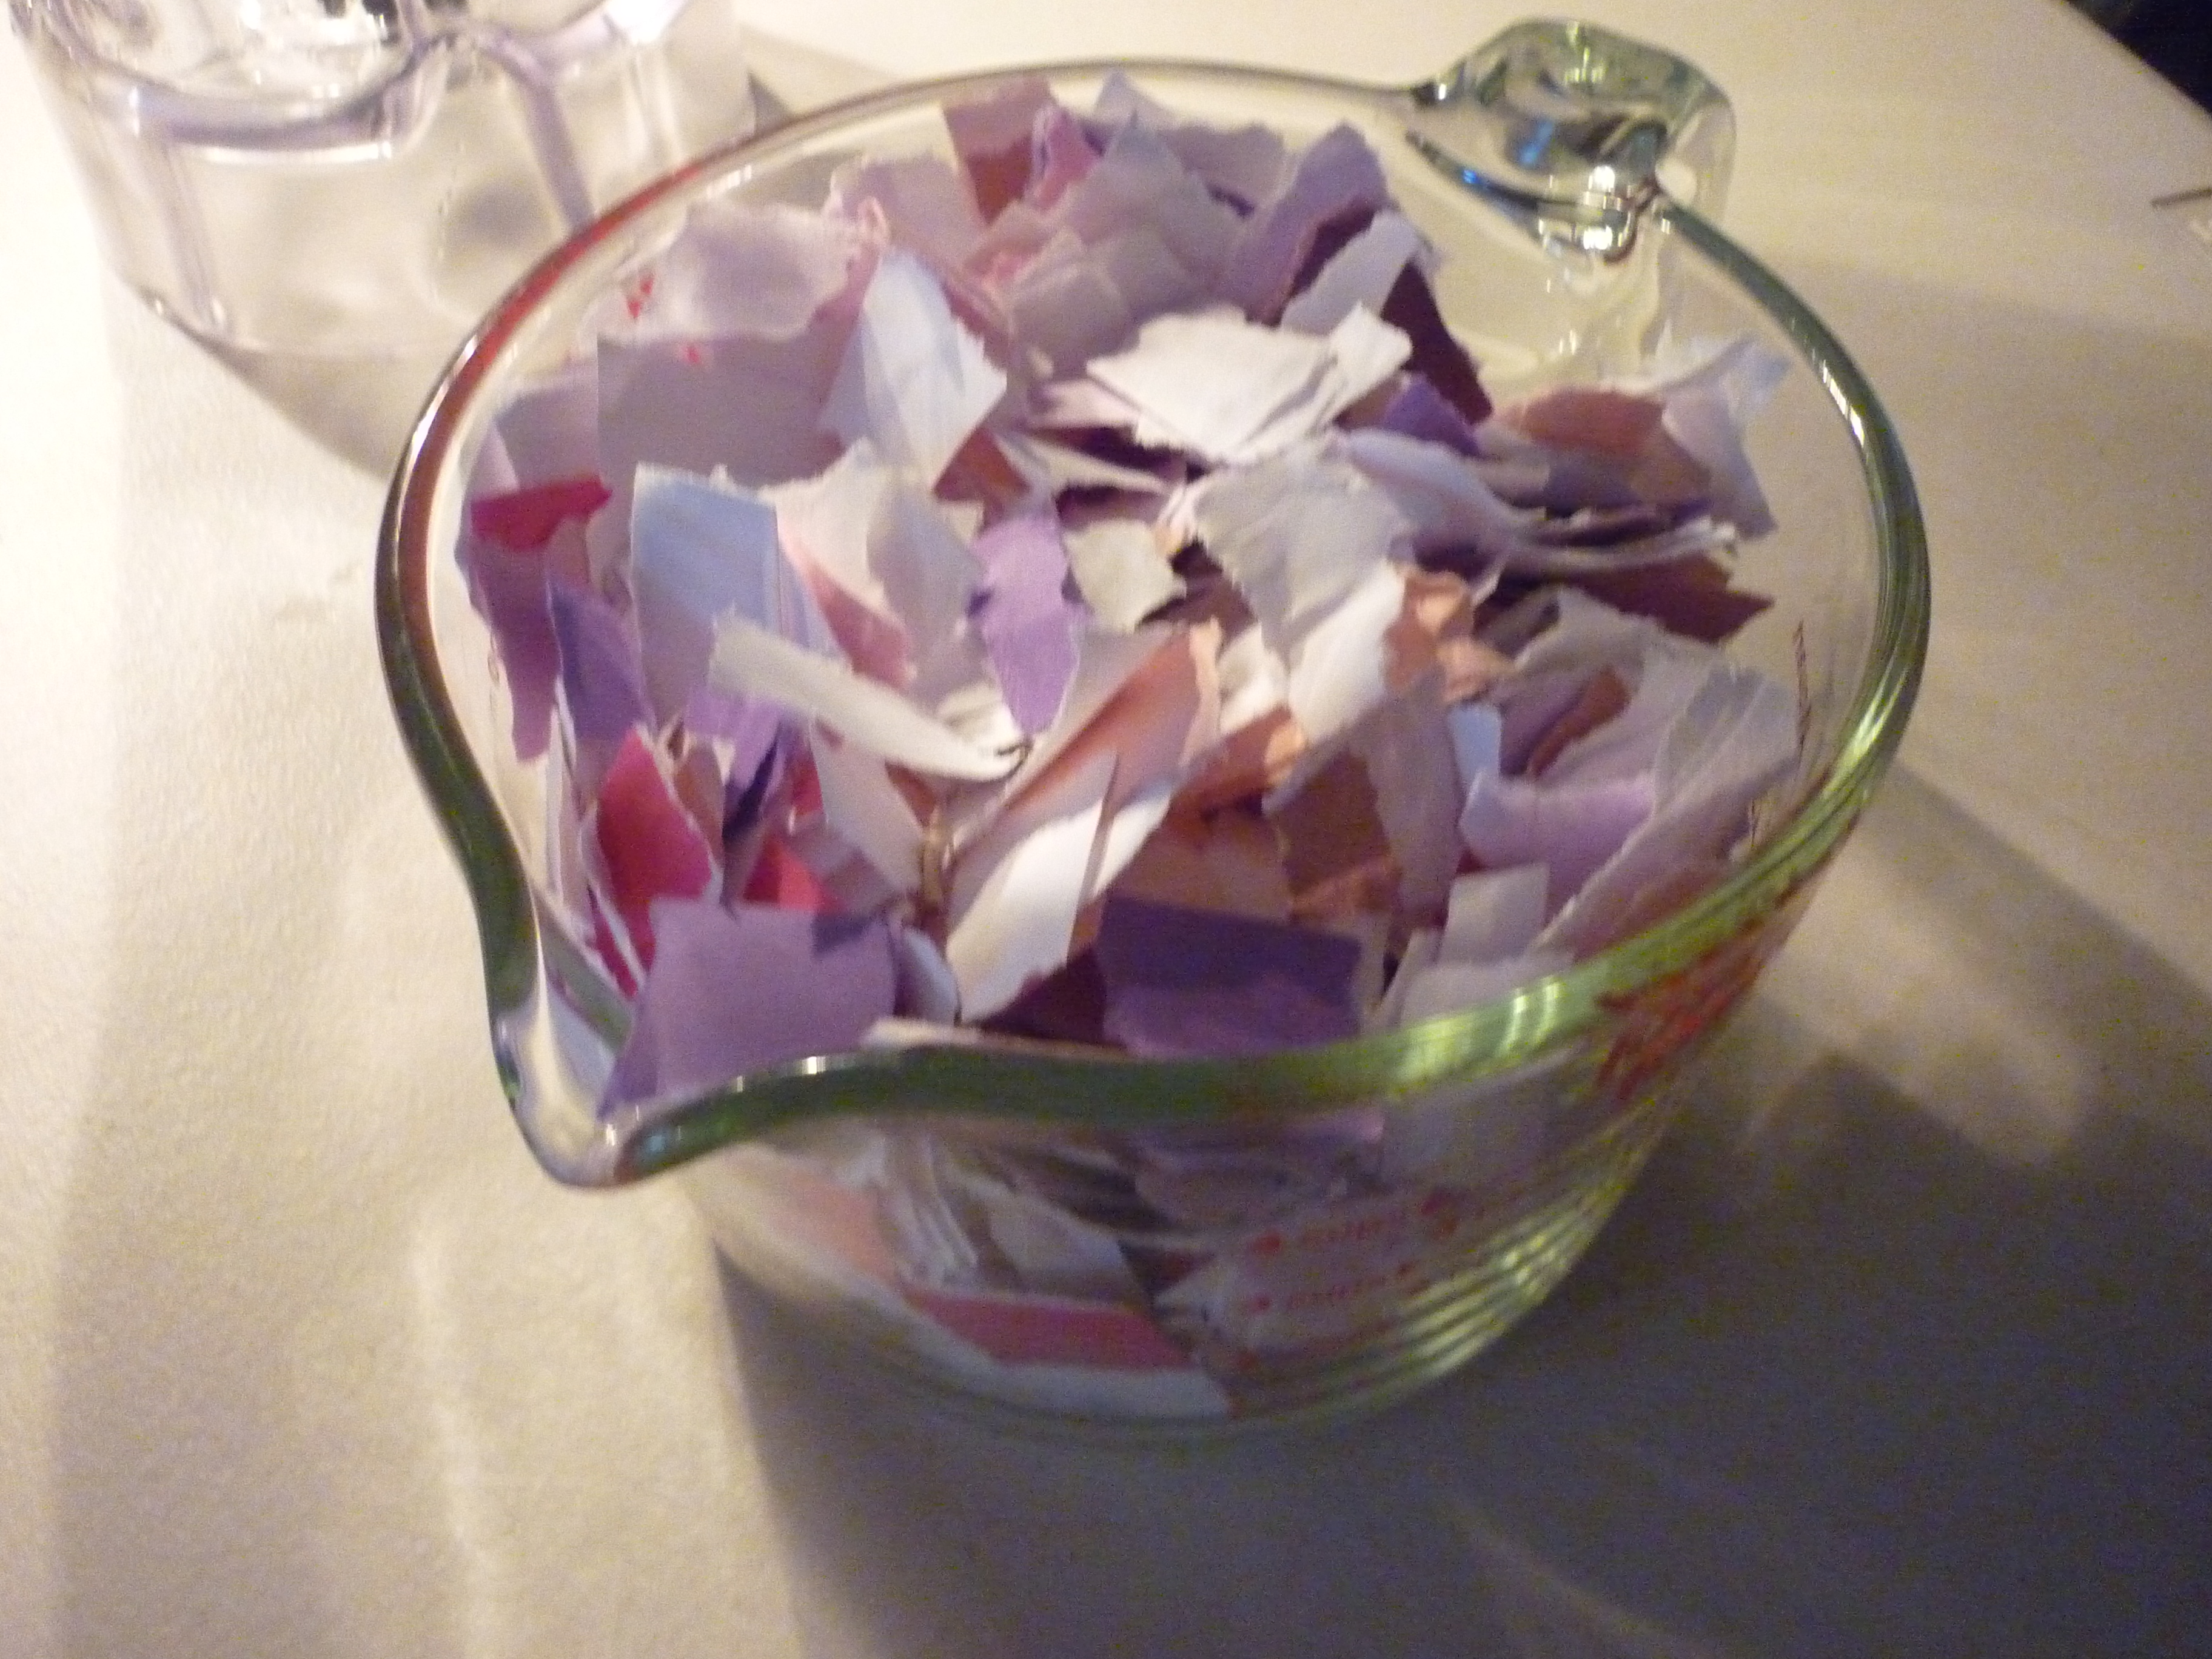
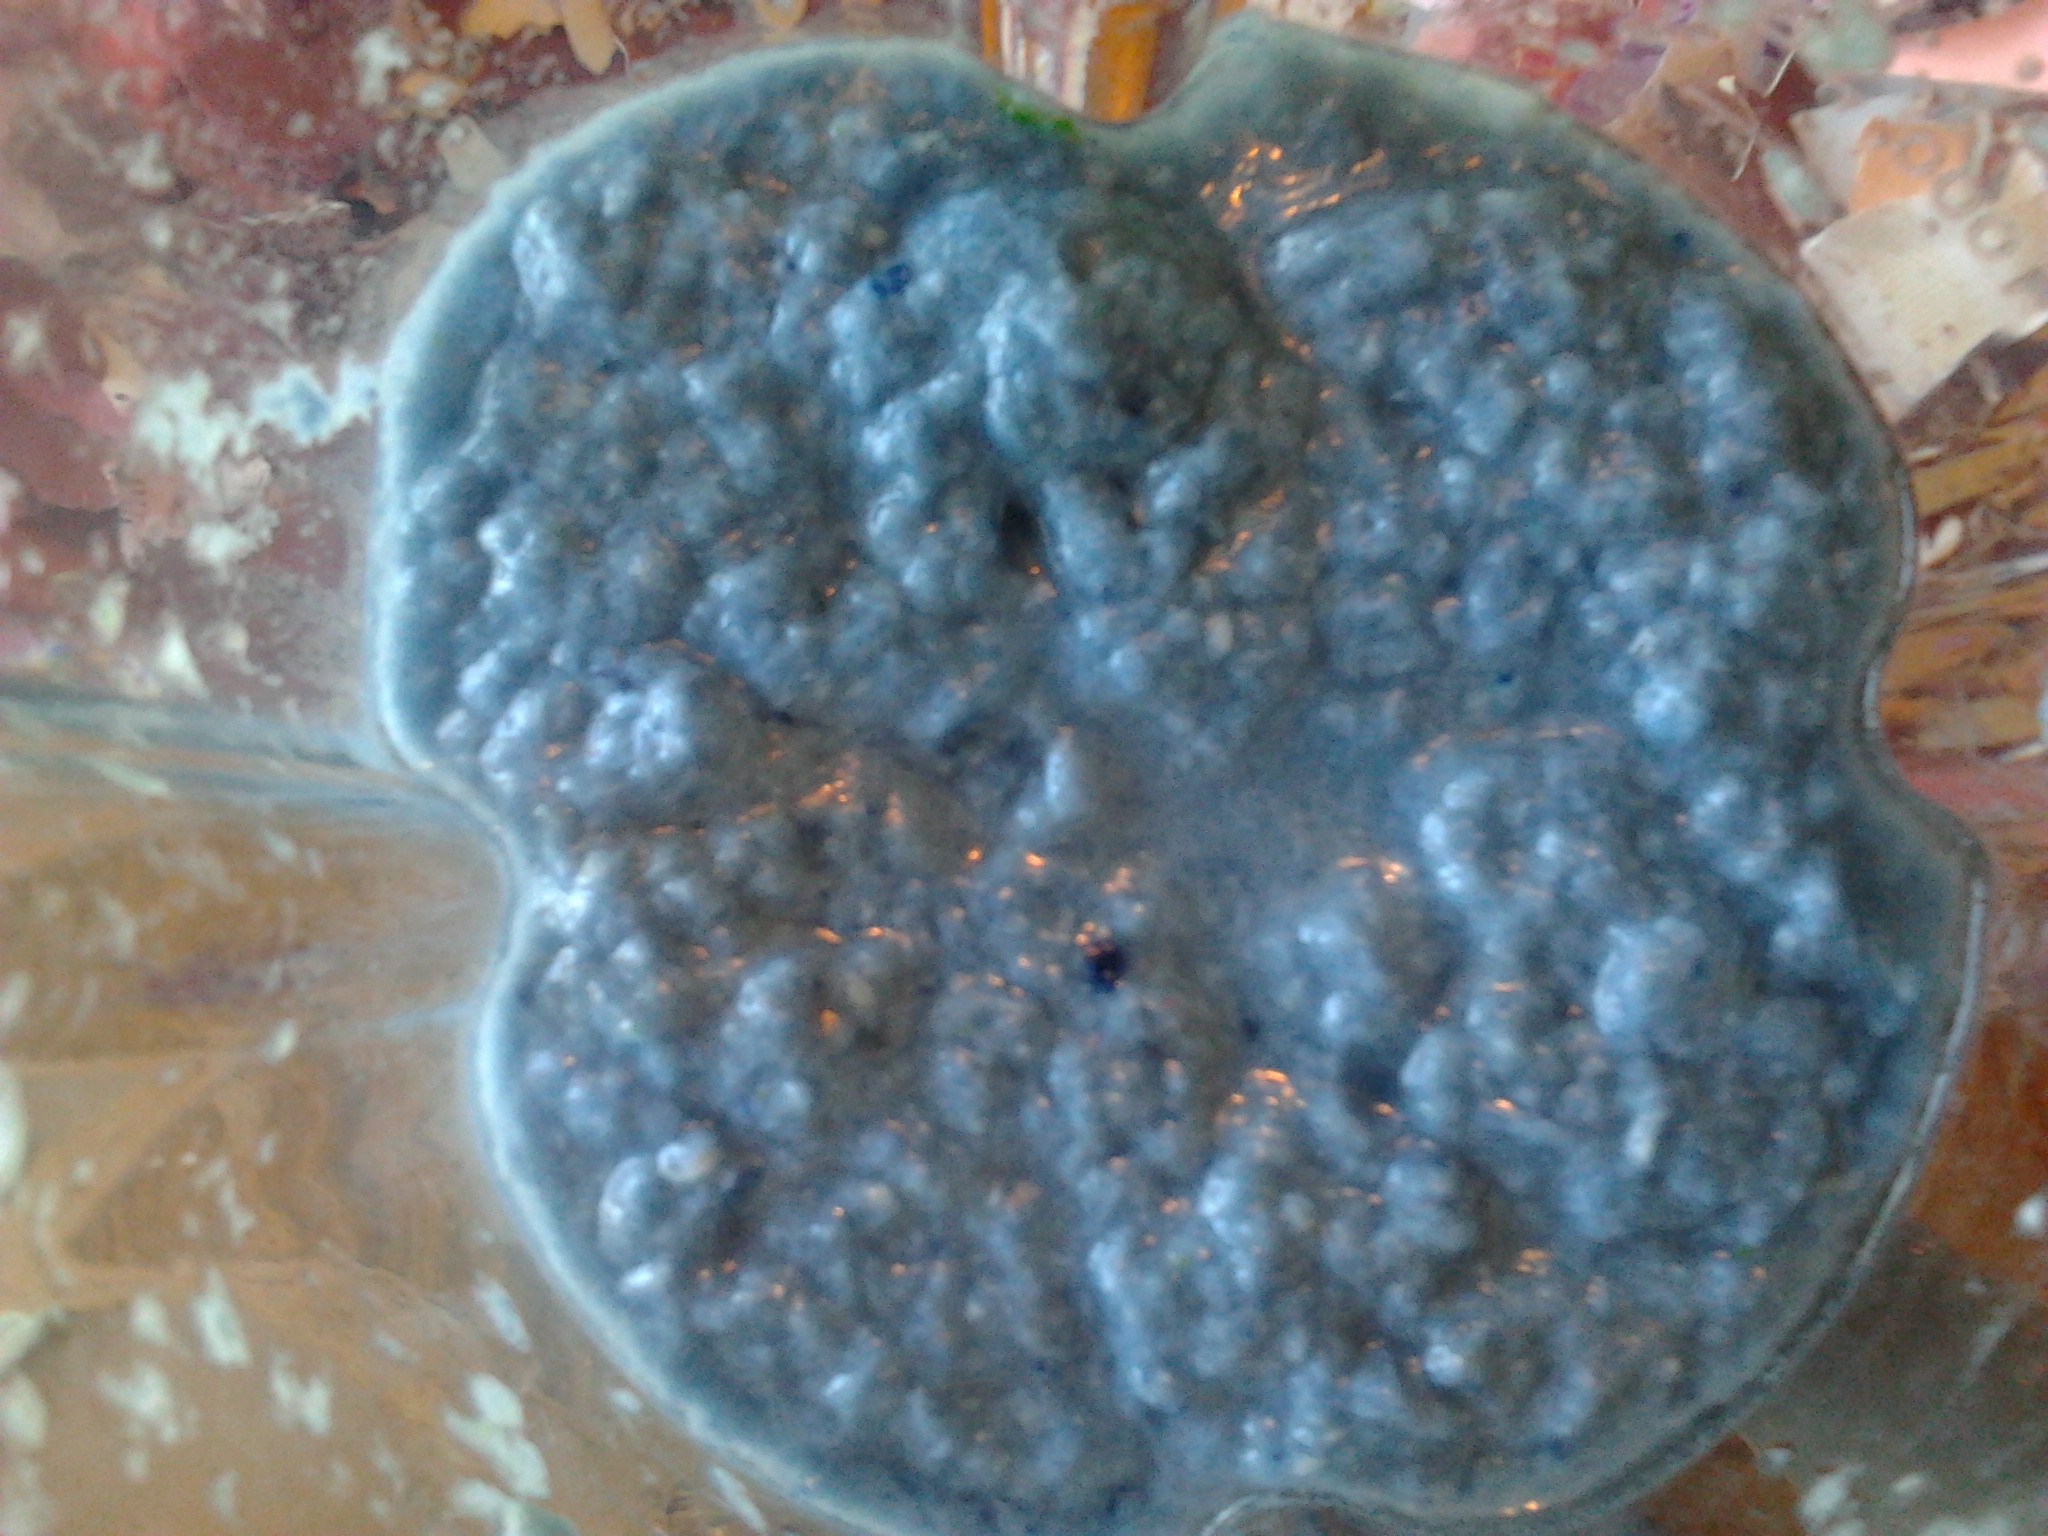
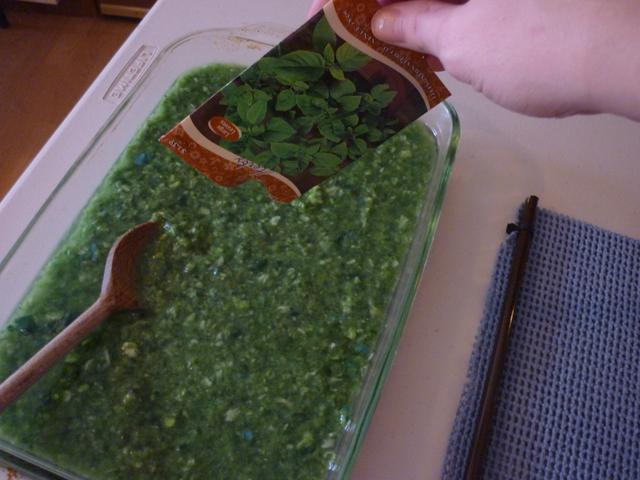
Once you have your screen or mold ready, it's time to select which color you will start with. To make several shades of the same color, try making your first batch with just scraps from your choice color pile. For your second batch, substitute some white scraps in, for example 2 parts colored paper to 1 part white paper. Play around with it, that is part of the fun! I was able to put approximately 3-4 cups of paper into each batch, and usually make 3 shades of each color I make. Add your paper to your blender, filling it only about 2/3 full of loosely packed paper. Add warm water to your blender so that the water level sits about an inch or so above your paper scraps. Blend! Add some white and more water if necessary. The more you blend it, the more uniform the color of your new paper will be. Blend it less to give it some extra character. After it is all blended, you can add other things if you like, such as glitter, hemp string, dried flowers, small die cuts, etc and pour into your wax paper lined mold (or pan if you are using the screen method).
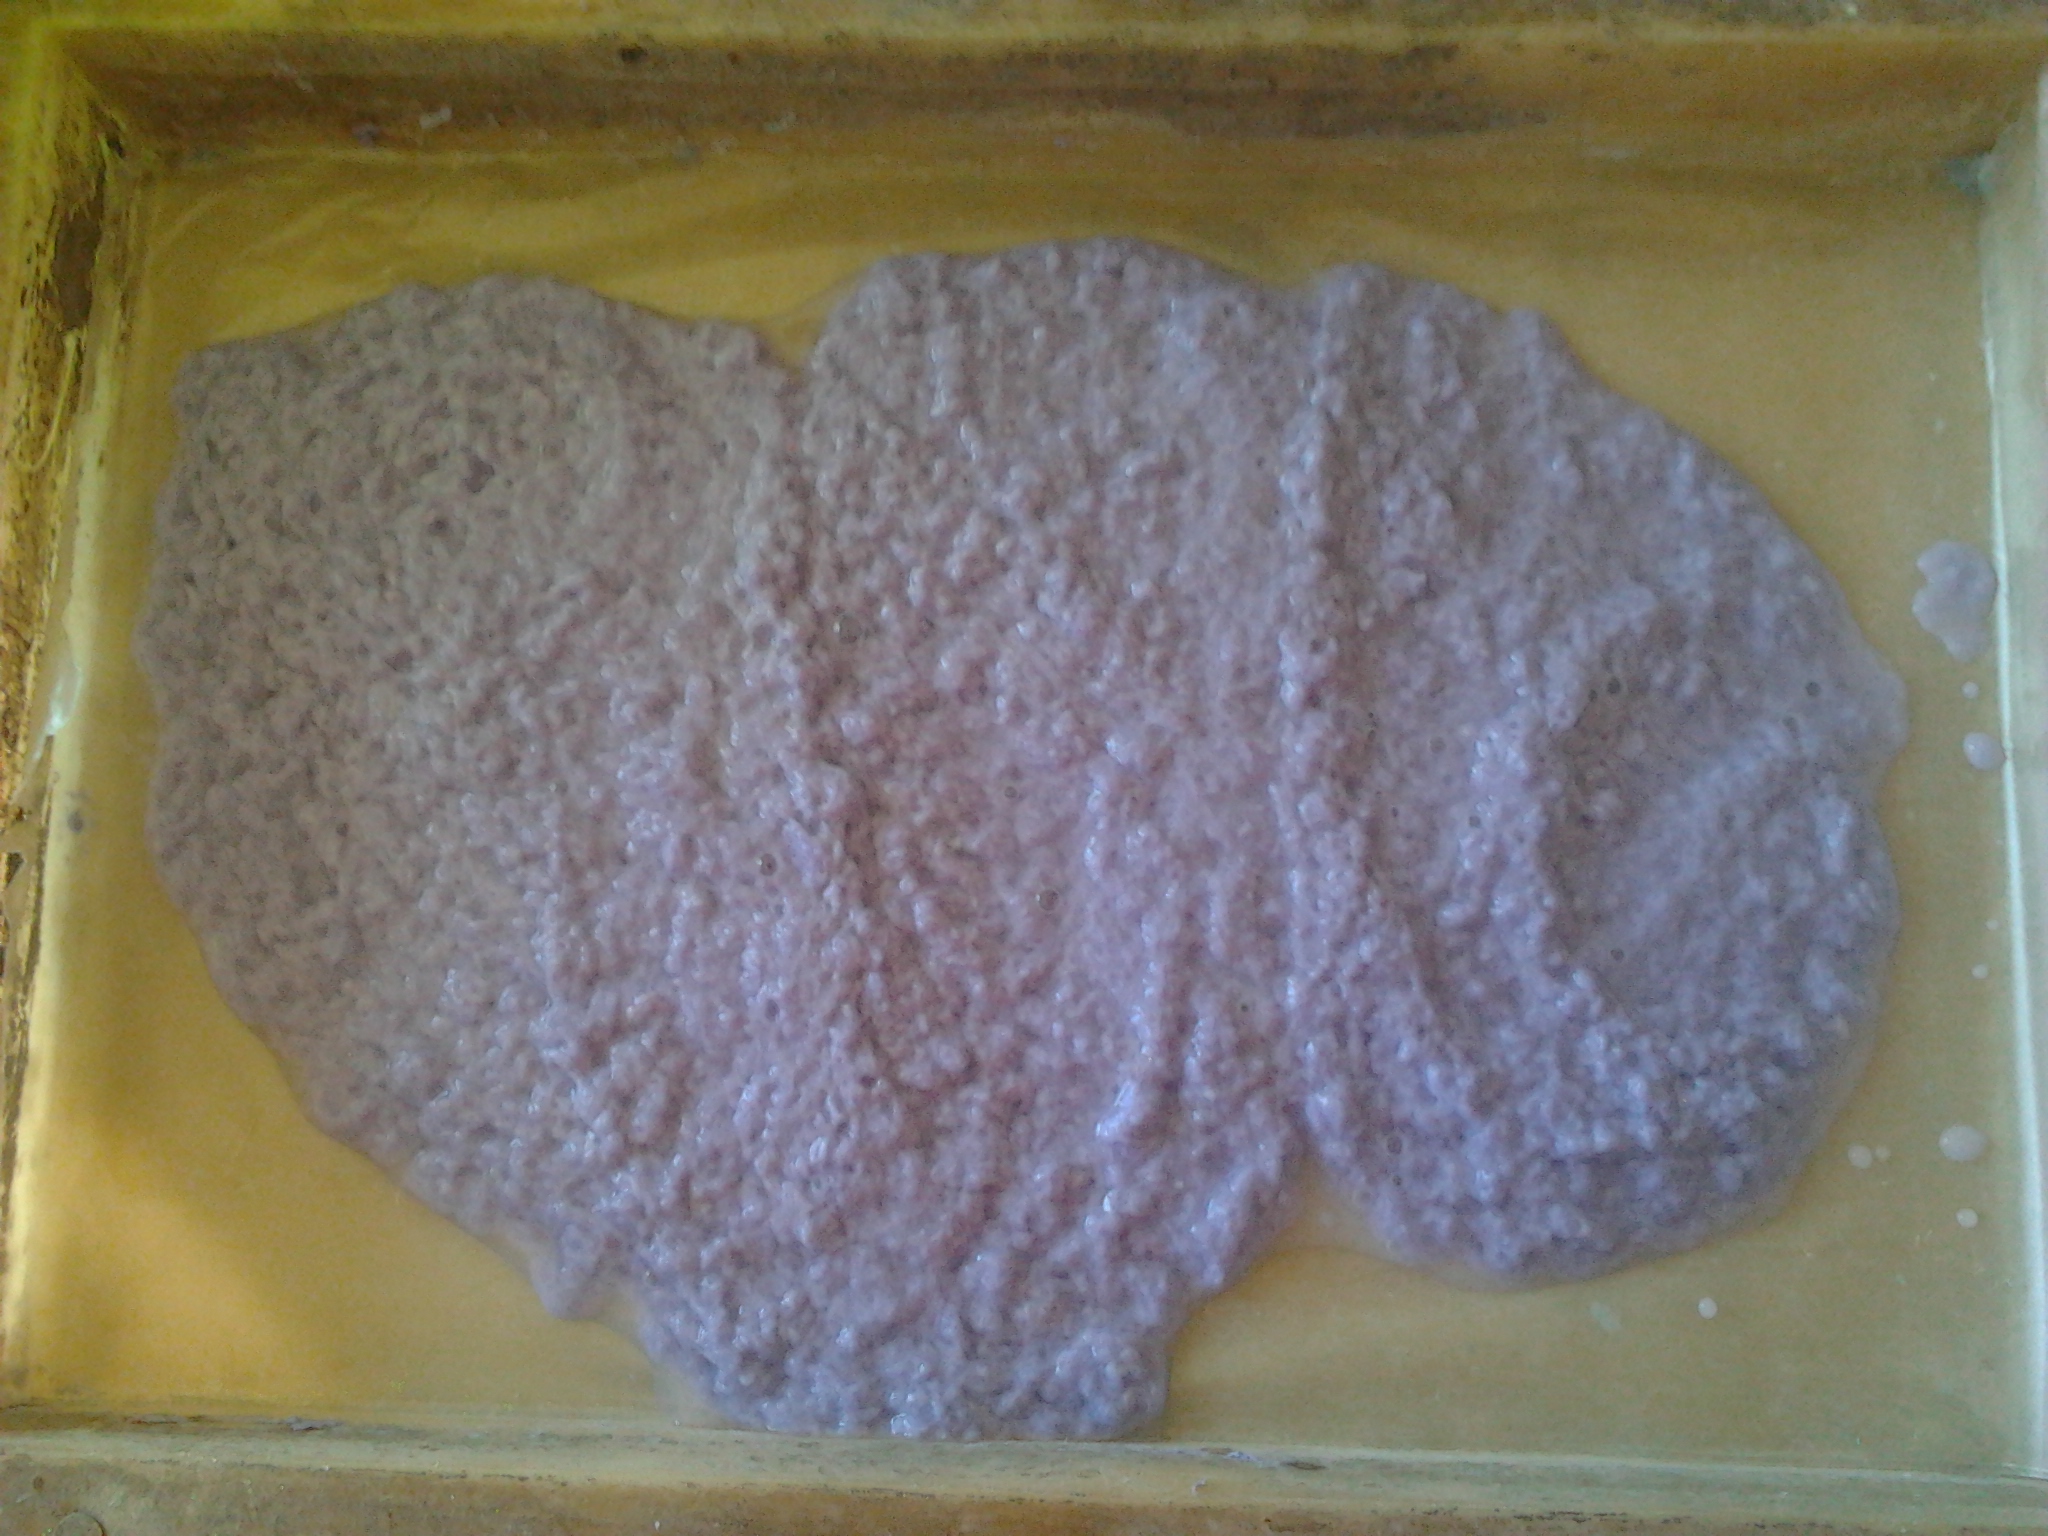
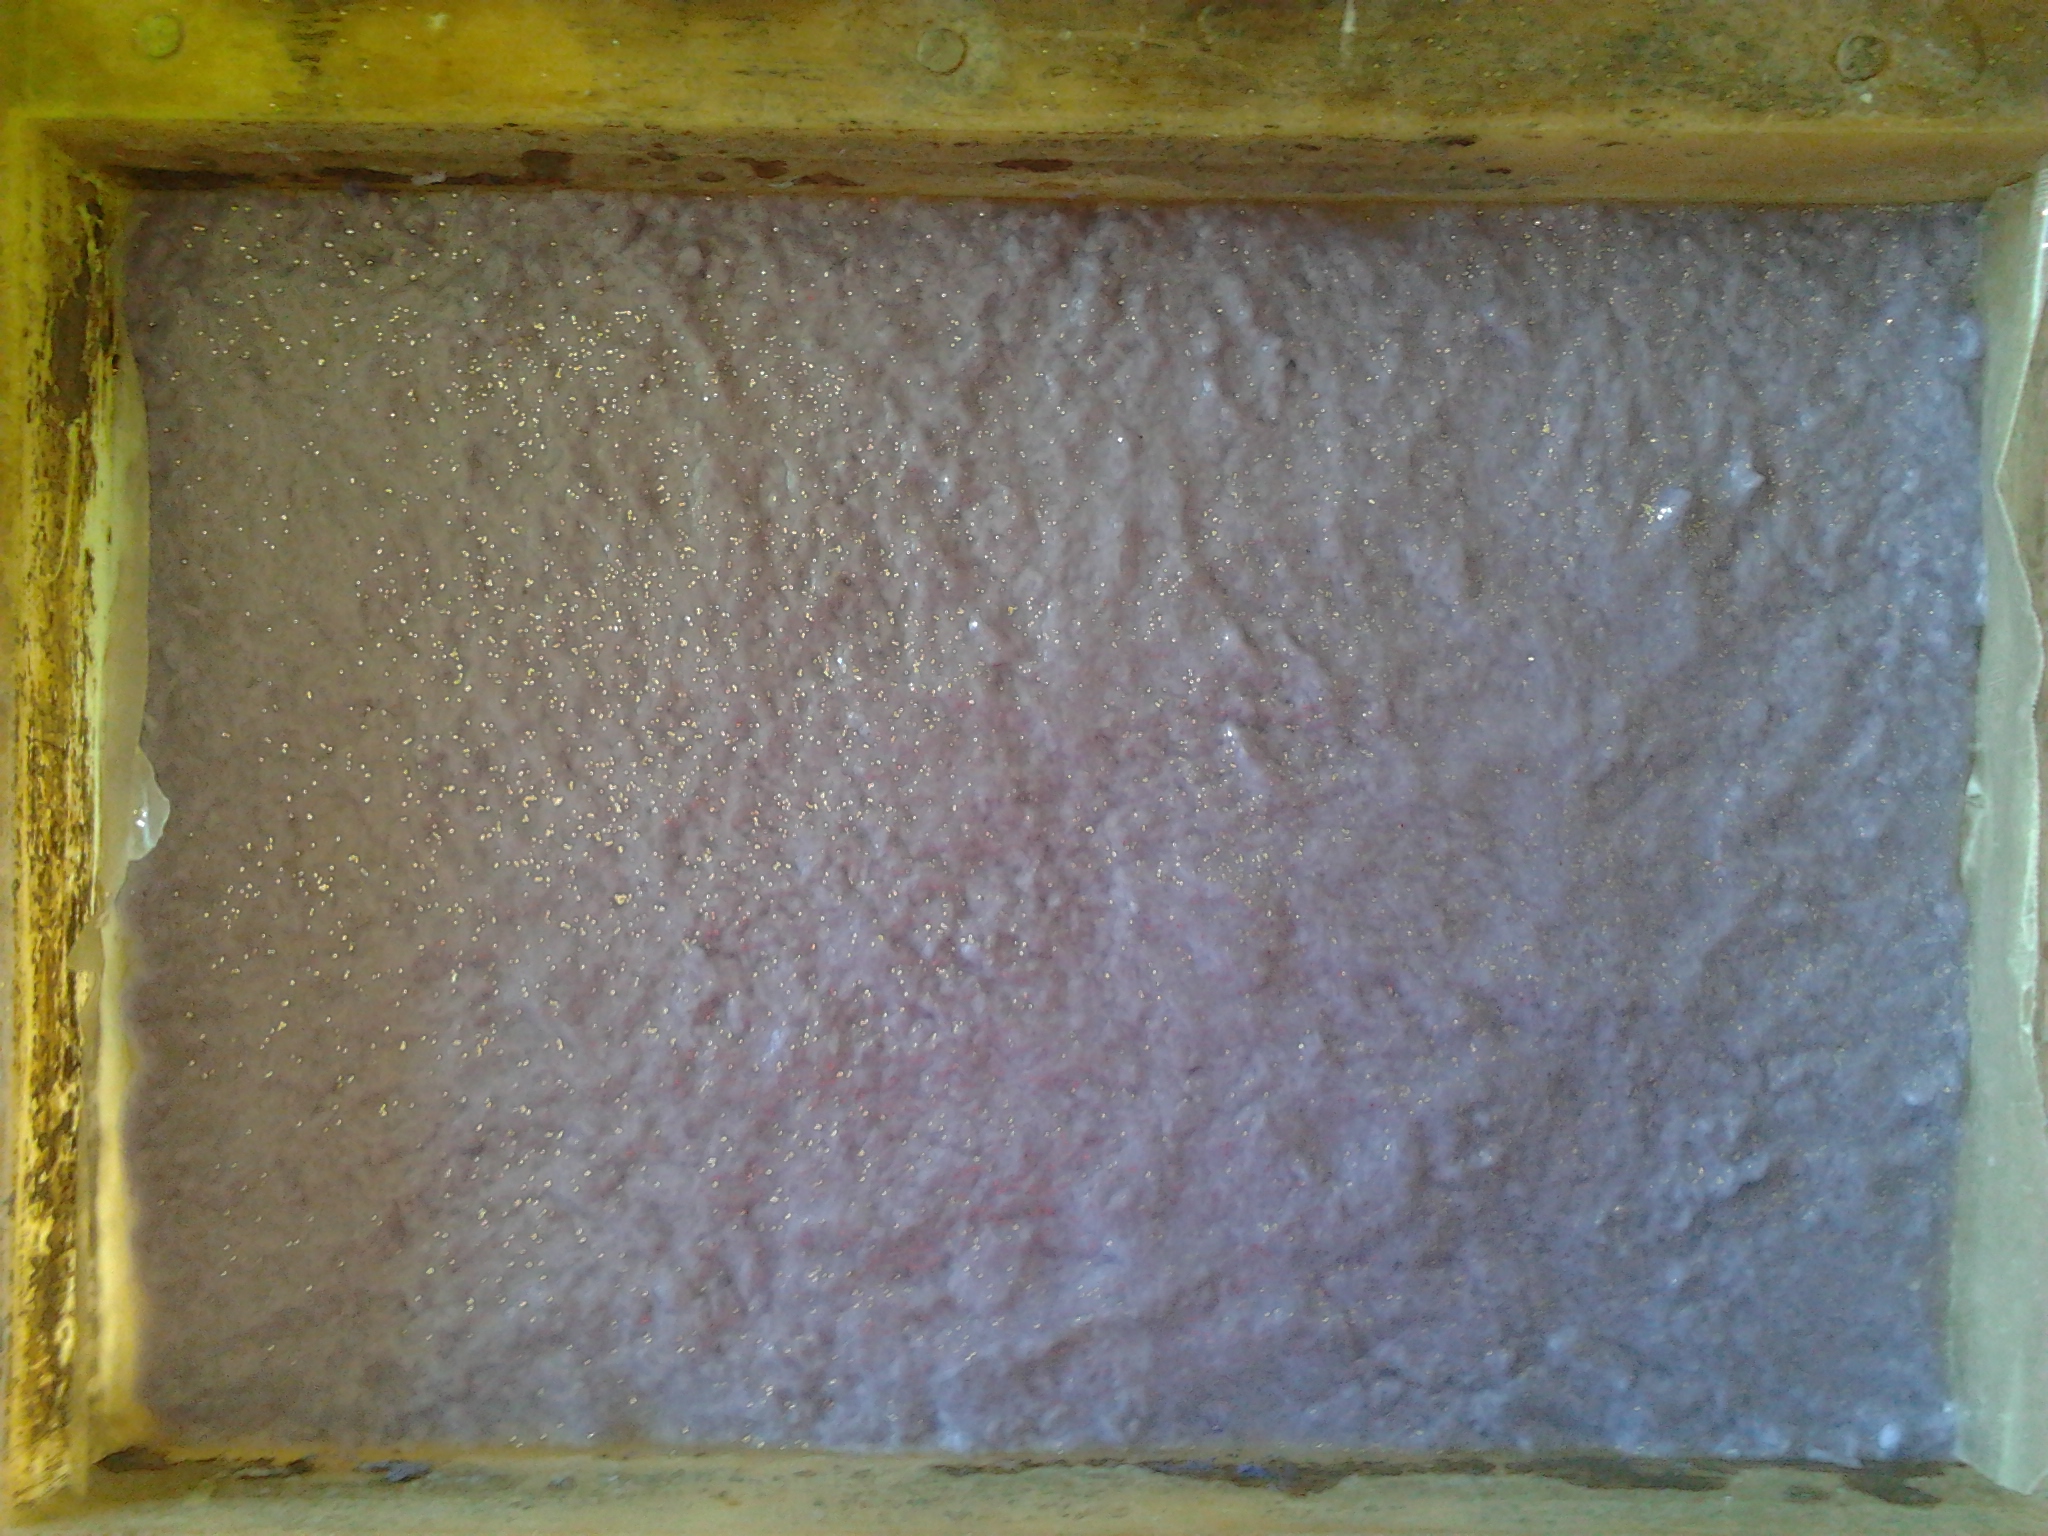
Picture of paper making in large rectangular mold, with solid bottom.
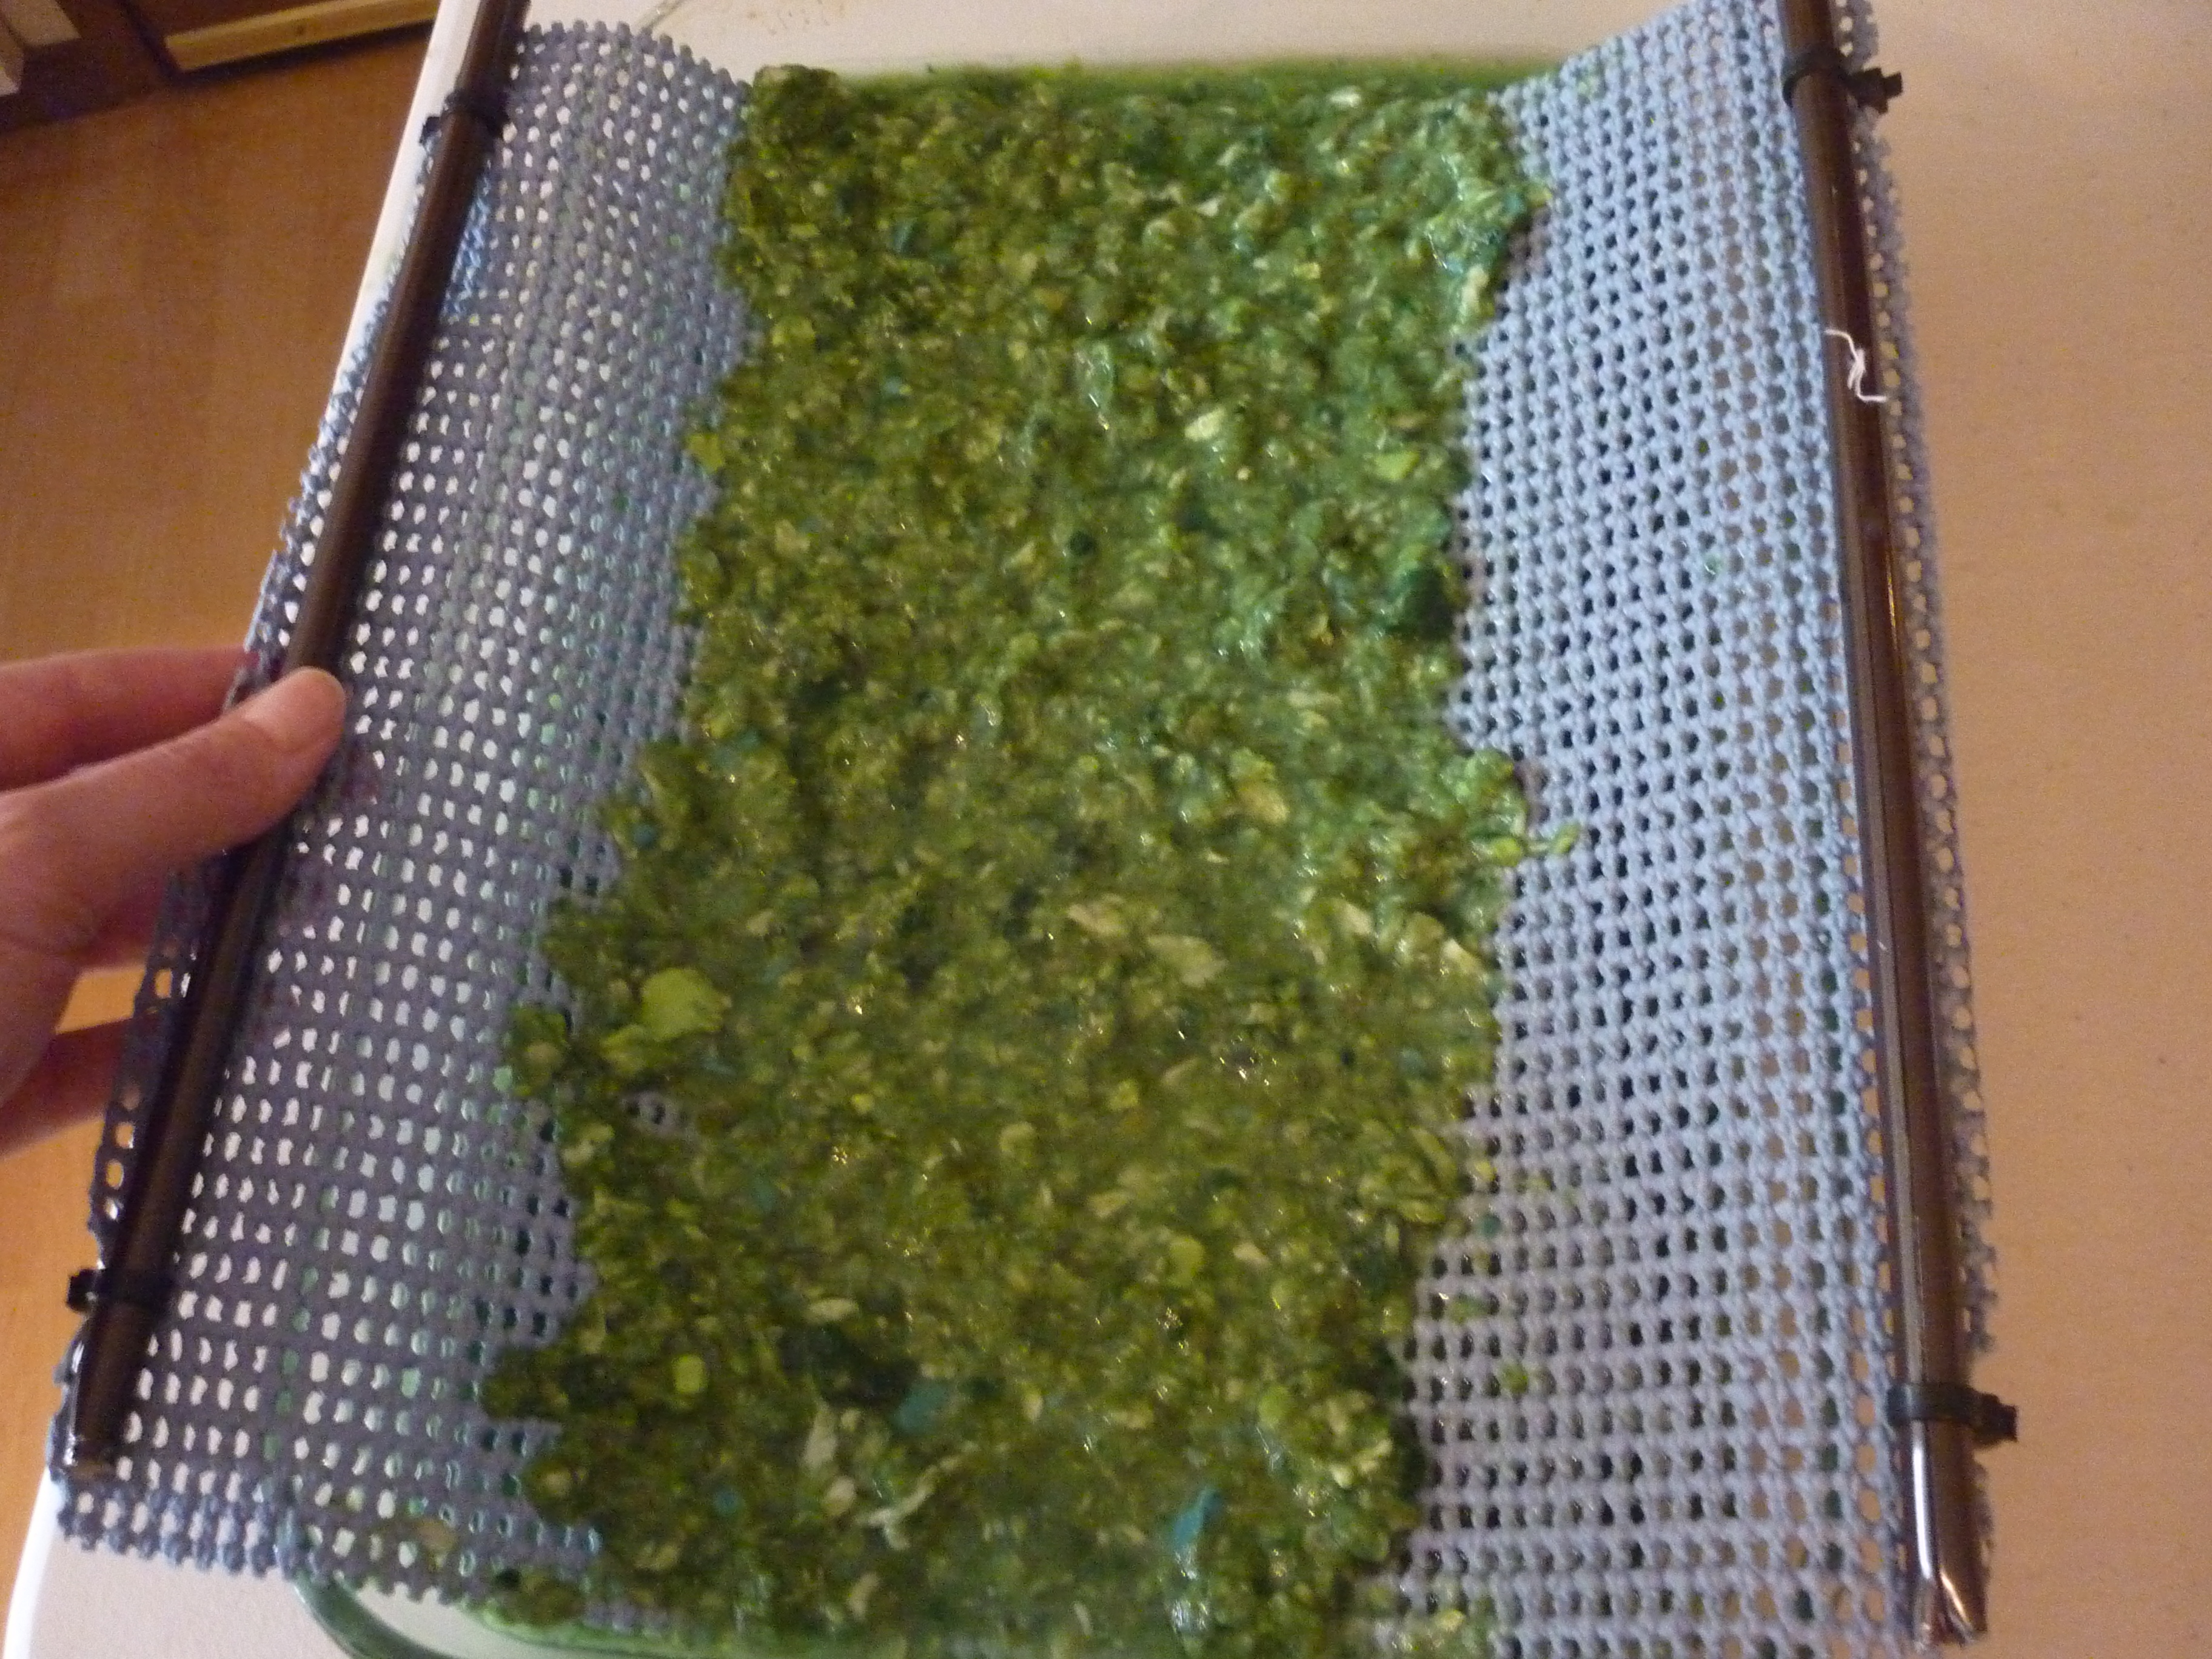
Picture of "screen method".
Now that you've added all that water, and made your scraps into a pulp, it's time to take that water back out and press and fuse the fibers together to form your paper. Spread your pulp around until it evenly covers your mold/screen. This is a good time to add any flower, herb or vegetable seeds if you're planning on throwing those in. Read the directions on the seed packet for planting and sprinkle them accordinglyover your paper mixture.
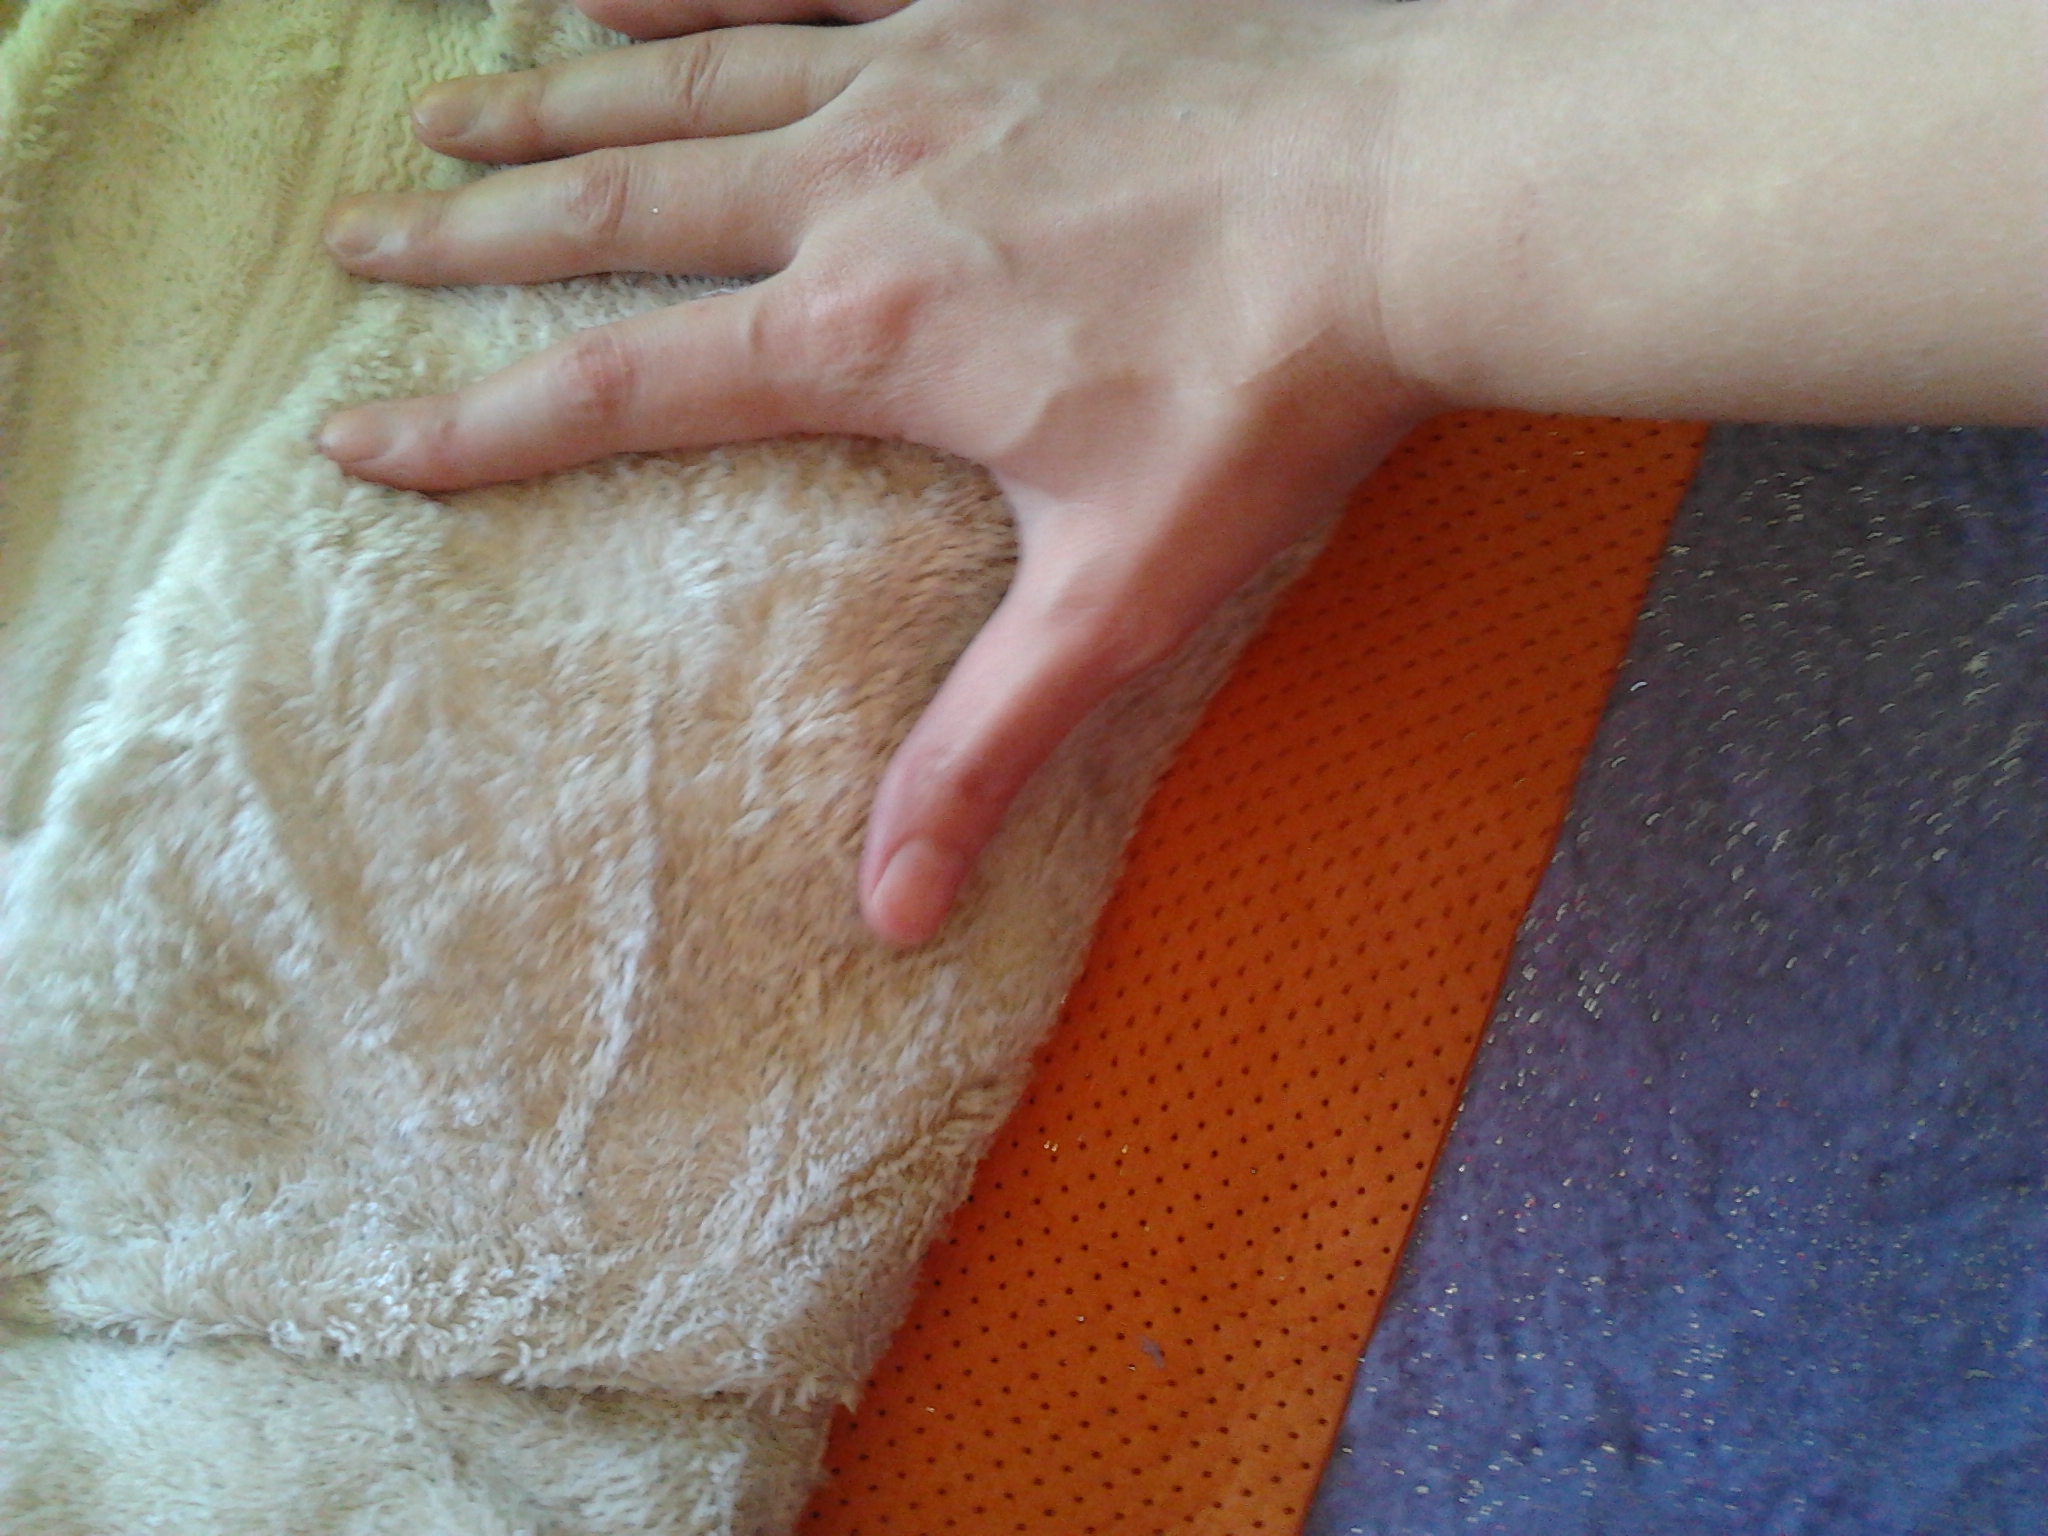
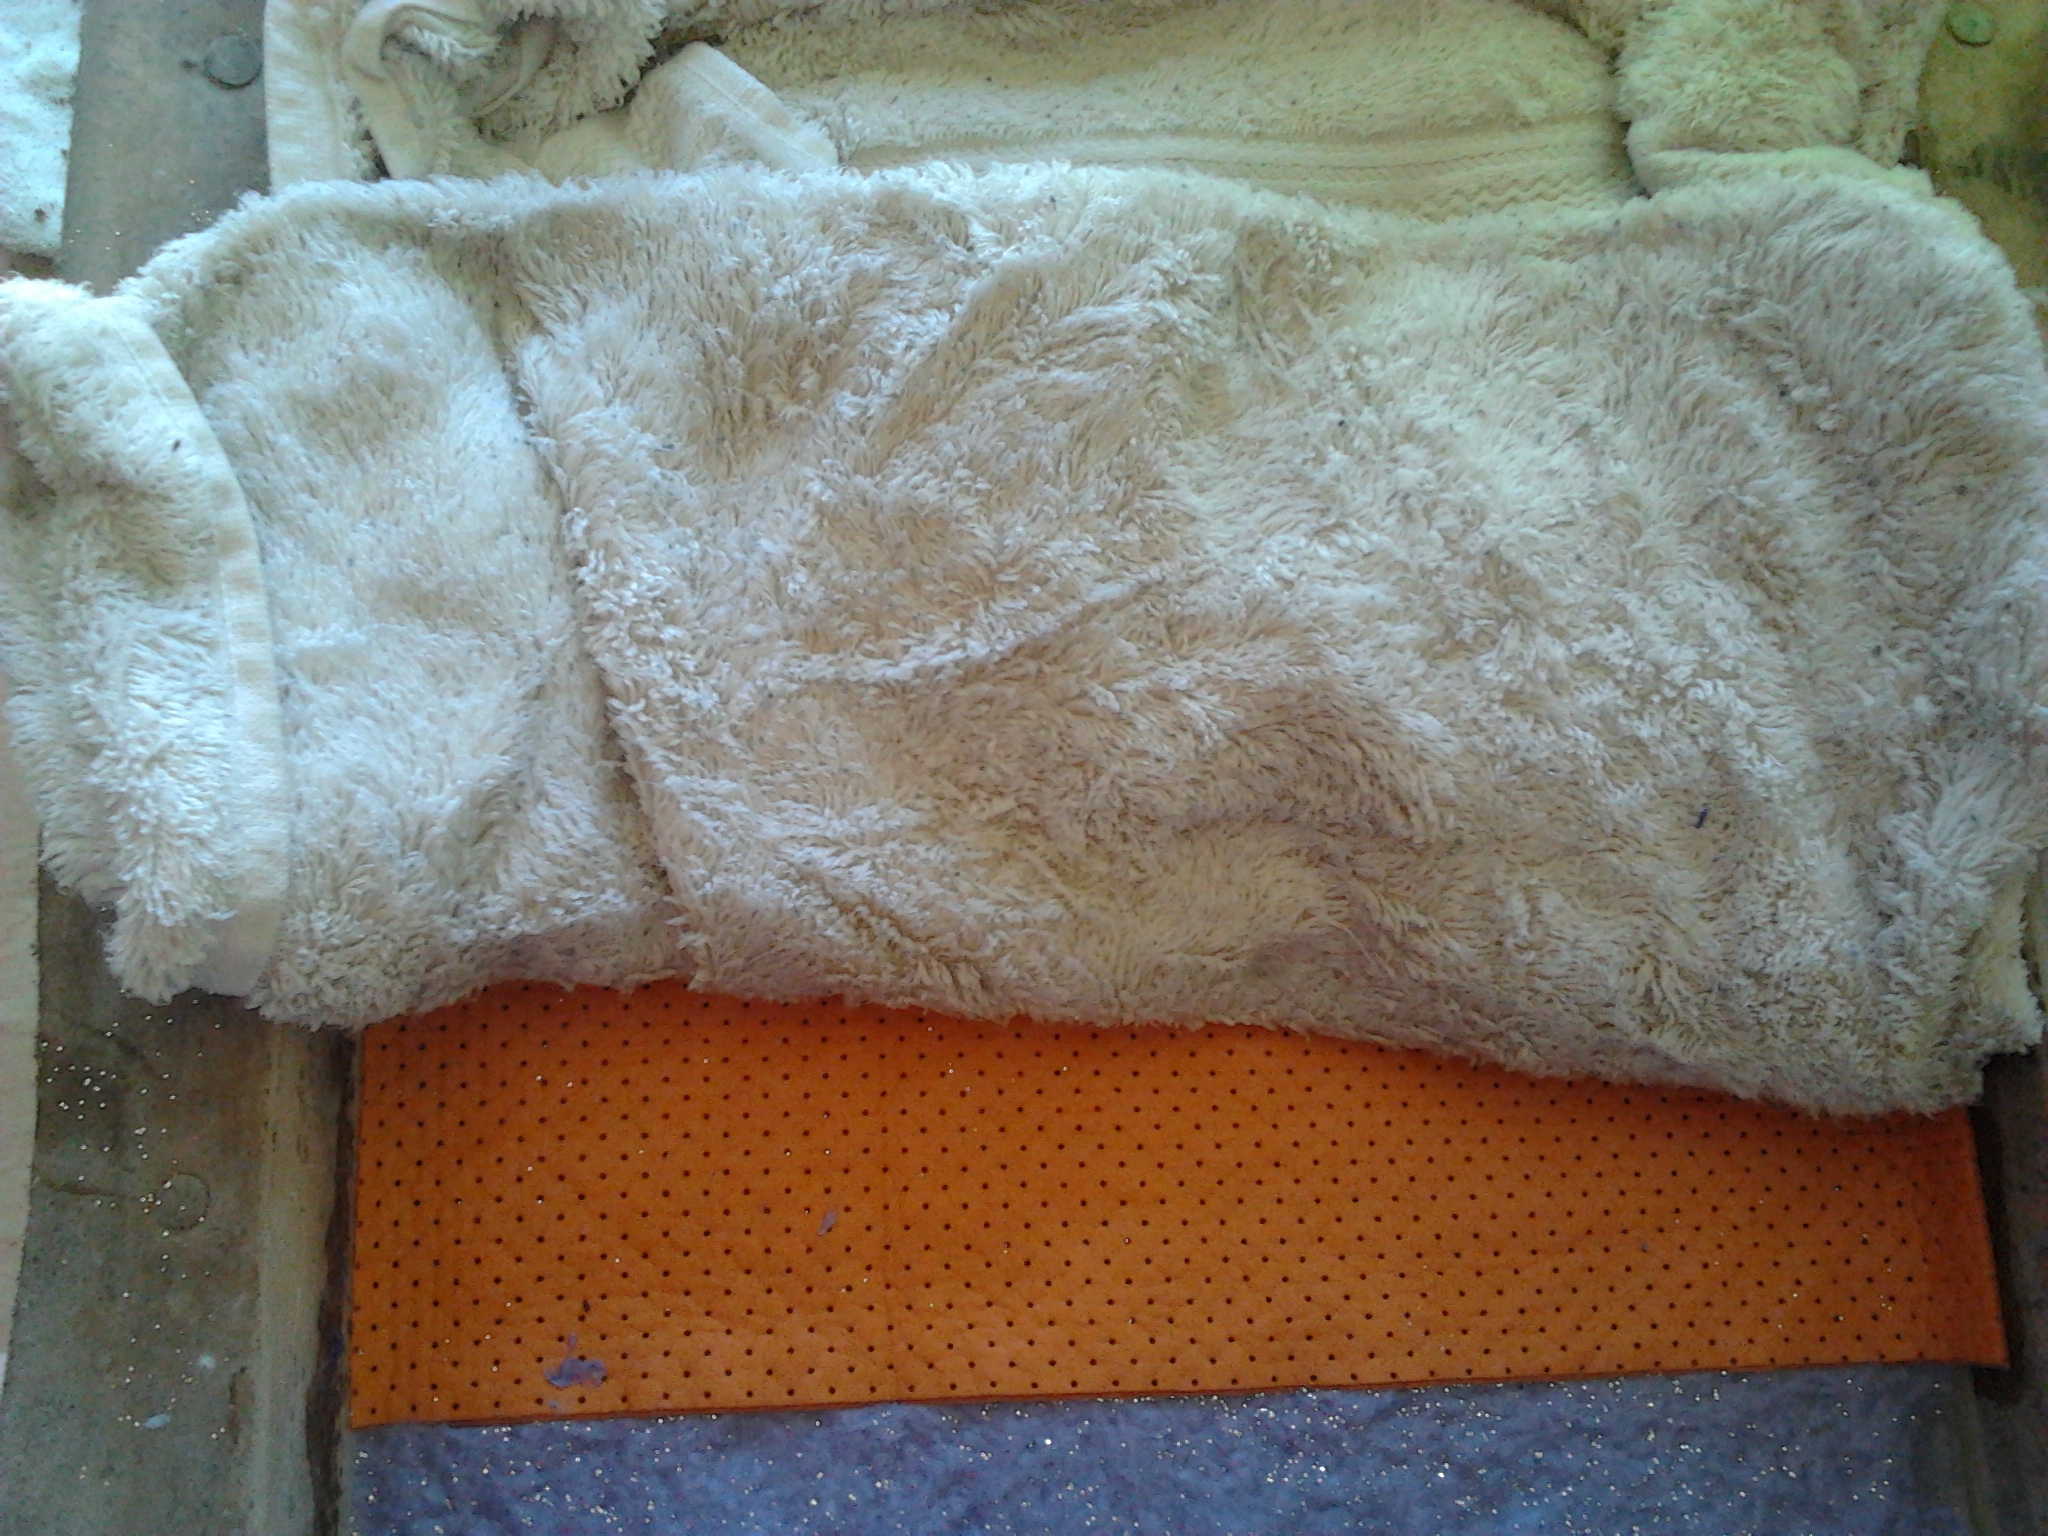
VERY gently, place your Shammy on top of the mixture. As long as you absorb most of the water out of your pulp before removing it, it should peel off fine and not take chunks of your beautiful handmade paper with it. Once your Shammy is in place, gently lay a folded towel on top and start pressing the water out of your paper and into your towel. The more firmly your push the paper fibers together, the stronger your paper will be in the end, but start gentle (as to not shift the pulp around, giving you bare spots or shifting around the seeds) and increase in pressure, rotating to dry spots on the towel, until you have absorbed as much of the water as possible. Slowly and carefully peel the towels, then the Shammy, off and gently remove your paper from your mold by grabbing the wax paper underneath; lay out on a table to dry. Your paper will probably start to curl near the end of the drying process, that is to be expected! Simple lay flat on a table underneath a heavy book or two and it will straighten back out.
Repeat the process with the rest of your scraps. Have fun getting creative with the process. Try pouring your pulp mix into your mold and adding some die cuts to it, or swirl other colors together to make fun designs in your paper. The sky is the limit on ways to personalize your paper.
You might
also enjoy...
Disclaimer: Please note that some of the links in this post may be affiliate links or ads. There is no additional cost to you, but The Scrap Room will earn a small commission should you choose to purchase through those links. Click here for my full disclaimer. Thank you for your support.