You might
also enjoy...
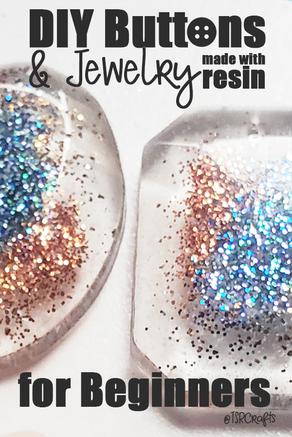
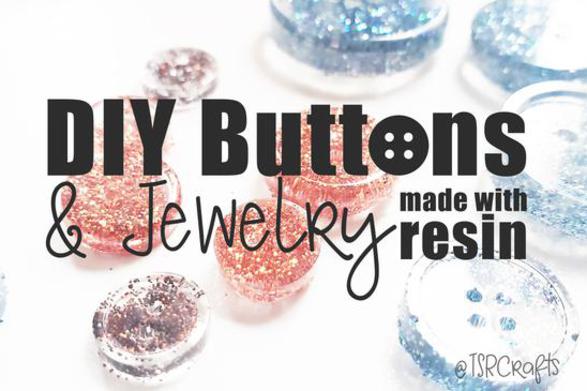
Handmade Resin Buttons & More!
This resin project is NON-TOXIC, easy and so much fun!
Unlike many resin tutorials you'll find online, THIS project is NON-TOXIC, budget friendly, and super easy! You won't need to invest in $100 of resin or worry about protecting yourself from toxic fumes. Just jump right in and create!
There is SO MUCH you can do with resin, from finishing paintings, to enhancing wood art, to making custom coffee mugs, creating jewelry and more! Playing with resin is something that I've been wanting to do for a while now, but the high price tag on supplies and the toxic fumes involved have deterred me. So when I found this NON-TOXIC resin on Amazon, that came in small, affordable bottles, I was so excited! I ordered it right away, and set up a crafting day with one of my favorite craft friends -- my mom!
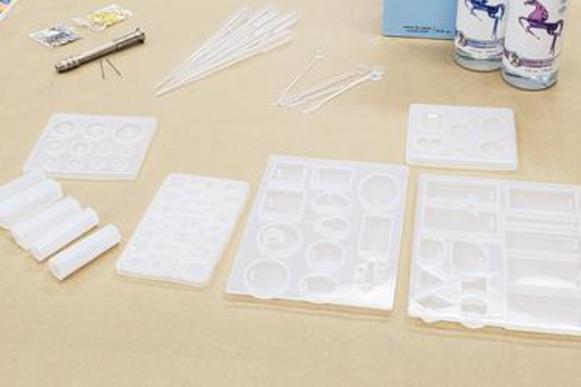
We had SO MUCH FUN with this project and made all kinds of beautful things! I picked up this silicone mold kit from Amazon, so we were able to make a bunch of different kinds of jewelry pendants, buttons, and even some extra "bling". I can't wait for SPRING to get here so I can make necklaces and paperweights with some beautiful FLOWERS! 🌸
If you enjoyed my tutorial or found value in it, I'd appreciate it if you gave it a little love on social media!
Disclaimer: Please note that some of the links in this post may be affiliate links or ads. There is no additional cost to you, but The Scrap Room will earn a small commission should you choose to purchase through those links. Click here for my full disclaimer. Thank you for your support.

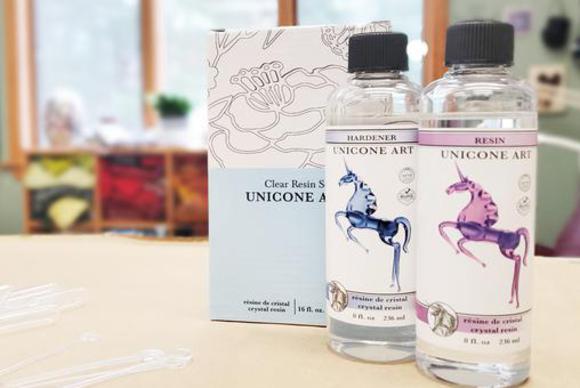
This clear resin by Unicone Art worked so well for this project! It dried clear, and hard and really does look like glass when finished. The set that I ordered comes with two different 8 ounce bottles. One is the actual epoxy resin, the other is the hardening agent. In total, there's 16 fluid ounces of the final product, so it'll go quite a ways if you're making smaller things like pendants, bracelets, buttons, etc.
Here's a supply list for the things that WE used for our resin crafting day, but you can really customize this project in so many different ways! I've been dying to try it out with foliage and natural things found outside, but it's the middle of winter in Michigan...so we stuck to glitter brads, and other supplies we had lying around the house. The great news is, everything we made that is shown in the pictures used LESS THAN HALF of our resin supply, so we've still got enough for another round!
SUPPLIES FOR THIS PROJECT:
-Misc brads & Embellishments
-Cups for mixing (I save my Tillamook Yogurt cups for this! They are PERFECT!)
You'll definitely want to protect your counter top for this project. I keep a roll of inexpensive butcher paper on hand specifically for projects like this! It's thick and strong, and makes clean up a breeze. You'll also want to wear some disposable gloves -- these are the ones I keep on hand, they are super durable (and I wish I'd worn them for this project!) This epoxy resin may be non-toxic, but it's still a little messy!
Prep your molds first so that they are ready to go once your resin is. Make sure that they are clean and completely dry.
Once your work space it prepped, your molds are ready, and gloves on (this stuff is hard to wash off your hands! Trust me, I know! lol!) you can make your resin mixture! Make sure that you READ AND FOLLOW THE INSTRUCTIONS on the packaging.
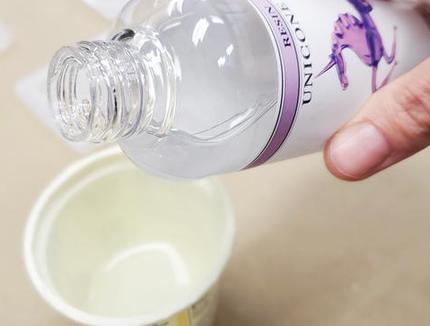
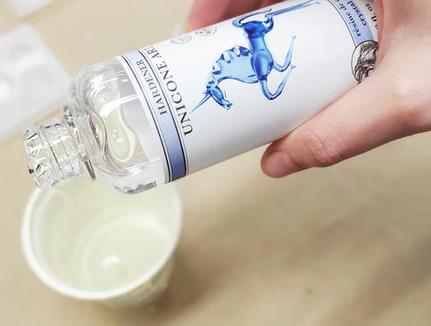
Mix equal parts of the resin and hardener together, then use a stir stick to mix it well for 3-5 minutes. This step is really important to get the ingredients activated so they cure right; don't under mix it! Most of the air bubbles will settle on their own, and any that don't you can pop with a pin or needle before it starts to harden.)
After you've mixed it thoroughly you can pour it directly into the molds as-is for clear resin projects, or add some color then mix again. To add a color, use mica powder and mix it in as much, or as little, as you want to achieve the look you're going for. A little will go a long way, so you won't need much. We wanted to try lots of different things, so we made several smaller batches to really experiment! You don't want the mixed resin to sit more than a few minutes before pouring anyway, so small batches are much more manageable.
COLOR:
Here's a great mica powder if you are looking to color your resin. We did a couple in fun colors (mostly gold) but I have to say, I really liked the "glass" look of the clear, so a majority of our creations were NOT colored. We didn't have any mica powder on hand for this particular craft day so we experimented a little with coloring the resin using acrylic paint. I really don't recommend this. It was messy, and definitely affected the overall quality of the finished product. The colored gems and buttons didn't turn out as strong as the clear designs. Also the paint took forever to dry, and in some spots didn't. We let our gold swirled pendants sit a full extra day, but they were still wet when we removed them from the molds. Not only did we get paint on our hands, but it damaged the end results a bit by smudging the design and creating holes / dimples where the paint had been.
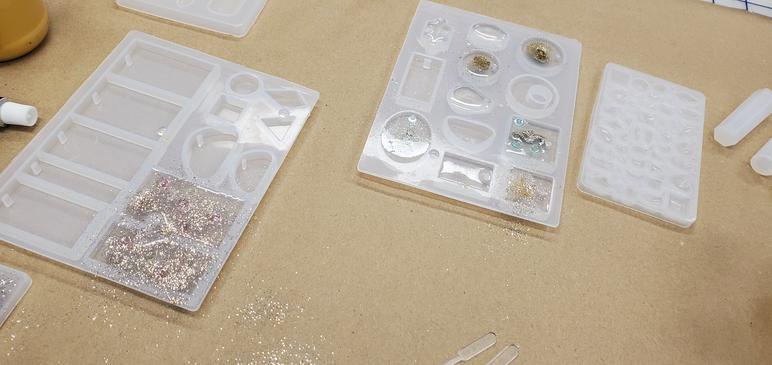
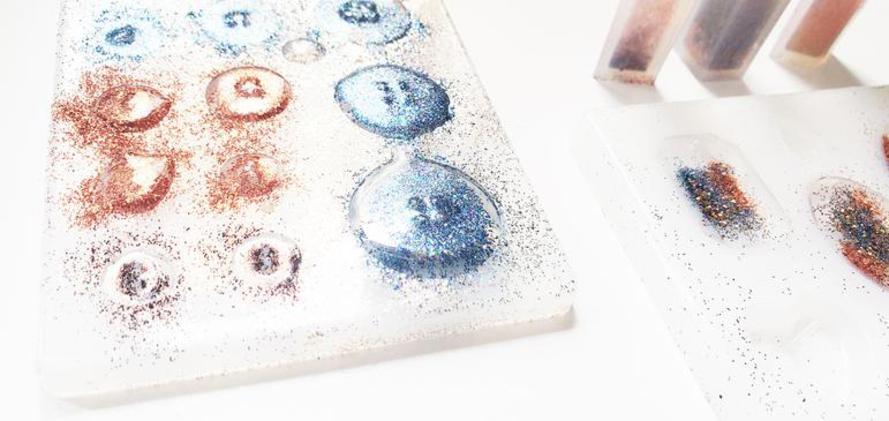
I just loved how this whole project turned out! We made so many adorable buttons, plus we had a blast making lots of pendants to use in our jewelry making down the road! Every time we had some "extra" resin from a round of designing, we poured the leftover resin mixture into the rhinestone/embellishments tray -- you can never have too many little bits of "bling" for future projects!
Make sure that when you fill your molds, you fill them slowly, and completely, but do not over pour them. Check to make sure that if you're pouring molds that have a small silicone post to create a hole in your object, (like holes on buttons and jewelry pendants) that there are no low spots, holes or air bubbles around the post at all. You'll notice that most air bubbles will work themselves out in the first minute or so after your pour, but if they don't be sure to pop them with a pin or needle so they don't affect your end design. (Unless the air bubble are part of your design of course.)
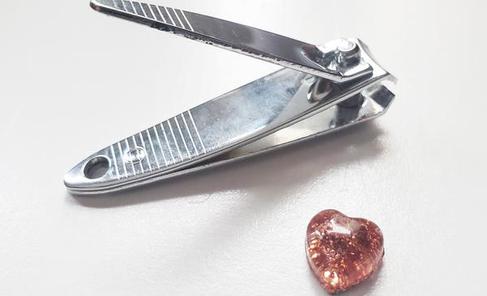
We found it almost impossible to NOT over pour the tiny rhinestone/bling tray. All those molds were just so tiny! But all our little precious gems still turned out great! The over pour is easy to fix -- just let the resin dry completely, then you can snap the bits apart (carefully) with your hands. To clean up the rough edges, we used some nail clippers and they were PERFECT! Don't try to sand them down though, you'll only scratch the surface and give your object a cloudy finish!
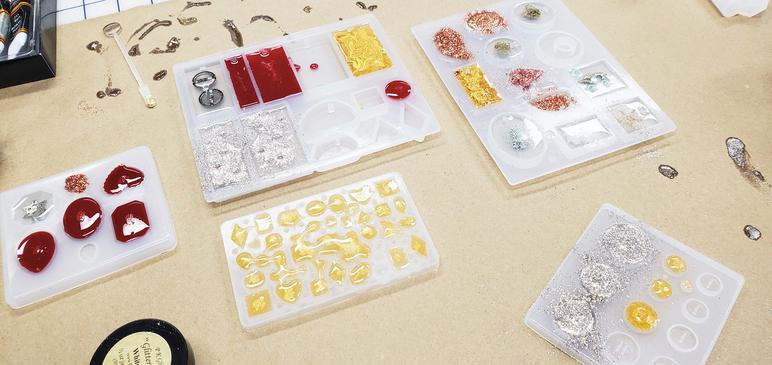
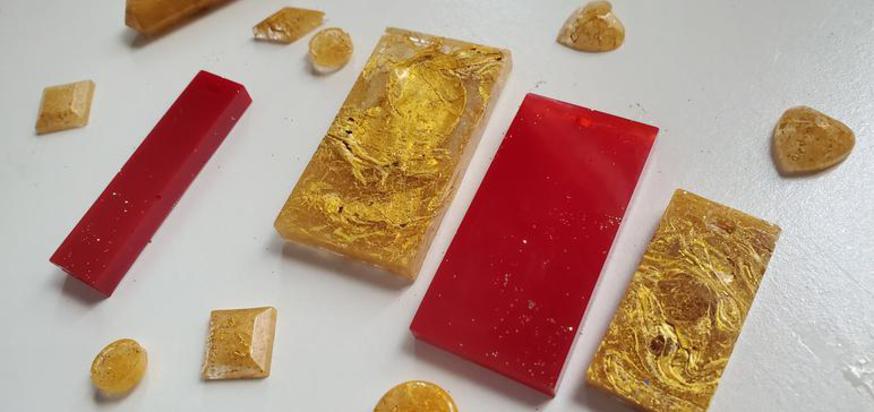
Here's a few more pictures of the things we created. As I noted above, the red and gold (as well as the pink and gold) items were colored with a *very small* amount of acrylic paint. (Again, I really don't recommend this. The mica powder is a much better route.)
ADDING 3D OBJECTS:
When you're adding 3 dimensional items to the mold, we found that for most items it worked just fine to lay the item into the mold and pour the resin over the top. If you're using a heavy item or something extra light and fragile, you may want to fill the mold partially, carefully place the item into the poured resin, then continue with your pour, that way you'll be sure to completely cover the entire object.
GLITTER:
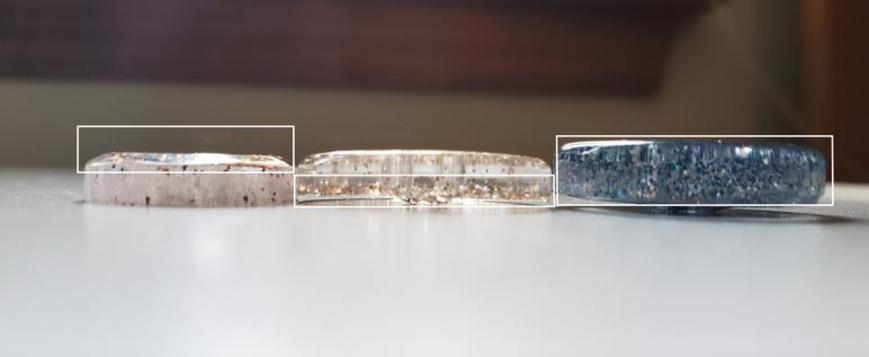
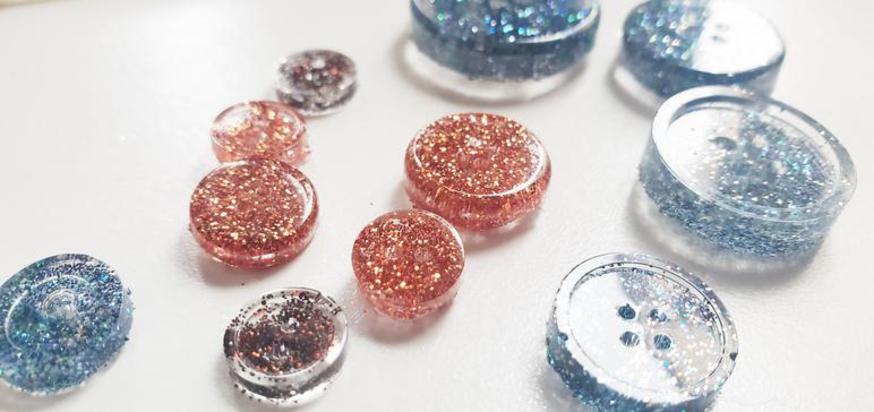
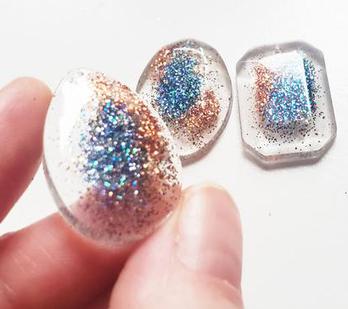
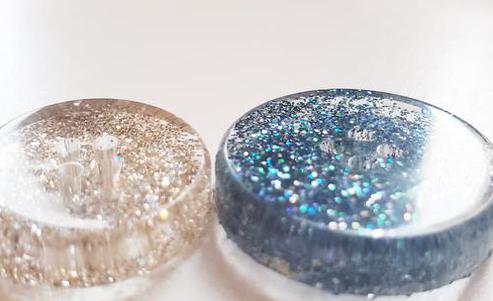
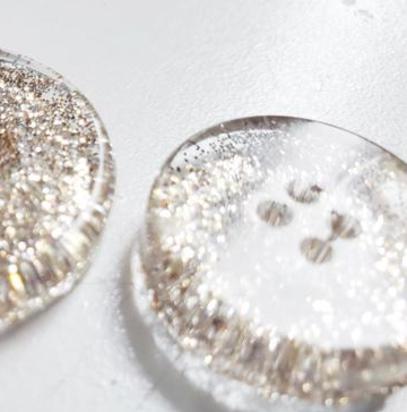
We made a lot with glitter. It just gave it such a pretty, sparkly look and was fun to work with (and we had tons on hand, in lots of beautiful colors). For some glittered items, we mixed it right in to the resin, others we put the glitter in the mold first and poured the resin over the top, but for a majority we sprinkled the glitter on after the pour. The sprinkle after pour method gave a more layered look, while mixing it in gave it a more evenly blended design. All 3 ways turned out neat! You can take a closer look in the picture below. The first item, a pendant, had the glitter poured into the mold, then the resin poured on top. This made the glitter sit close to the front of the pendant when popped out of the mold, and you can really see each little sparkle on the below pic of the 3 matching pendants that were made this way! The middle button shows the layered look from sprinkling the glitter on after the pour, and has a thicker layer of sparkle at the bottom (when popped out of the mold) and a more clear layer on top -- giving it that layered look. The button on the right shows it mixed into the resin before the mold was poured. (The Top / Up side of all of these were faced DOWN in the molds.)
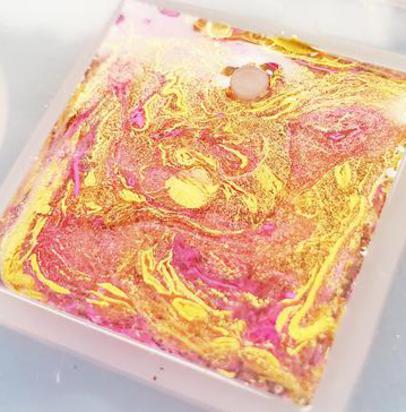
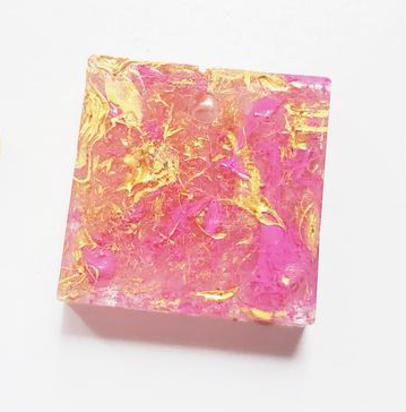
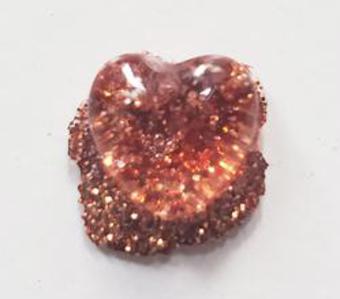
I absolutely love how this pink and gold pendant turned out color-wise, but it does have a bit of a dimpled finish because we pulled it out before the paint had completely dried. (We let it sit for 2 days, which obviously wasn't enough. Perhaps a couple more would have yielded better results...) As much as I love this one though, I still think the mica powder is the way to go!
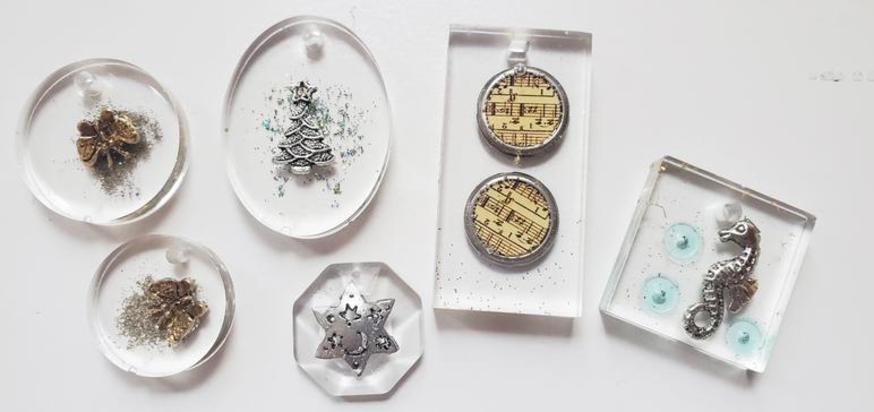
My mom made ALL of these beautiful pendants with the brads and other charms, and I just love them! For these, we poured the molds about 2/3 full, placed the 3D objects, and poured a little more resin on top so that everything was well covered. Some of the brads *did* move a little right after we placed them, but we used a stir stick to nudge them back in to place, and they did fine!
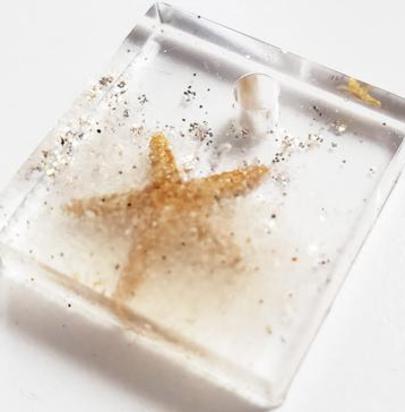
I made this little star fish pendant for my step mother who lives by the beach. I poured the resin first, sprinkled a little sand and glitter, then placed the miniature starfish, then added a tiny bit more sand and glitter to give it a layered look.
Since buttons are something you can never have too much of, we made a LOT of them! In all different colors!
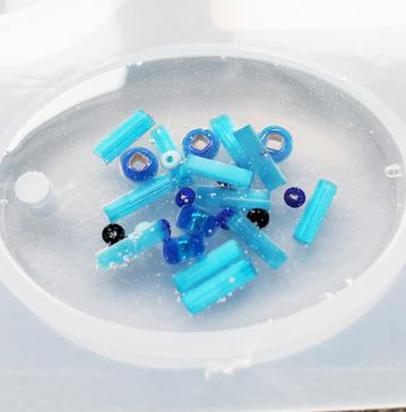
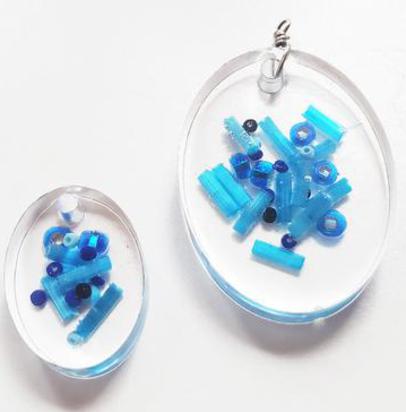
We even filled some pendants with BEADS that I thought turned out really fun! You can put just about anything you want in yours. It makes this project so personalized! Just think of all the customized gifts you can create for your friends and family!!!
If you try this project, I'd really love to hear what you think! Please post in the comments at the bottom of the page and let us all know how it went!


