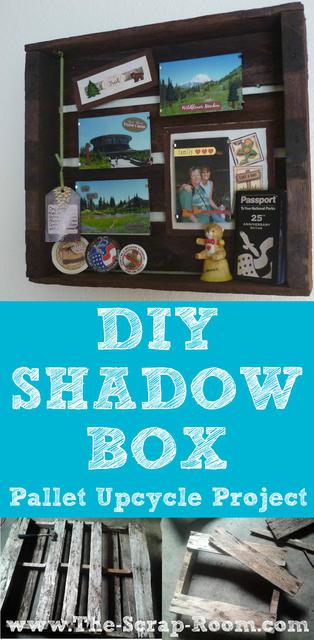
Upcycled Shadow Box
Have an old pallet lying around from a recent (or not so recent) construction, remodel or landscape project? Upcycle it into a custom shadow box to display in your home with this DIY tutorial!
For this project you will need:
Supplies:
- An old pallet to upcycle
-A handful of nails
-Wood Glue
-Framed pictures and mementos to display in your shadow box
-Small squares of wood (optional:to mount your framed pics to the back of the shadow box-I used 3 different depths of wood for mine!)
-Stain or paint and a brush to apply it (I used a dark stain to match the wood in my home.)
-Embellishments matching the theme of your shadow box.
Tools:
-Hand saw (to cut the pallet)
-Hammer
-Punch or small screwdriver
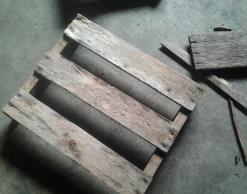
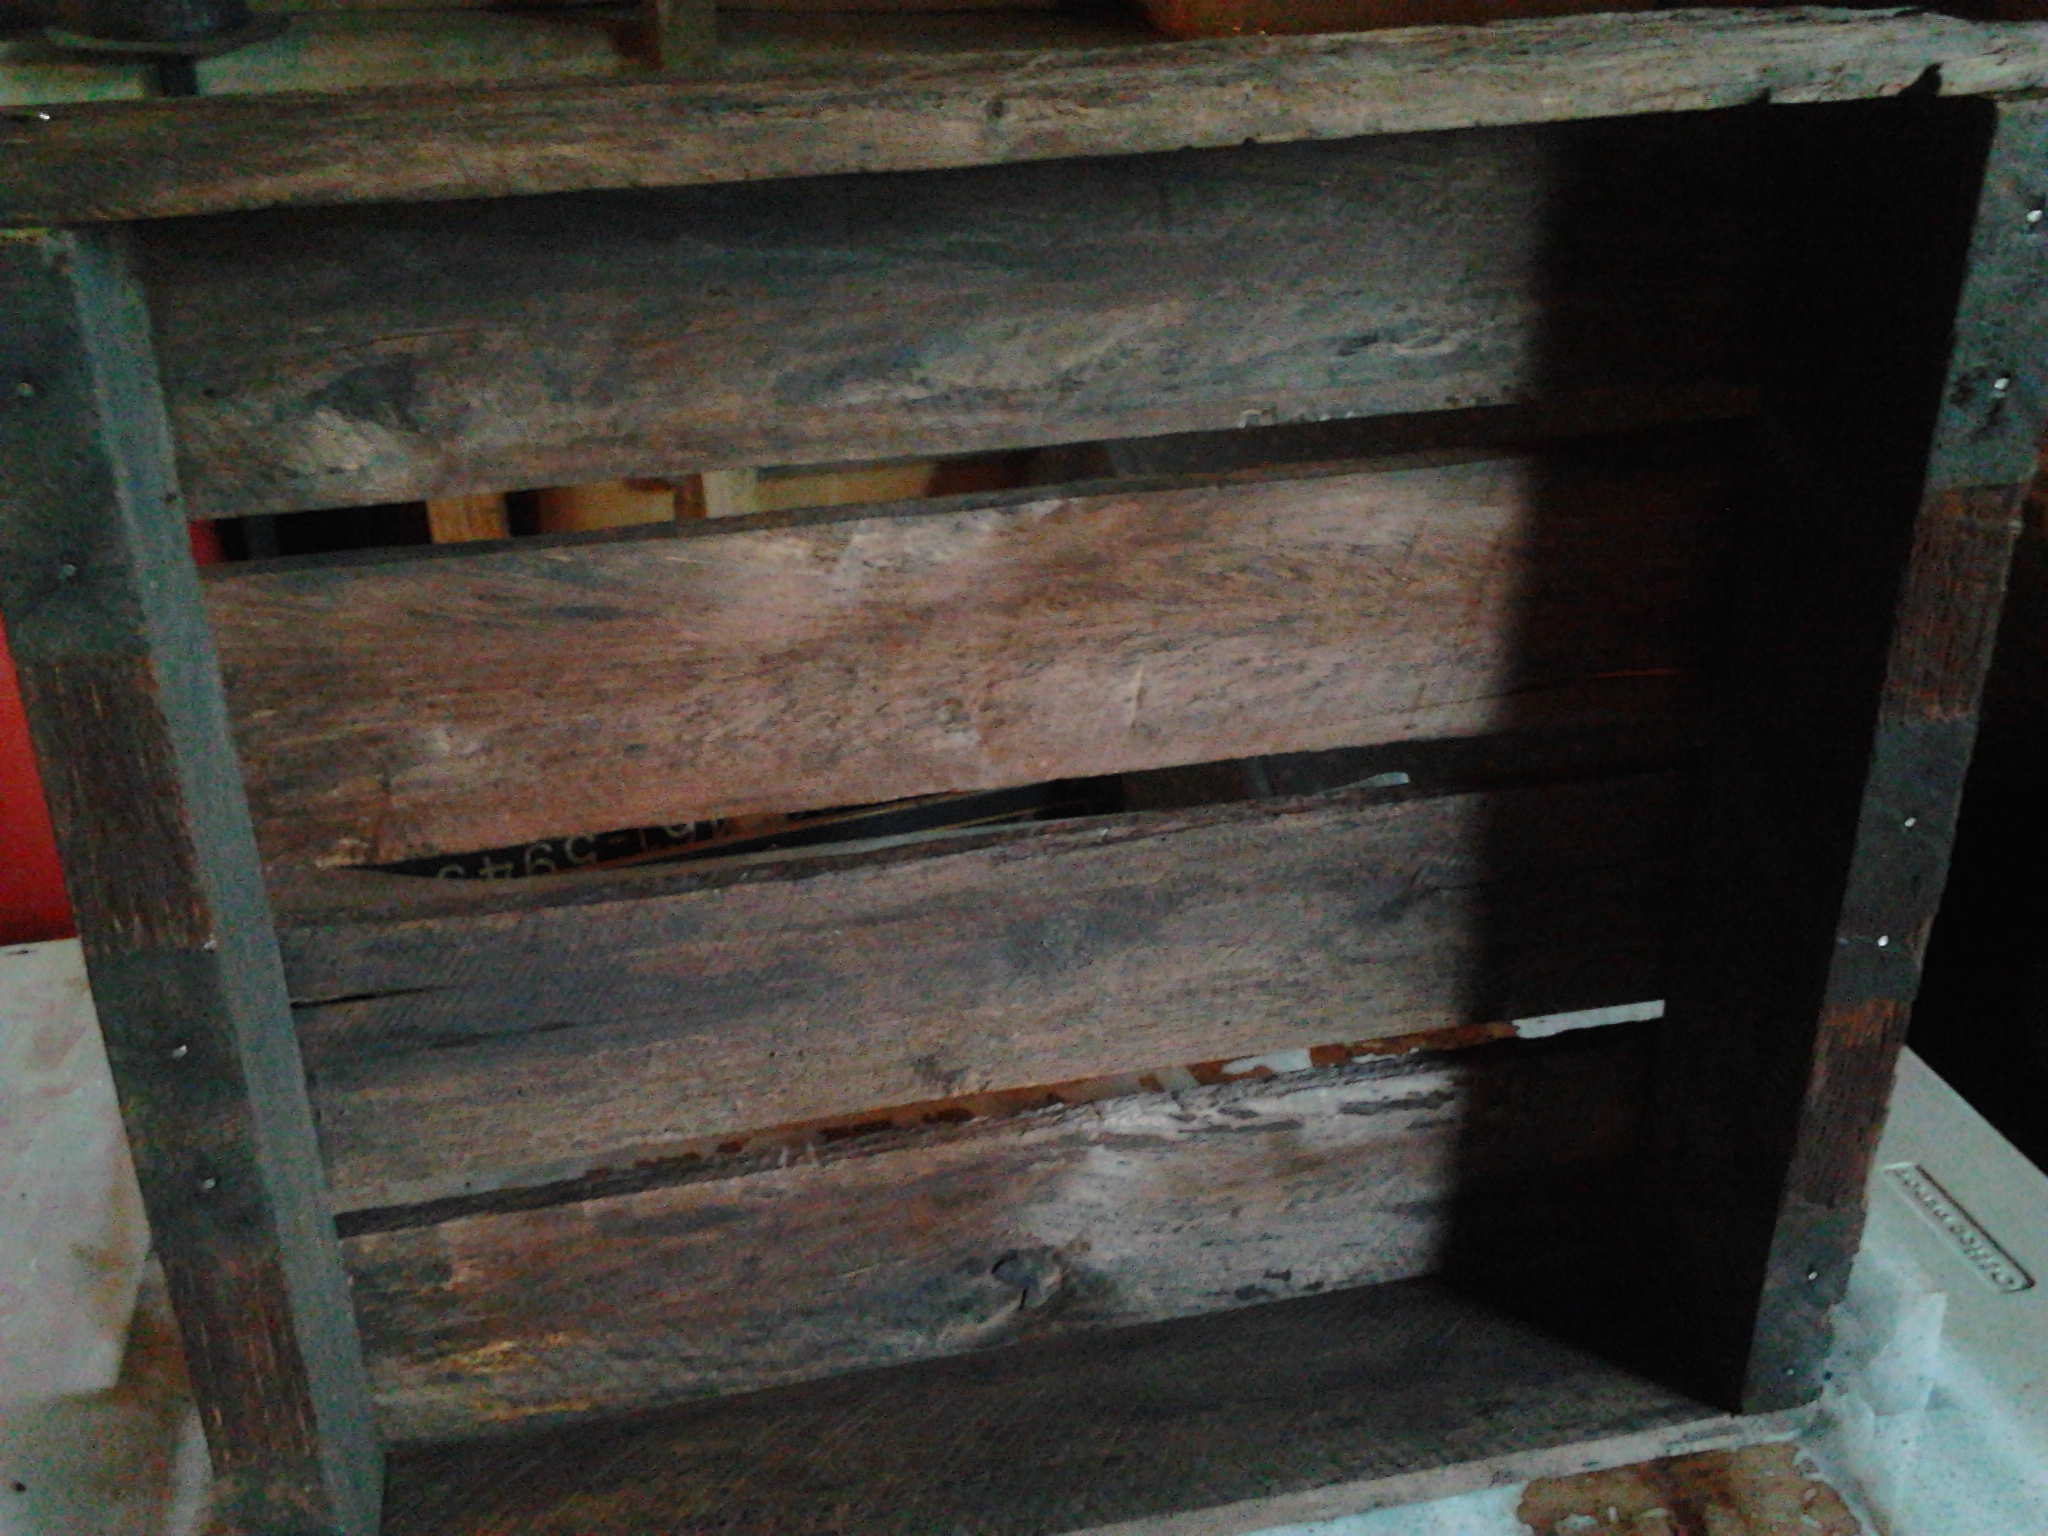
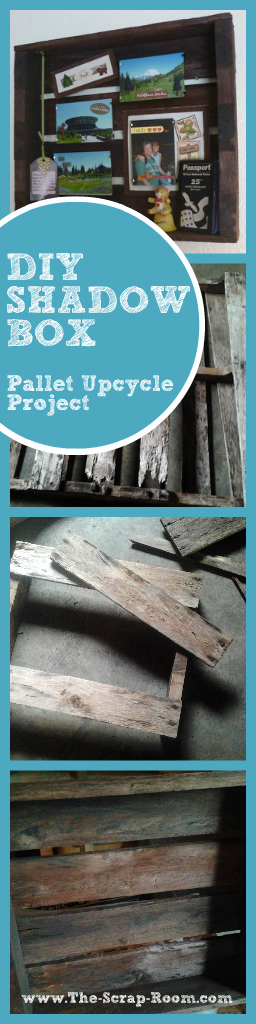
Begin with a used pallet. Using your hand saw, cut the pallet almost into thirds, as pictured below.
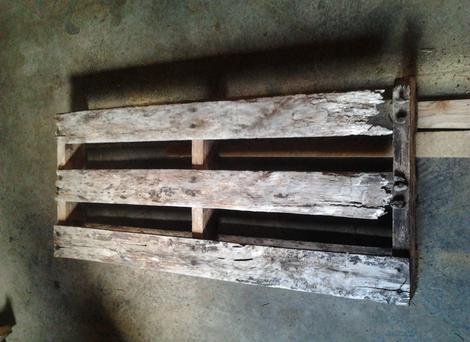
Next cut it again so that it has 3 solid runners for backing on one side with the 2"x4"s on two edges. Remove the center runner, and all of the runners on the opposite side of your pallet section. Where the single runner was removed, add 2 runners tightening the gaps between all runners.
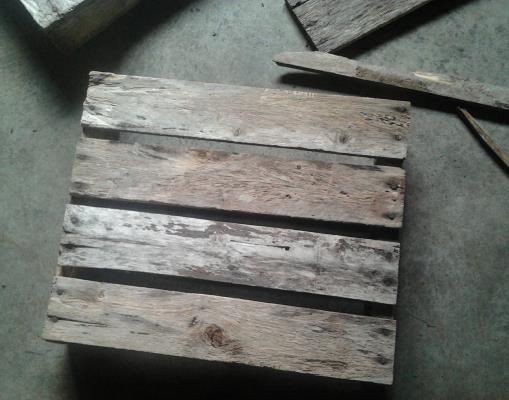
Cut some of the leftover slats from your pallet to add the two missing sides to your box. Paint or stain your new shadow box. Let dry completely.

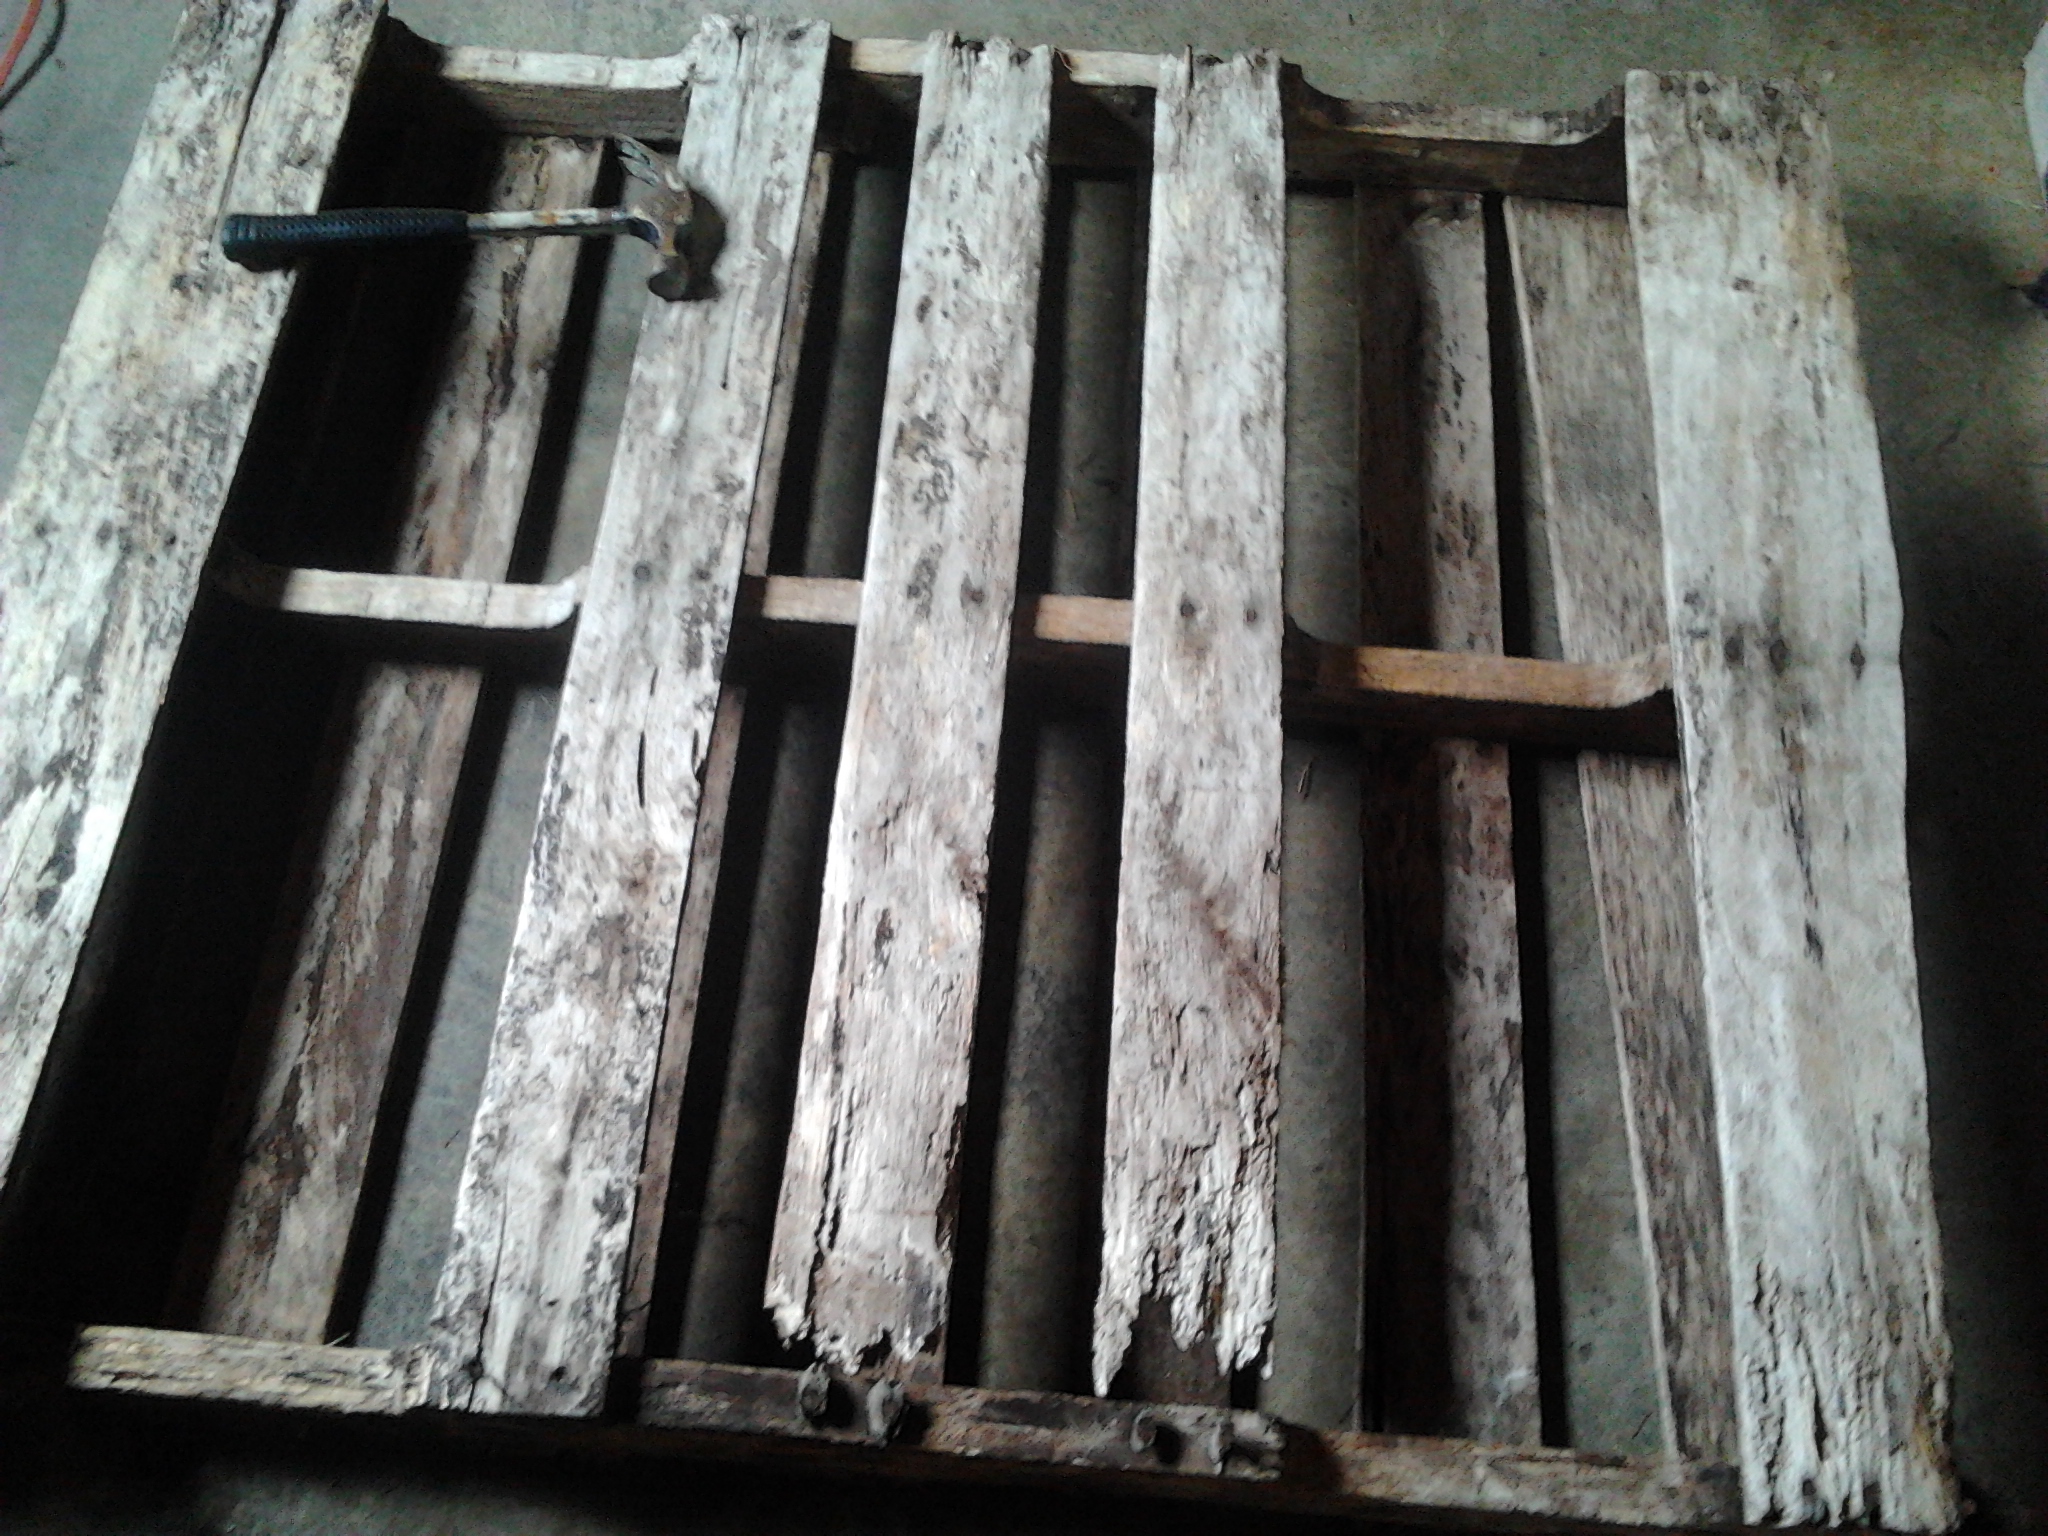
If you have a hard time removing the nails from the wood, use a hand saw with small teeth that is able to cut through them, and use a hammer with a punch or small screwdriver to pop them out.
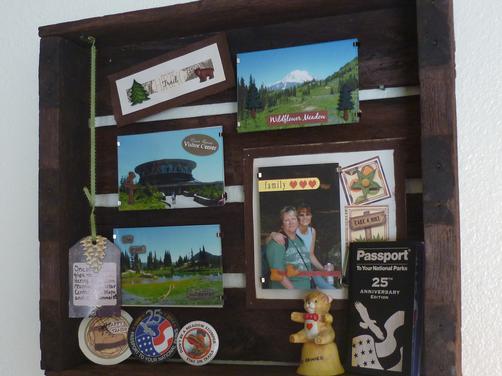
Lay out all of the items that you want to attach to your shadow box. I used inexpensive, frameless picture frames I found at Ikea. They have glass fronts, sturdy chipboard backs and small hardware brackets to hold everything together. These worked amazingly well, and I was able to securely attach them with wood glue! You can either attach them directly to your shadow box, or use smaller wood pieces of varied depths to make your pictures pop out from their background a little more. I also chose to add some printed paper to my shadow box. For the title piece, I used Tacky glue to attach the title to a piece of felt, and wood glue to attach the felt to the shadow box. For the other background paper I used, I mounted it the same way using felt, but I wanted the picture to pop out from it, so I cut a hole out of it to be able to slide it over the wood block that I glued onto the back of the shadow box. I used a couple of finishing nails to secure it in addition to the glue. After the background paper was attached with the block to mount the picture sticking through it, I glued the picture frame onto the wood.
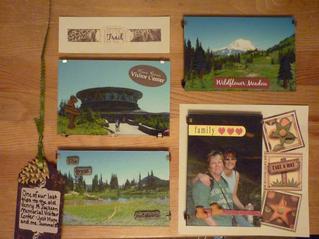
Don't forget to add embellishments directly onto your picture frames as well as to your shadow box. I hung a tag with journaling using a piece of ribbon and a small thumb tack! Once everything is added, and any wood glue fully dried, hang on your wall and add the finishing touches such as other mementos that go along with the pictures. My shadow box commemorates an unforgettable vacation I had with my wonderful mother and holds a couple other mementos from past trips to "our Mountain". What will yours display?
Pallet Shadow Box

You might
also enjoy...


If you enjoyed our tutorial or found value in it, we'd love it if you'd give us a thumbs up or a share on Facebook or Pinterest!
Disclaimer: Please note that some of the links in this post are affiliate links. There is no additional cost to you, but The Scrap Room will earn a small commission should you choose to purchase through those links. Thank you for helping support our business!