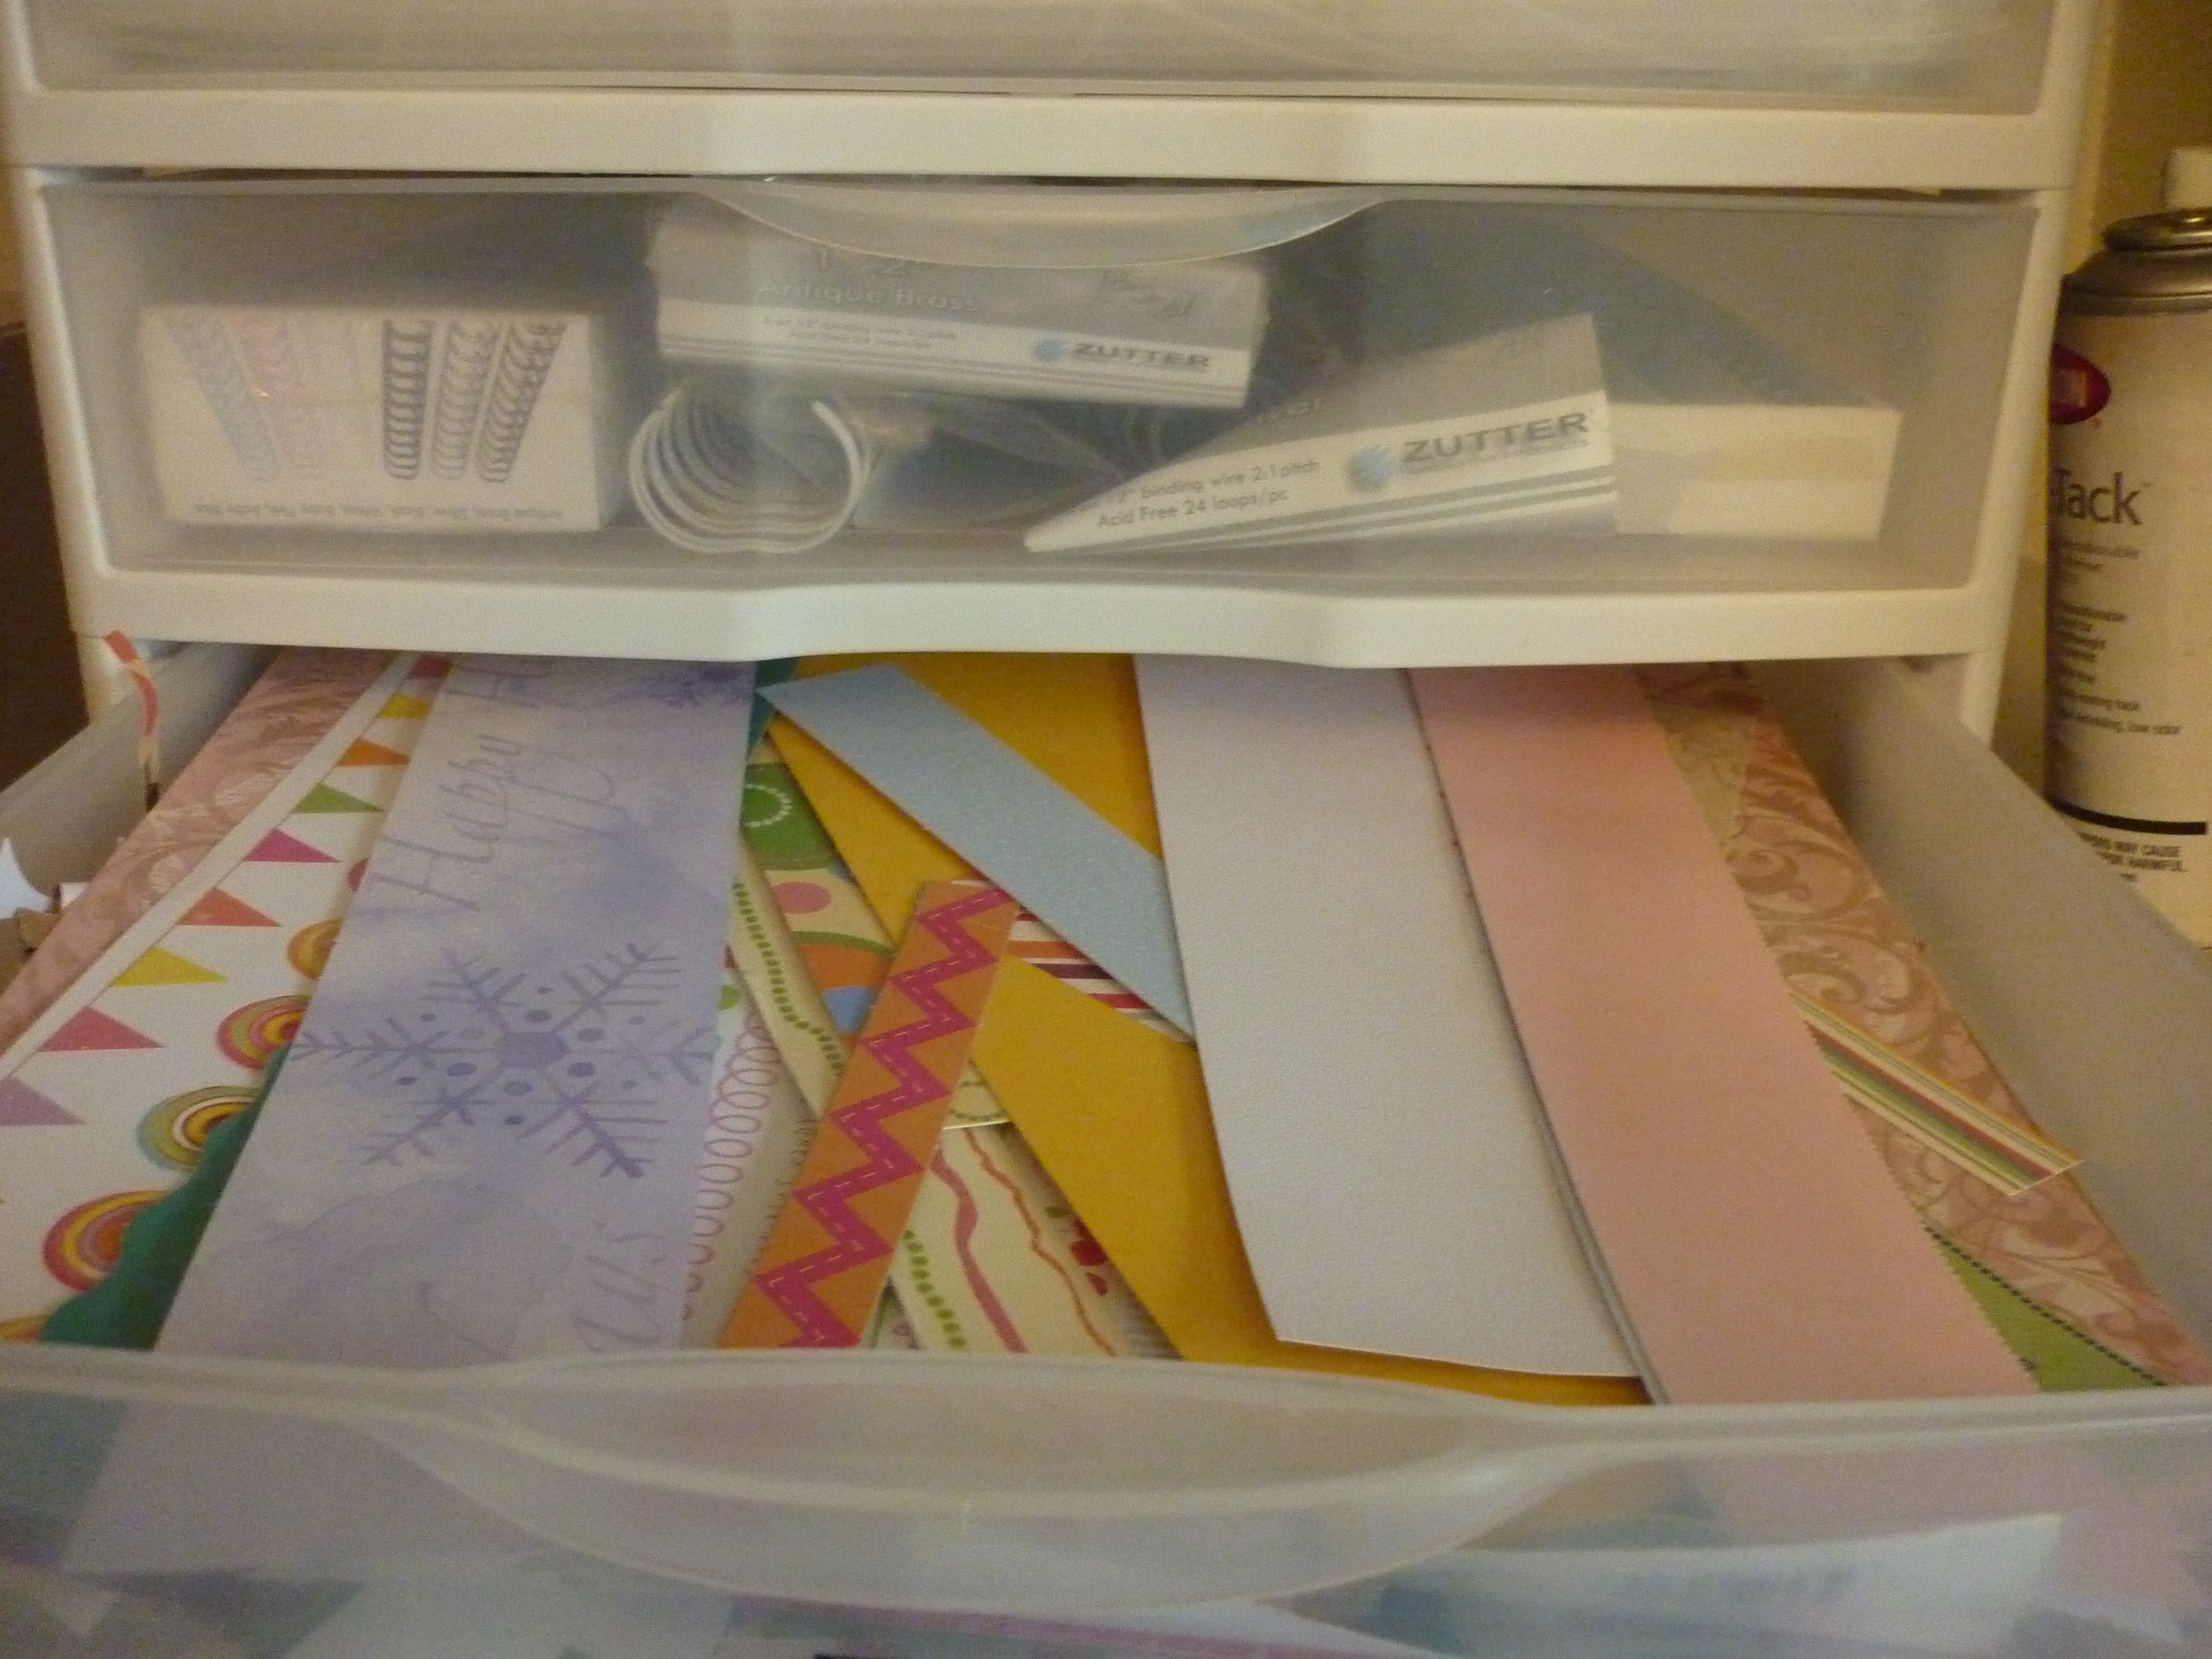
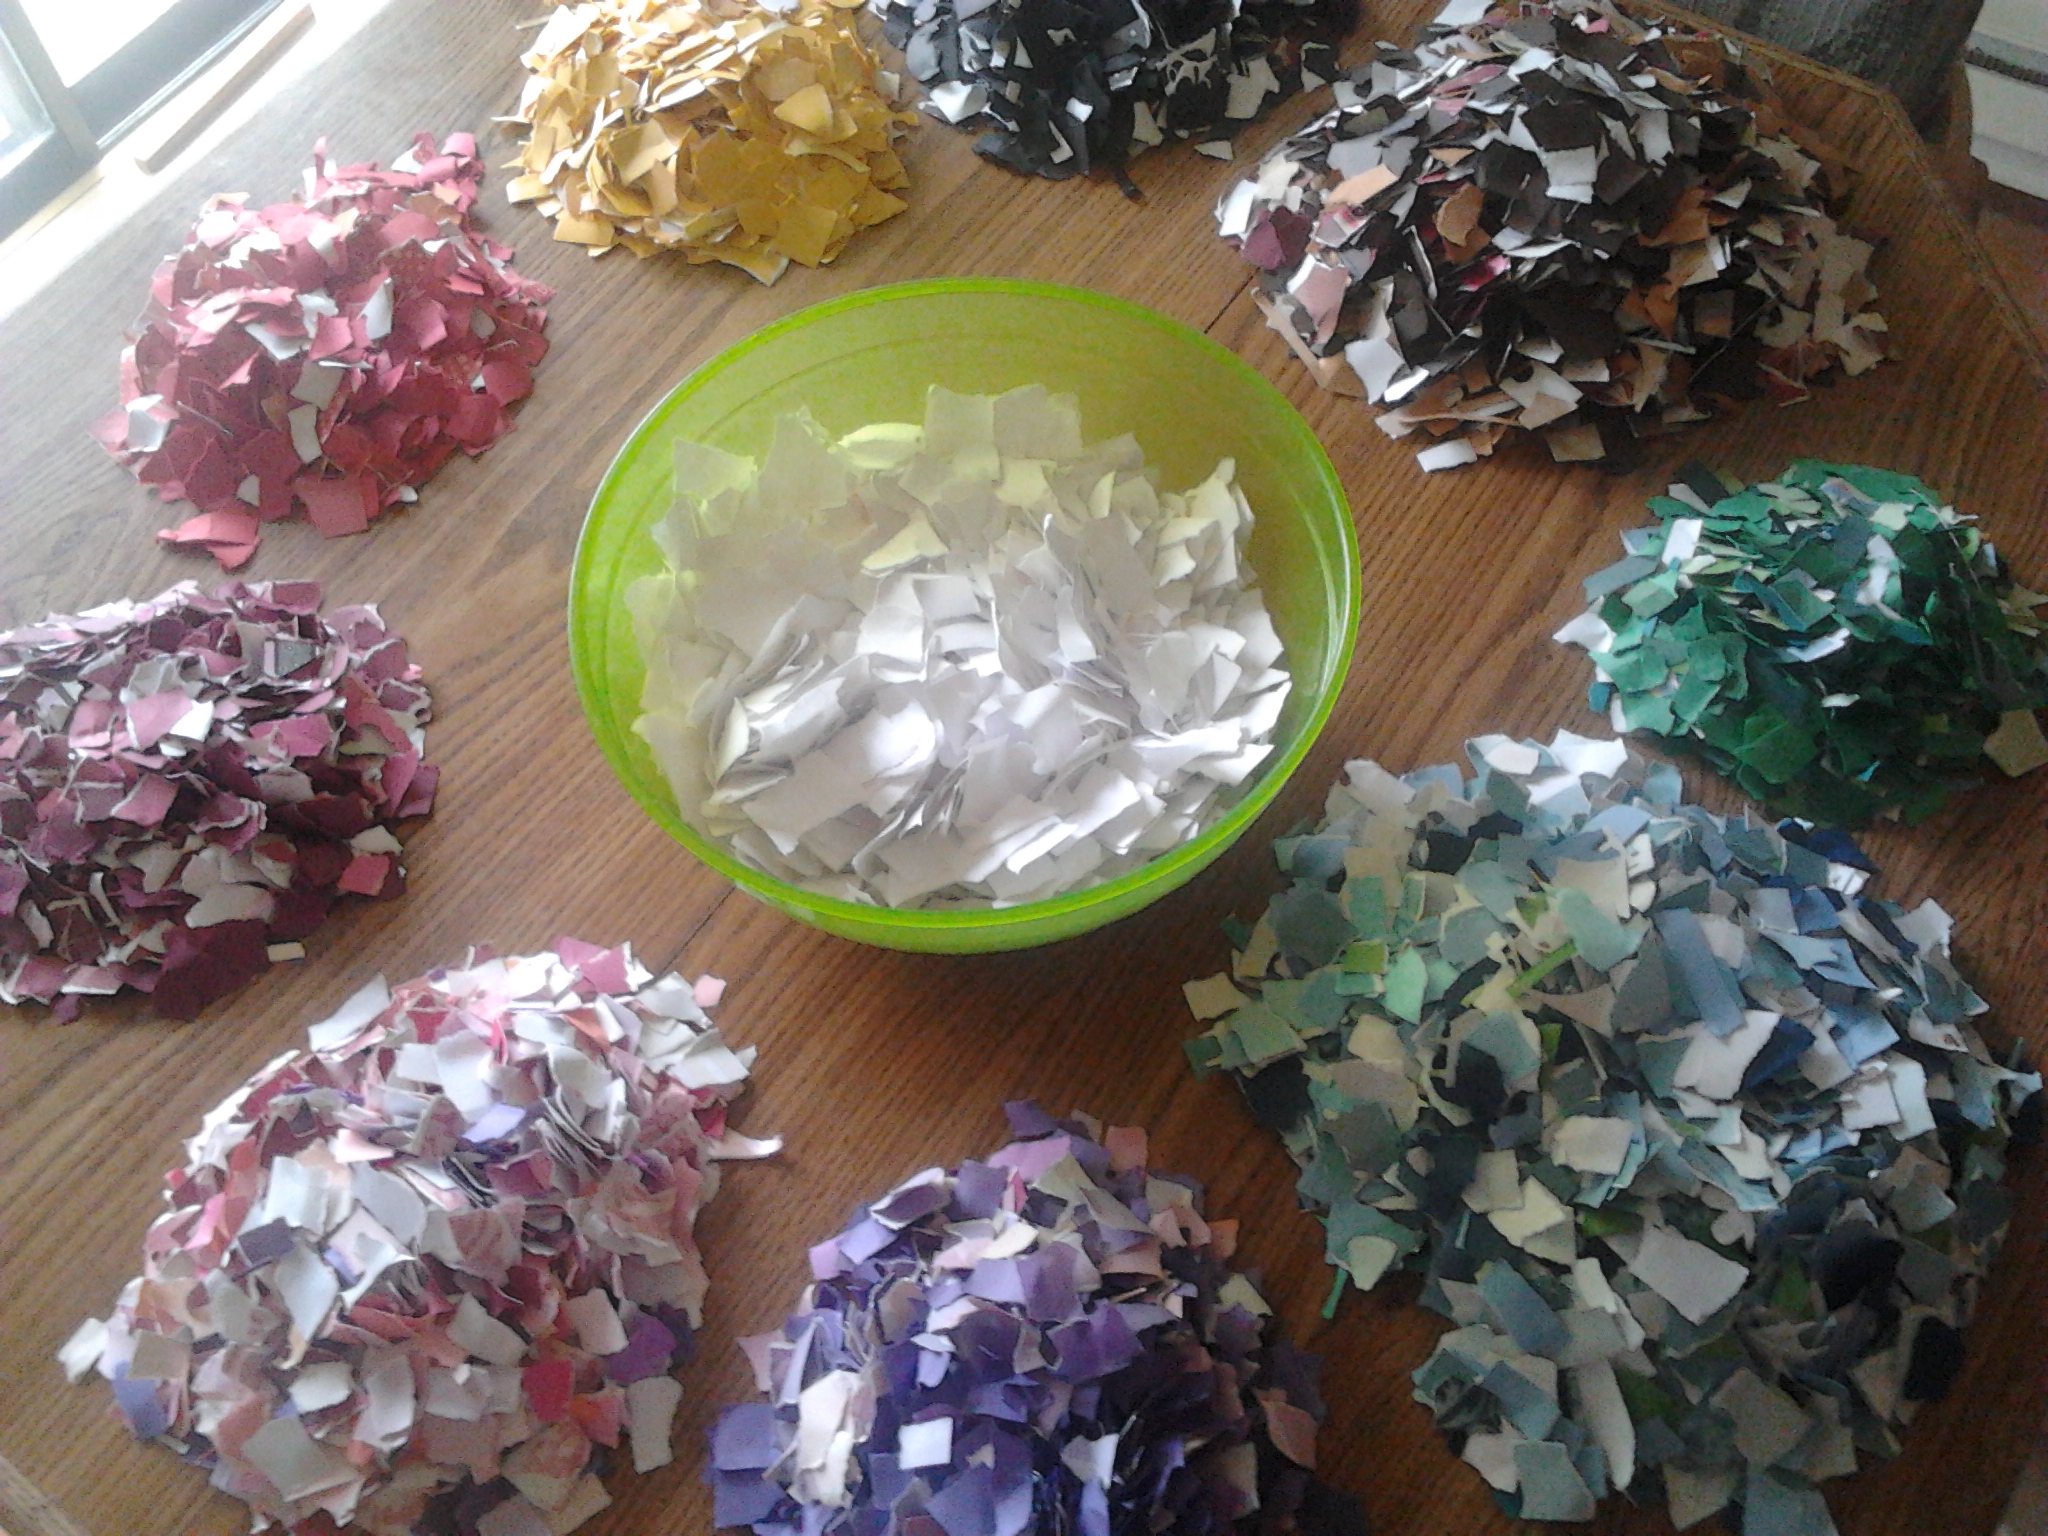
I hope you've been saving your leftovers because this page is full of great ways to use them! Don't save your scraps? You should start! It's a great way to reduce waste and save some money! Be sure to keep them organized so they are easy to find and use!
Ways to use your Paper Scraps

You might
also enjoy...

Just Create!
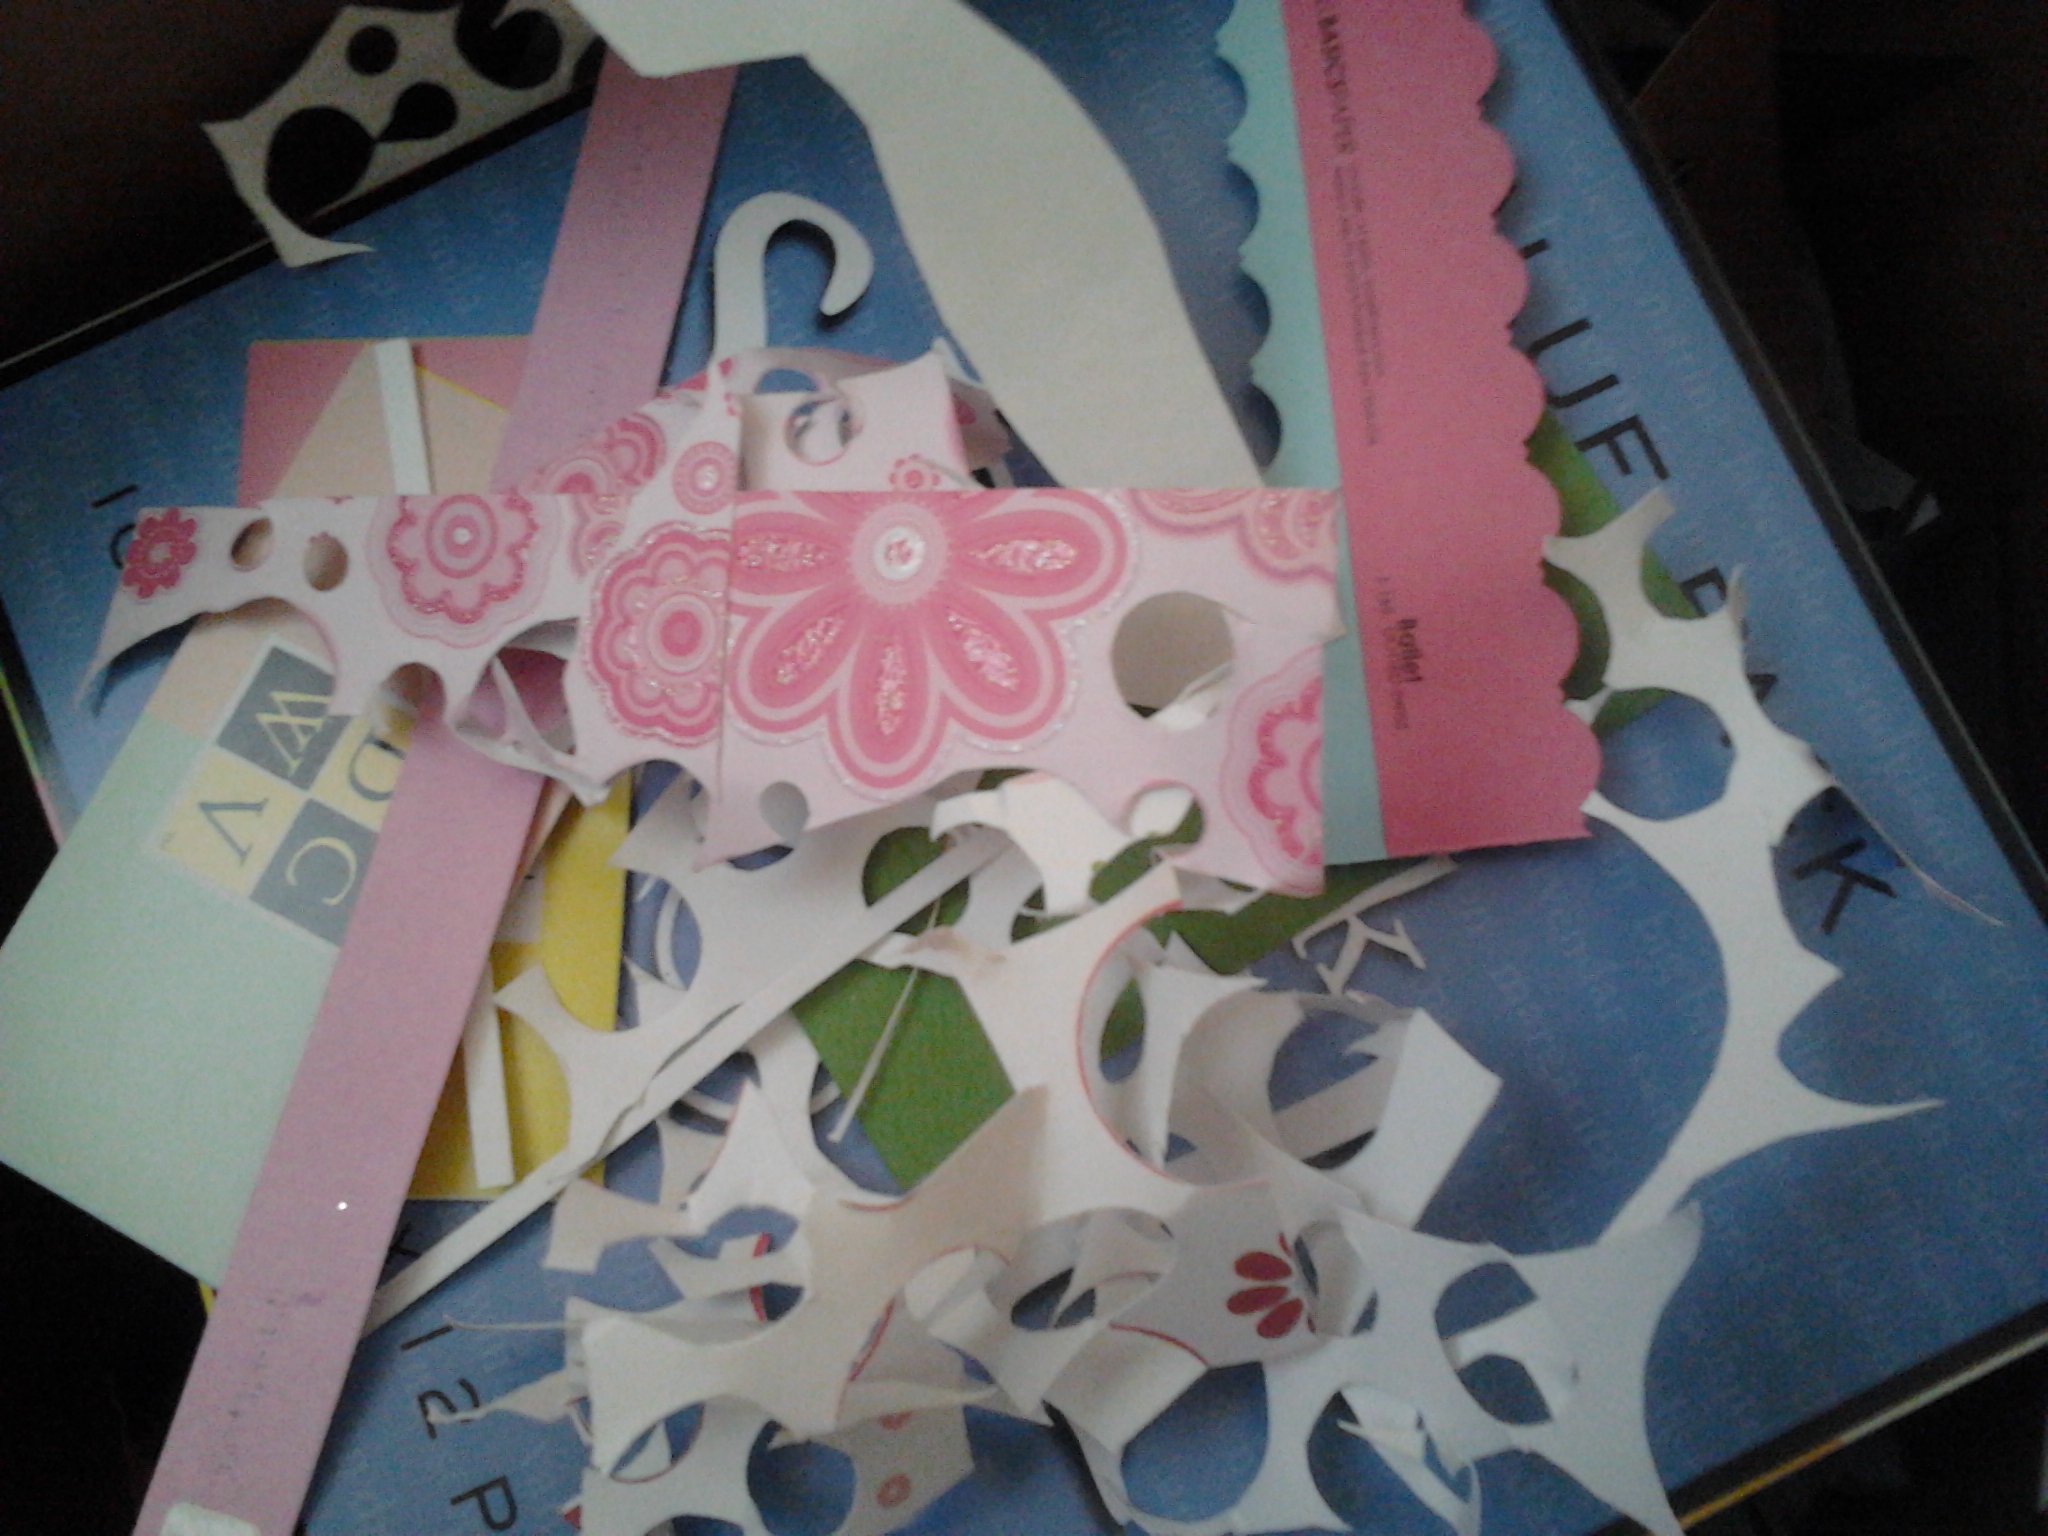
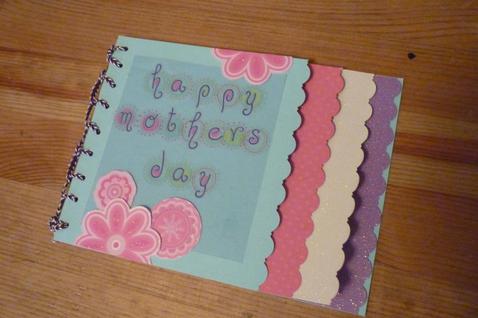
Dig through your scrap bin and just grab stuff you like! I picked out these brightly colored, fun textured scraps and decided they'd make a cute Mother's Day card. One problem. My scraps weren't wide enough to make a 5.5"x5.5" card and they weren't long enough to make a 5"x7" card (which were the 2 envelope sizes I was thinking of using-so I could include some pictures without having to print them in a smaller size), so I just folded the blue piece (my biggest scrap in this set) to make it 5"x7", leaving the front side of the card a couple inches short. The remaining three scraps were able to be cut to fit as pages in the card, with each showing a little on the right. After trimming the edges with some decorative edged scissors and stitching the pages together with a blanket stitch up the spine it's all ready to add a picture or sentiment on each page and decorate with embellishments to send to Mom!
A Little Note
Something my mom did for us when my sister and I were kids, was put a small notecard in our lunch, just to tell us she loved us, to wish us luck on an exam, to say she hoped we had a great day at school, etc. A little note from a friend or loved one can really brighten one's day, so buy some small envelopes, and cut some of your printed paper scraps into mini cards. They are quick and simple and fit perfectly in lunches, flower bouquets and gift baskets!

Place Card Holders
Are you planning a wedding? Make your own personalized placecards! To keep them more elegant, use a template, such as one for address labels or business cards, on your computer to type up each individuals name and print onto vellum or other paper, then adhere to your place card with brads or adhesive.
Decoupage
Garage sales are great ways to find intersting crafting supplies on the cheap. I found this ugly (well, not CUTE anyway) box, and peeked inside to find a mini glue gun and a bunch of glue sticks. The entire thing was only a dollar, less expensive than the glue sticks at the store (which I'd just run out of!). So I bought the entire thing and using some Mod Podge, some scraps that match the decor in my home, and a little time, it went from "ugly box" to something I'm happy to display in my home.


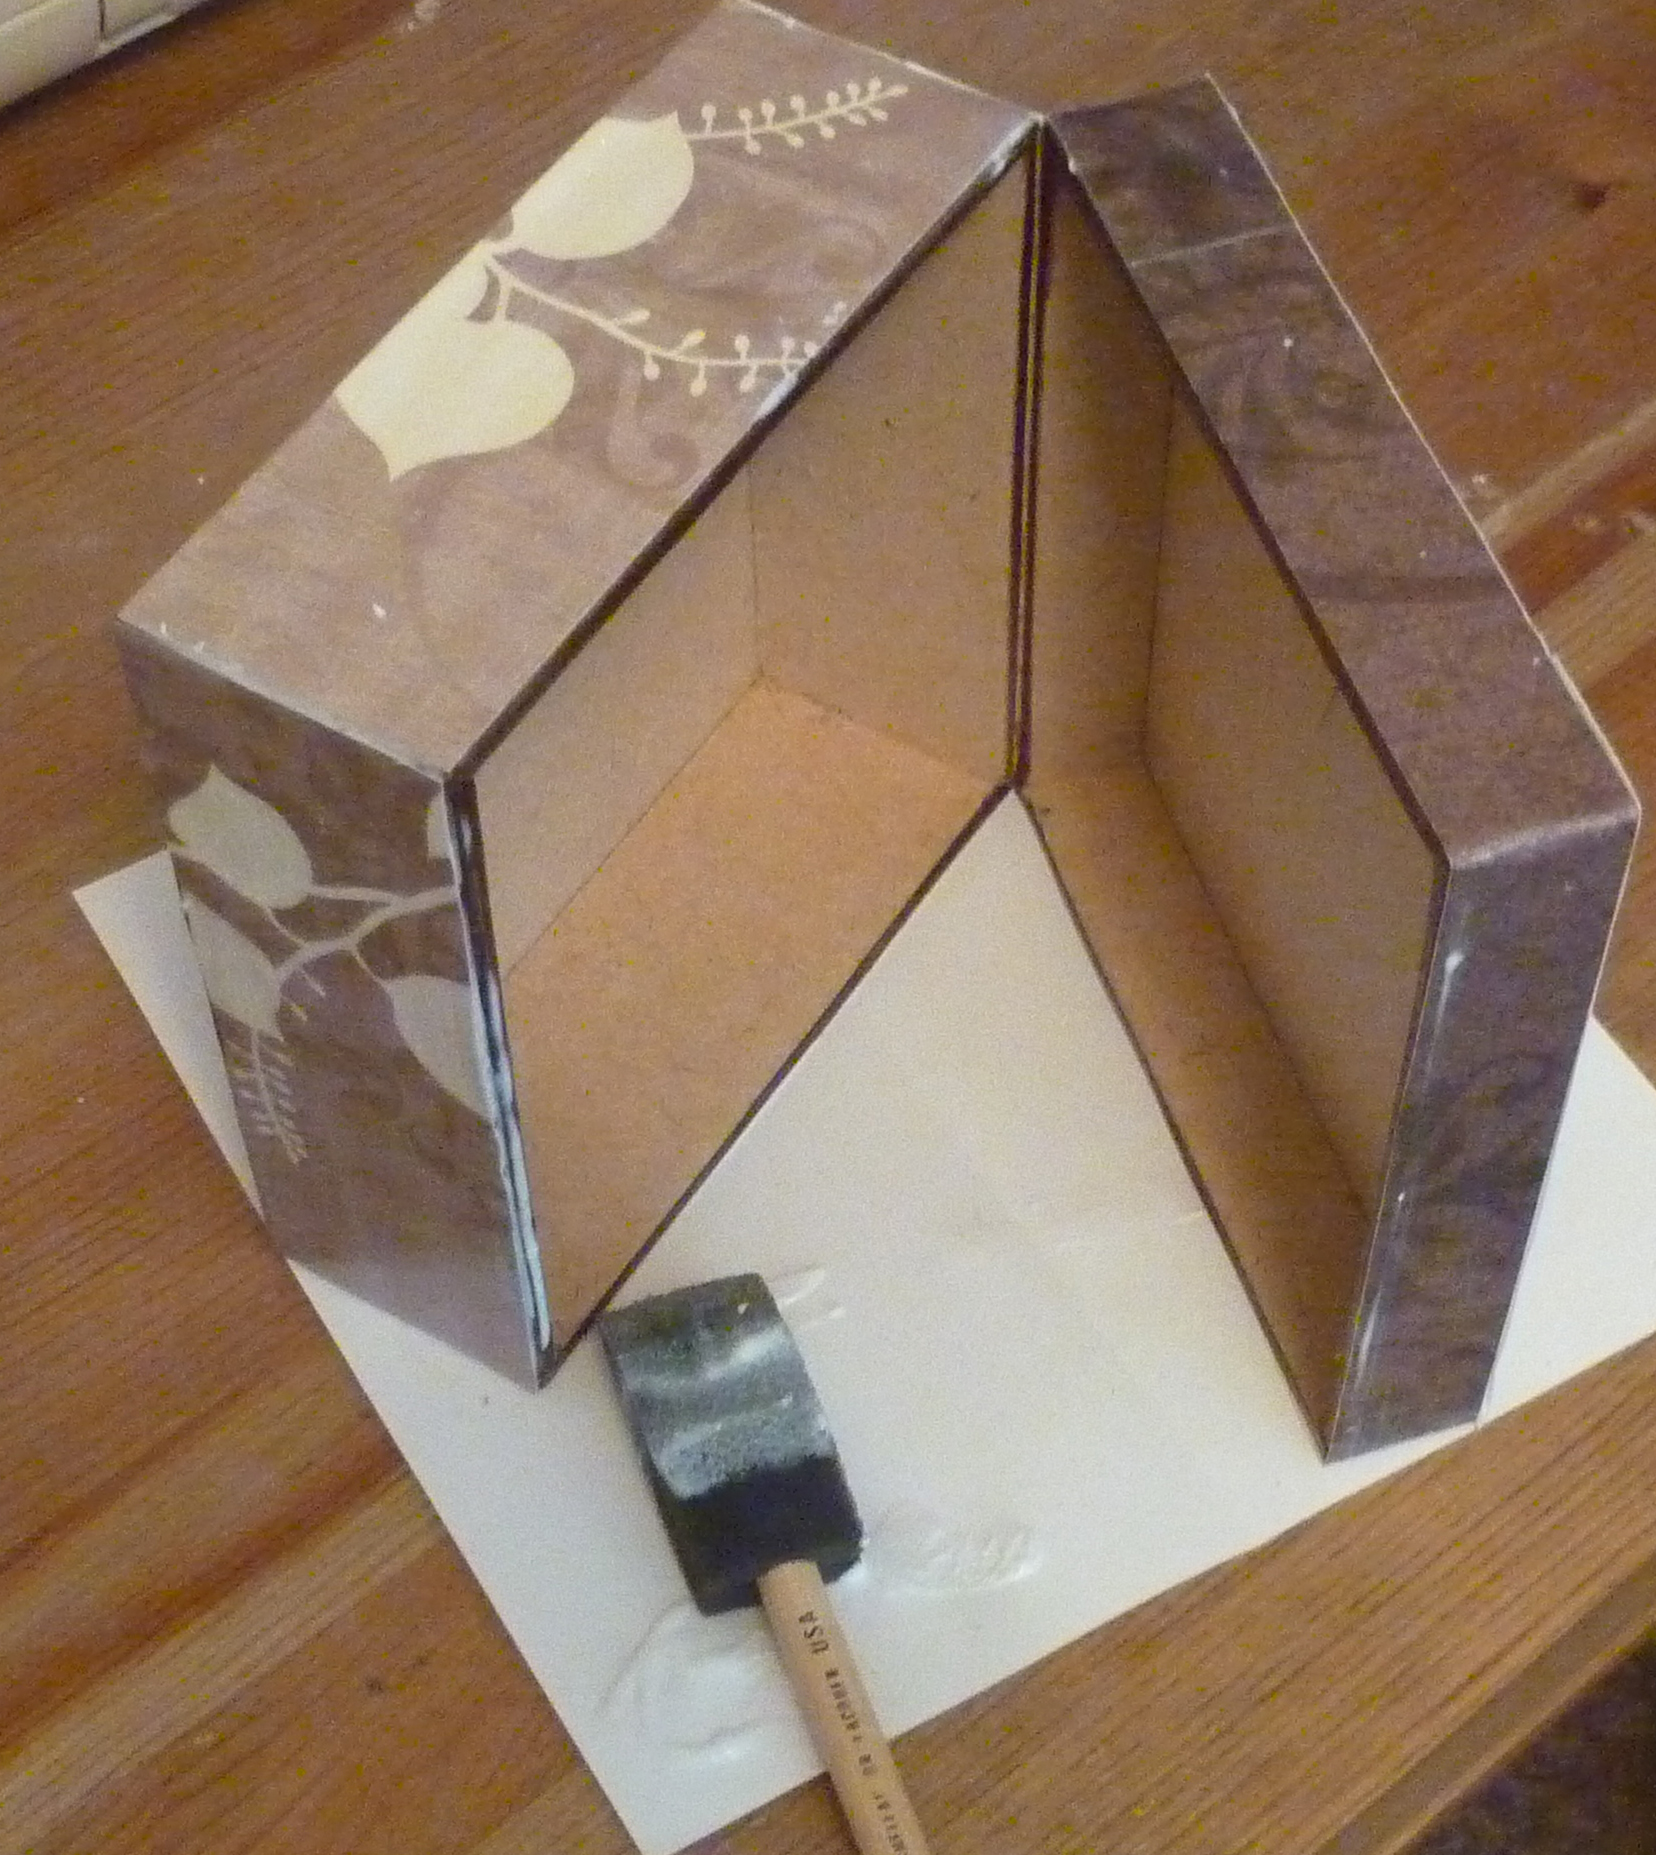
Just cut your scraps to fit, decorate your box and apply a couple layers of Mod Podge! Make sure you apply thin layers of Mod Podge to avoid bubbling, and let dry fully between applications. I set mine on a piece of paper to not only protect the table, but so I could easily turn the box while applying the Mod Podge.
Borders
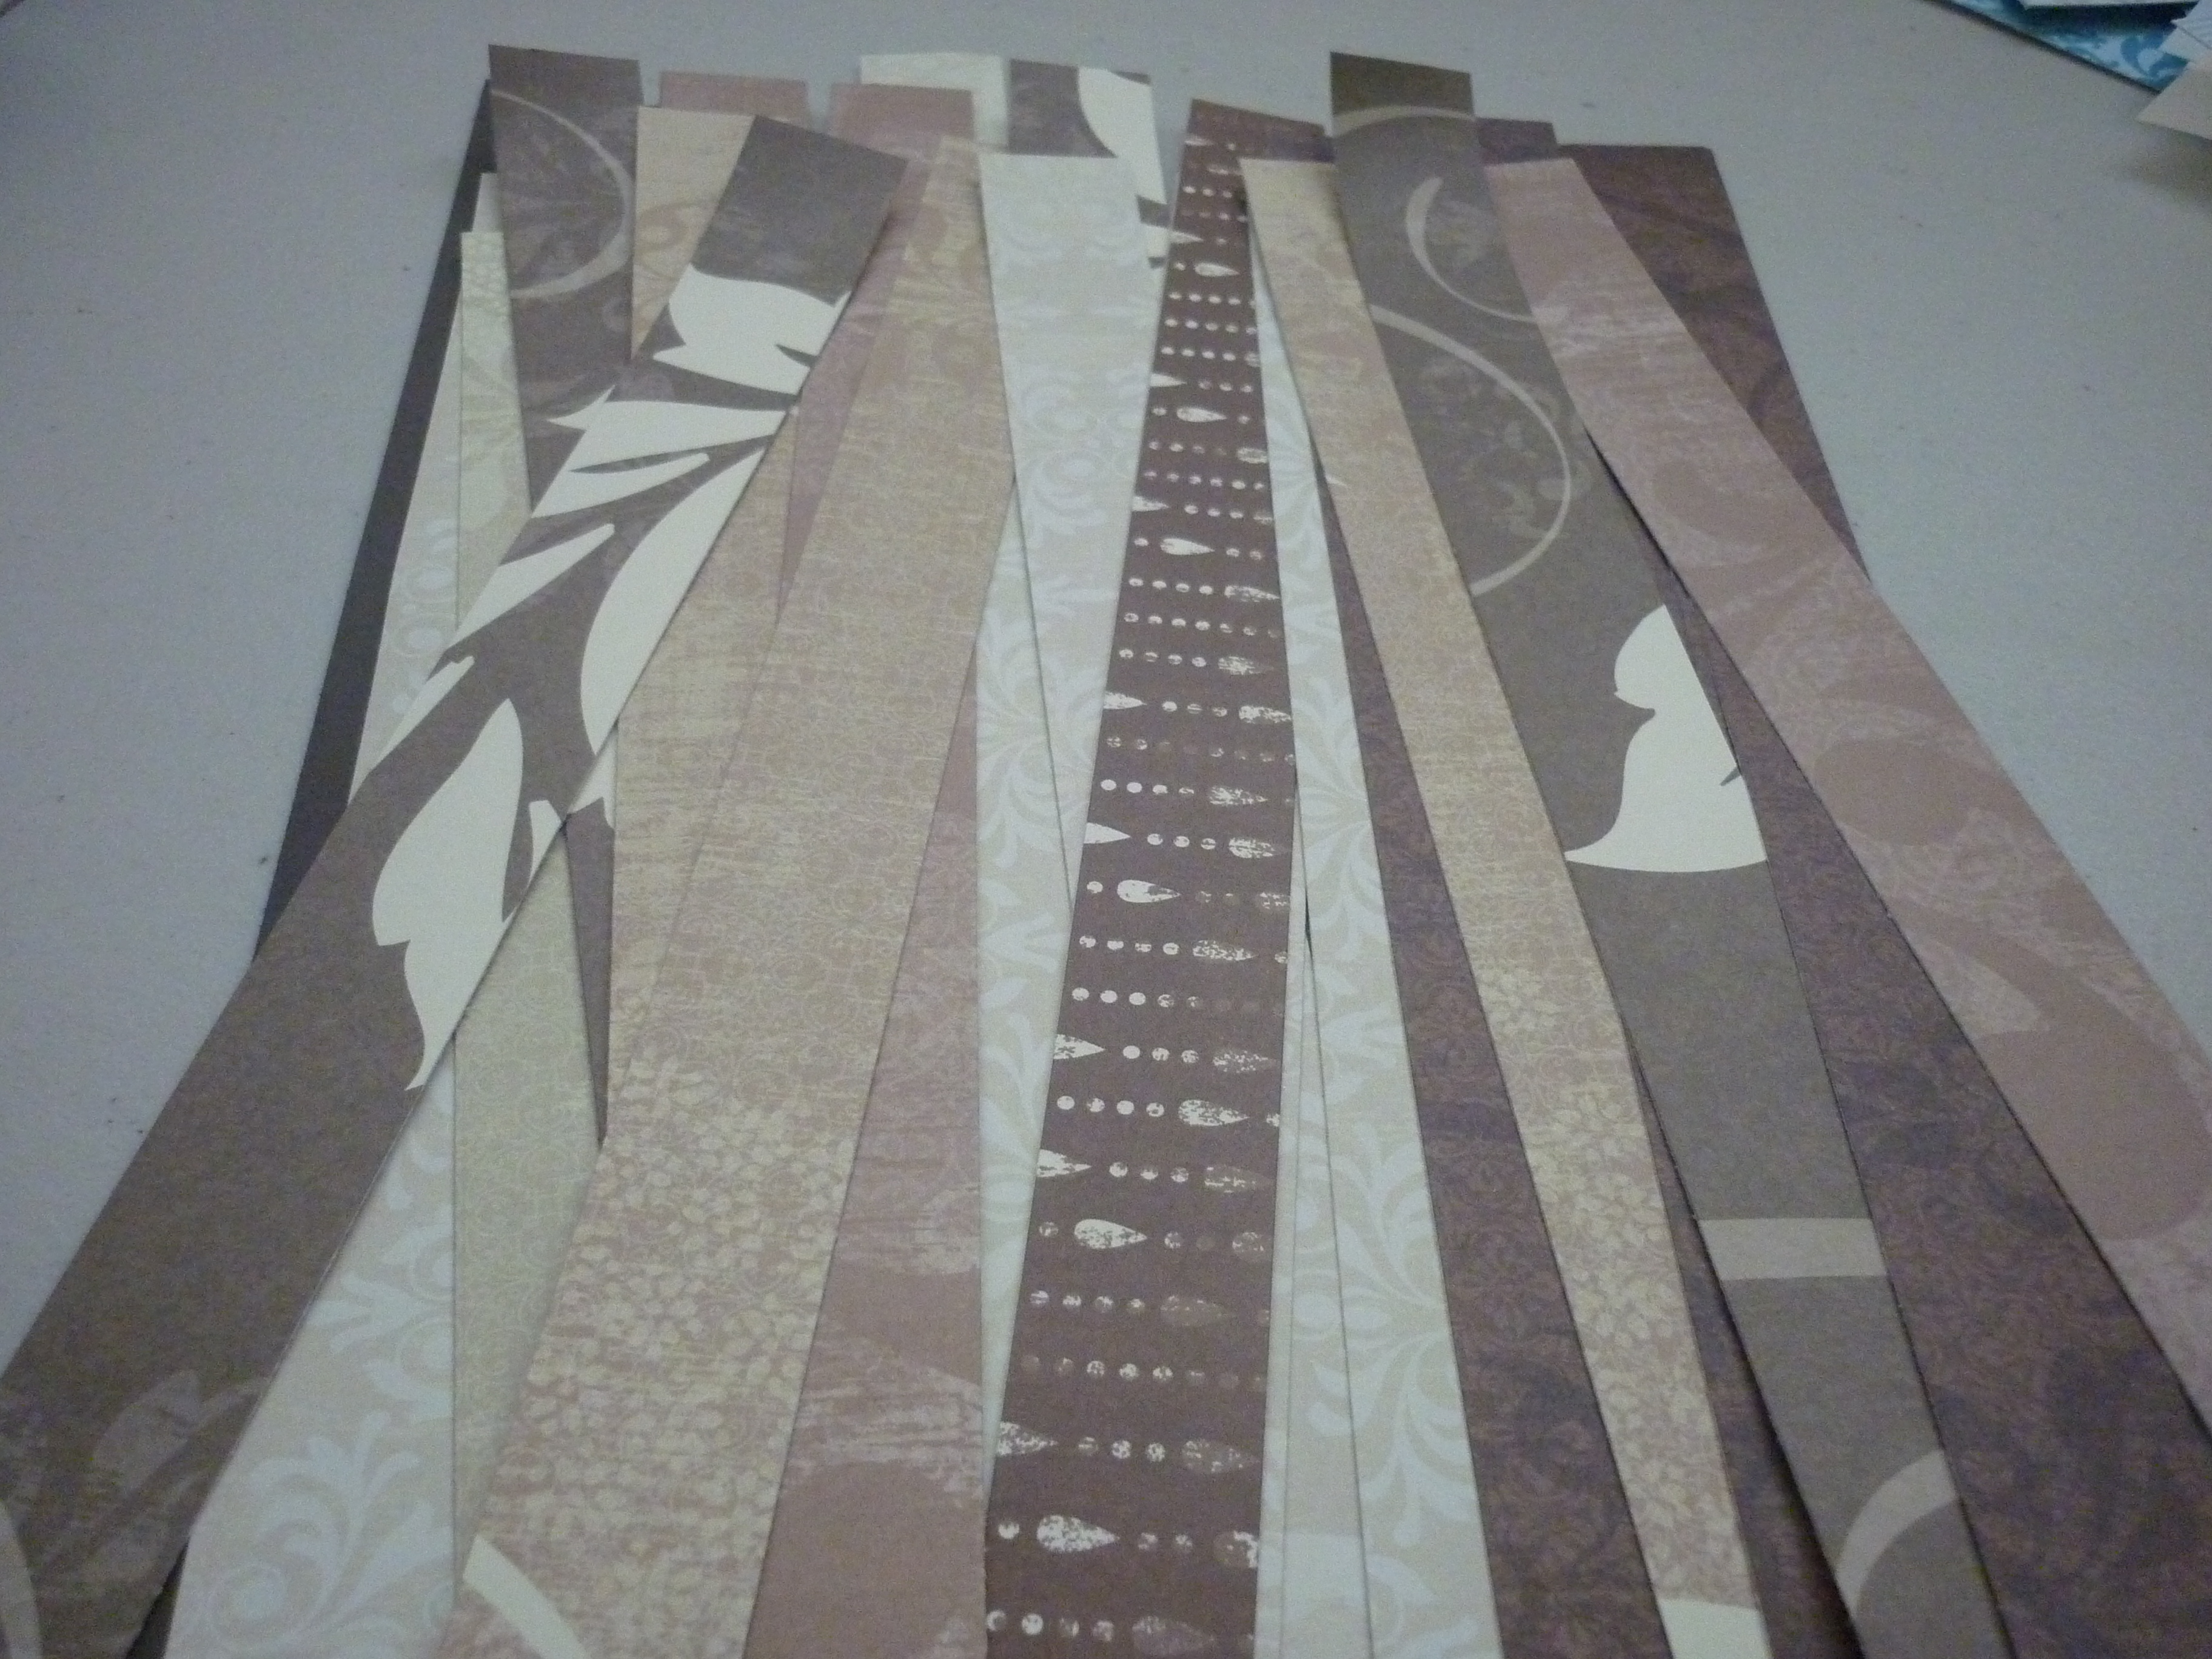
Can you ever have too many borders? I keep a drawer full of them in a wide variety of colors, then whenever I need one, I'm bound to find the perfect one! I accumulate a lot of borders by salvaging the bar code strip on pages (often times the reverse is printed) and when I cut things out on my Cricuit. Even if it's only 1/2" wide, cut it off and save it! You'll be glad you did!

Printed Paper
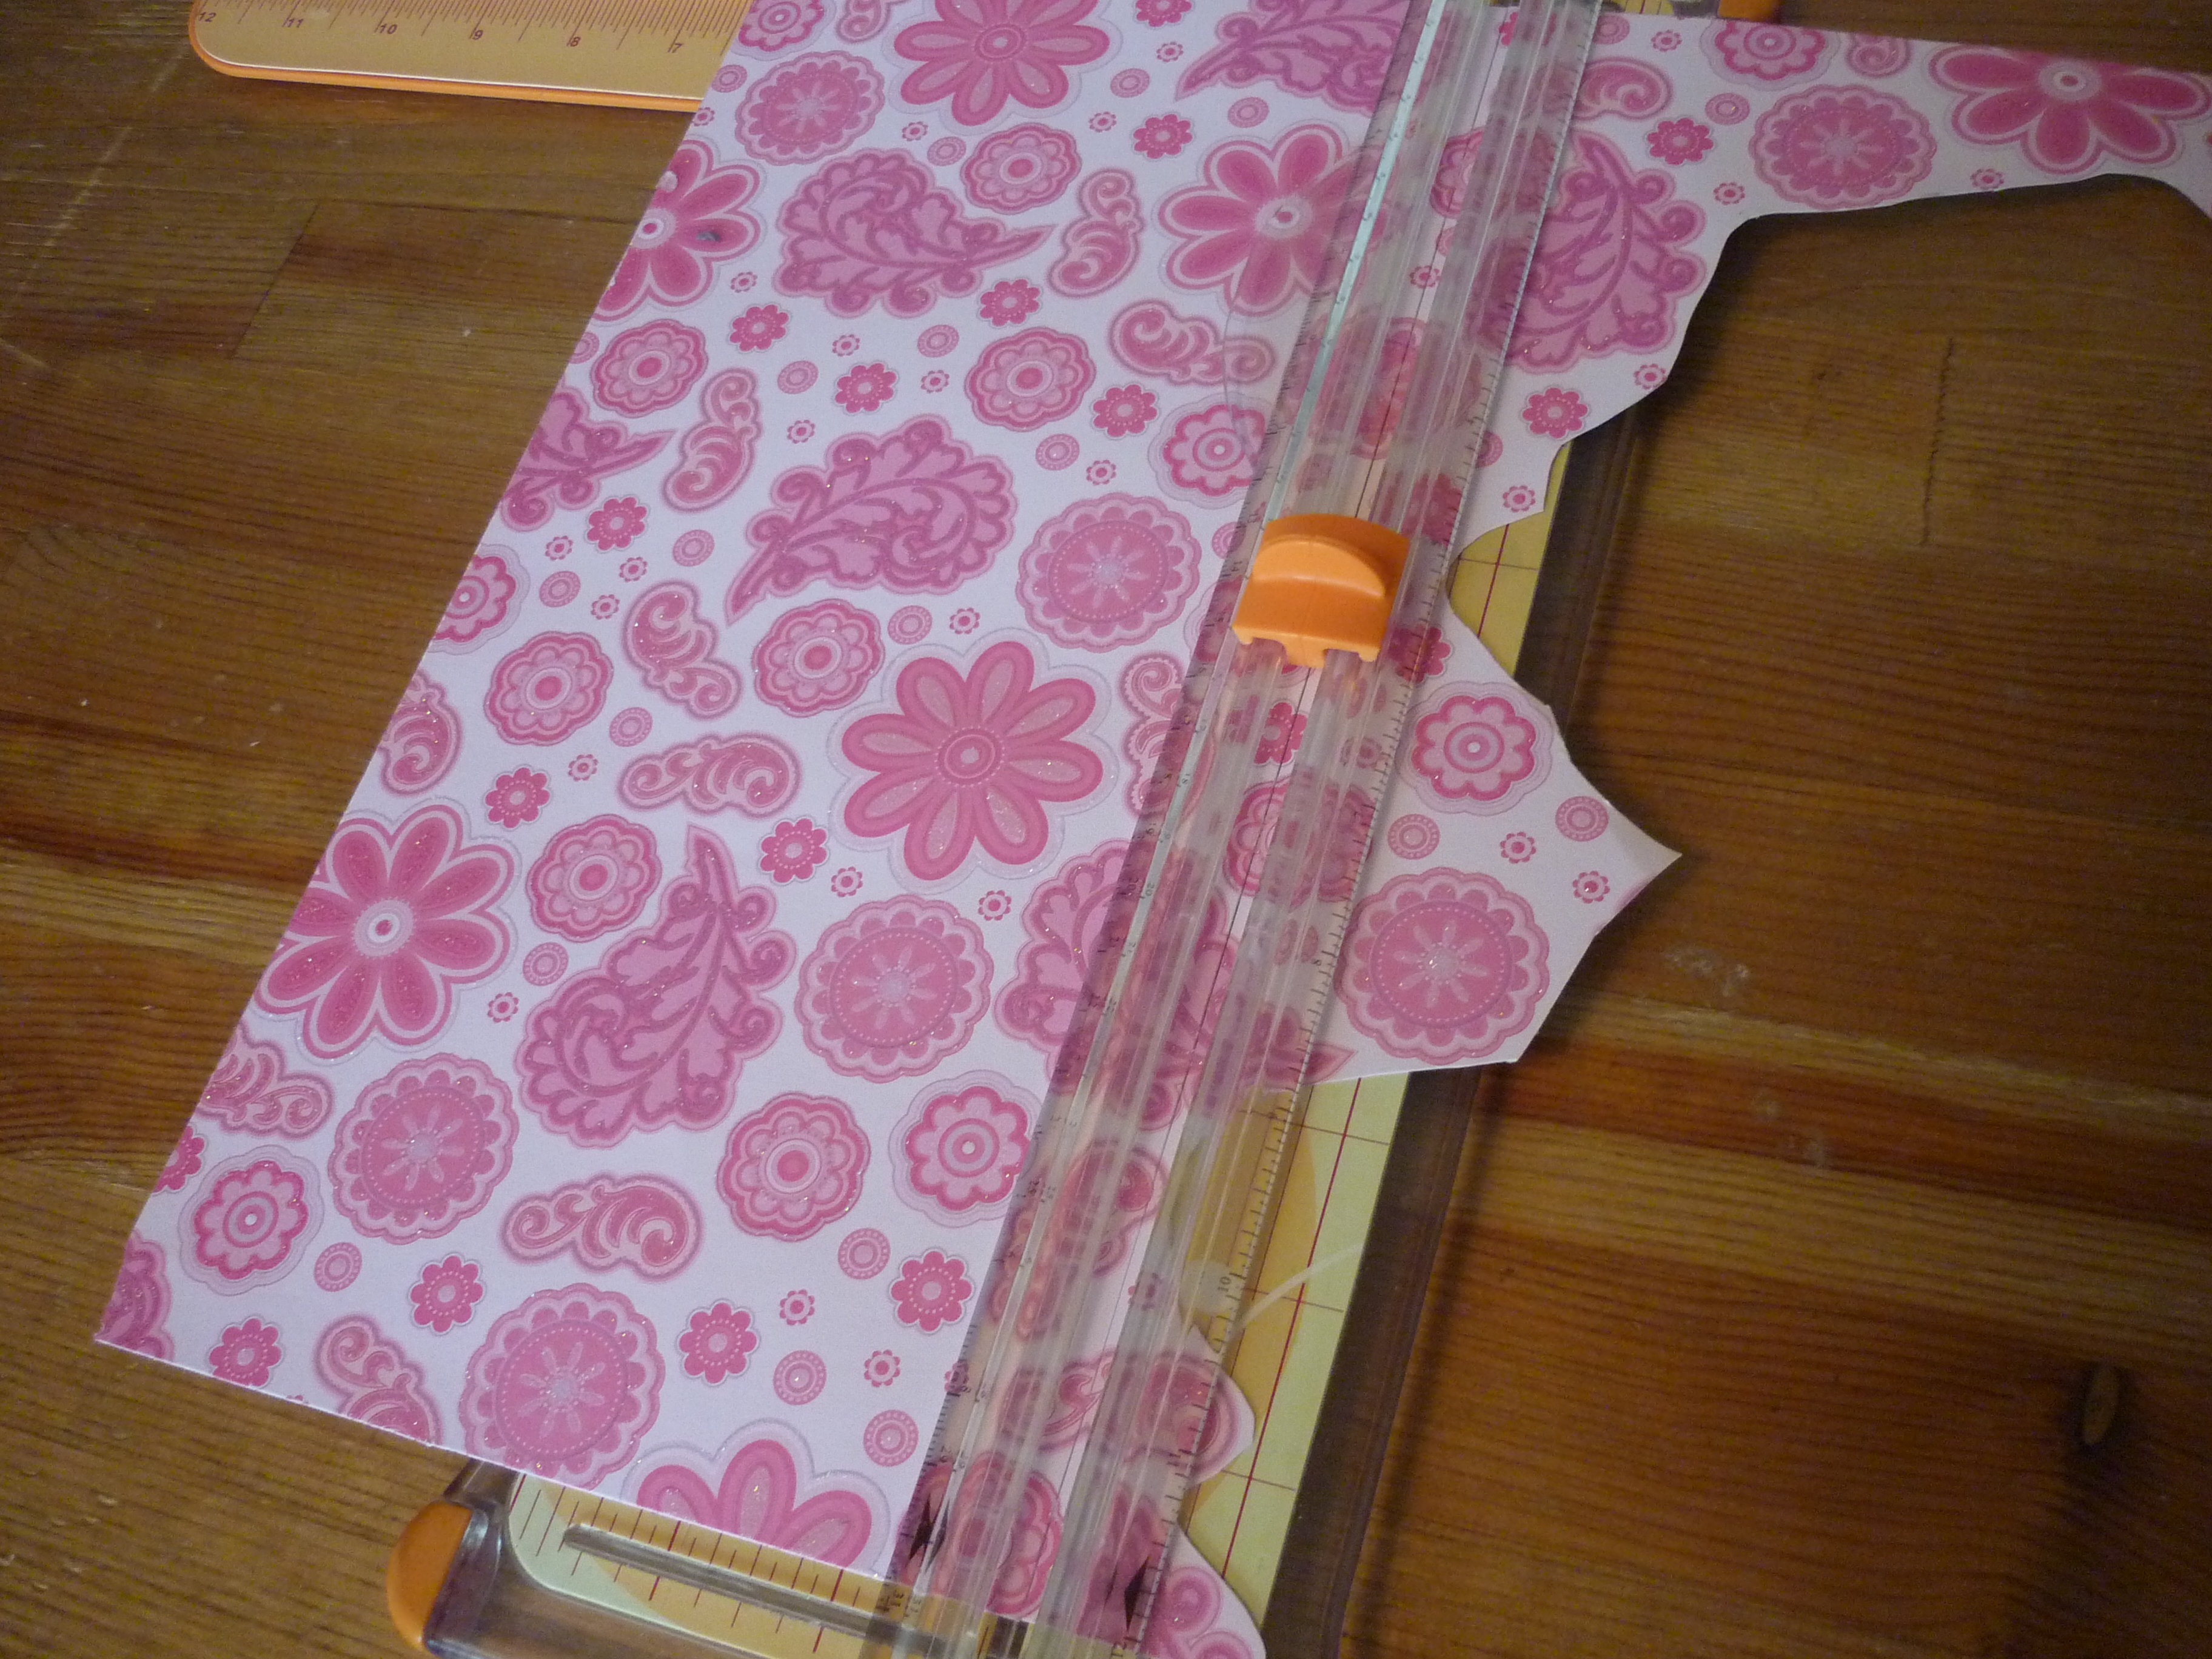
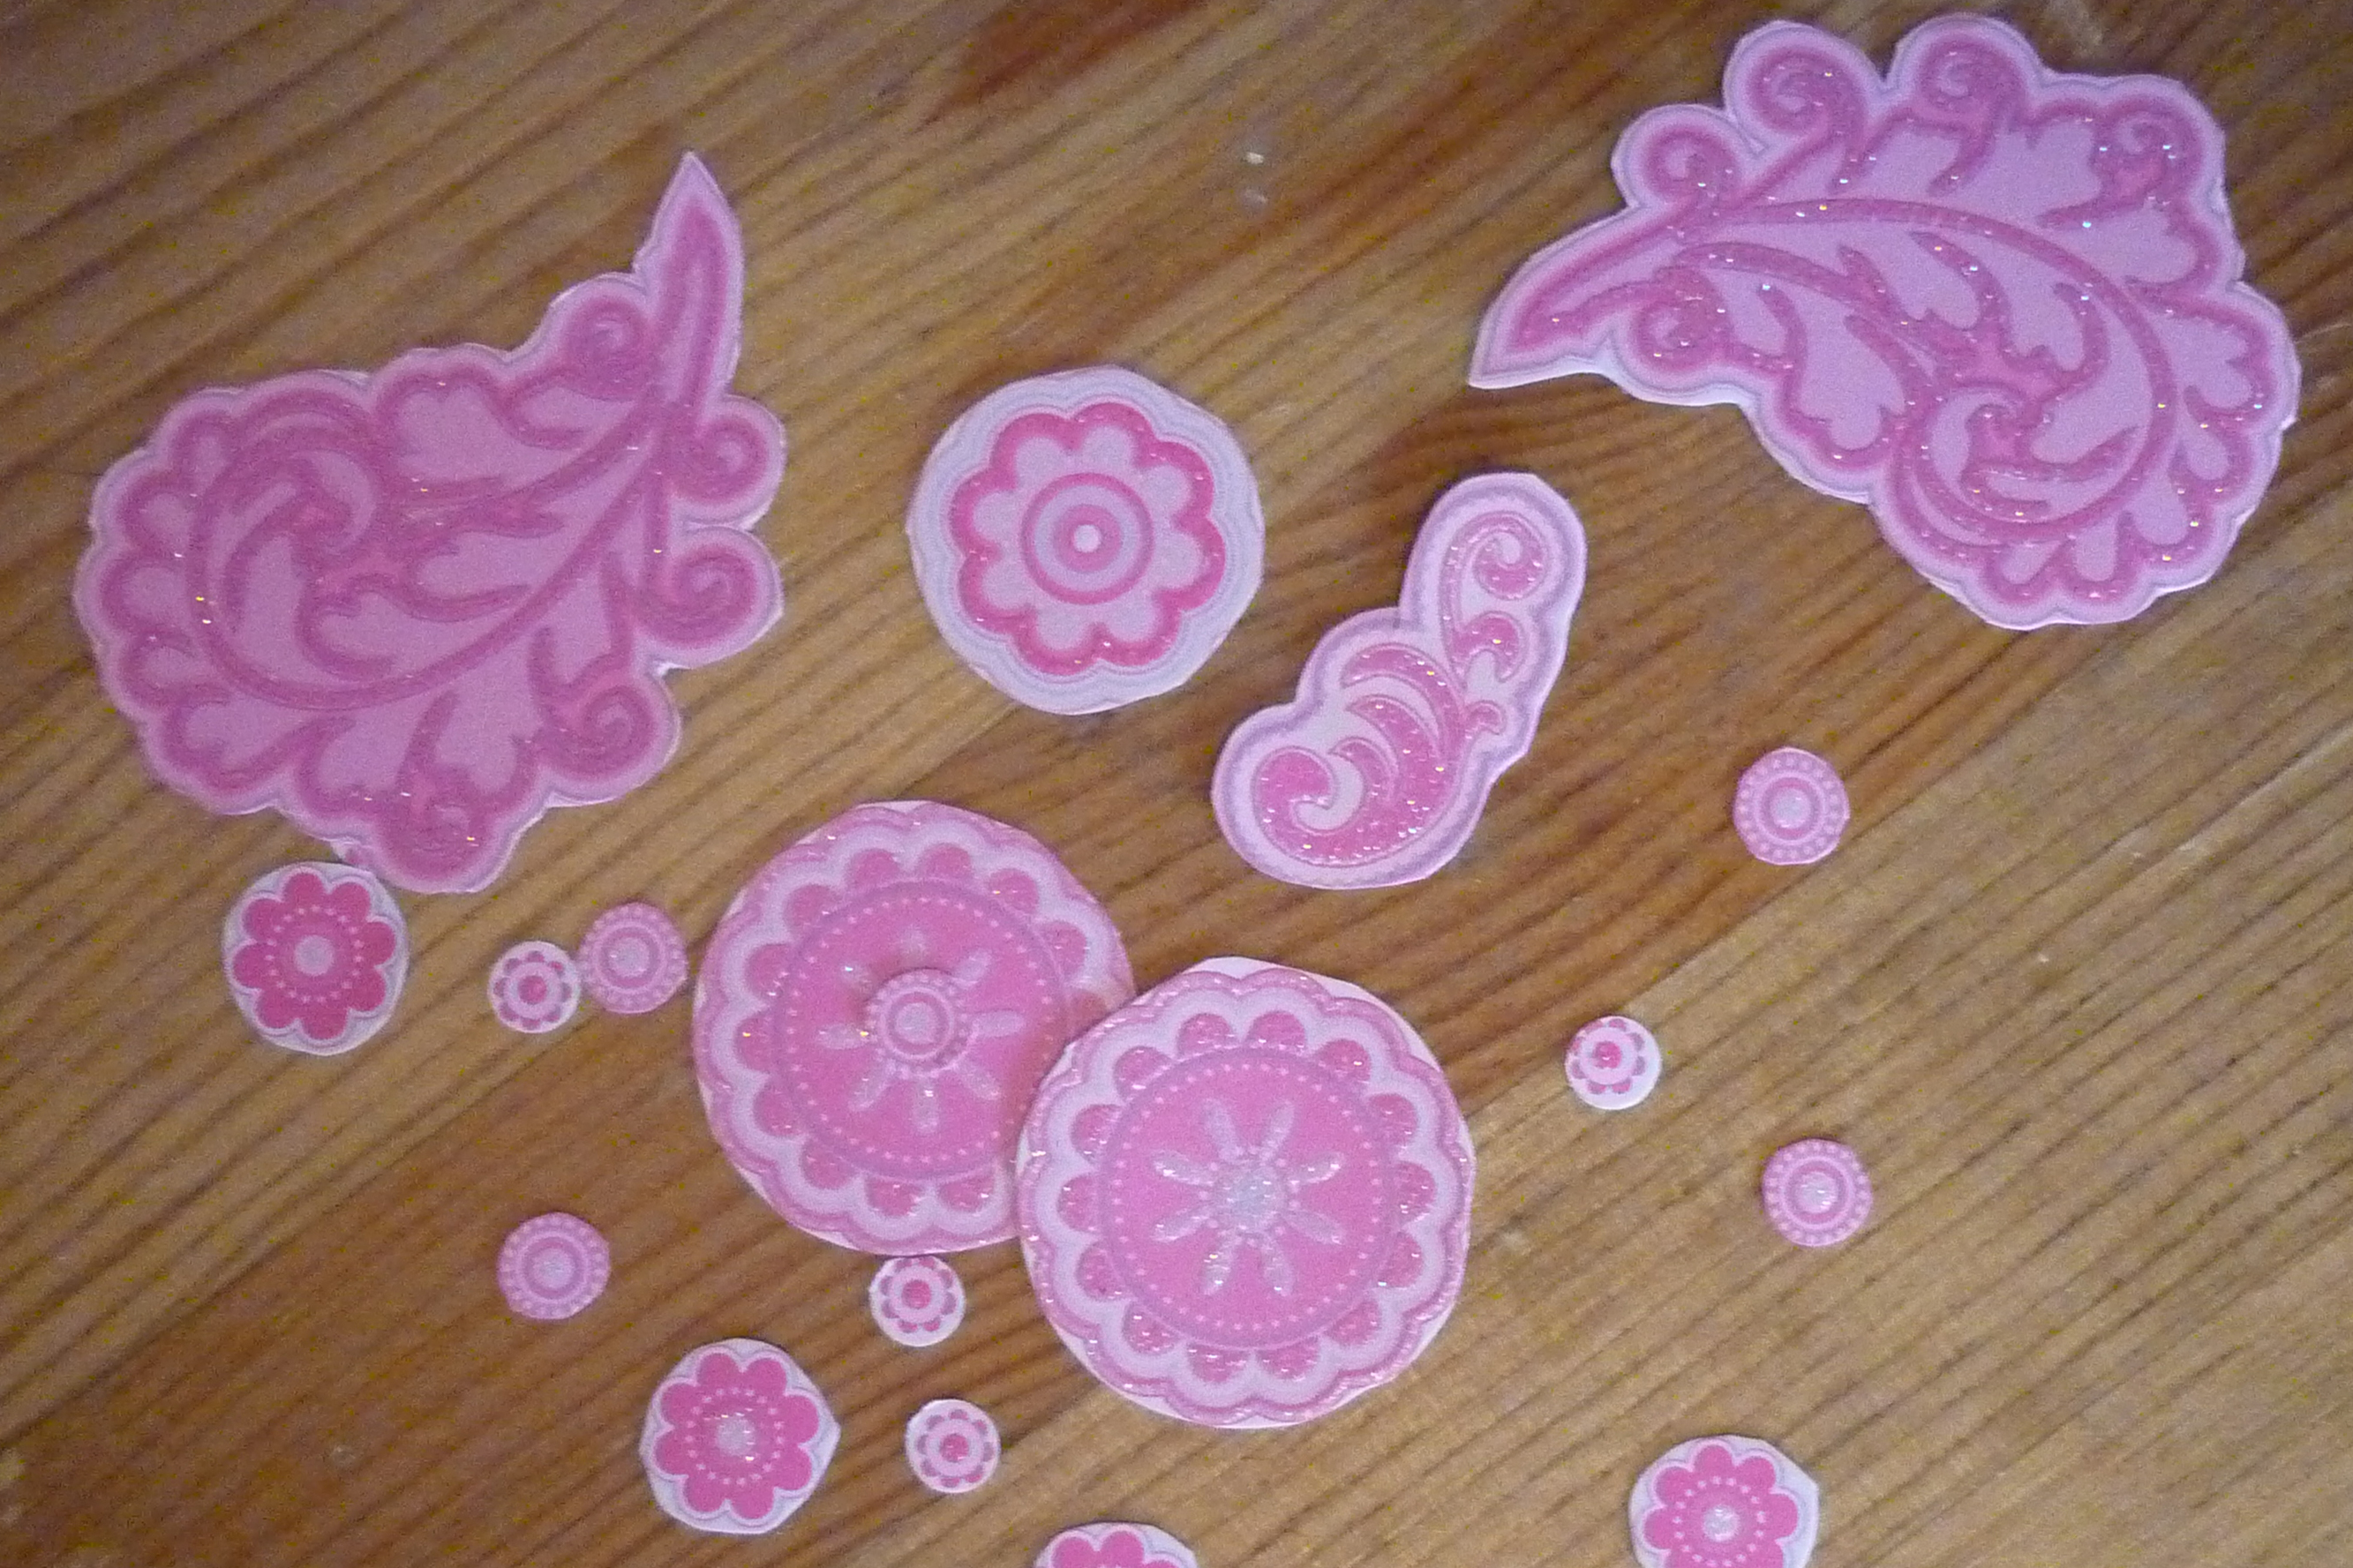
Save extra embellishments for a rainy day! I use a lot of pink, and this embossed, glittery printed paper is perfect with all of it's cute little flowers and flourishes! First, I salvaged the largest rectangle I could, which is always something I like to do to, because the larger the scrap of paper, the more options you have to create something great with it! This one is 12"x6" so it's big enough to use for a variety of things, so I won't cut it up until I find that perfect job for it. With the left over piece I spent a few minutes watching TV and cutting the designs out. For some I was able to use a punch, others I just cut them out freehand. I recommend running especially the smaller ones through a sticker maker to help keep them from getting lost. Try layering some of the pieces together with 3D adhesive to really make them pop!
Tags
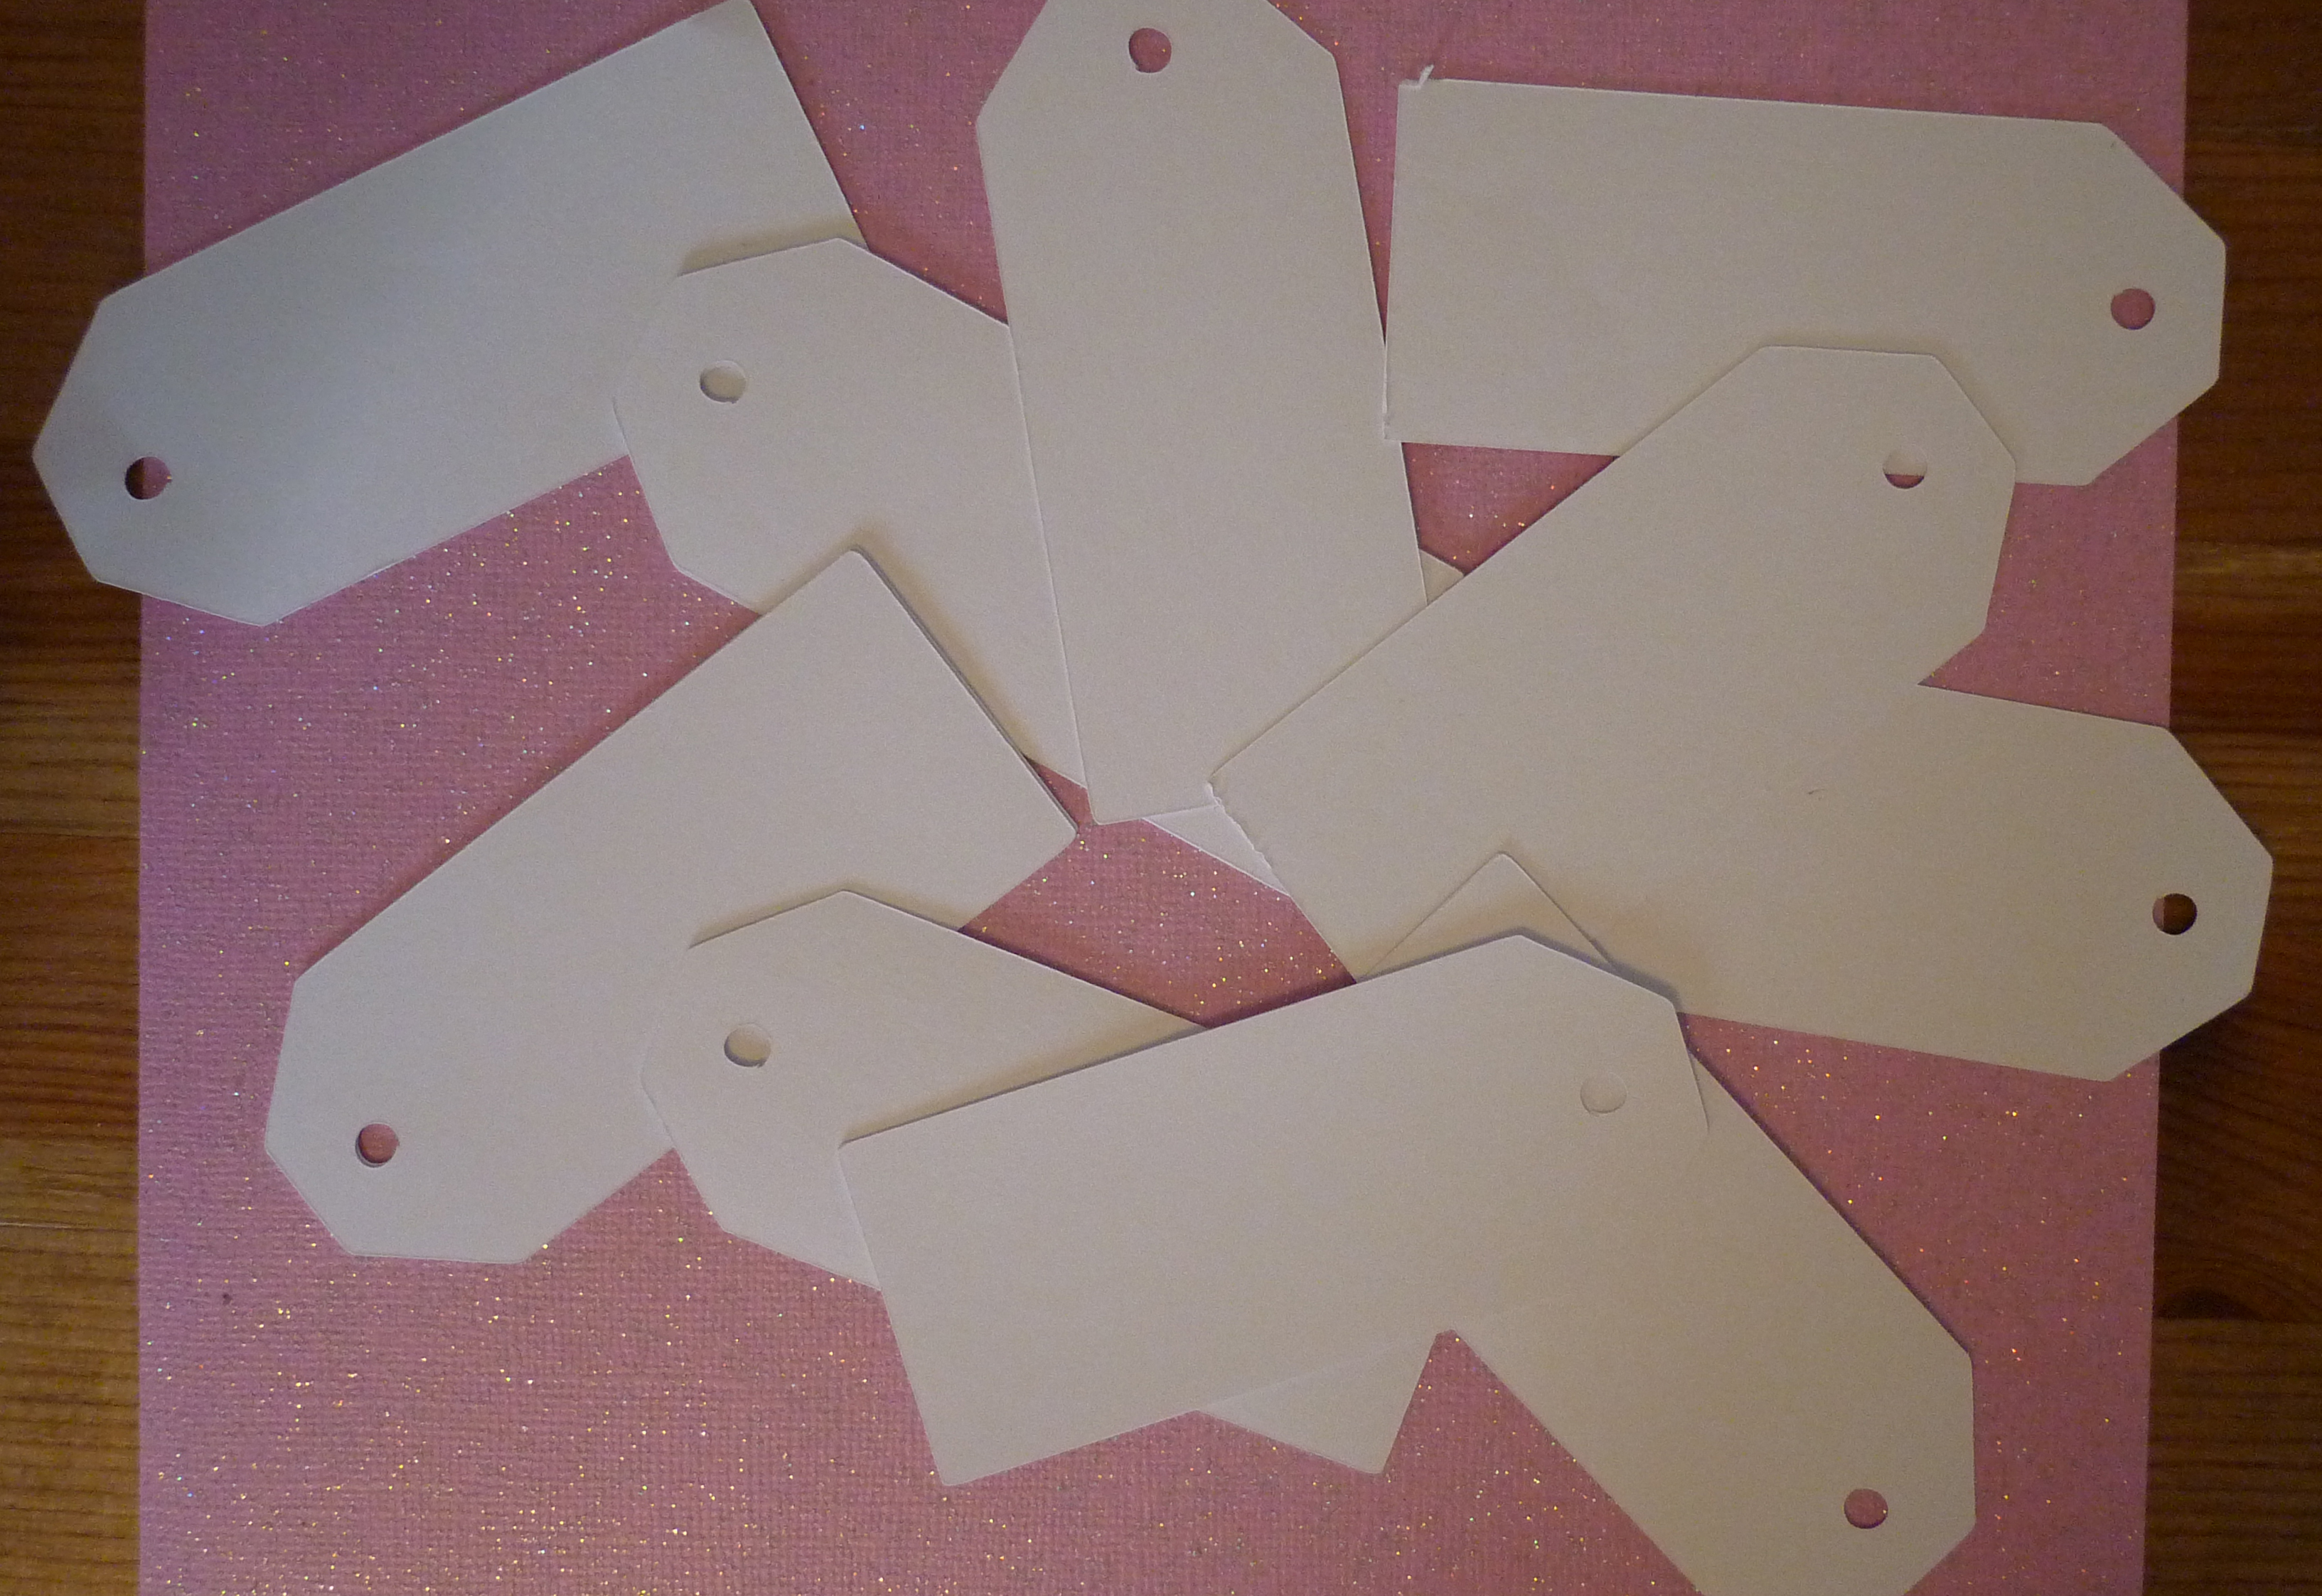
Perfect for small amounts of journaling, great to use for a page title or just to decorate with embellishments and use as a page accent, tags ALWAYS come in handy. When I have larger scraps, I like to run them through my Cricuit and make them into blank tags for later use. Have a little more time on your hands? Decorate them using scraps too! Check out some tags Leslie made earlier this year! Don't forget to save the tag trimmings, no matter how small! They are great for making handmade (and seeded!) paper!
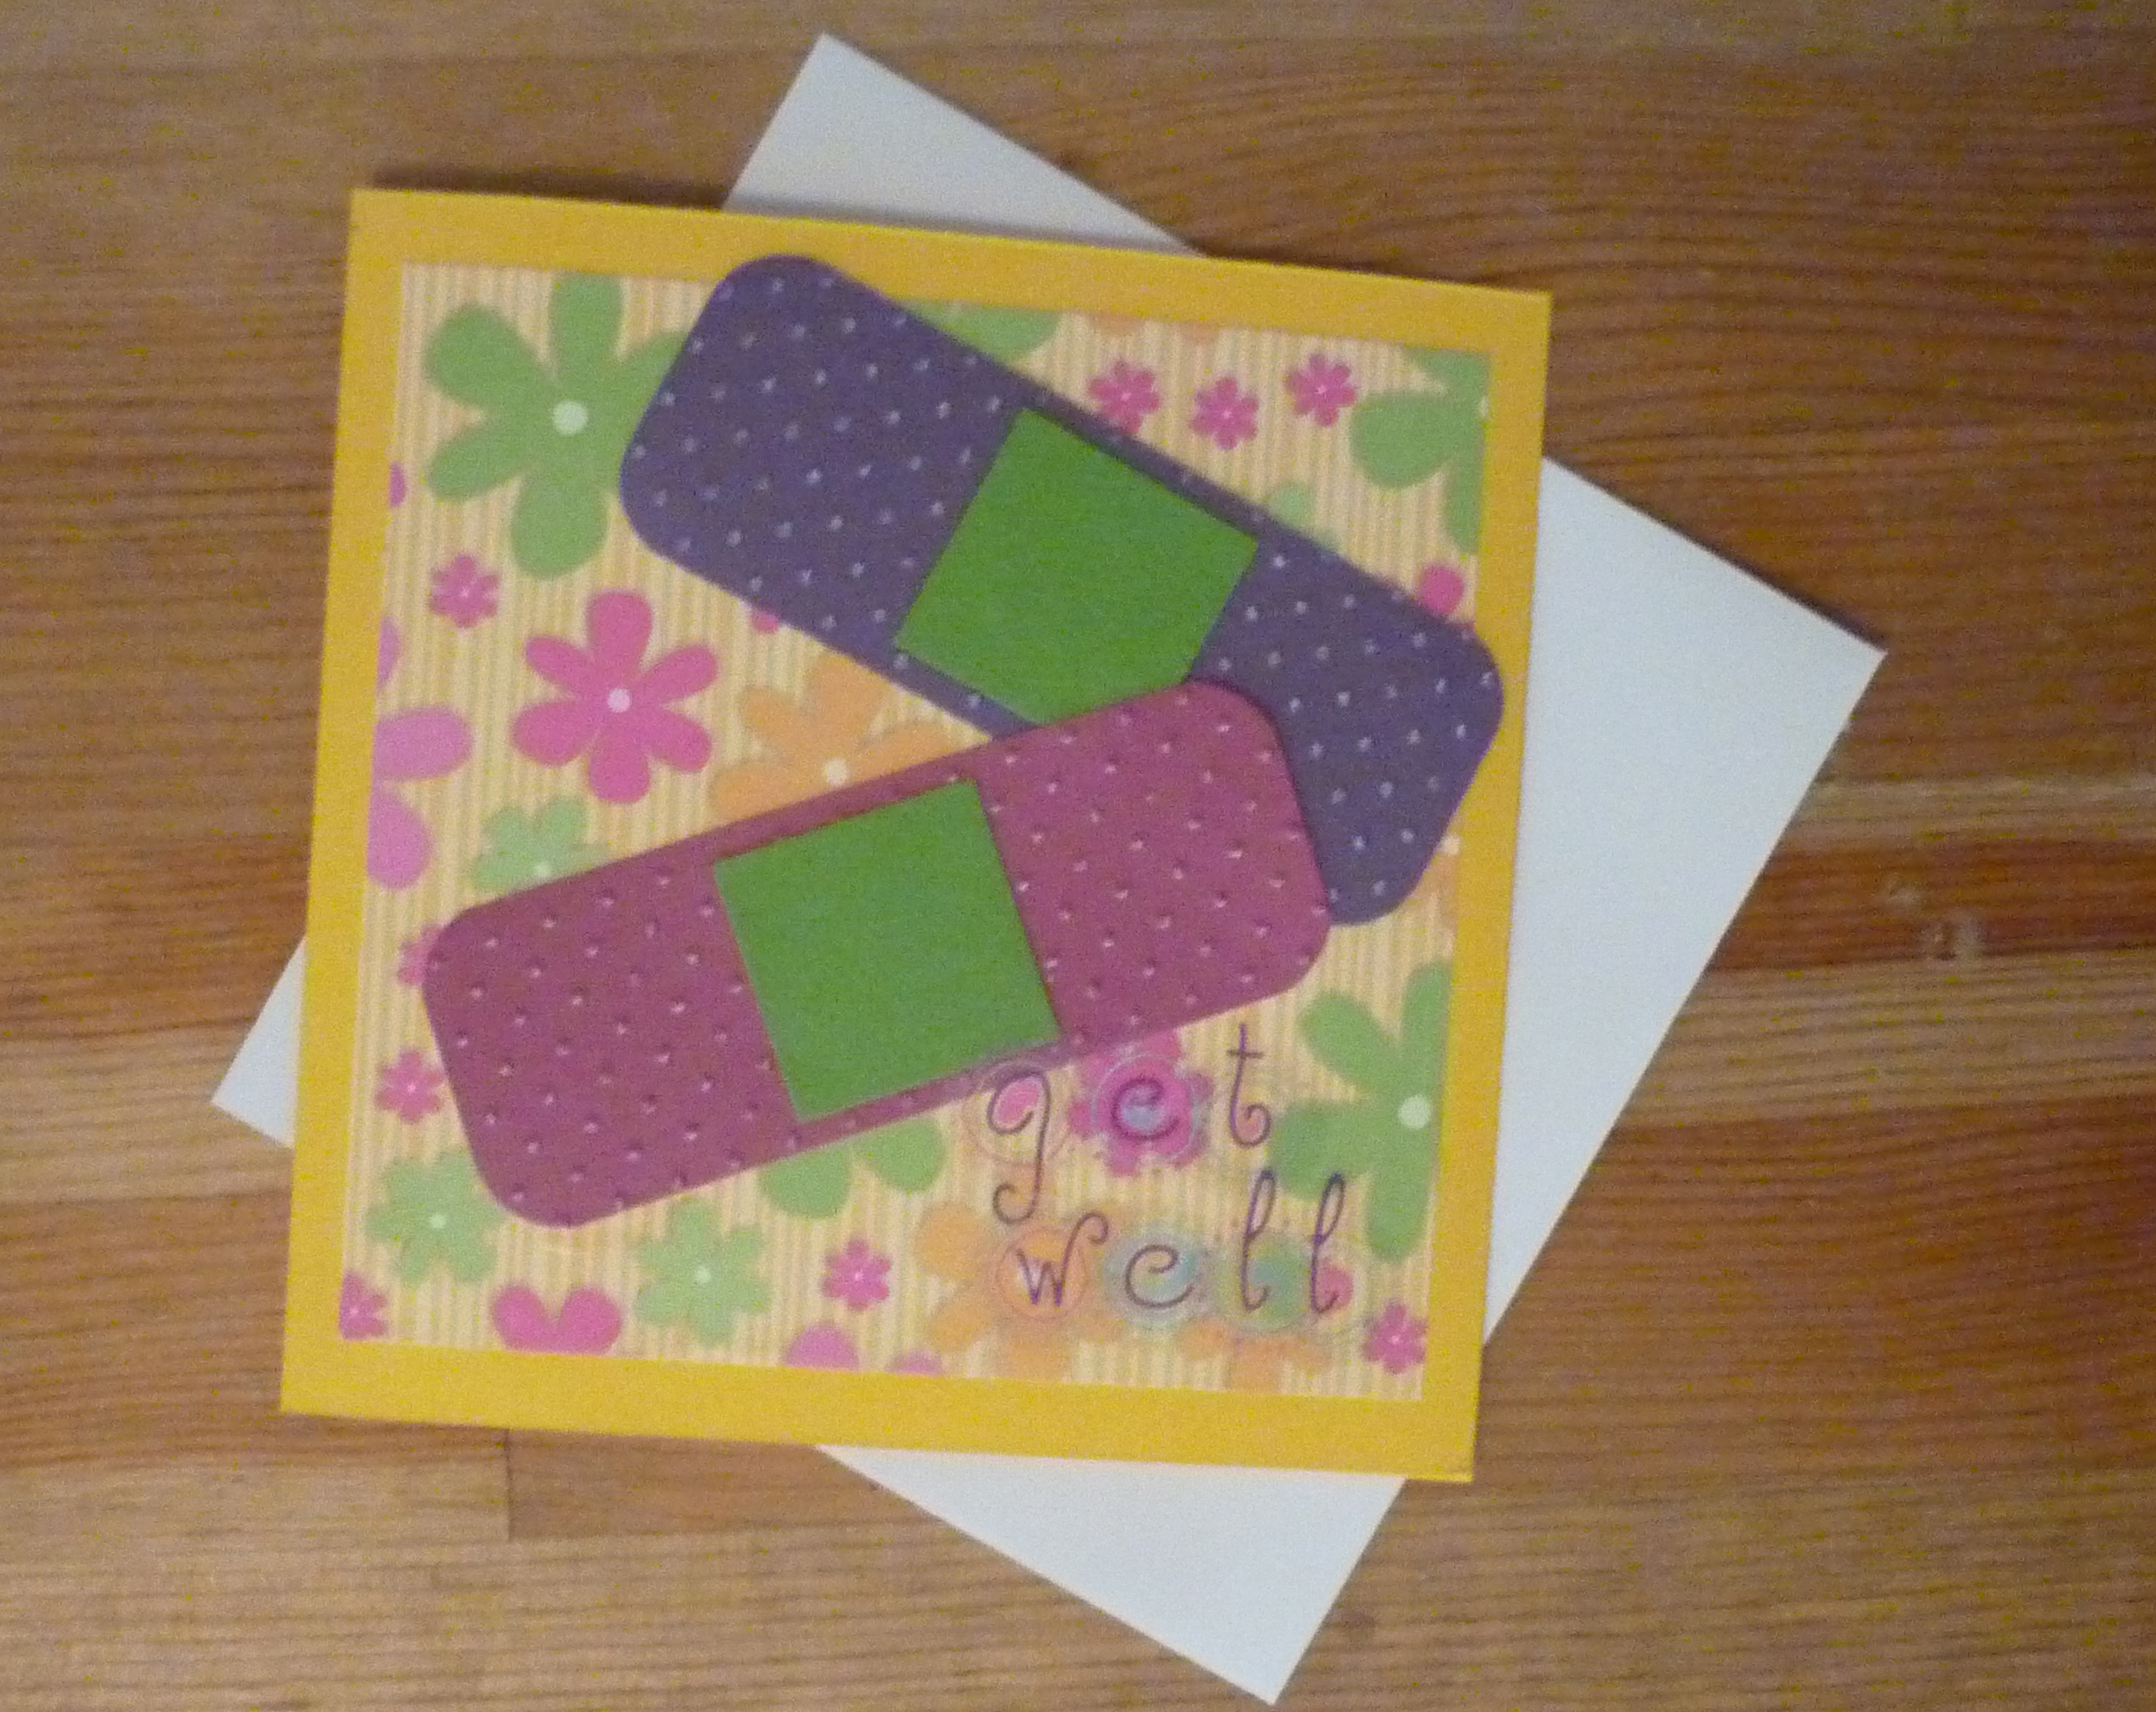
Bandaids
These are cute in all colors and sizes and make great accents for "Get Well Soon" cards or scrapbook pages showing off owies! I like to run the bigger piece through my Cuttlebug using a small polka dotted embossing folder, and then leave the square on top more flat, but you can style yours any way you want!
Stack Pack Covers
Are you guilty of throwing away the covers to your packs of paper? You won't want to anymore! These little squares make great small journaling spaces on scrapbook pages, and work well for blocks to accent letters --just cut them out and use a fun corner punch to jazz them up a little! You can also cut them into 2 or 4 pieces and use them as photo corners! The pieces from THIS stack pack are going to be moving spaces on a game board, but you'll have to wait until June to see that one. ;)
Is your scrap bin full of beautiful scraps, but you just don't know where to start? Don't let them go to waste accumulating in your scrap bin! By turning them into embellishments and keeping them organized, you are not only more likely to USE them, but you'll always have that "perfect accent" to add to your projects down the road without an extra trip to the store! Here are some simple embellishment ideas to help you waste less and save more!
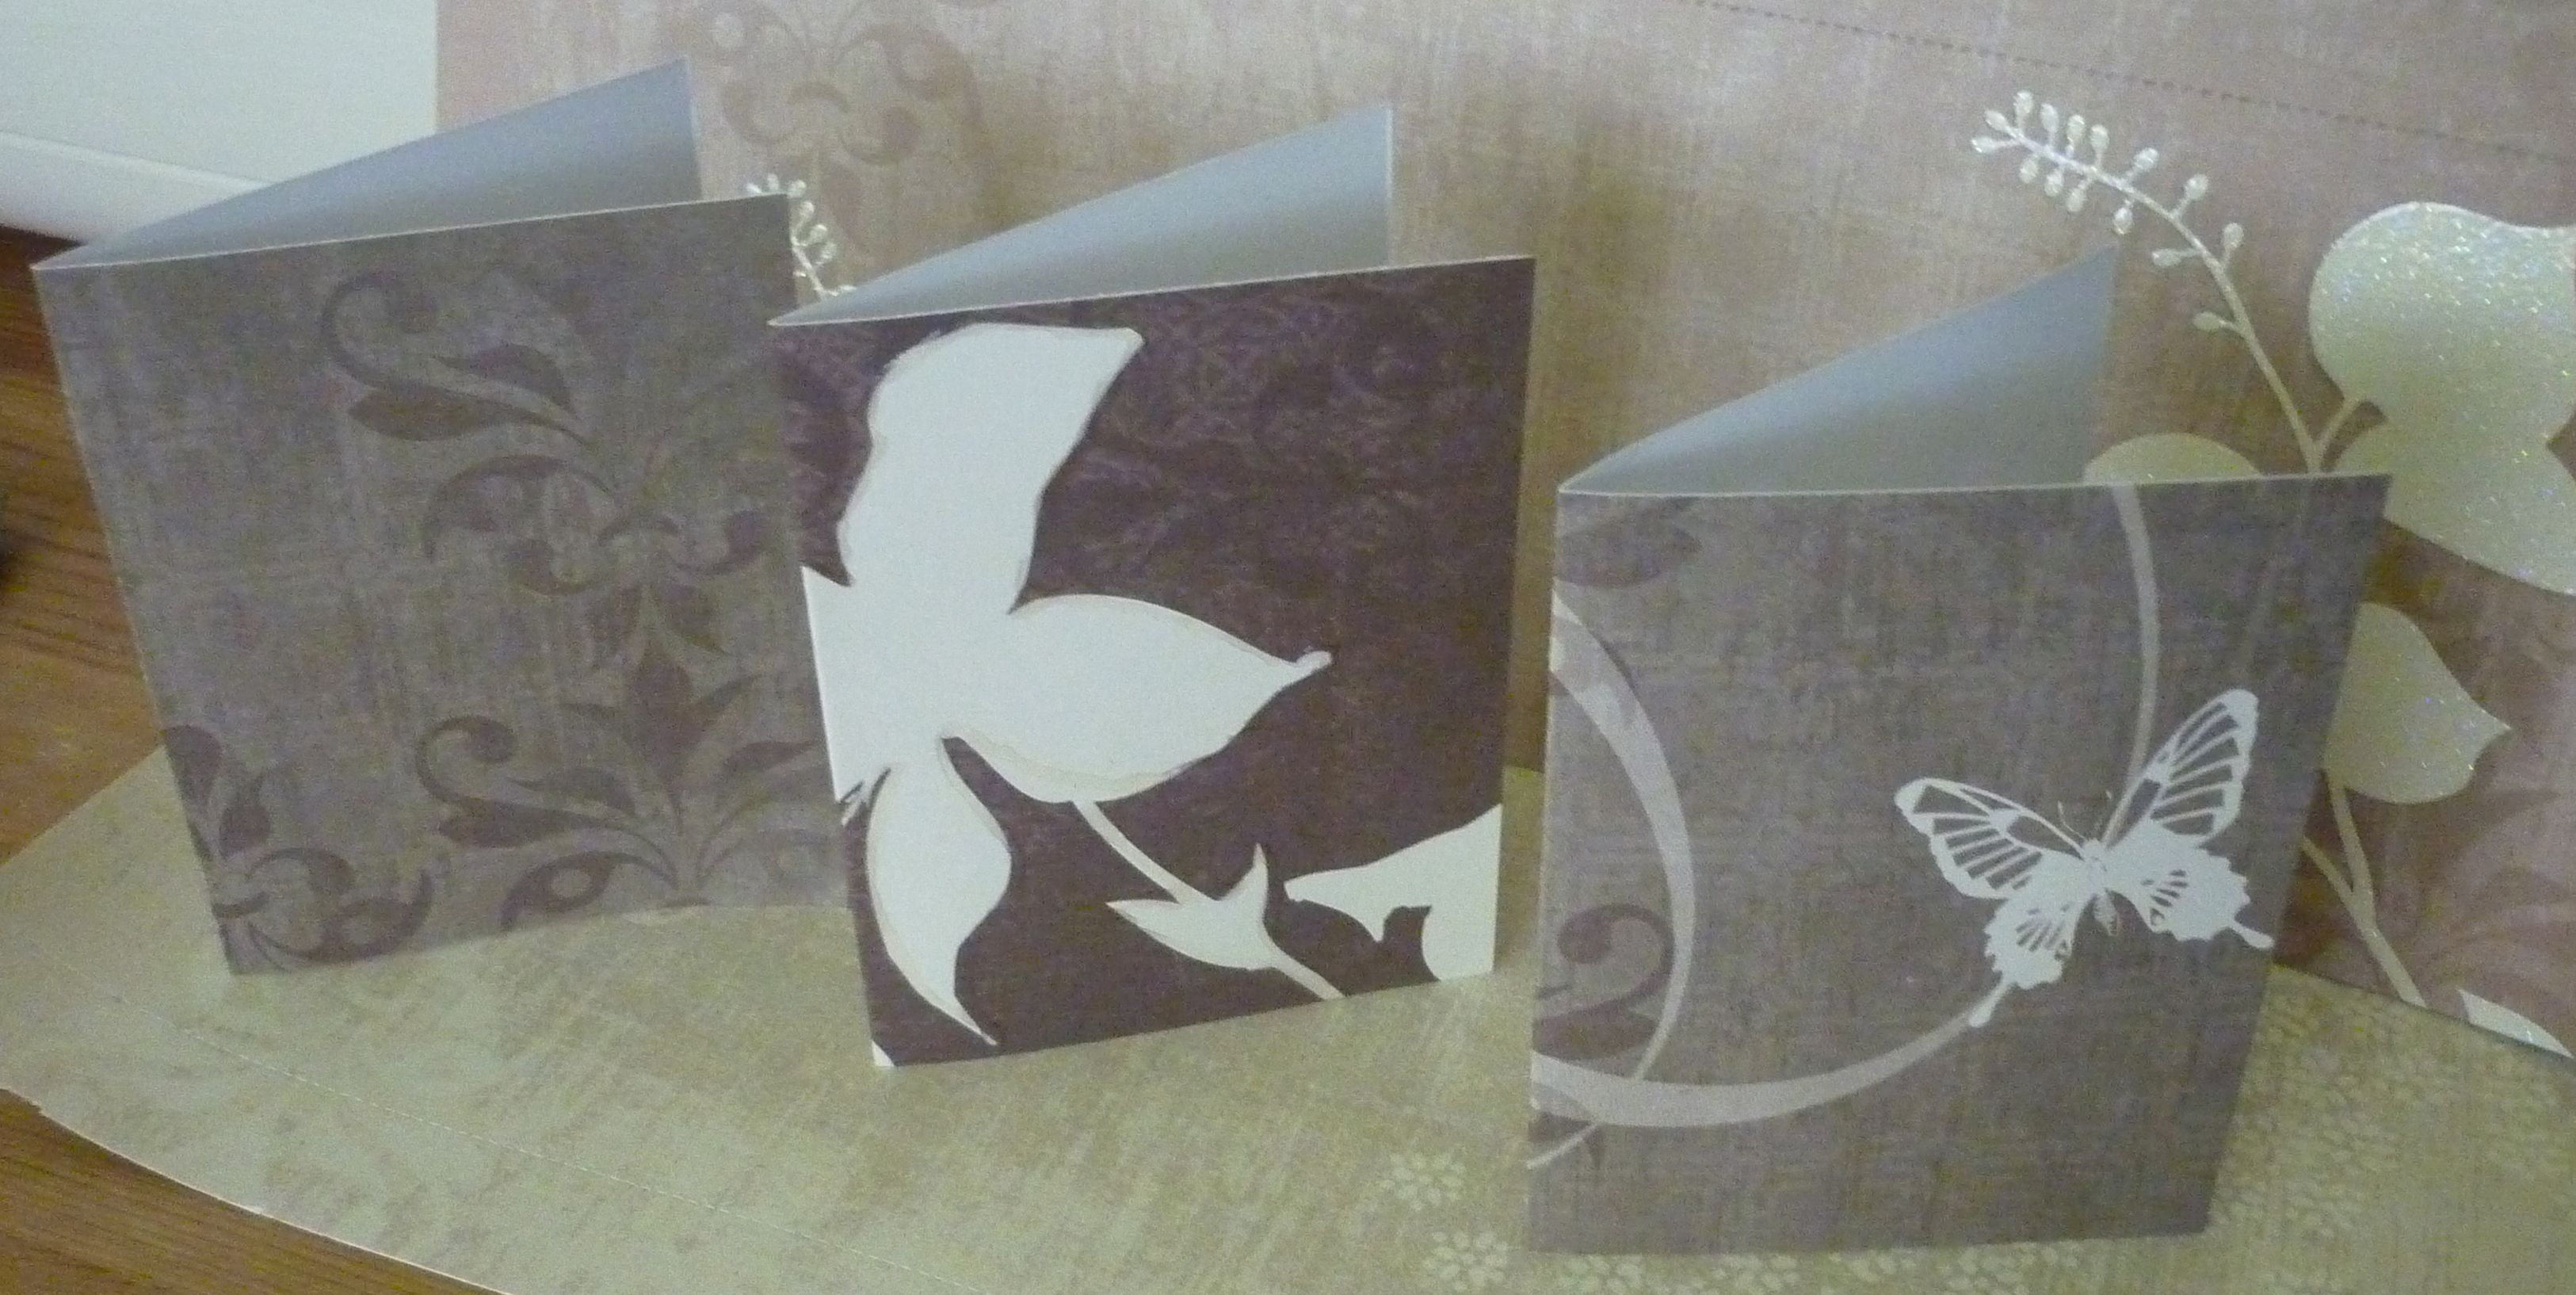
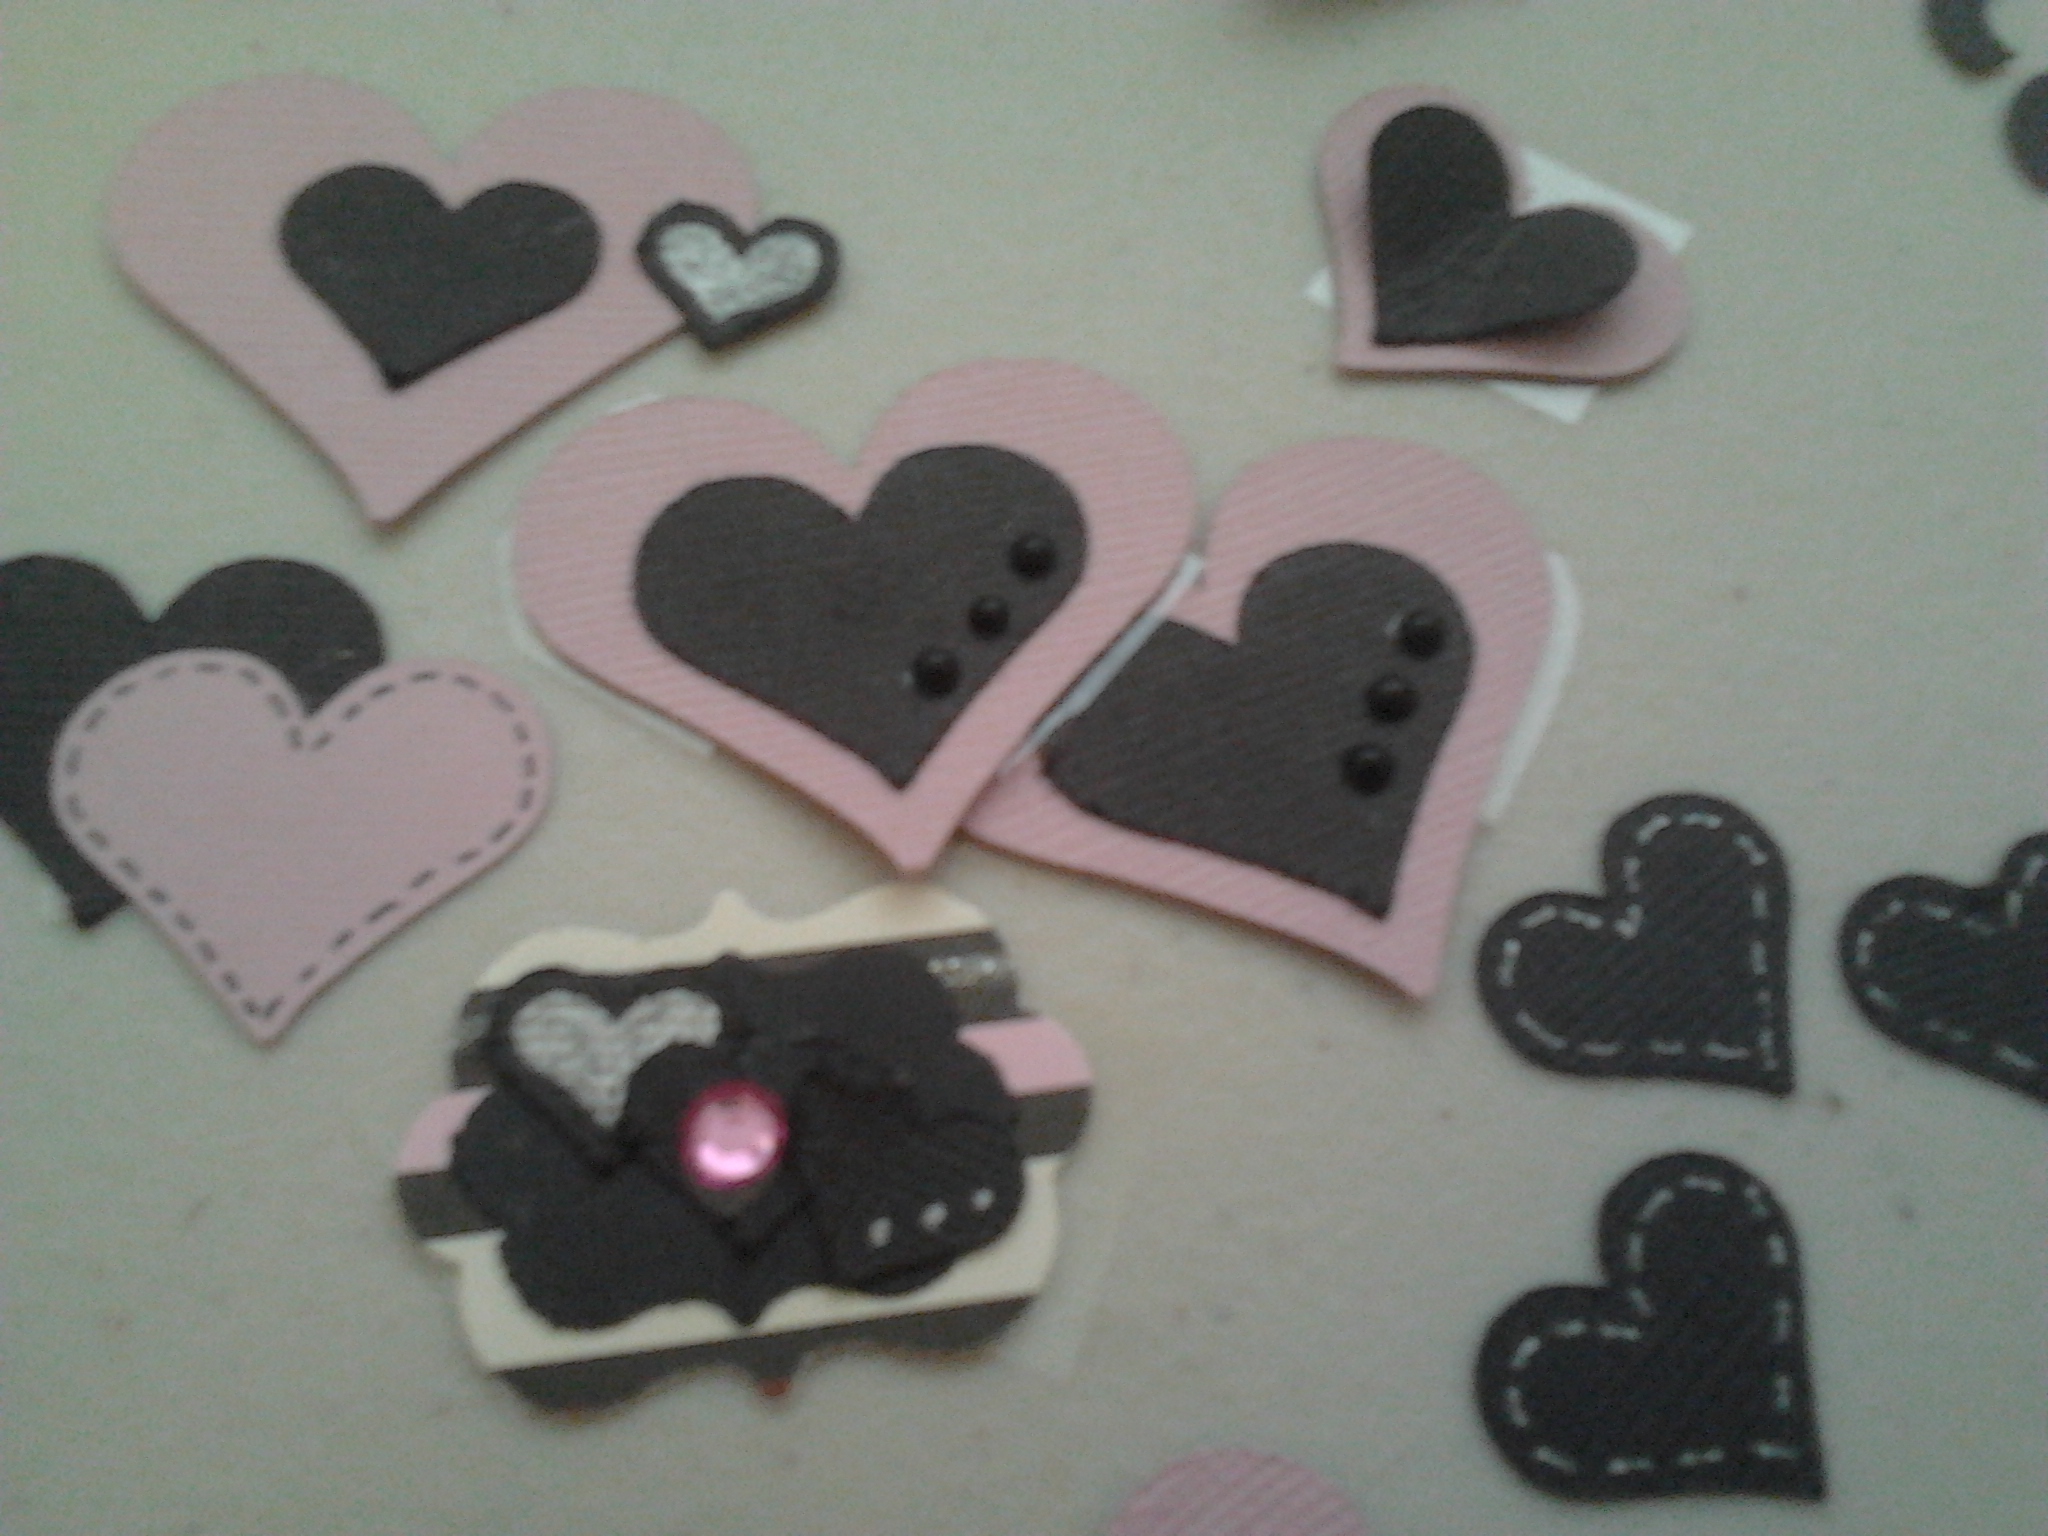
Remember that dazzling miniature scrapbook that we made a while back? Let's dig out the scraps from that and use them to make a set of matching embellishments to complement your album! To keep it simple, I picked 2 basic shapes that I used throughout, a heart (to match my heart shaped album) and a flourished square (punch by EK Tools, click here!). After I used my Cricut to cut out the smaller hearts I wanted from the larger scraps, I used my flourished square layering punch to create various sizes of the flourished square with the smaller pieces, and added the teeny tiny scraps to my "scraps for paper making" bag. Once you have cut out all of your shapes, they are ready to be decorated and put together, so let's get started!
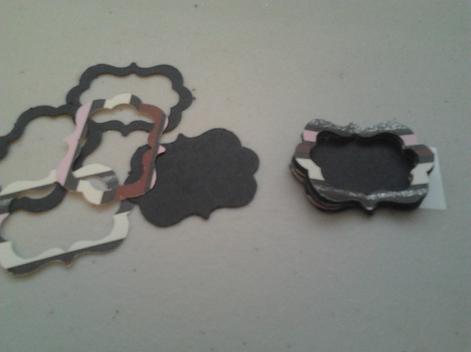
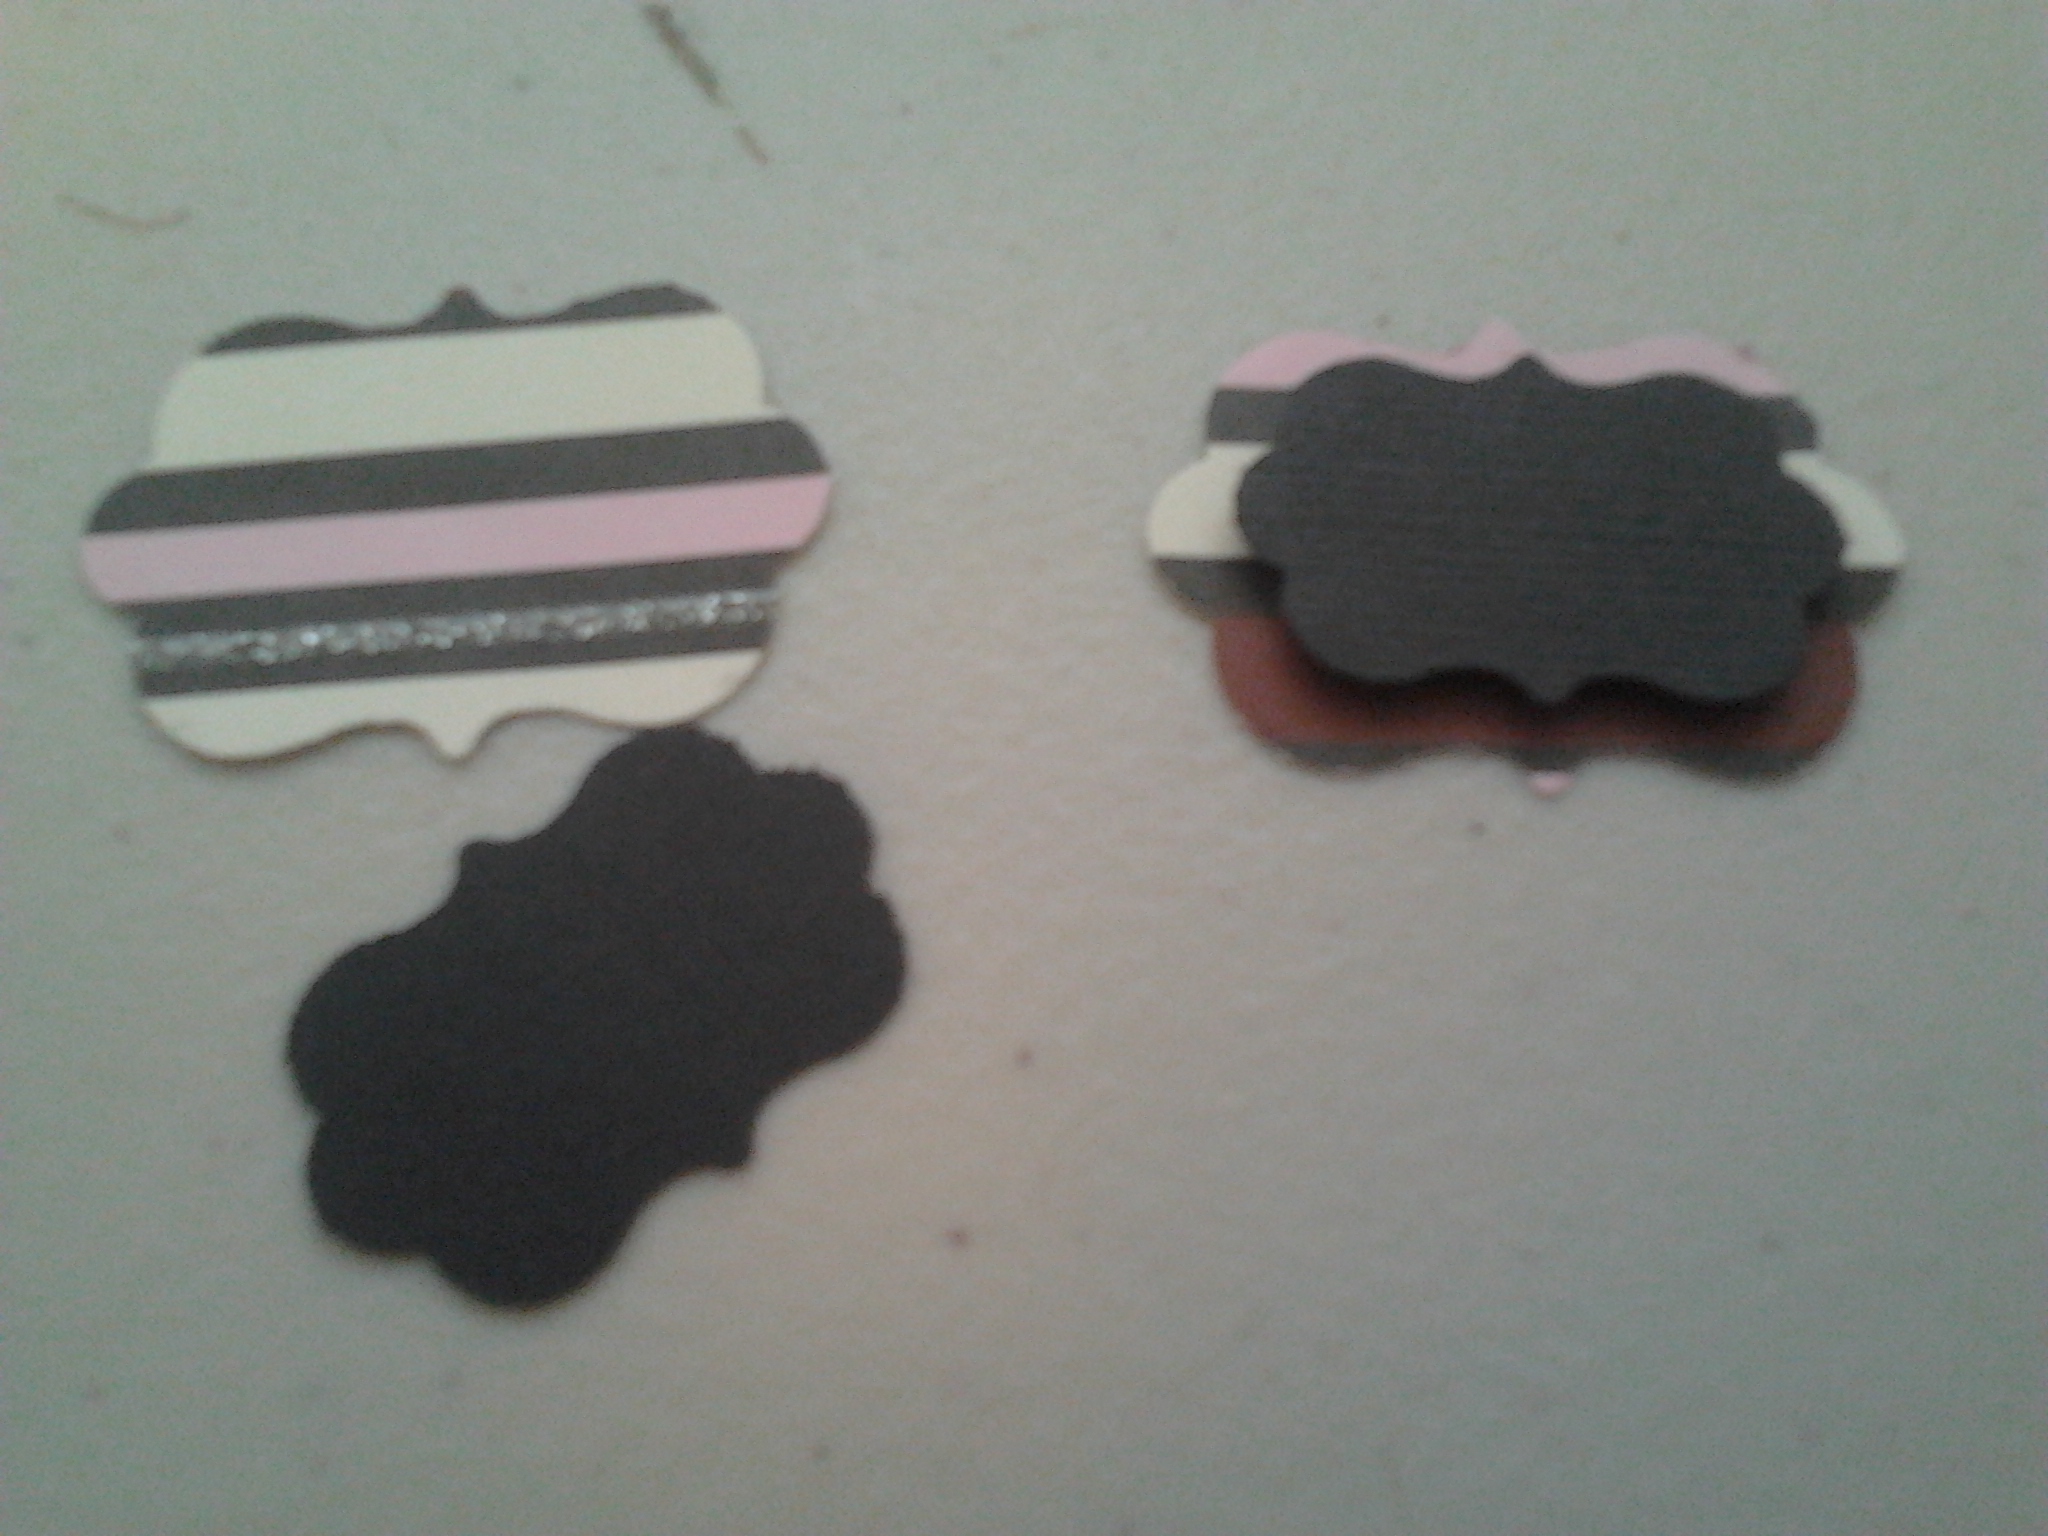
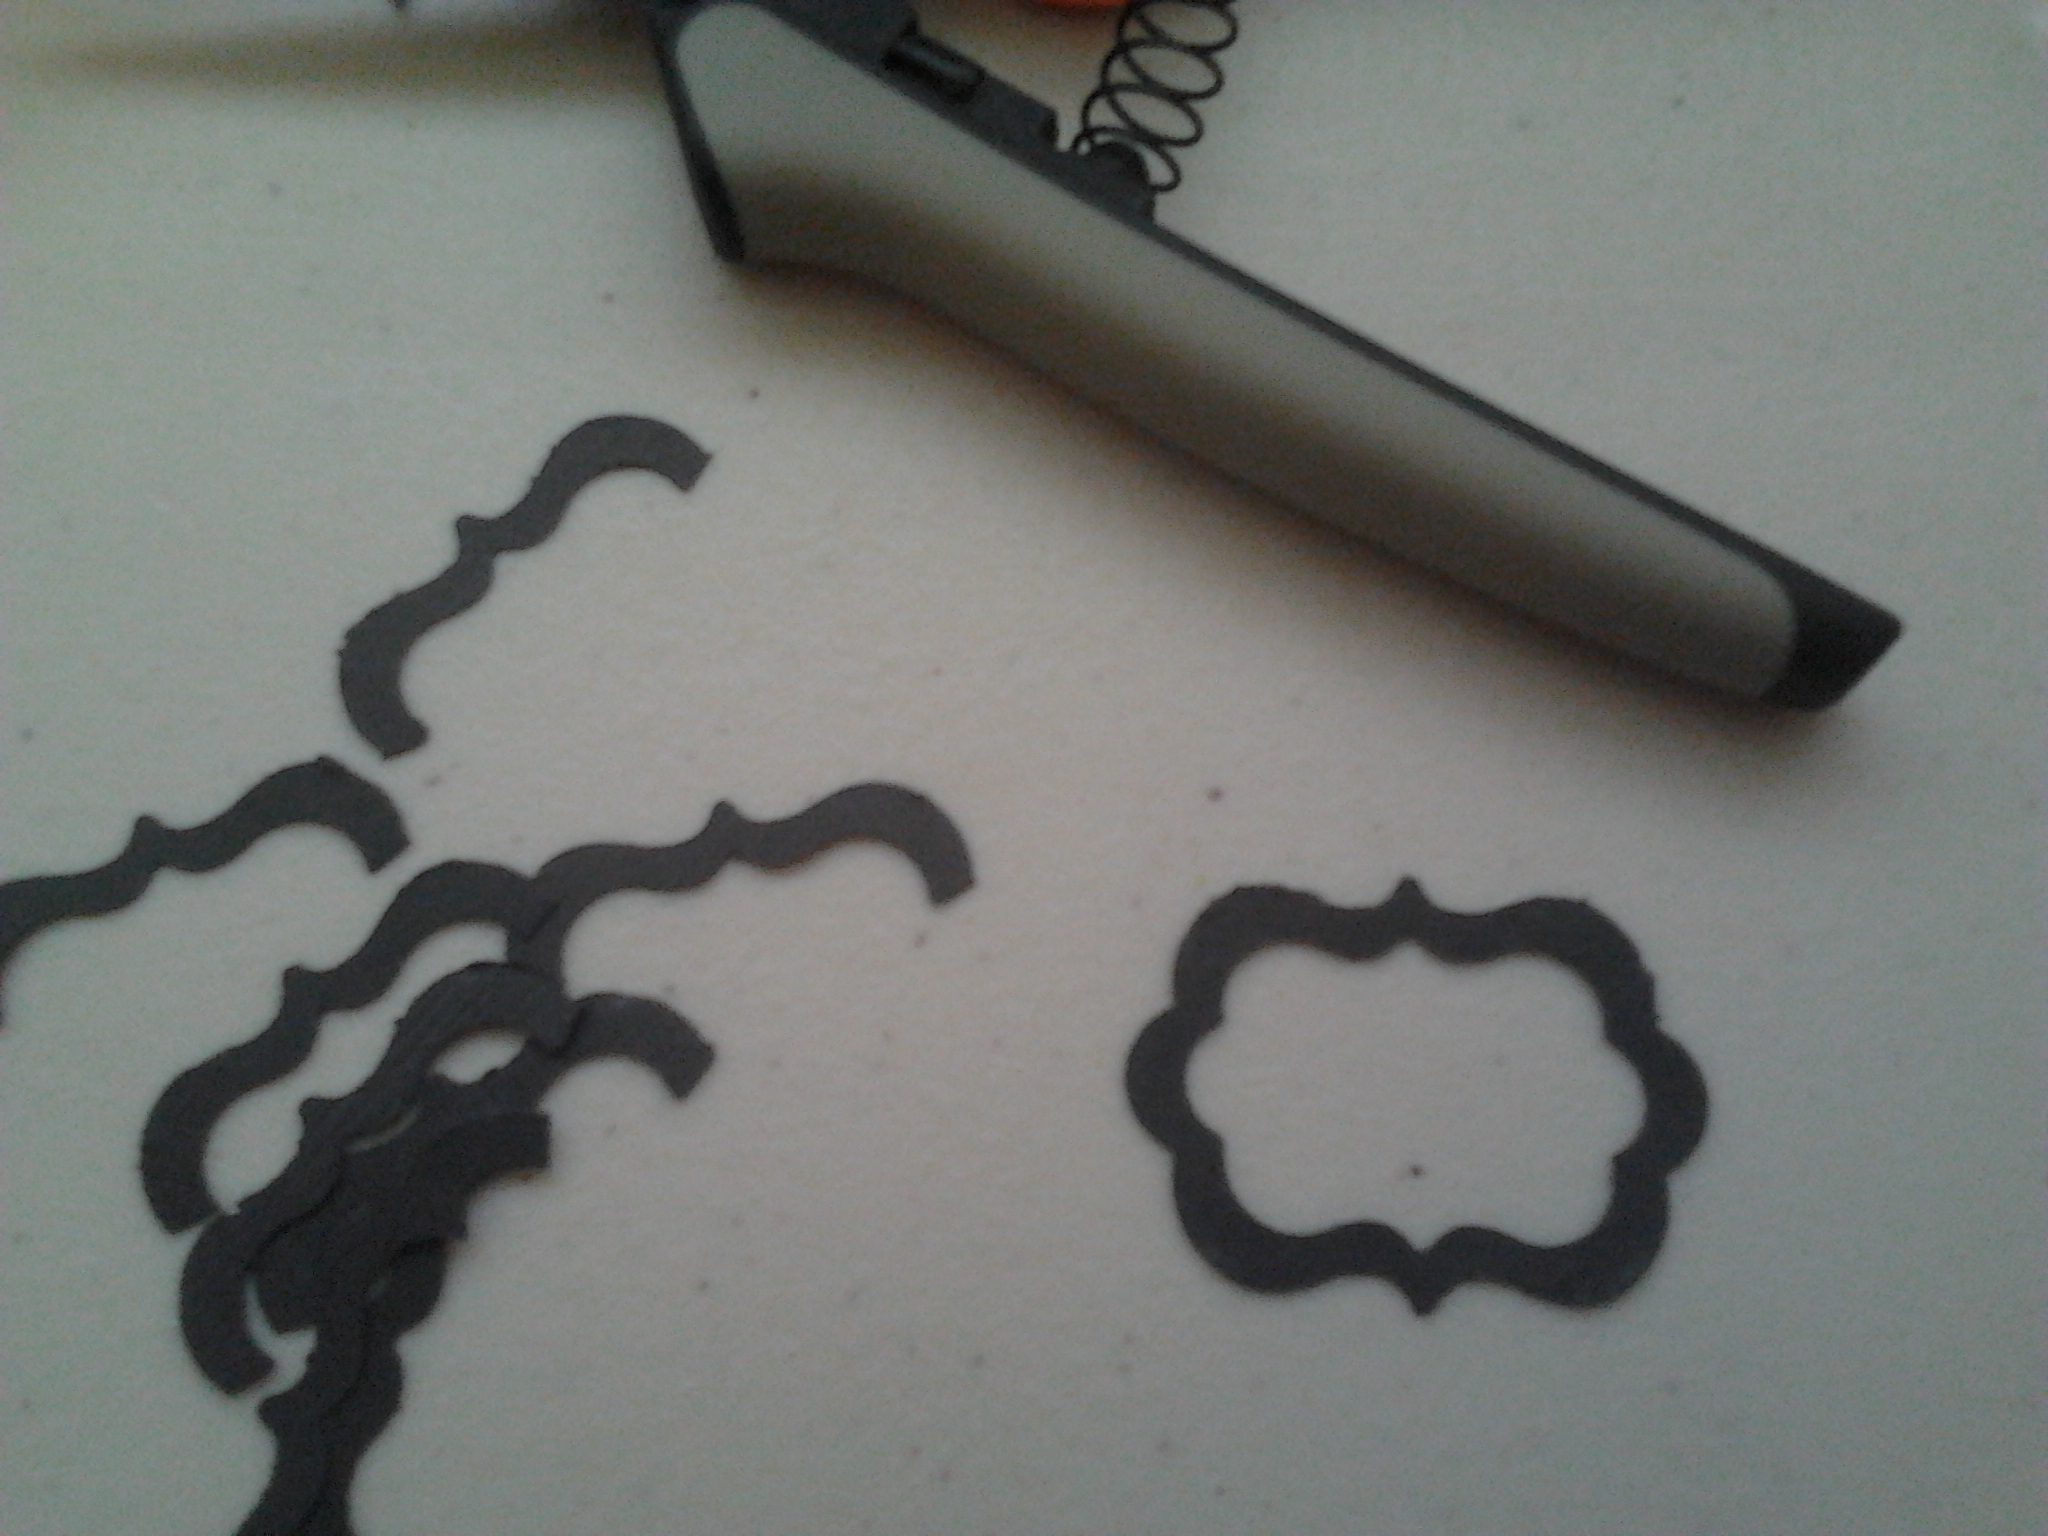
First things first -- this scrabook needs a place to put a title! For this one, I used plain black scraps to make two flourished squares. Cut the squares down as shown below and layer a skinny rectangle over the top. Add a heart for decoration and use a matching pen to draw stitch marks to give it a more finished look.

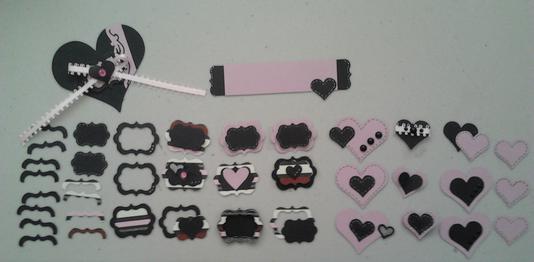
Okay, now that your title mat is done, let's move on to the rest of the embellishments! This layering punch is amazing, and one of my most used tools. There are so many ways that you can layer your die cuts here are a few ideas:

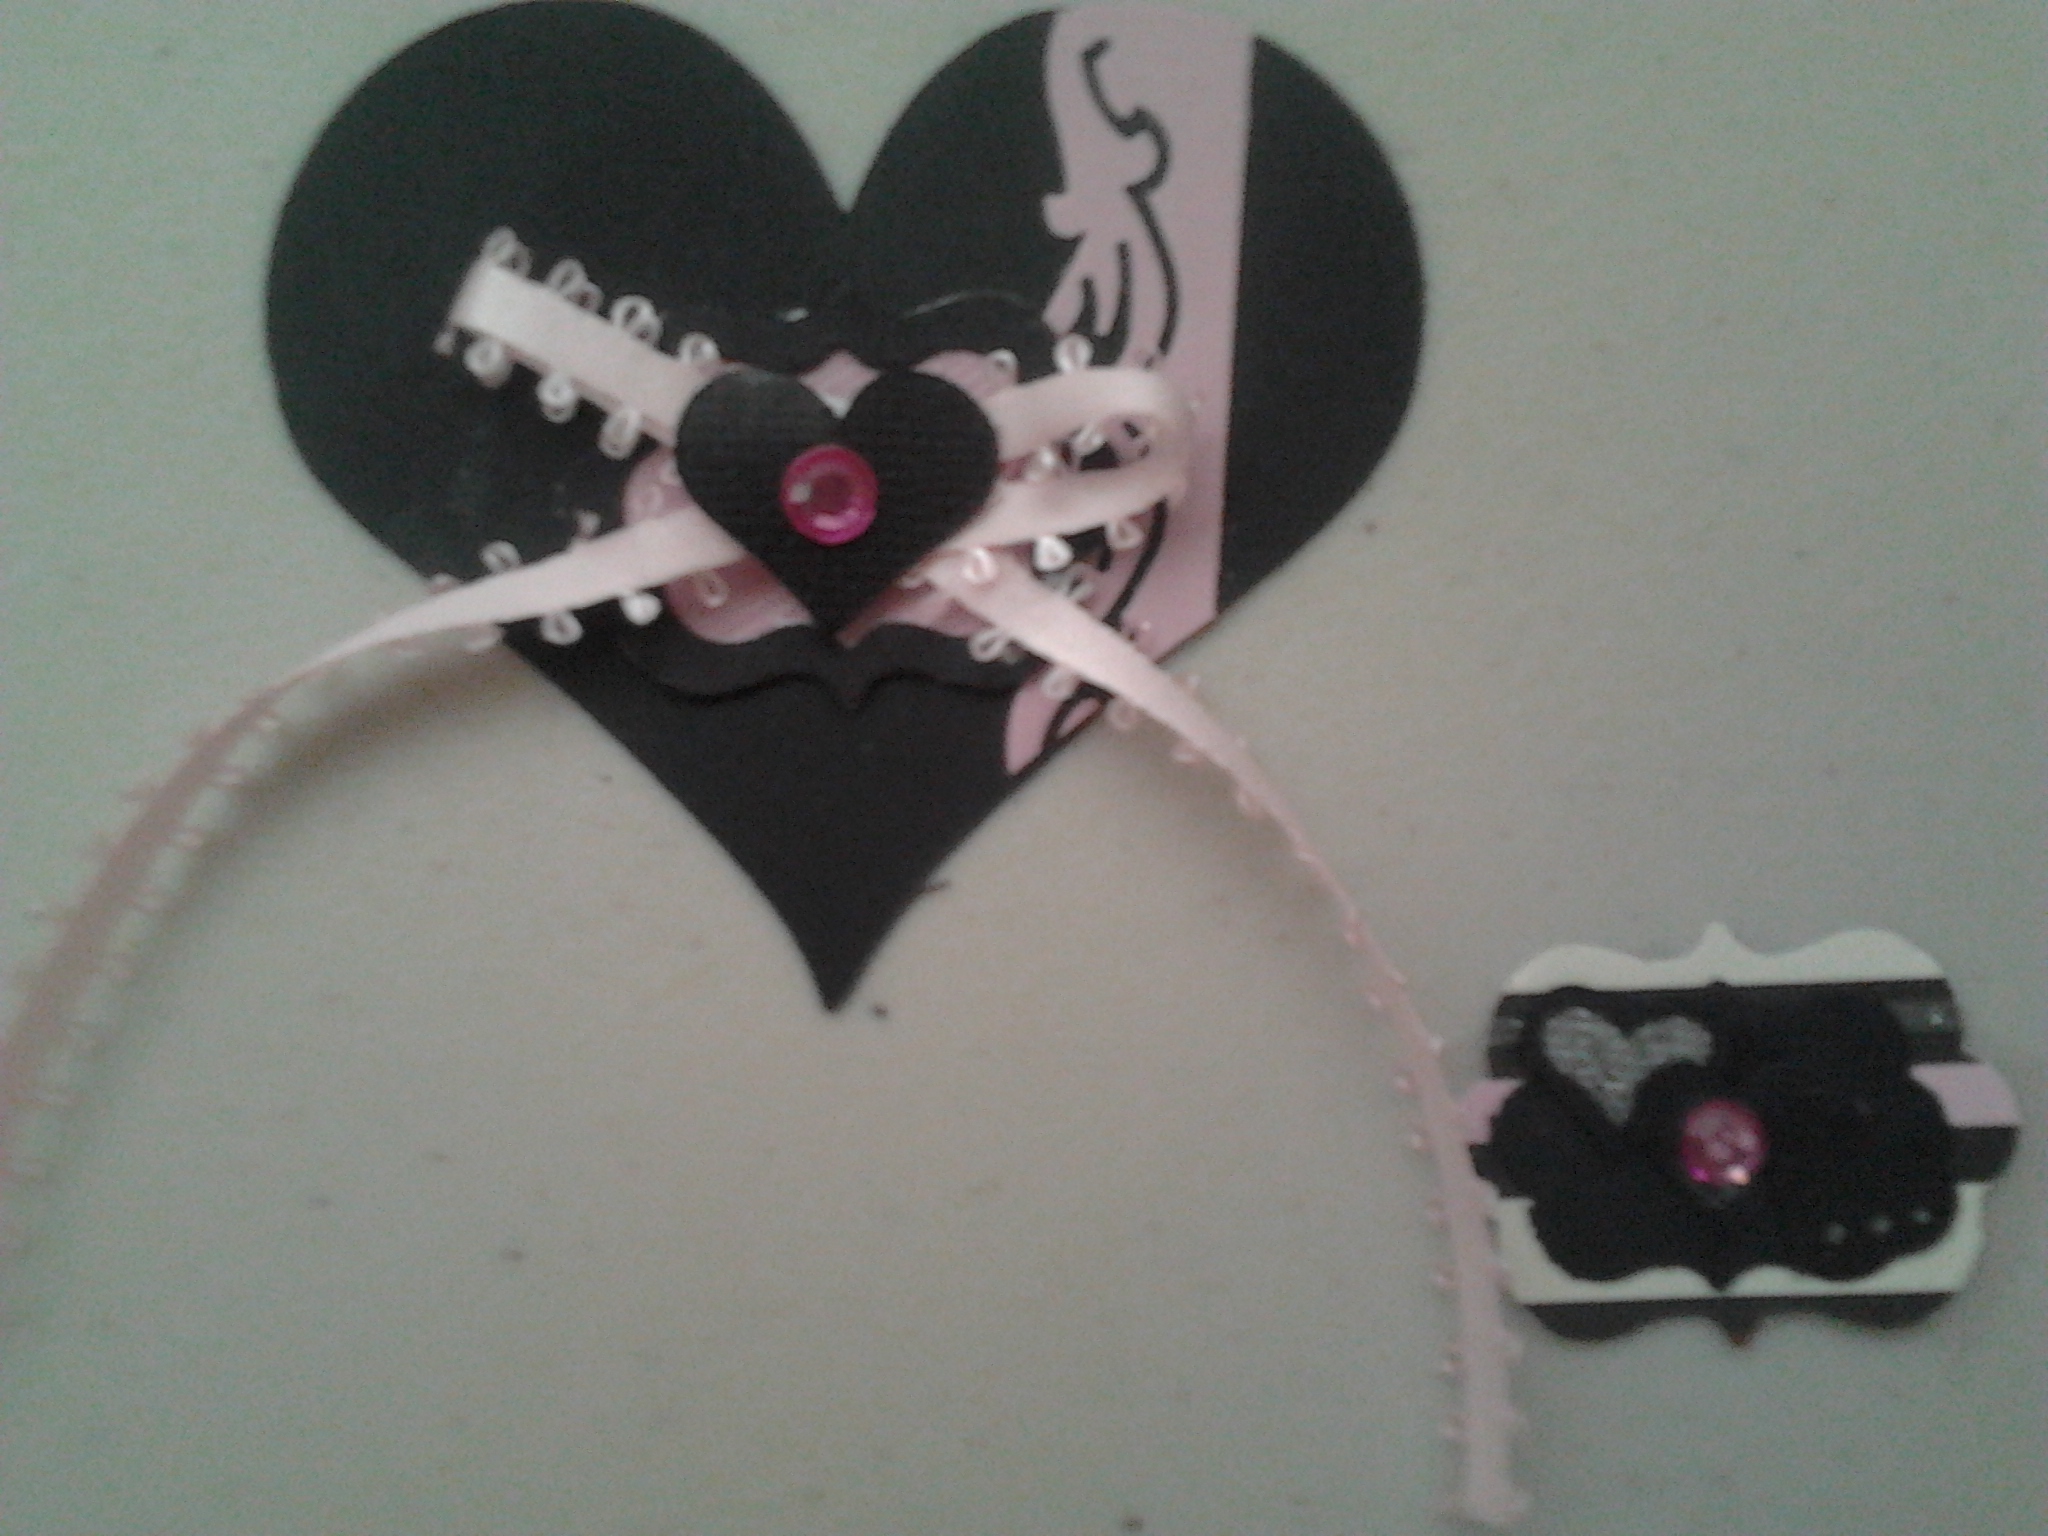
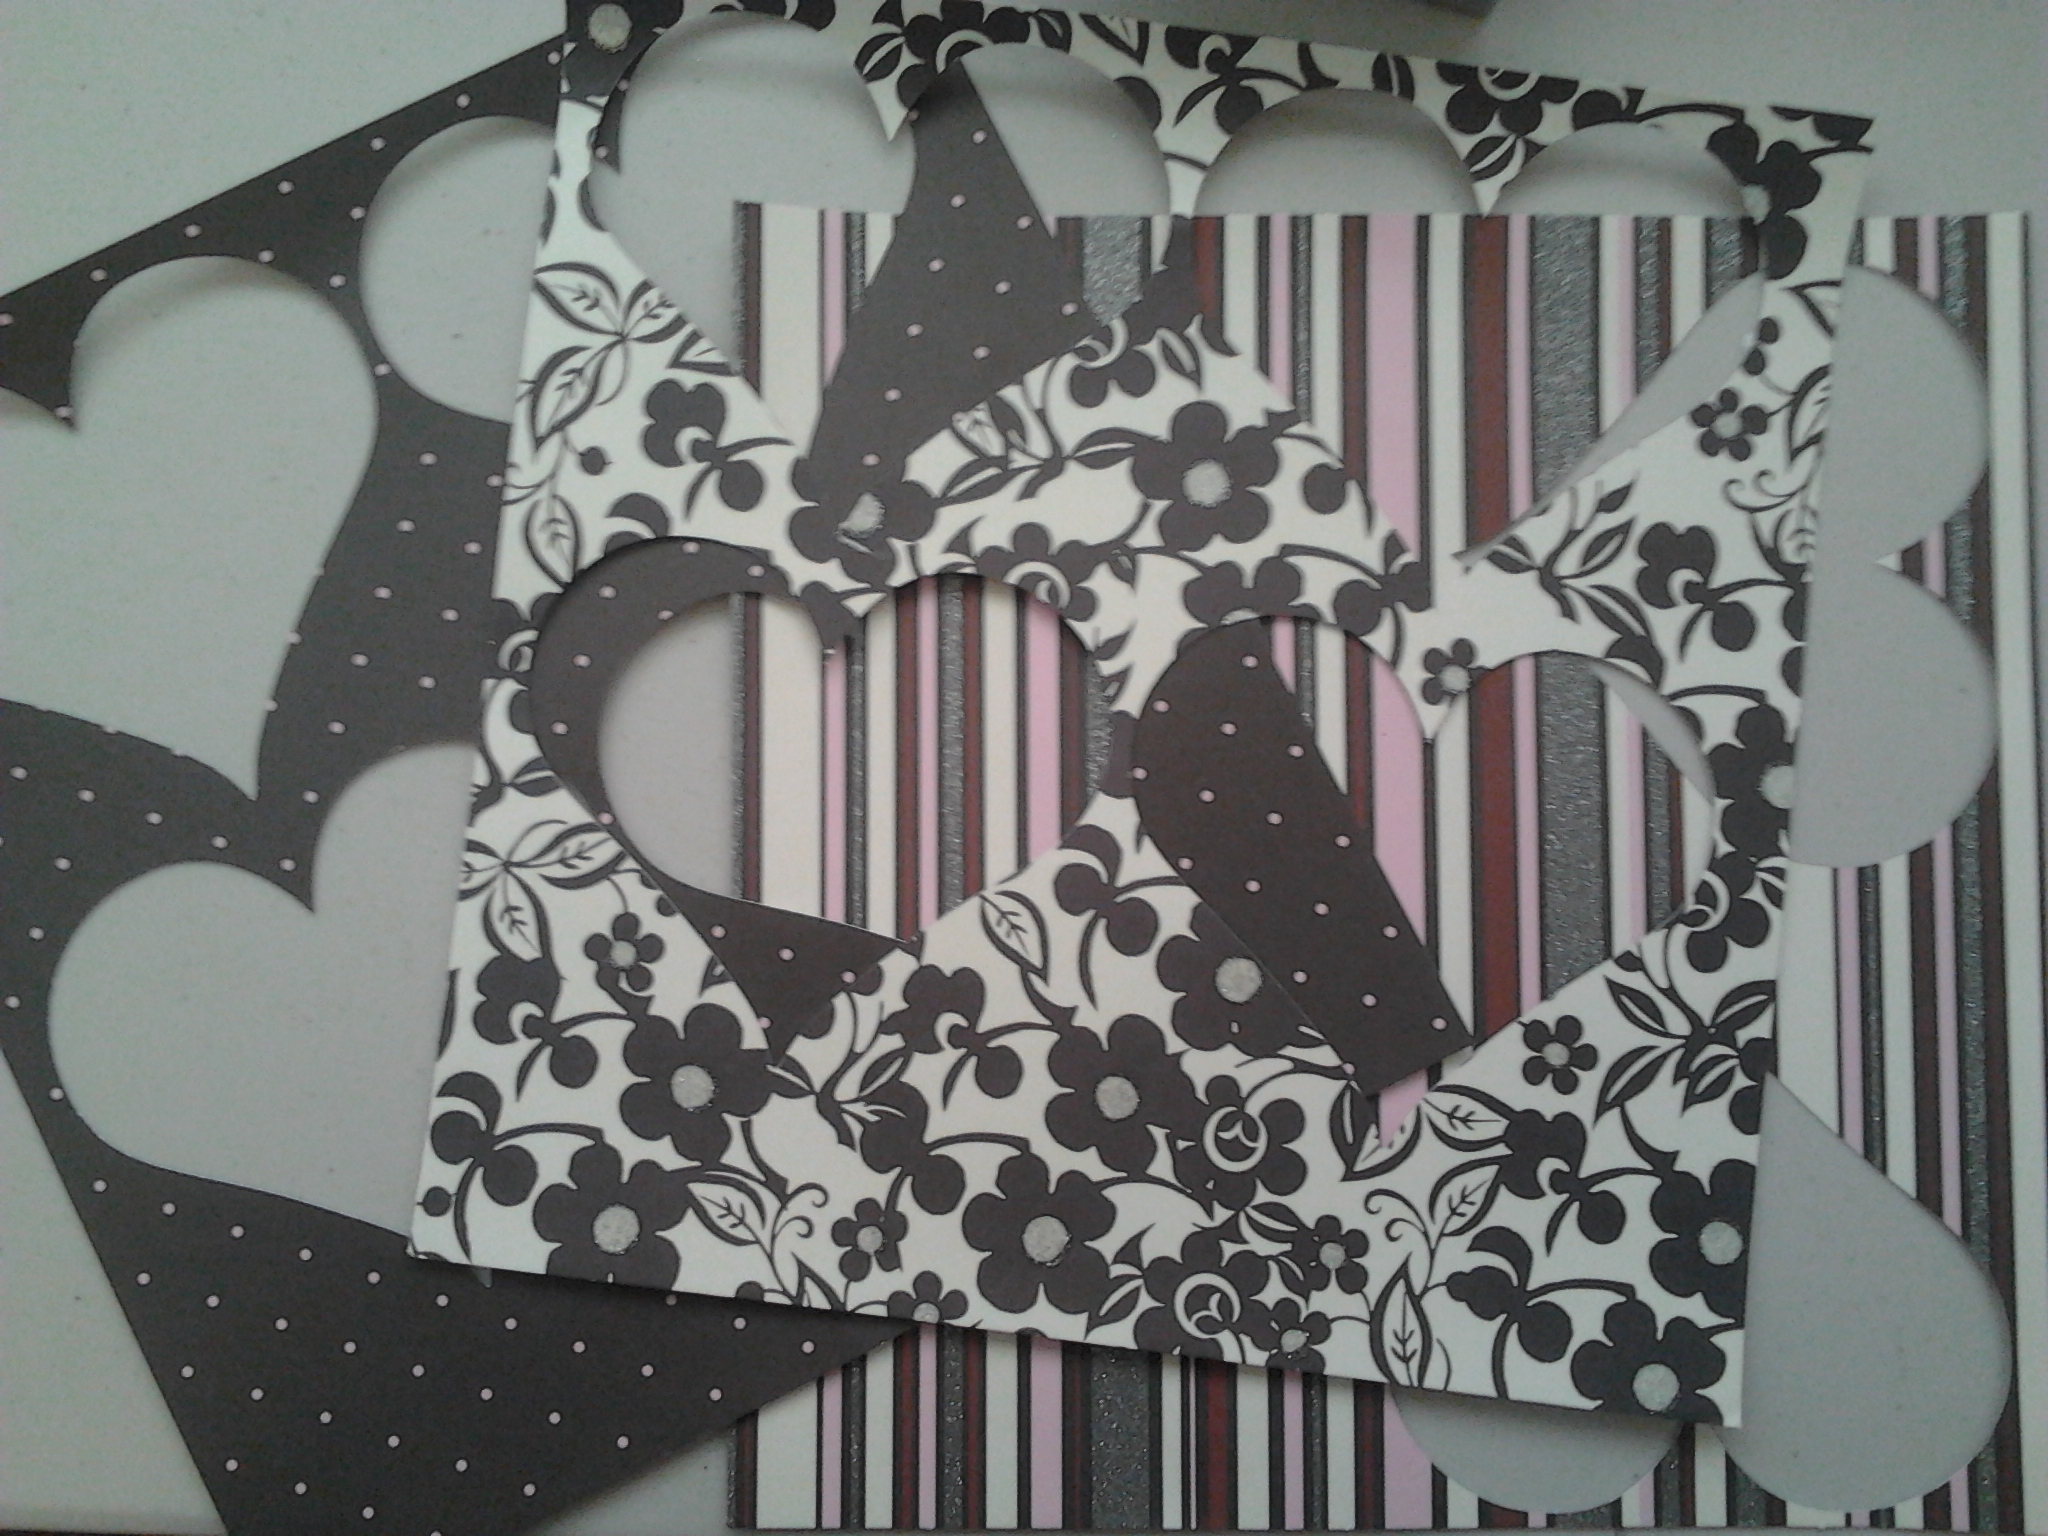
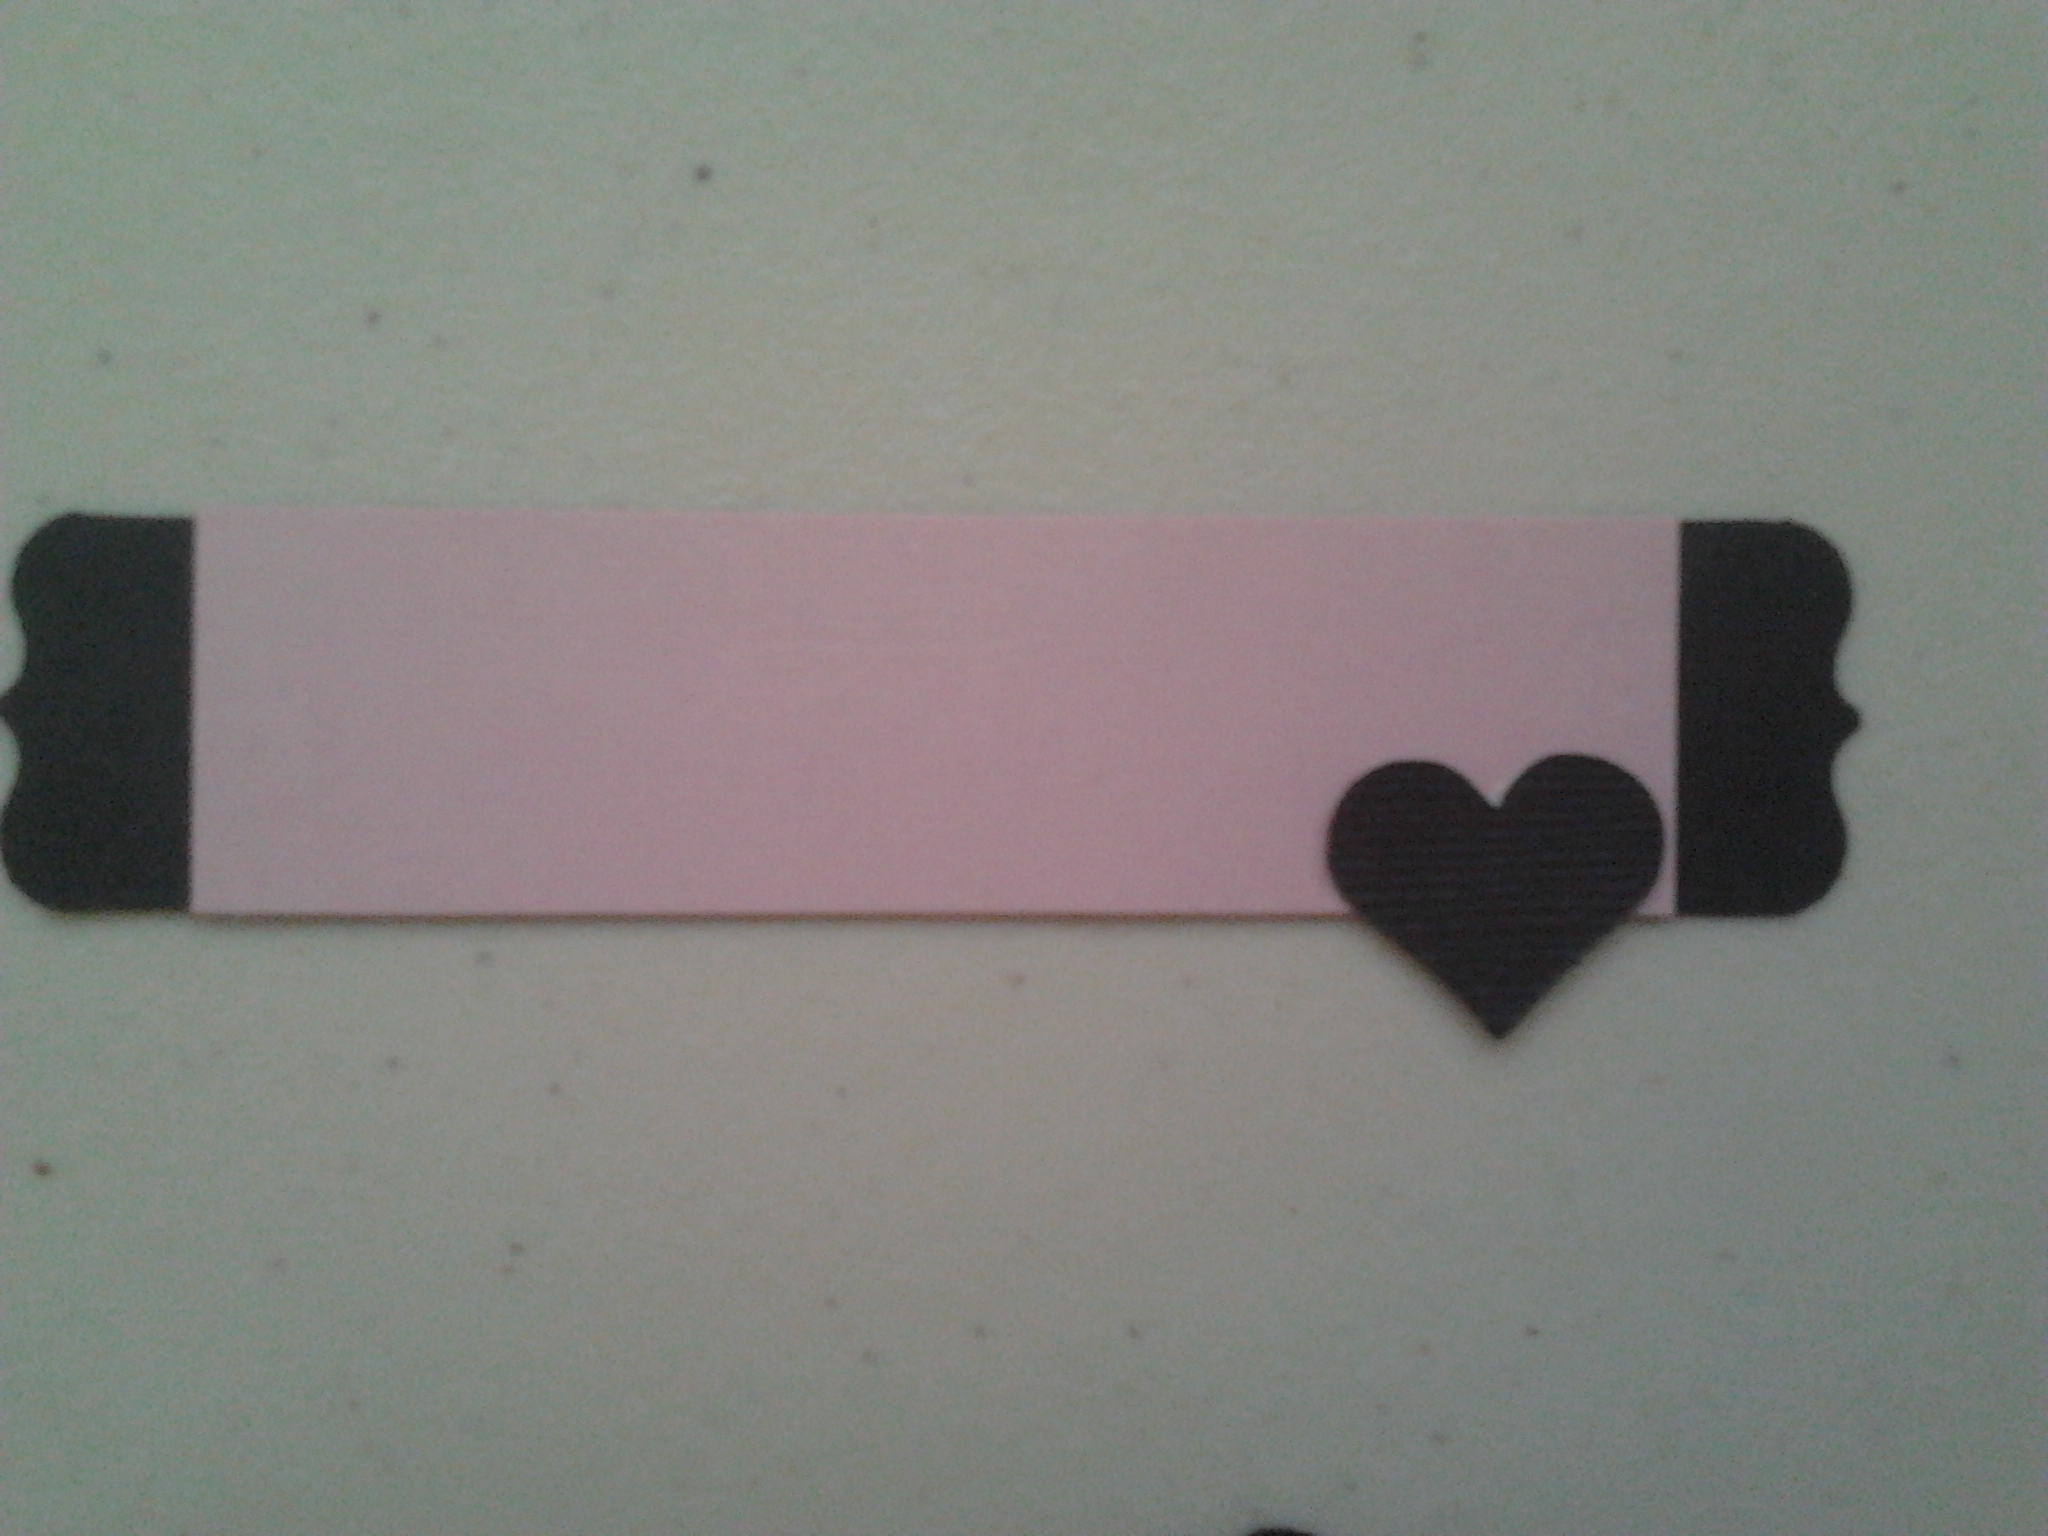
Don't forget to add a couple more dressed up embellishments to your cover. These are the same shapes we've been using, with a little bling and matching ribbon. An added border die cut layered atop the heart ads an extra touch!
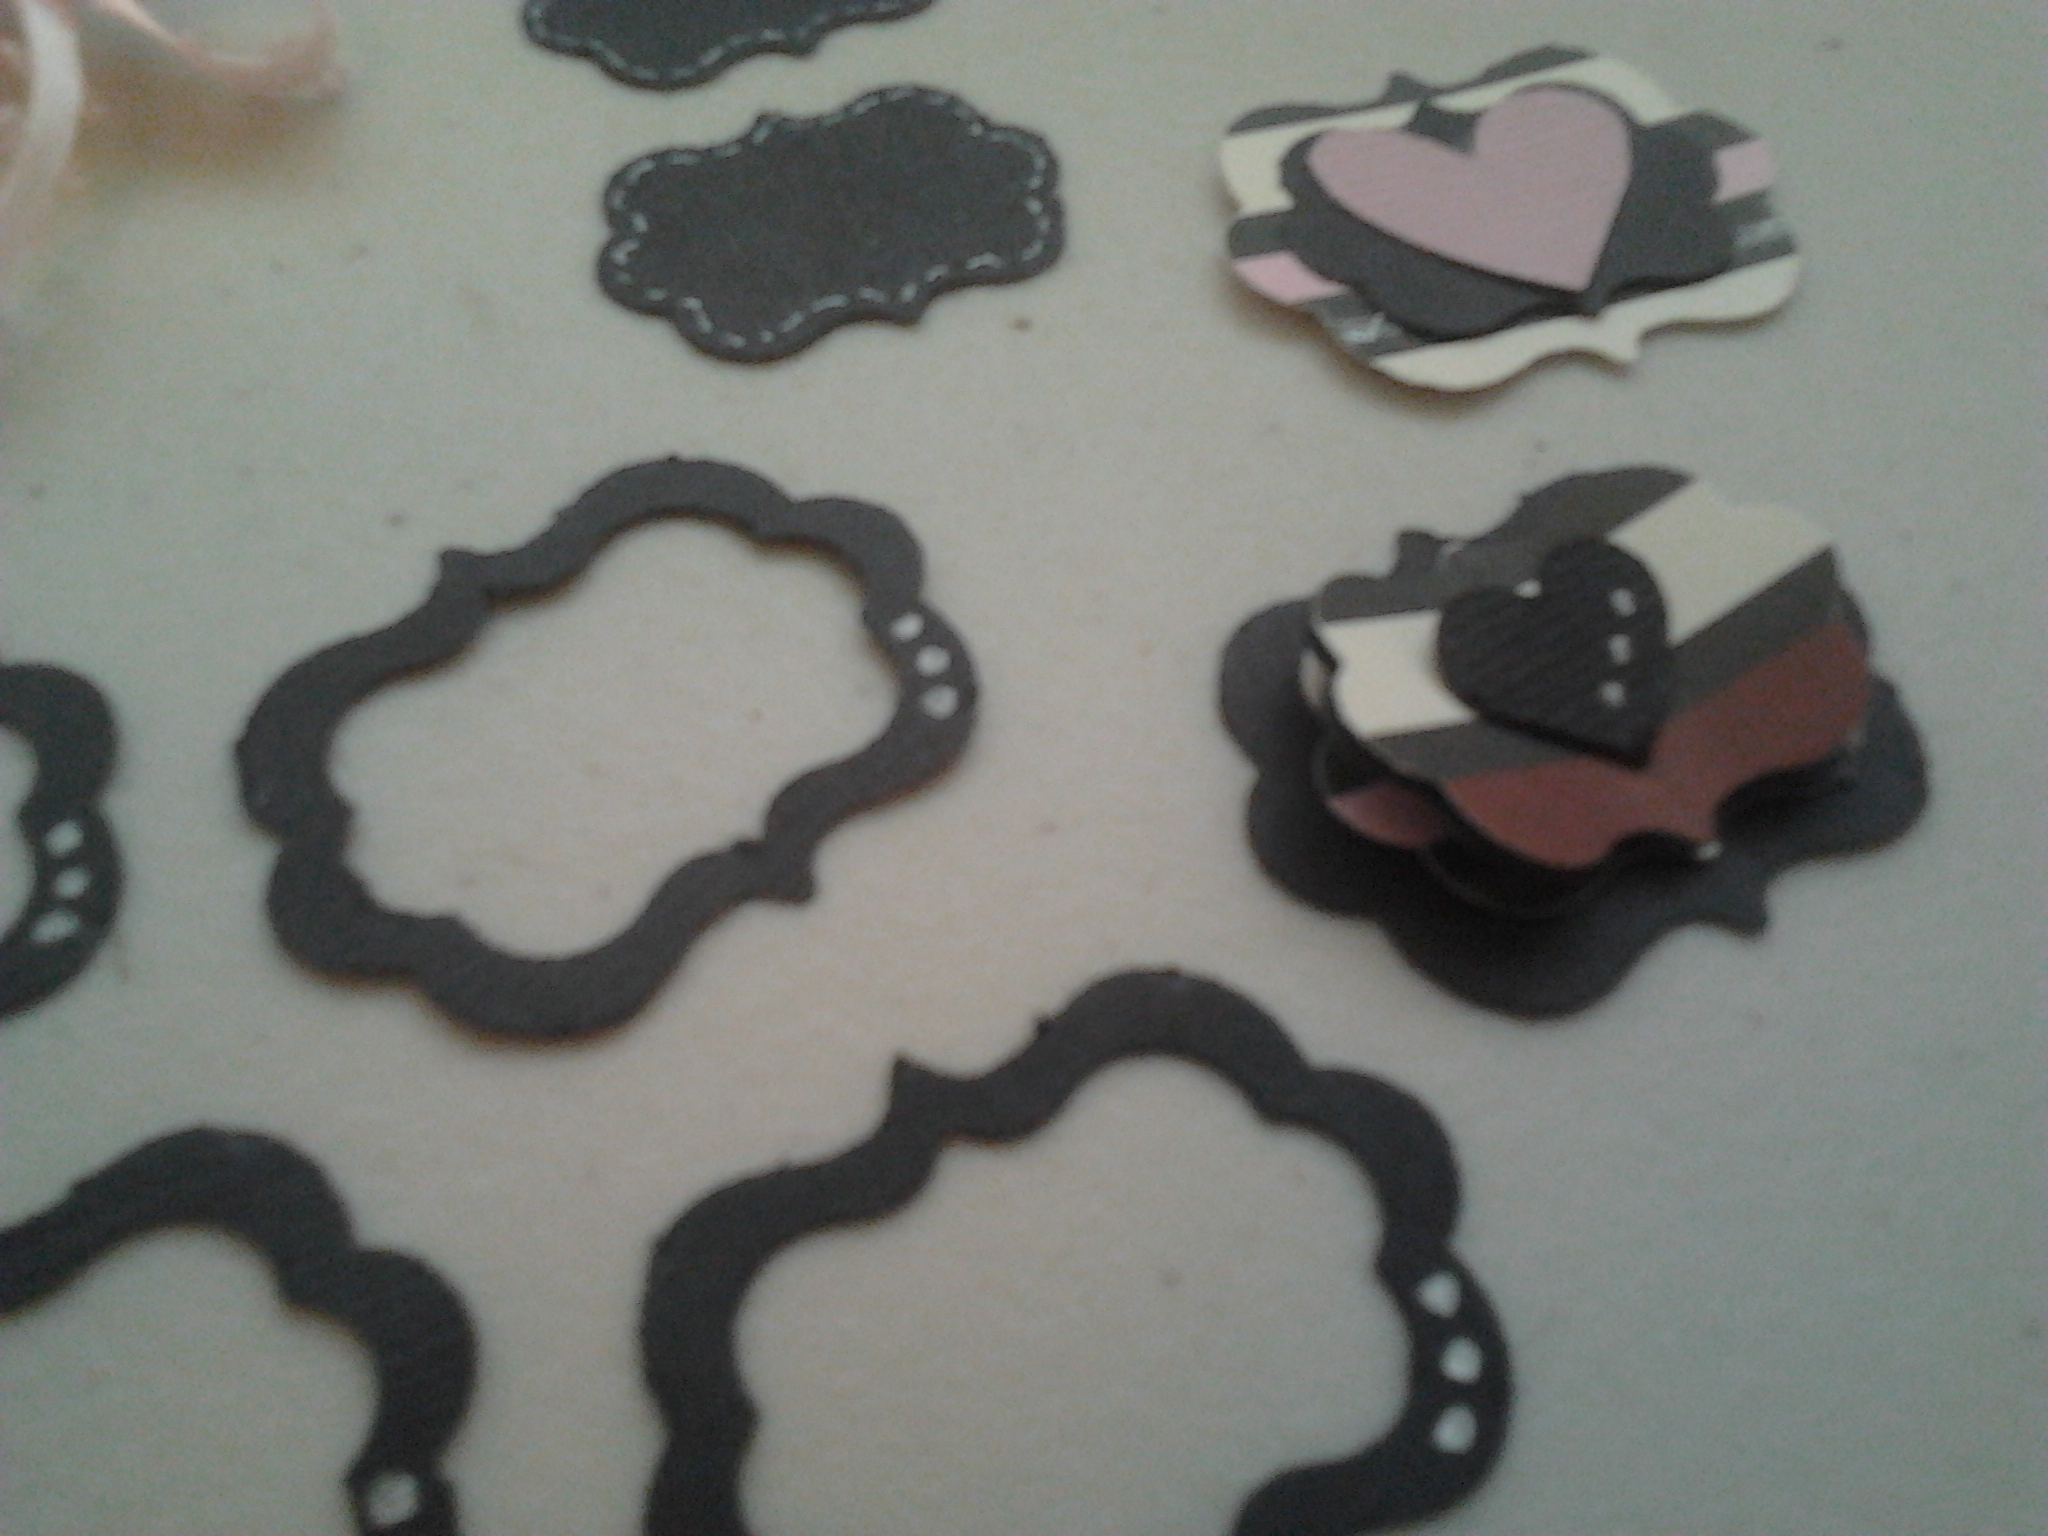
Backed by a solid flourished square, four borders layered atop give depth and dimension to a small journaling tag.
These smaller solid floureshes are layered atop a printed larger one, using a 3D adhesive; another eye grabbing small journaling mat or add a heart, rhinestone, button or other small matching embellishment.
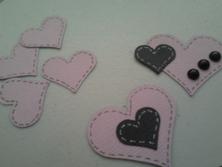
Experiment with layering the hearts in different ways or adorning them with drawn "stitching" and other small do-dads.
Jazz up plain die cuts but drawing designs on them to make them stand out.
Especially on mini scrapbooks, sometimes it's hard to find room to fit all of your embellishments. These little hearts are perfect to layer on top of photos withouth coving up anything important. Try placeing a few vertically as a border along a picture!
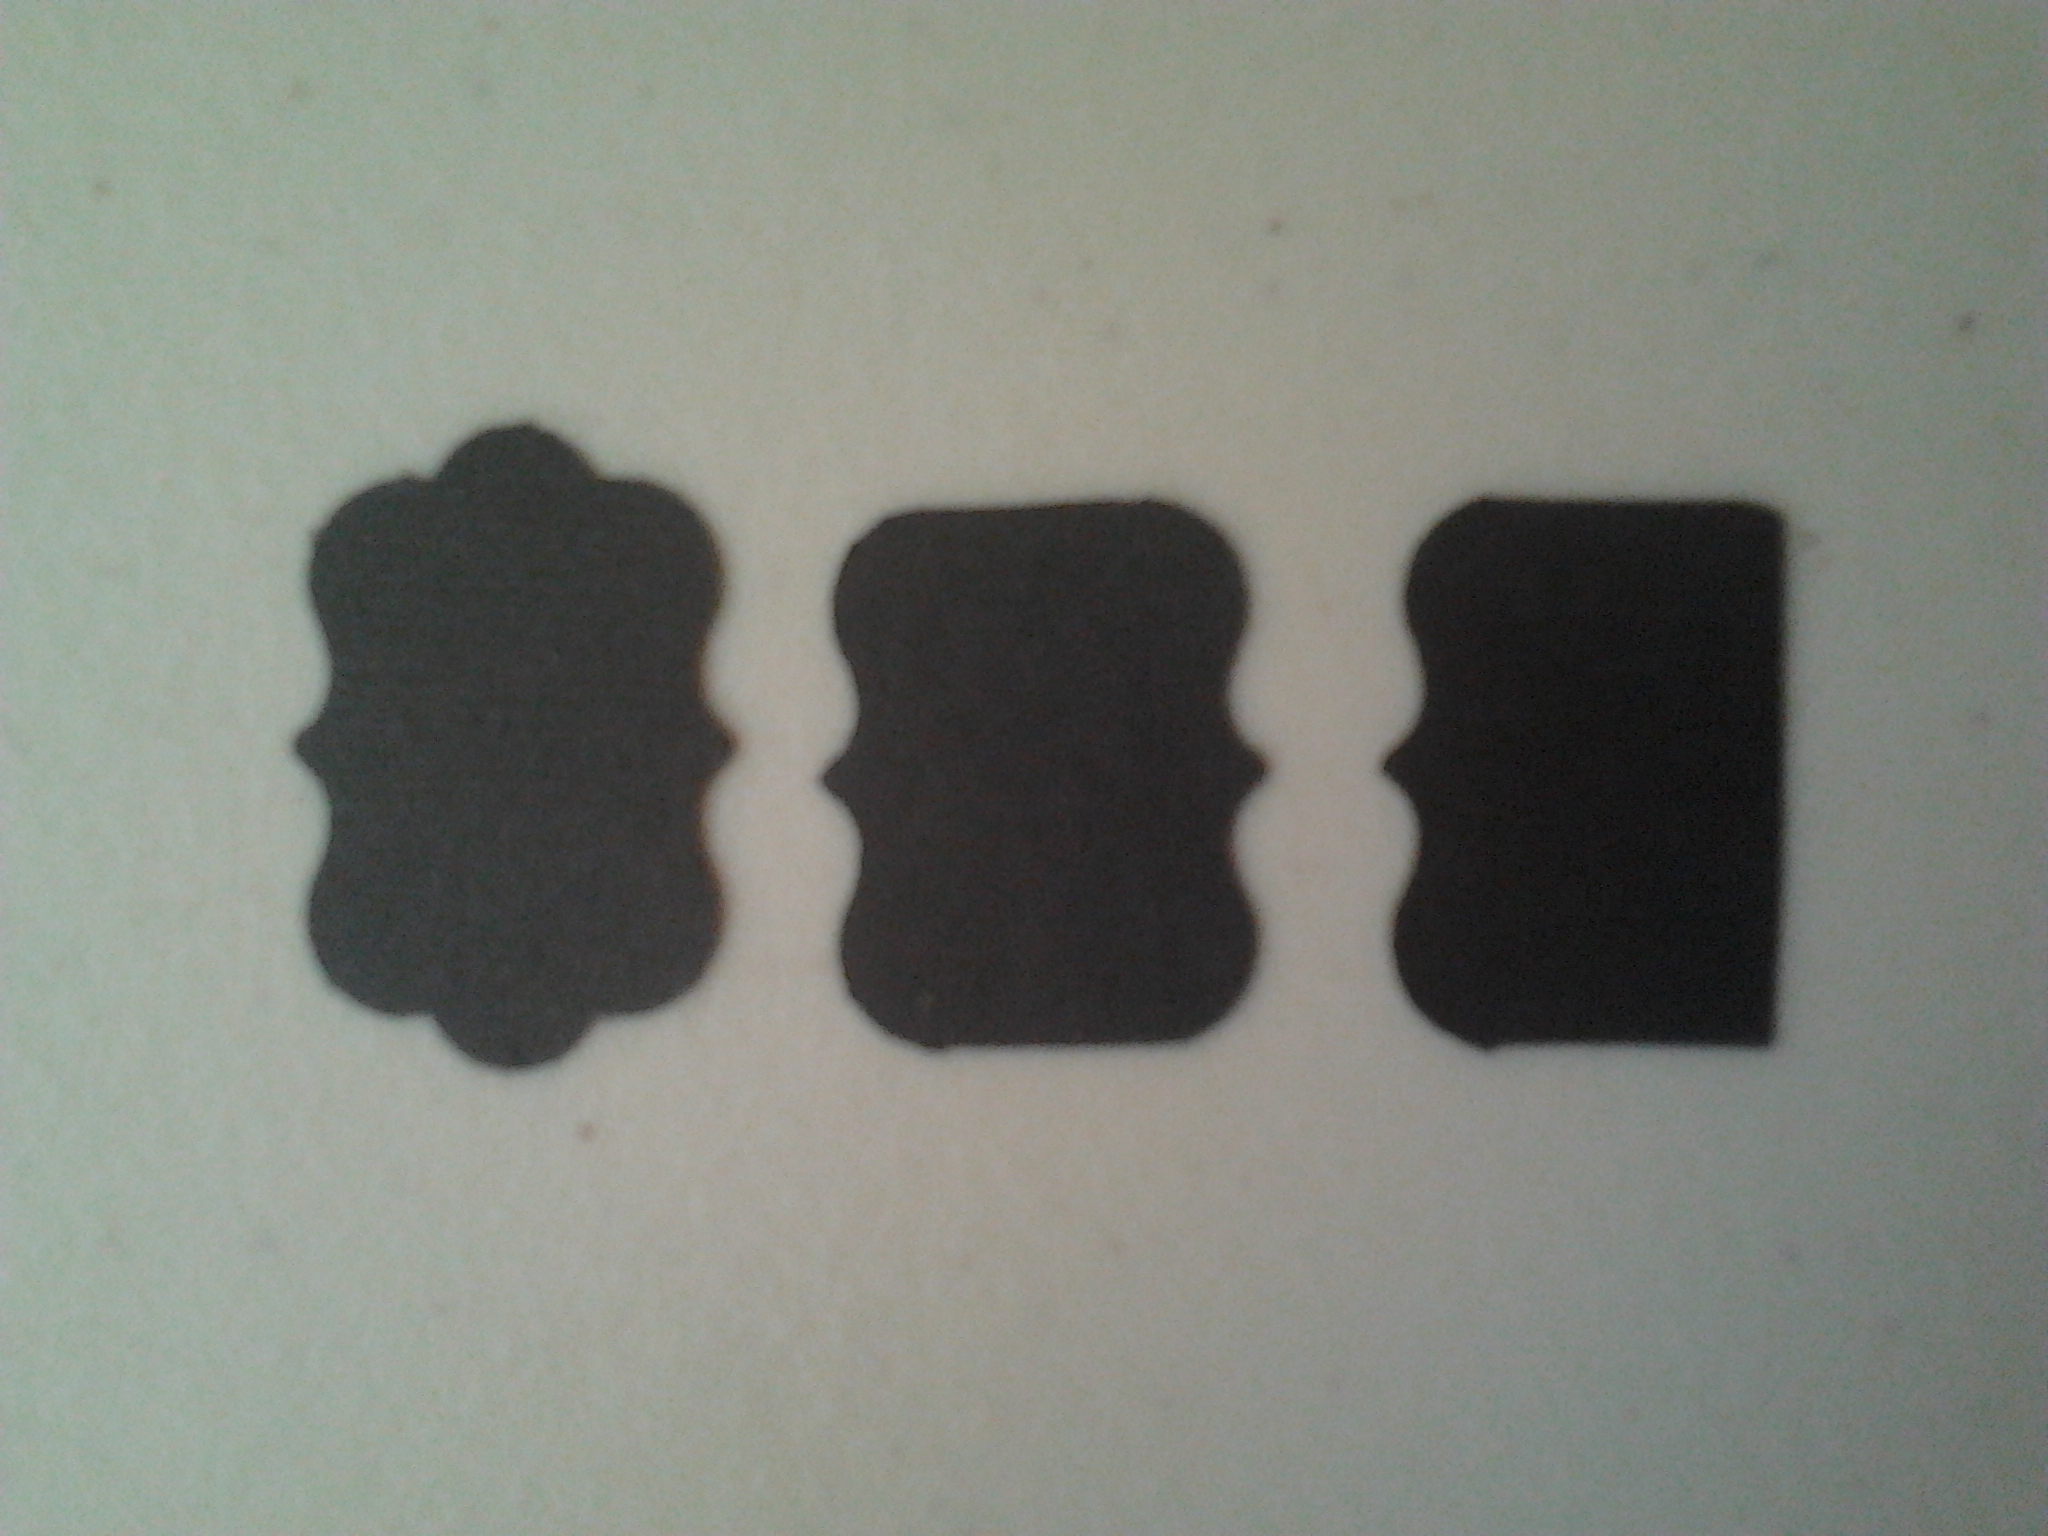
By snipping down some of the outter border layers of the flourished square you can quickly and easily make perfectly matching brackets. Don't be afraid to write directly onto your photos, and surround with these brackets - Sharpie markers and opaque and metallic pens are some of my favorite to use!
Once you have made all of your embellishments (and your mini scrapbook) it's time to grab your pictures and put everything together! Any coffee table would be honored to get to display such a work of art!
No paper scrap is too small for this project! Perhaps one of our more messy and time consuming projects, it may seem intimidating, but once you get going, you won't want to stop! You'll be so glad you took the time for this one!
Disclaimer: Please note that some of the links in this post are affiliate links. There is no additional cost to you, but The Scrap Room will earn a small commission should you choose to purchase through those links. Thank you for helping support our business!