You might
also enjoy...
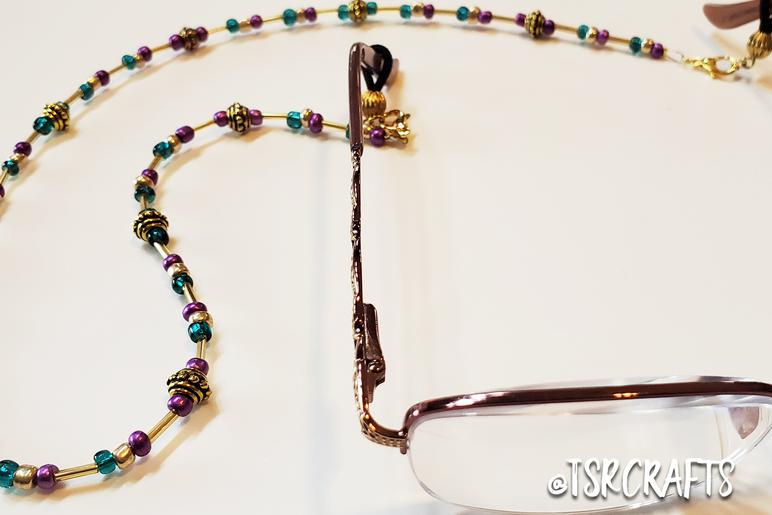
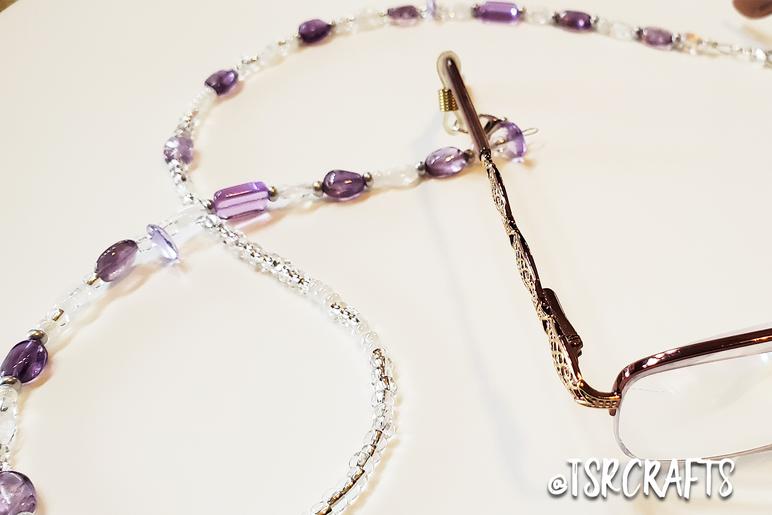
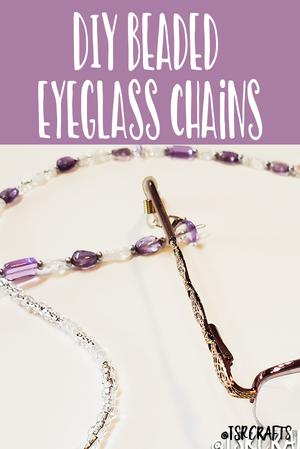
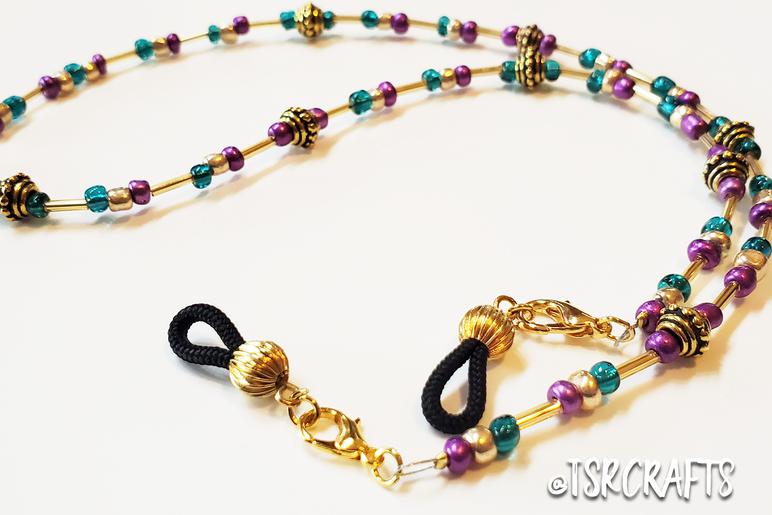
DIY Beaded Eyeglass Chains
Functional, beautiful, versatile, and budget friendly, this project makes a wonderful handmade GIFT!
These beaded chains are so fun to make! You can make them in all sorts of color combinations and swap them out easily with the pattern I'll be showing you in this tutorial. So go crazy -- make strands to match all your favorite outfits and a few ends to match, and you'll have a versatile set of beaded eyeglass chains to give as a gift, or keep for yourself! So grab all your favorite beads that you've been saving for "the right project" and let's get started!
If you enjoyed my tutorial or found value in it, I'd appreciate it if you gave it a little love on social media!
Disclaimer: Please note that some of the links in this post may be affiliate links or ads. There is no additional cost to you, but The Scrap Room will earn a small commission should you choose to purchase through those links. Click here for my full disclaimer. Thank you for your support.


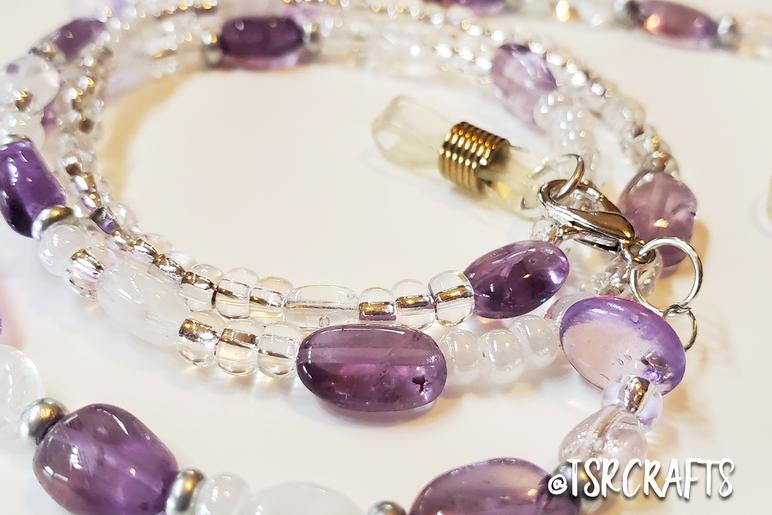
One of the best things about making eyeglass chains *this way* is because the beaded chains can actually be SWAPPED from the ends. So if you want to, you can make just a few different colored sets of ends, then make LOADS of fun beaded chains that can just easily clasp on!
A great way to create a functional item that you can WEAR! (If you're participating in my 30 Day craft challenge, you could use this project for a *few* different items on the list! Take your pick!)
One of the great things about using nylon coated miniature wire cable, is that it is DURABLE, but flexible. You can go ahead and use your glass beads on this project and not worry about them damaging a delicate string or elastic with wear over time. This wire cable was made to hold up with regular use!
There are so many DIFFERENT kinds of beads out there, it's really easy to customize these eyeglass chains, and make them completely personalized! They make great gifts, so get creating! You could share these handmade gifts with just about anyone on your list (assuming they wear glasses!)
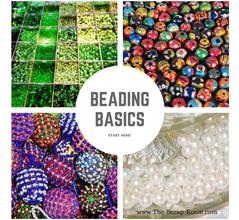
If you'd like some more info about all the different types of beads out there, and all the basics for starting out in beading, click here for pro tips from jewelry making friend Leslie!
Ready to get started on this project? We'd all love to see the beads and colors you chose, and can't wait to see how it turns out, so be sure to post pictures in our Facebook community here, or tag me on Instagram @TSRCrafts.
I'll show you how to make it all the way through, then you can just unclasp the ends to swap out a different strand of beads!
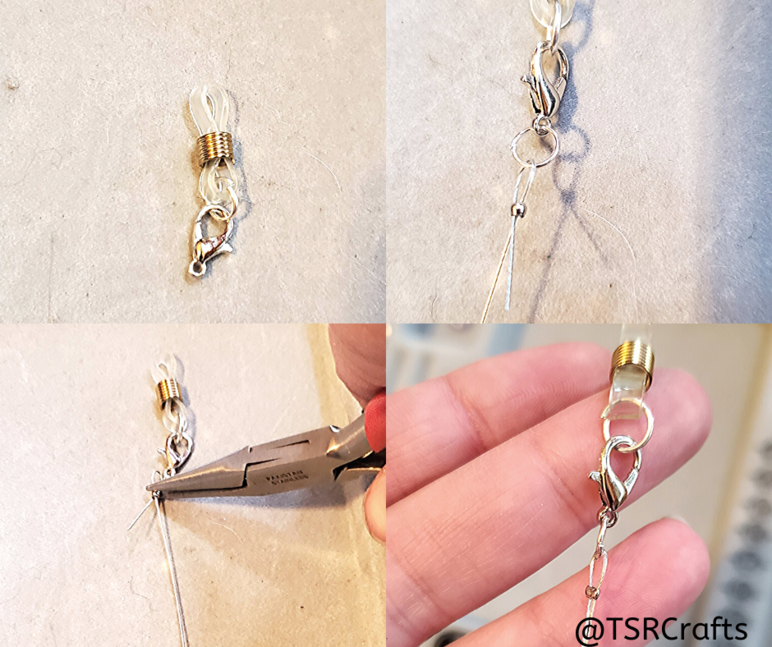
Begin by adding a matching jump ring to an end piece. You'll need some pliers to squeeze the jump ring tight.
*THIS is the piece that you'll use an an interchangeable end*
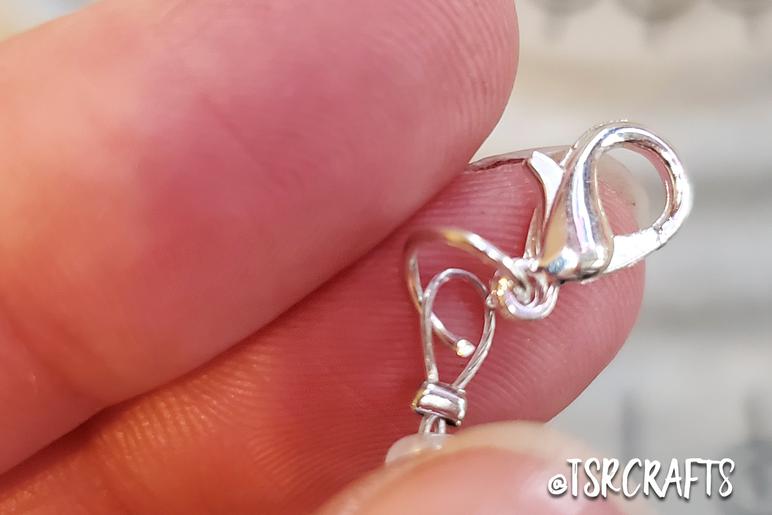
Onto your jump ring, add a matching Lobster Jaw clip, and then add another jump ring to the bottom of that.
You're now ready to start with your wire. You'll want a durable, but flexable thin wire for this project. I found the Nylon coated Miniature Wire Cable (7 Strand, 0.018 DIA) was the perfect wire for this! Most glasses chains hang about 13 inches, so you'll need to DOUBLE that (26") then add a few inches to each end so you have plenty of length to work with.
Add a small crimp bead to your wire, run the wire through the second jump ring (on the bottom of the Lobster Claw), then fold the wire over, and run the end back through the crimping bead, creating a loop that goes through the jump ring. Use your pliers on the crimping bead to press it tight and hold everything in place. Leave the short end a half inch or so long, then start adding your beads. Slip the short end of the wire through the first few beads to conceal it completely.
Supplies for this Project:
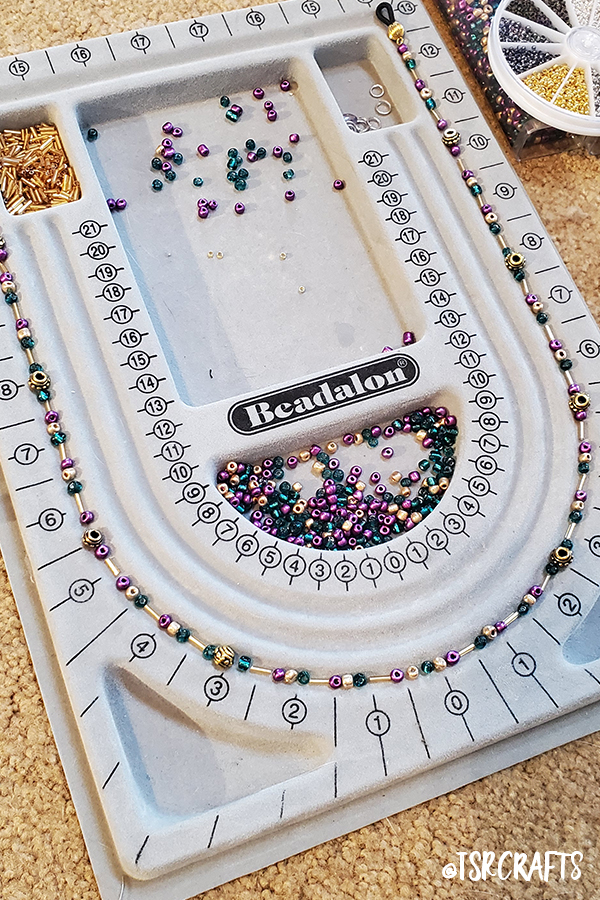
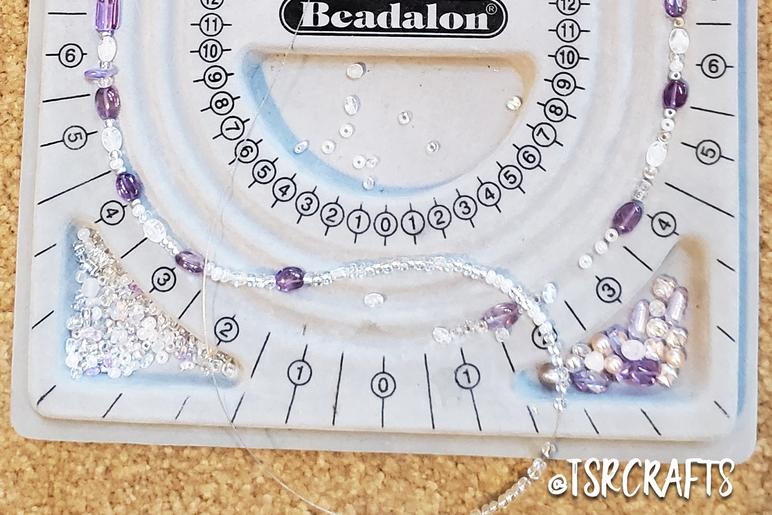
-34" Bead Board (Optional, but these are dirt cheap and will save you lots of headaches while picking out, arranging and stringing your beads.)
-Eye Glasses Chain Ends:
Clear with Silver (I actually got these in an awesome variety pack that has clear and black ends, both with gold or silver hardware, so it's a great (inexpensive) bundle to pick up and keep on hand so you always have "the right" color.
-Nylon coated Miniature Wire Cable - 7 Strand, 0.018 DIA (To make a strand that hangs about 13 inches, cut your wire to 32 inches. That way you can create a 26" total strand, and have a few inches to work with on each end before trimming and tucking in the ends)
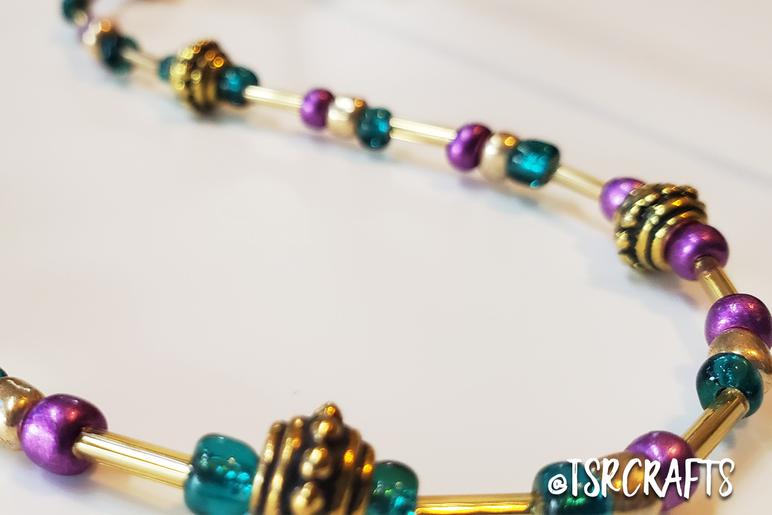
-Beads of your choice
-Wire cutters and small needle nosed pliers (this is a great basic set that I love)
If you plan to make a few, in different colors, the below hardware set has a great variety and includes clasps and matching jump rings in a variety of colors. It's a handy set to have around!
Add the rest of your beads to your chain. If you're using a Beading Board, it's really easy to create a design that is the right length, as well as symmetrical.
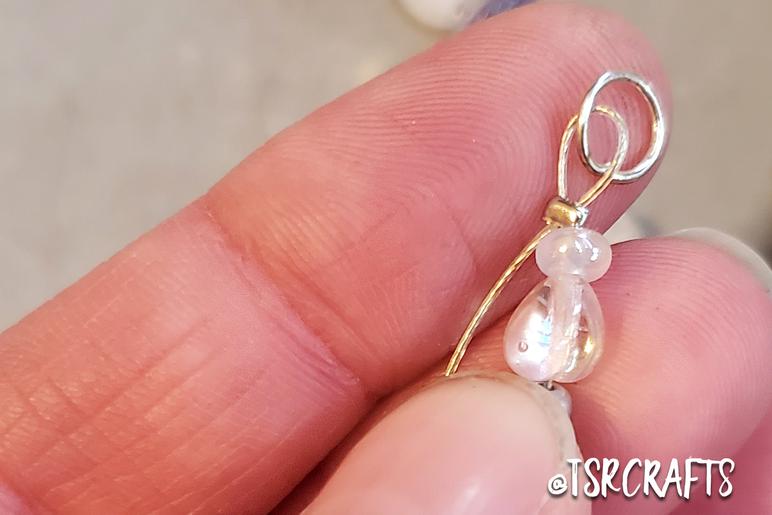
When you get the end of your strand of beads, just reverse the pattern you did at the start to add the other end.
First, add a crimping bead onto the wire. Feed the wire through a jump ring, and loop it back through the crimping bead. Cut the short end of the wire so it's only about a 1/4"-1/2" long, and feed the end through the beads to conceal it. Crimp the crimping bead when you have everything pulled tight enough that there is minimal wire showing. (You don't want the beads to fit SNUG, you want a little wiggle room. But not so much that you have a 1/4" of empty wire showing at the end of your strand.
Add a Lobster Claw clasp to the jump wire that you just added to your bead strand. (Stop here if you're just making the beaded strands)
Lastly, add a jump ring to your other eyeglass chain end, and clasp the Lobster Claw clasp to it!
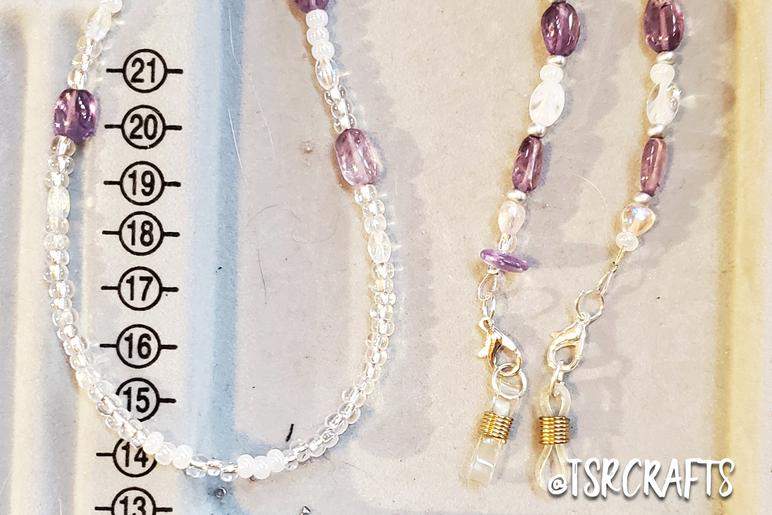
I made two, both with different ends, and when I get time plan to make some more beaded chains to swap out. Here are pictures of the 2nd one that I made this morning. (BTW I made these BOTH in under an hour. Included selecting beads and deciding on a pattern. This project is really EASY, as well as budget friendly.)