Disclaimer: Please note that some of the links in this may be affiliate links. There is no additional cost to you, but The Scrap Room may earn a small commission should you choose to purchase through those links. Click here for my full disclaimer. Thank you for your support.

The Digital Crafter's
Online Course
Learn how to work with and create digital files for crafts -- plus how to use them to make handmade things!
How to make a painted sign using the negative of a SVG design

Ready to learn how to make a painted wooden sign using the negative from a SVG design?
If you just cut out your design and think you can stick the negative right to your wood and paint it as is, you'll be sadly disappointed, not to mention waste a bunch of time and supplies! Your paint will bleed all over the place and your sign will look absolutely terrible (no offense). But don't worry! There are a couple of really simple tricks to ensure that your design edges come out crisp and clean every single time like the sign above.
I've actually got TWO tutorials available for this project. They both follow the same basic steps.
The first one is this fast and easy Welcome sign project.
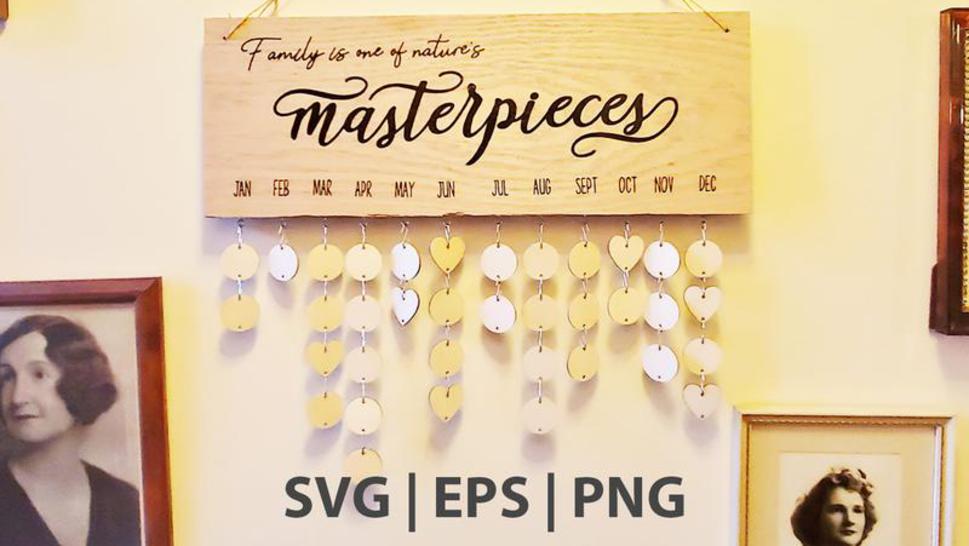
The other painted sign tutorial I've done is this really fun Perpetual Birthdays and Anniversaries Calendar wall art. It's actually one of my favorite craft projects to date, and I've made several as gifts to family and friends. It's a great way to keep track of important dates that occur annually, including birthdays, deaths, anniversaries, special holidays and more.