You might
also enjoy...
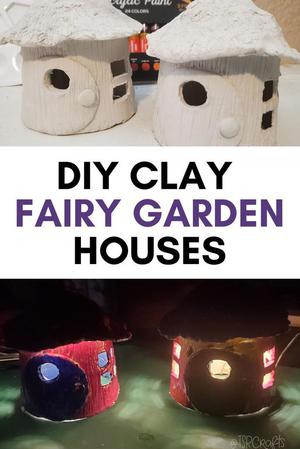
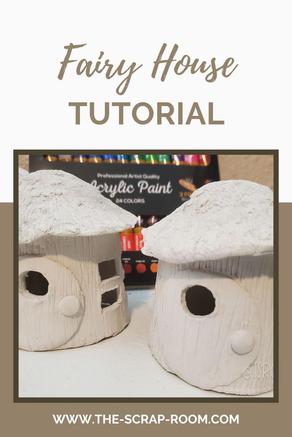
DIY Clay Fairy Houses
These little houses are so easy to make (but do take a little bit of (drying) time...
You'll be blown away by how easy these little clay houses are to make! Even if you're a total newbie and have never worked with clay, keep reading, because this project is so easy a 5 year old could do it!
These little houses are a great addition to any fairy garden and fun to give as gifts. Since they're so easy to make, but require a lot of drying time, I recommend making a couple at a time.
If you enjoyed my tutorial or found value in it, I'd appreciate it if you gave it a little love on social media!
Disclaimer: Please note that some of the links in this post may be affiliate links or ads. There is no additional cost to you, but The Scrap Room will earn a small commission should you choose to purchase through those links. Click here for my full disclaimer. Thank you for your support.

For this project, you will need:
-A large wax coated paper cup (I used a Large cup from a fast food restaurant)
-Silicone craft mat (optional but very handy to work the clay on this and if you want to put the resin coating on, you'll 100% need it)
-Some paper towels
-Non-toxic epoxy resin (optional -- best for protecting against the weather)
-Solar Lights & hot glue gun (optional)
You'll also need:
-Gloves
-Safety Glasses
-Mask
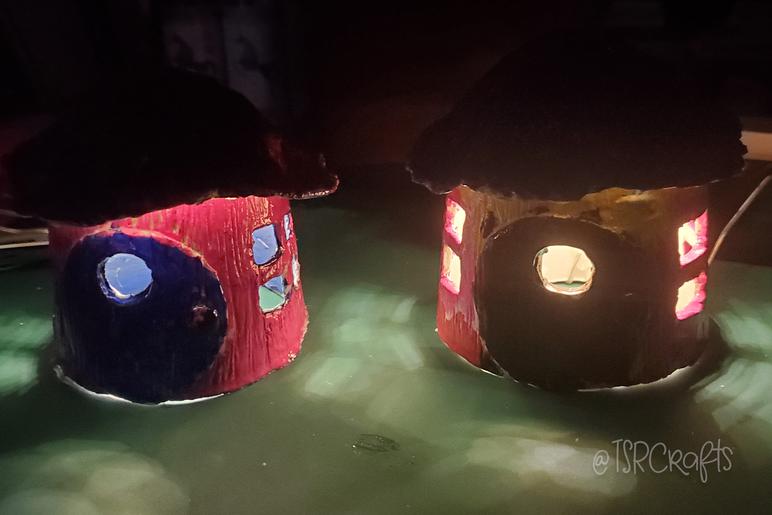
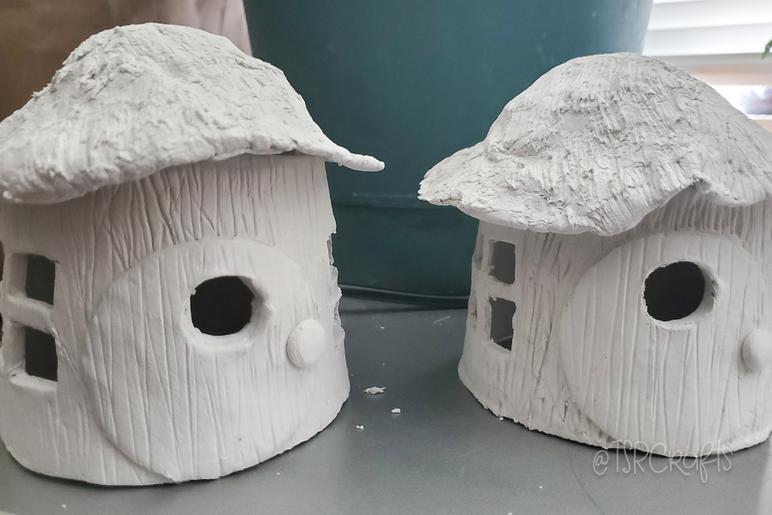
I made these two fairy garden houses for my husbands cousins little girls and they had so much fun painting them!
I coated these (above) in epoxy resin and added some solar lighting, which took several extra days of drying time, but if you plan to put your fairy garden houses outside, you might want to take the extra steps to protect yours too.
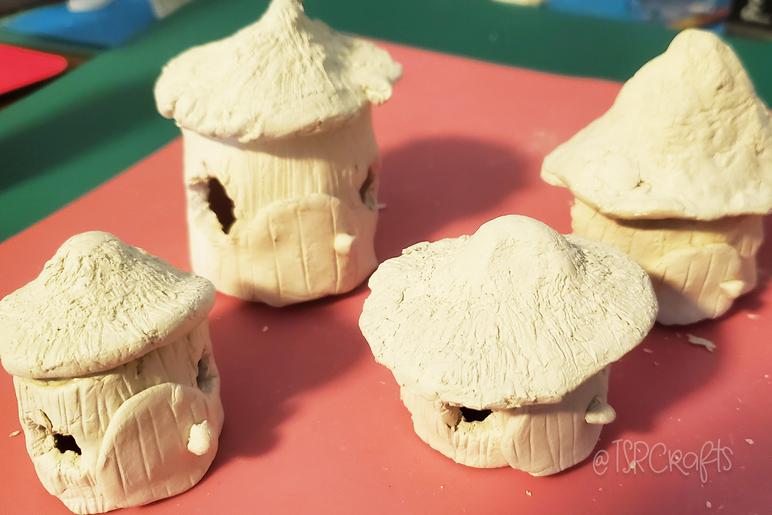
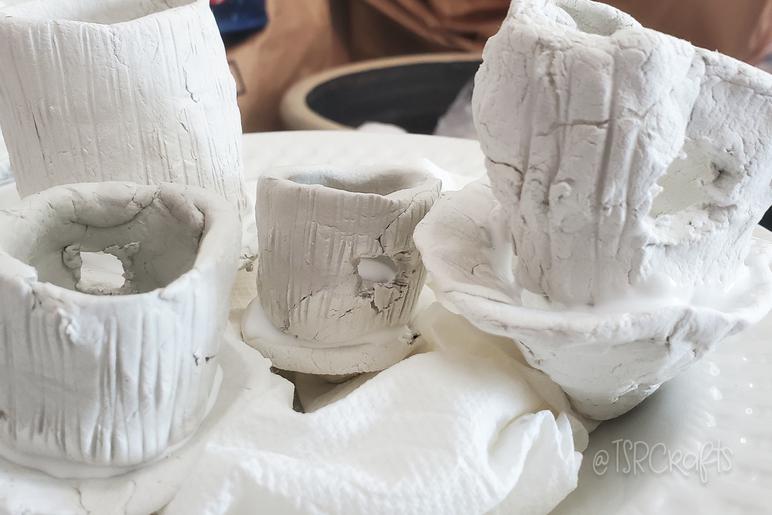
After the girls were done painting the houses I made, they asked how I made them, so we sat down for an afternoon and I showed them. Theirs turned out great (they're 5 and 7 years old) and I know yours will too. They look a lot harder to make than they actually are, trust me. Below is a picture of the little houses that A & O made (with *very* little assistance!) They range in size from about 2-5 inches tall.
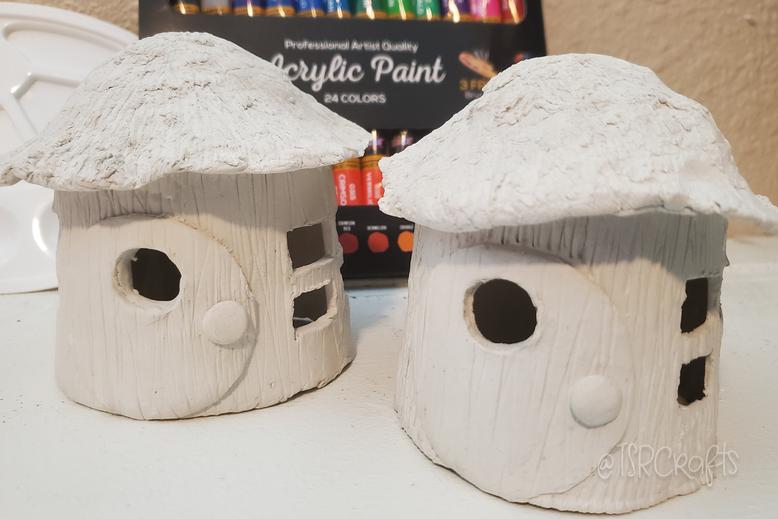
The houses that I made for the girls to paint were a bit bigger. I used a large McDonald's paper cup to mold them, and they're about 6 inches or so wide and tall.
I wish I'd taken more "in progress" pictures for this project, but honestly it was just so darn EASY that I made them way quicker than I intended! I expected to try several attempts at these (I'm quite the beginner when it comes to working with clay) but they turned out great on the first go, so I just kept on going!
You'll need to work with AIR HARDENING CLAY for this project. This is the one I used. We're not going to bake these in any oven or kiln -- though you CAN put them out in the sun to dry a little faster. ;)
This clay is great to work with. It's easy to shape and sculpt. If it starts to get a little dry while you're working it, a *tiny* splash of water and some kneading should soften it back up! If you get it too wet, no worries, just knead it out a bit and it will be just fine. It's very forgiving.
Start out by grabbing a handful of clay, squeezing it in your hands back and forth to mix it together well, and then roll it into a large ball with your hands. We're going to begin with the walls of the house, so the amount of clay you start with will determine the size your house will be.
Once you've rolled it into a ball, roll it into a long slug or hotdog shape.
Lay the log of clay down on your silicone mat or workspace and work the clay out into a large rectangle with your fingers or a dedicated rolling pin. It doesn't have to be perfect, but try to get it *fairly* close. The short sides of the rectangle will determine the height of the walls and the long sides will roll up to be the circumference of the house.
When you roll (or smoosh with your hands) the clay out, you'll want it to be about 1/4 inch thick.
Next we're on to the roof.
The roof was also super easy and took only a couple minutes. Grab another hunk of clay, not as big as the piece you used for the walls, maybe about 2/3 the size, work it a bit to soften it up, and roll it into a ball in your hands.
Flatten the ball out into a pancake shape, a little thicker than 1/4 inch or so. Use a clay knife to cut 1/4 of the circle out, like a large piece of pie, then close the gap you just made by pulling the cut exposed edges together and blending them together with your fingers, leaving you with a cone shaped roof. So simple!
This clay tools set has a great small wire brush you can use to give the roof a thatched look like we made for our fairy houses.
I suggest you do the base/walls first and let them dry completely so that when you make the roof, you can set it on top of the walls to make sure it fits okay and sits well. (Yes, this adds *another* couple days to this project. This is one of those 5 minutes here, 5 minutes there projects, but your patience will be well rewarded.)
Once you've checked that your roof will fit with the rest of the house, wad up a little bit of paper towel and use it underneath the roof to prop it up while it dries - another day or so.
Place your paper cup UPSIDE DOWN on your workspace then CAREFULLY pick up your piece of clay, and wrap it around the top (now the base) of the cup, overlapping the ends, and gently mushing the ends together to create a smooth transition.
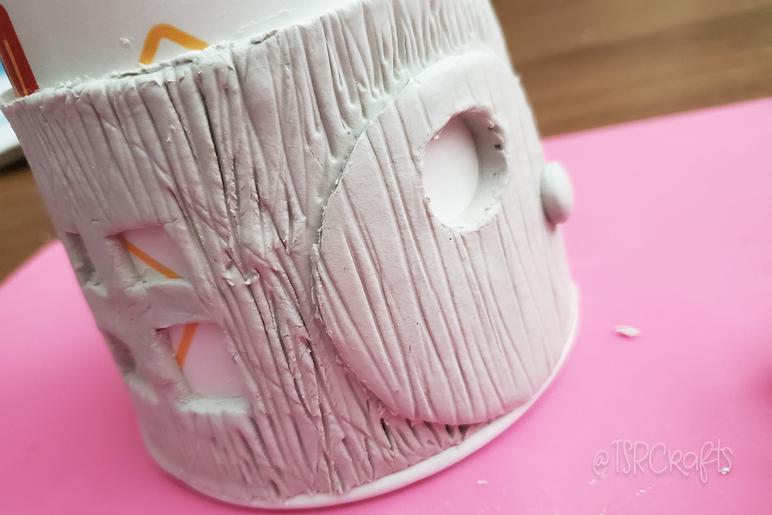
Once the "walls" of the house are on the cup to help hold the shape while it dries, you can add any details you like. Cut out some windows using one of the knifes from the clay tool set, and add any texture you like. To get the lines that made these houses look like a tree trunk, I simply used a straight edged tool and drew vertical lines all the way around. It maaaaybe took a minute. You want it to look natural, so just relax, and don't think too hard about it. :) Just make sure they're only surface marks, you don't want to cut through and damage the wall. (If you do - no worries, you can patch it with the Aleene's Tacky Glue.) ;)
Grab a small hunk of clay, roll it into a ball and then flatten it out to about 1/4 inch thickness to make a door. You can add texture to it, just like you did to the walls if you want. Lay the door on the drying walls of the house and gently press it down so you can find the right curve for your door, then remove it, and set it aside with part of a balled up paper towel underneath for support so it can dry the right shape to fit your house. (You'll attach the door a little later -- we don't want to smoosh too much and damage our delicate walls or door.) Roll a tiiiny little ball for the door handle, and then gently press it down on the silicone to flatten one side, and let it dry completely.
Once the walls, door and door handle are dried, use the Aleene's Tacky Glue to adhere them all together. If you're clay skills are more advanced, you can try to attach them just with the clay, while the clay is still soft, but since all these pieces were so small and delicate, I found it was very easy to just glue them together -- the glue held great!
Once the walls of your fairy house are all dried (this will take a couple of DAYS) and the door and doorknob are attached, VERY CAREFULLY remove the paper cup support from beneath the dried clay house. I recommend gently working the paper backwards and off the clay on 1 side, then cutting a slit up the cup with scissors, so you can collapse the cup inward and gently pull it out the rest of the way around.
At this point, you should have a finished roof, and finished walls for your little clay fairy garden house, and they should be completely dry, but separate.
It's time to put them together.
This part can be super messy if you don't do it right, so be sure to read close here...
>> Put the house together UPSIDE DOWN. <<
This is important because there WILL be extra, wet glue here, and it WILL run and drip. So if you put the house together upside down, the glue will run and drip into the cone shaped roof, and will only give it more support! (Work smarter, not harder, right?)
Set the dried roof upside down, using some paper towels to support it. I found it was easier to put the paper towels into a bowl for some extra support, then set the upside down roof onto the towels.
Next, set the house onto the roof, lining it up so everything looks how you want it to, with the whole house being upside down. It's okay if the roof and walls don't connect everywhere. In fact, leaving some gaps will allow the lighting to illuminate the exterior walls of the house a little (if you're planning to add lighting to yours at the end).
Use the Aleene's Tacky Glue and add a line around the tippy top edge of the house piece where it will touch the roof, and press the whole piece gently into the roof. Make a very liberal line of glue on the outside of the house, where the walls and the roof meet, and the thick glue will slowly fill any tiny holes, and give a better connection between the roof and walls.
Let dry completely, which may take a day or so, depending on how much glue you use. (Wait to move on from here until all the glue has completely dried, otherwise it will drip and can make a huge mess.)
Here's a pic of the little houses I helped the girls make, upside down, glued and drying.
At this point, you've got some choices to make.
How do you plan to use this fairy garden house? If you're just going to paint it and display it somewhere that it will be protected and safe, you can paint away! I recommend putting a coat or 2 of Aleene's Acrylic Sealing Spray on at the end to give it a little protection.
Make sure you wear gloves, safety glasses, and a mask when you're spraying the sealer, and spray it OUTSIDE. It can get a little messy and you don't want to breath that stuff in. (This is an adults only step.)
If you're going to give it to younger kids to paint, you may want to give it a quick coat of the sealing spray BEFORE they paint it, just because the clay is a little vulnerable and accidents happen. The clear coating will just help protect the clay from moisture, and make it a tad more durable. I gave the houses I made, and the houses the girls made, 2 solid coats of Aleene's Acrylic Sealing Spray before they were painted.
If you're going to be putting these houses out in the weather, I VERY HIGHLY RECOMMEND you brush a coating of epoxy resin on at the very end (clay and rain don't *really* get along very well...). I'll cover that more in a bit, but it's definitely something to keep in mind while you're working on this project, because it's an added expense, and it'll take an extra 3-4 days to fully dry.
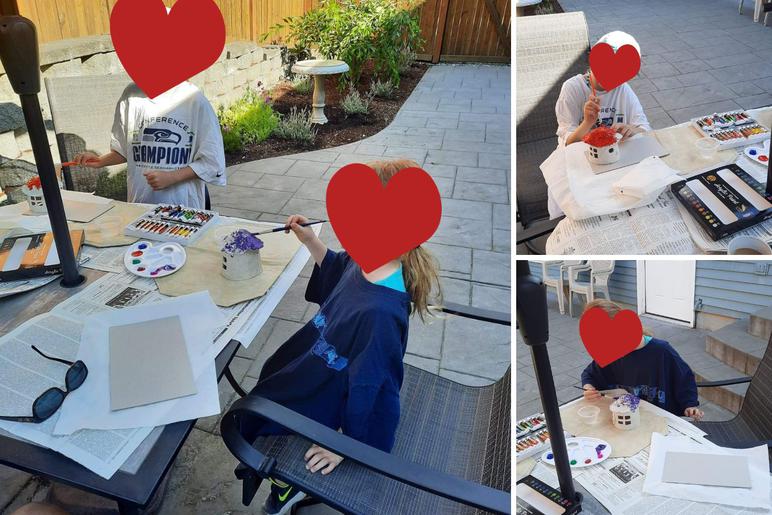
The girls used non-toxic acrylic paints for this project -- I found them this great set on Amazon that came with 24 vibrant colors and even had a few brushes. They had a blast and the houses turned out so cute!
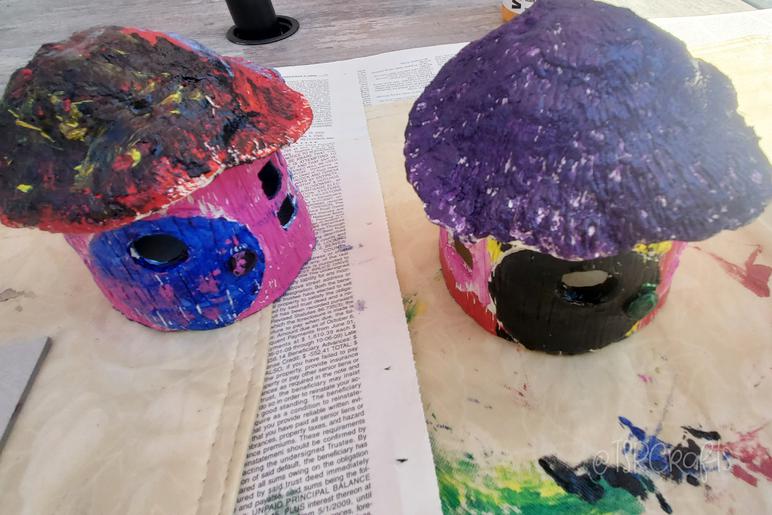
I used some more Aleene's Acrylic Sealing Spray to give these houses 2 more protective coatings on the inside of the house and the outside, but since the houses are going to be outside in the weather, I really wanted to make sure they would last -- these girls worked so hard on them! <3
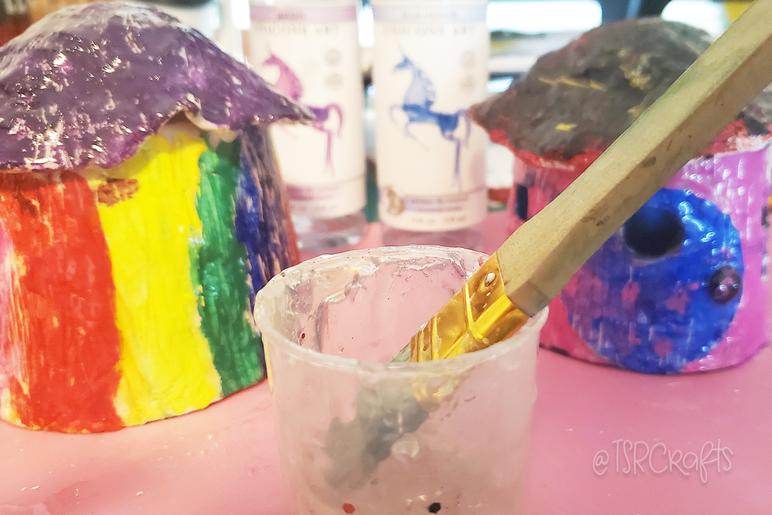
To put a coat of resin on these little bungalows, you'll need to sacrifice a paintbrush. There's just no way you'll get all the resin out of it from this, so use a cheap one you won't miss, and mix up some epoxy resin following the instructions on the package. Definitely wear disposable gloves for this step. This stuff is STICKY. (If you *do* get the epoxy on you, while it's still wet you can wipe it right off with Jojoba oil - something everyone should keep on hand.) ;) BTW - This is another *Adults Only* step.
I used Unicone Art Epoxy for this project, and it didn't take a whole lot. I only used about 30 ml of epoxy to coat both of these houses. I didn't coat the inside with resin, just the outside as we were a little limited for time on this, and I think the Aleene's will protect great on the inside. But I wanted to make sure to get the resin on the roof, outside walls, and on the exposed edges around the windows where weather would be a potential problem.
If the houses will be sitting on the ground, you'll also want to seal the bottom edge with resin. This might sound tricky, but it's not if you have a silicone mat! Just brush a little on that bottom edge when you're coating the rest of it, then set it down on the silicone mat and DON'T MOVE IT while it dries. The resin will naturally create a nice flat, sealed edge sitting on the silicone, as long as you wait until the resin is DRY to move the house.
You'll only need to do ONE THIN COATING of resin. Make sure it's a thin coat that you brush on, otherwise you'll get drips. This resin is naturally self leveling, and takes hours to dry, and your house won't be on a rotating mug spinner or anything, so too much resin will only make a gloppy mess. Brush on the least amount of resin you possibly can, while still getting full coverage of the clay.
You may want to check on your houses every hour or so while the resin dries, just to keep an eye out for drips. If you see any drips, you can use the brush you sacrifices to wipe them away, or flatten them out.
In addition to protecting the fairy houses from the weather, the resin will also help protect it from damage if dropped. It's basically a plastic coating, so it will help to soften the impact in a fall, as well as hold pieces together better should the "worst case" happen.
**Side note, if you DO break a wall or the roof of your fairy house, don't panic. The Aleene's Tacky Glue holds clay together great! Just patch it up, and wipe away any excess glue with a paper towel.**
It will take 3-4 days for the resin to fully cure and after it's dry, they should be ready to put outside.
If you'd like to add lighting to your fairy garden house, there's just one more tiny step to this project that will only take you a couple of minutes.
I picked up these solar lights from Amazon, and they were perfect for the two little houses I made.
These little fairy houses were such a fun and easy project. They took a couple of weeks to make because of the drying time, but *actual* work time was less than an hour per house (painting not included). Such a great project to make for your own garden, or to give as a gift!
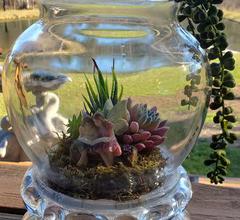
Want another fun Fairy Garden project? Check out my fish bowl Fairy Garden Terrarium project, here!
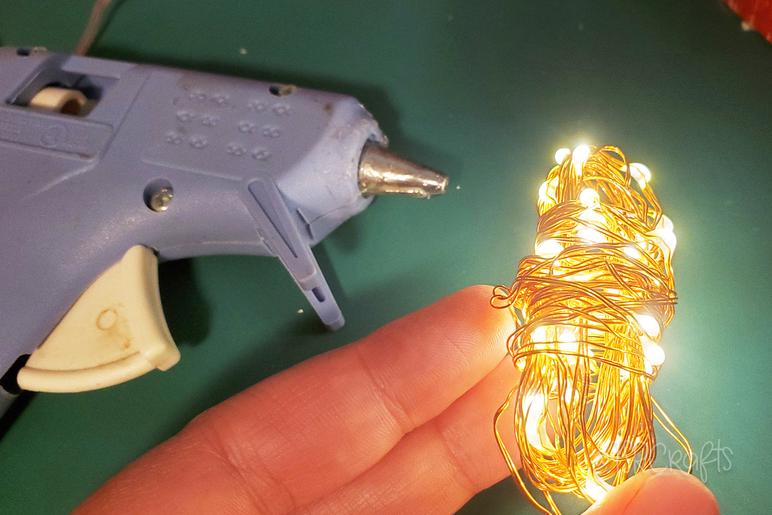
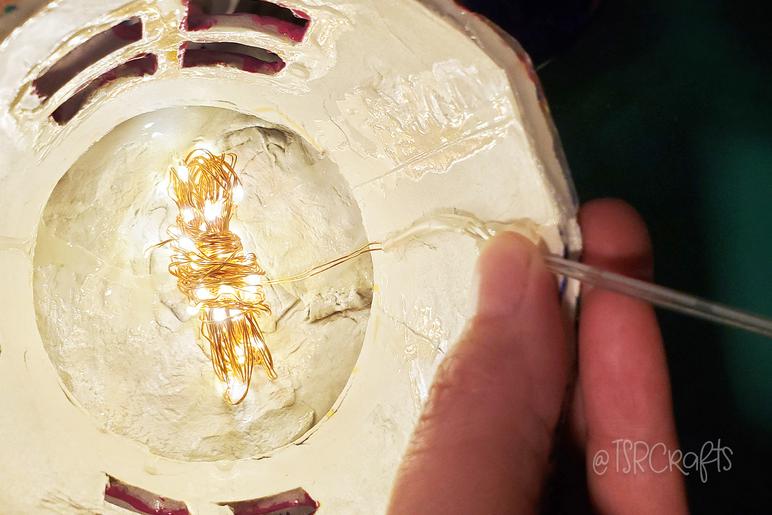
To add the lights, remove them from the box and packaging, and unwind them completely. Starting at the lights end, wrap them (loosely) around about 3 fingers over and over until you are almost out of lights, then wrap them perpendicular around the bundle to hold the bundle of lights together (no knotting needed), put a very generous line of hot glue along one of the long sides of the bundle and gently press the glued side of the lights to the inside of the roof. You can add a small dab of glue to the inside of the walls to secure the wire that runs to the solar panel in place.
Don't forget to turn the lights on with the button on the back of the solar panel. Once you've turned them on, they should go on every day when it starts to get dark out, and turn off every morning. You won' t have to remember to turn them on again!


