Have you ever given someone a present with a handmade gift tag? What about making the tags themselves the gift? Here's some inspiration to get you started!
For this project you will need:
Supplies:
-Gluestick
-Glue dots or double sided tape
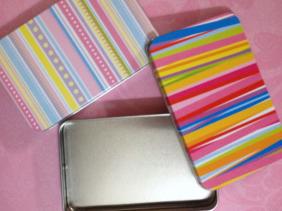
-Gift card tin (approx. 3 x 5")
-Cardstock in various colors and patterns
-Ribbon and/or baker's twine
-Embellishments of your choice: glitter pens, decorative tape, eyelets, stickers, etc.
Tools:
-Scissors
Optional:
-Paper slicer
-Decorative scissors or pinking shears
-Washi tape
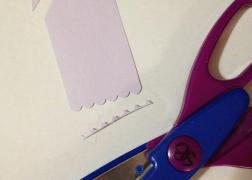
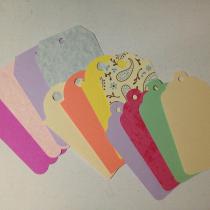
If you don't have a cricut or paper punch, it's simple enough to cut out a rectangle and trim the top corners at 45 degree angles. After that, punch a hole in the top center of the tag. If you have pinking shears or decorative scissors, you can use them along the bottom edge.
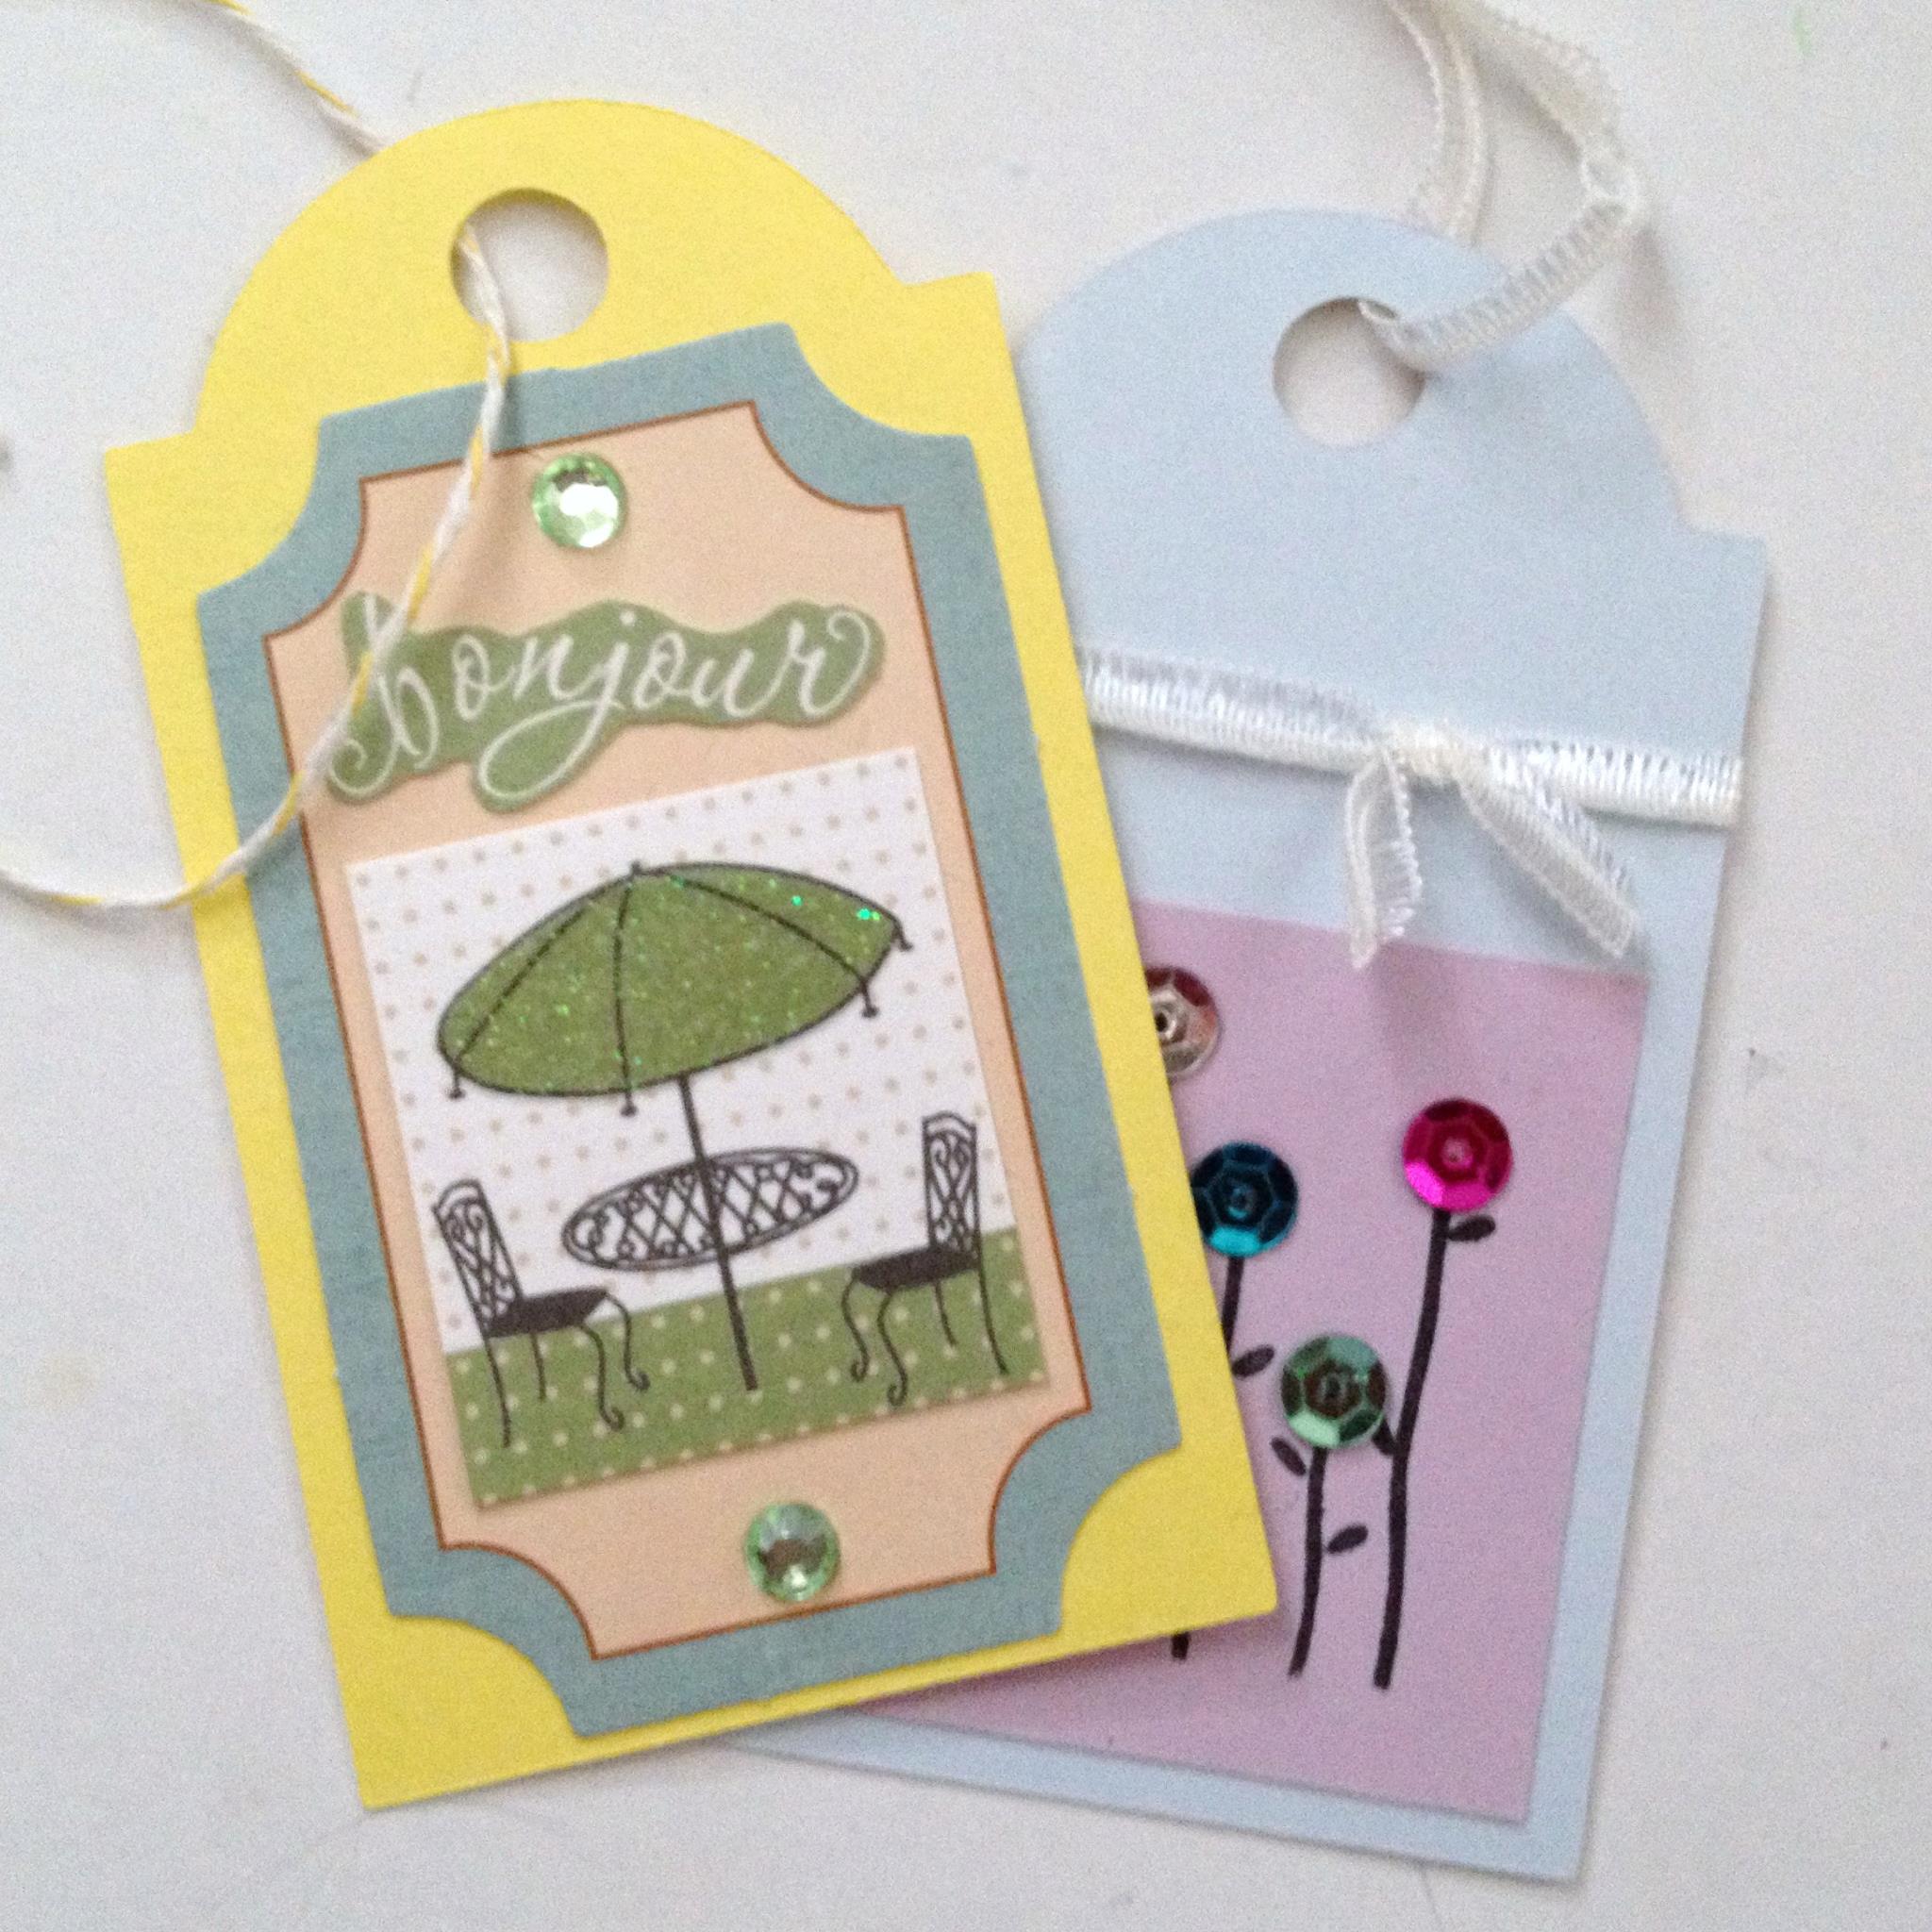
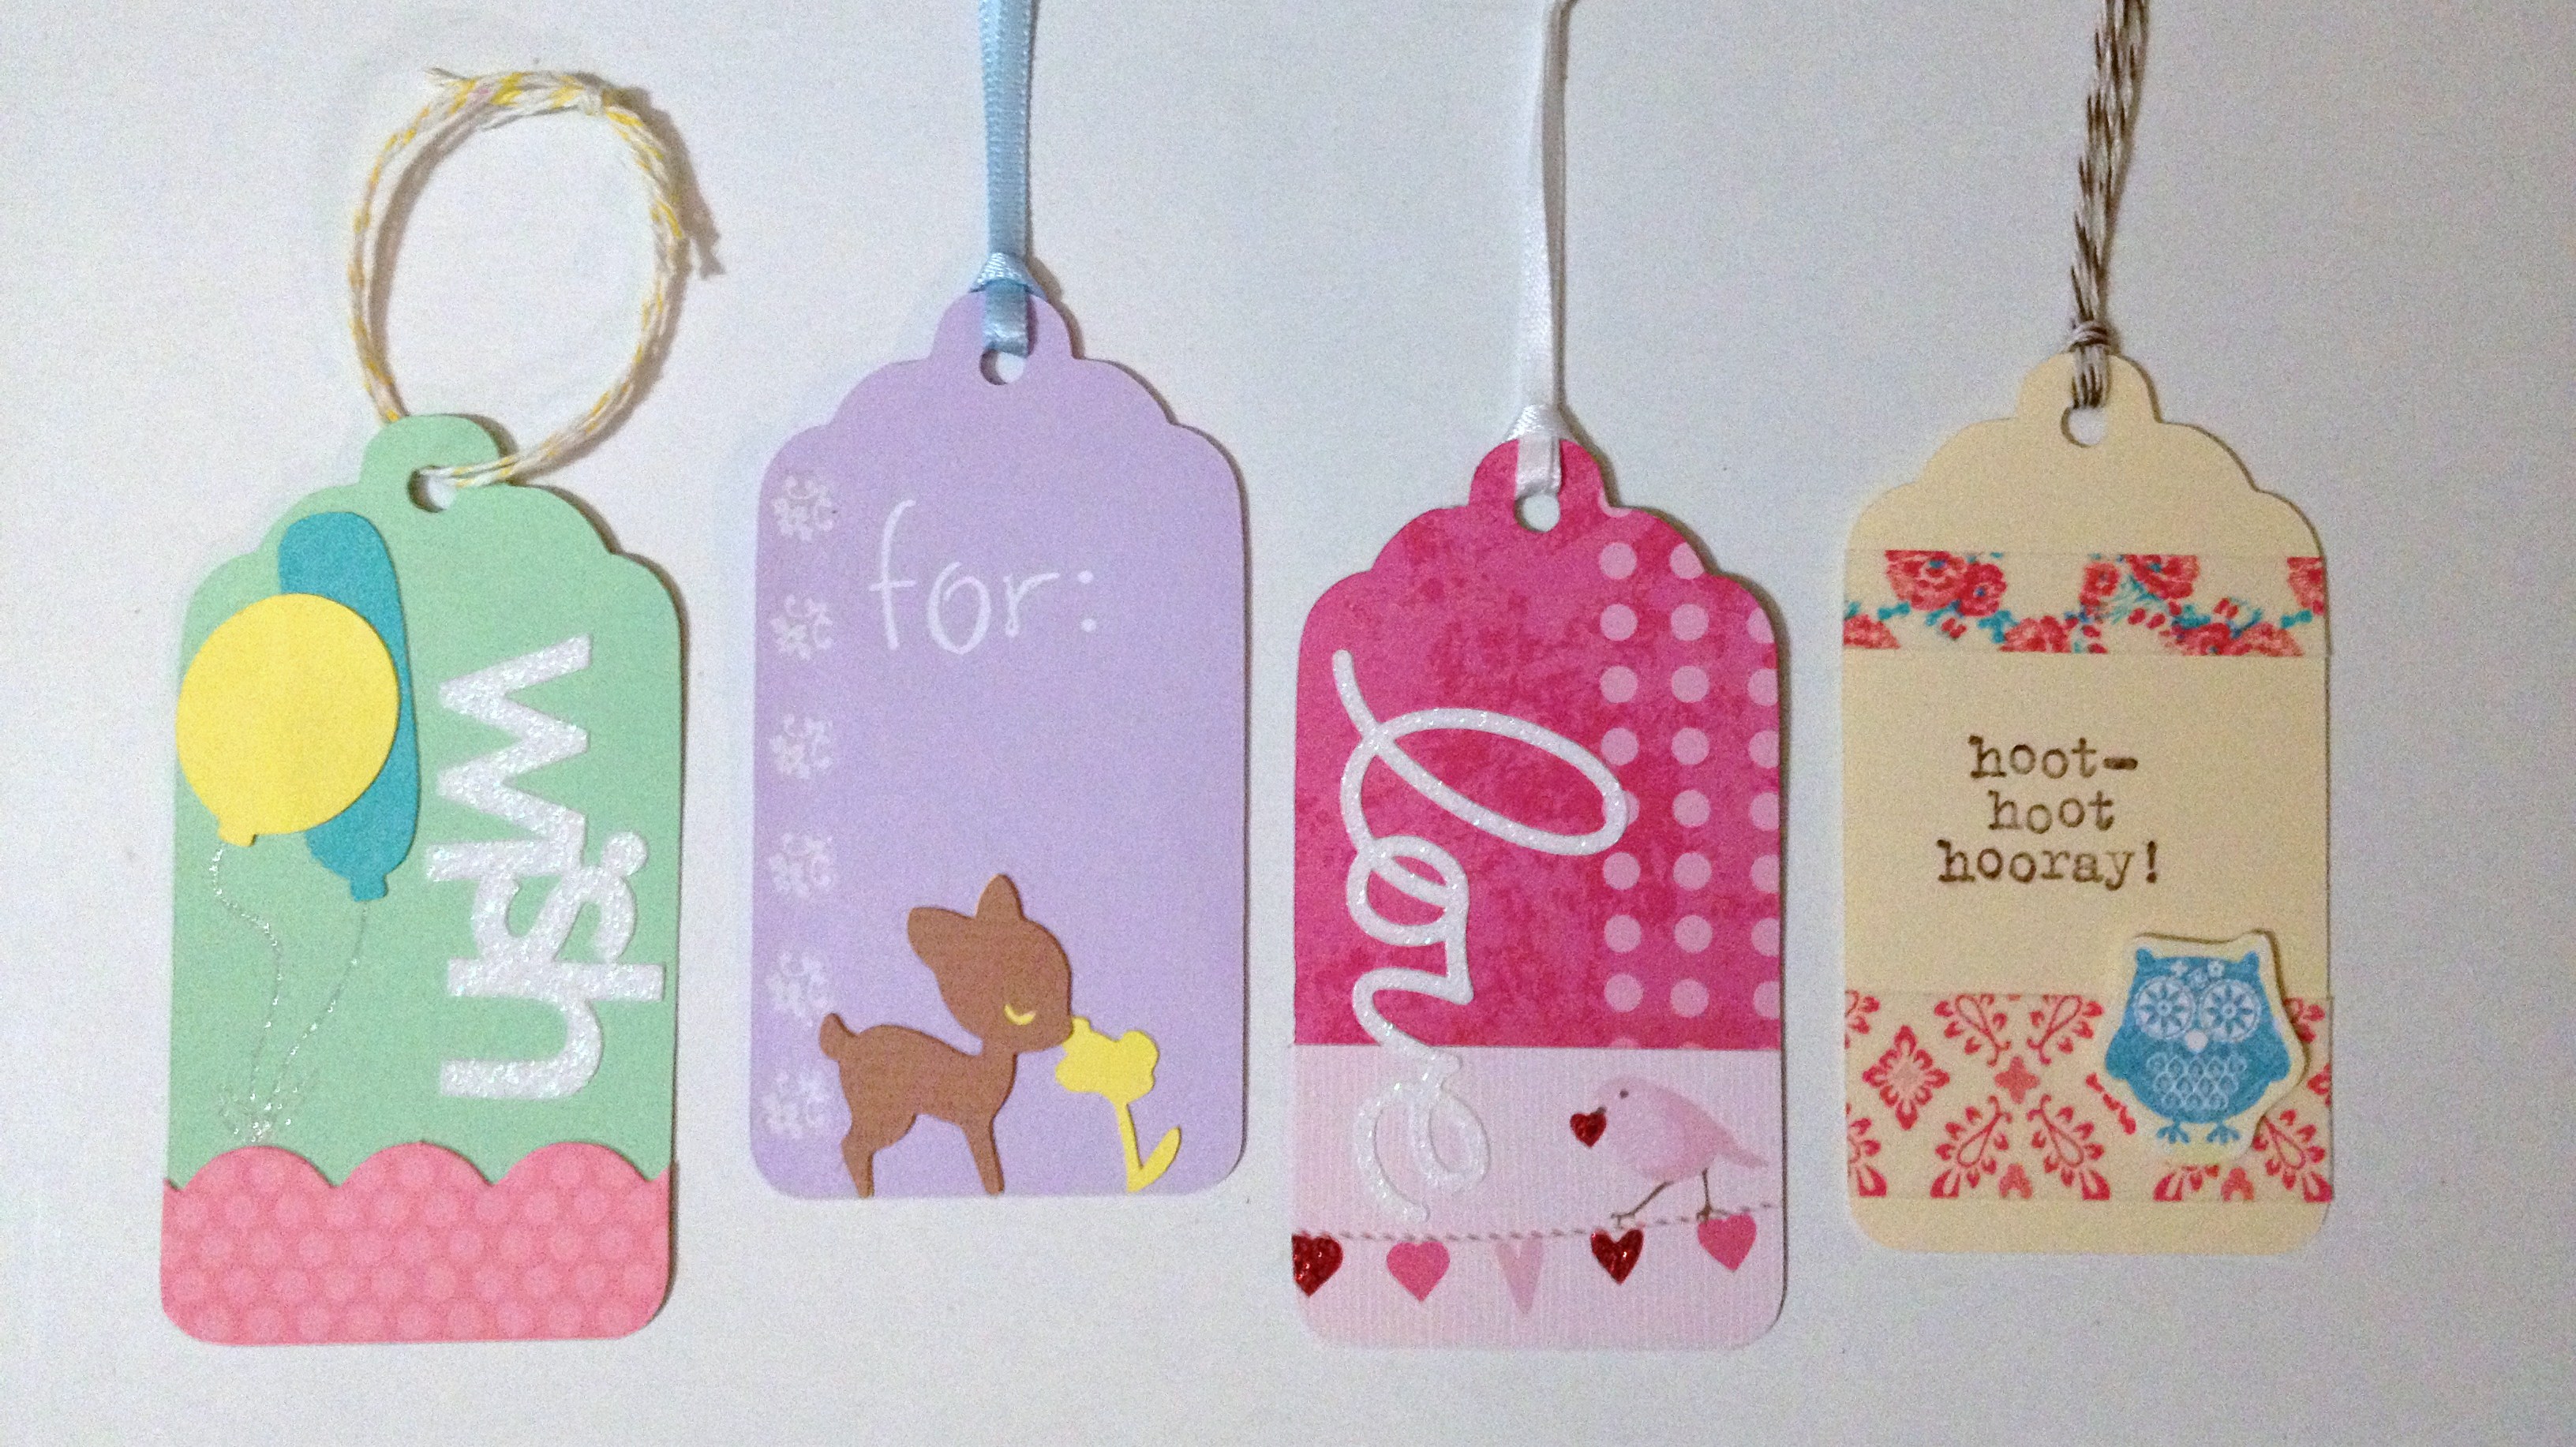
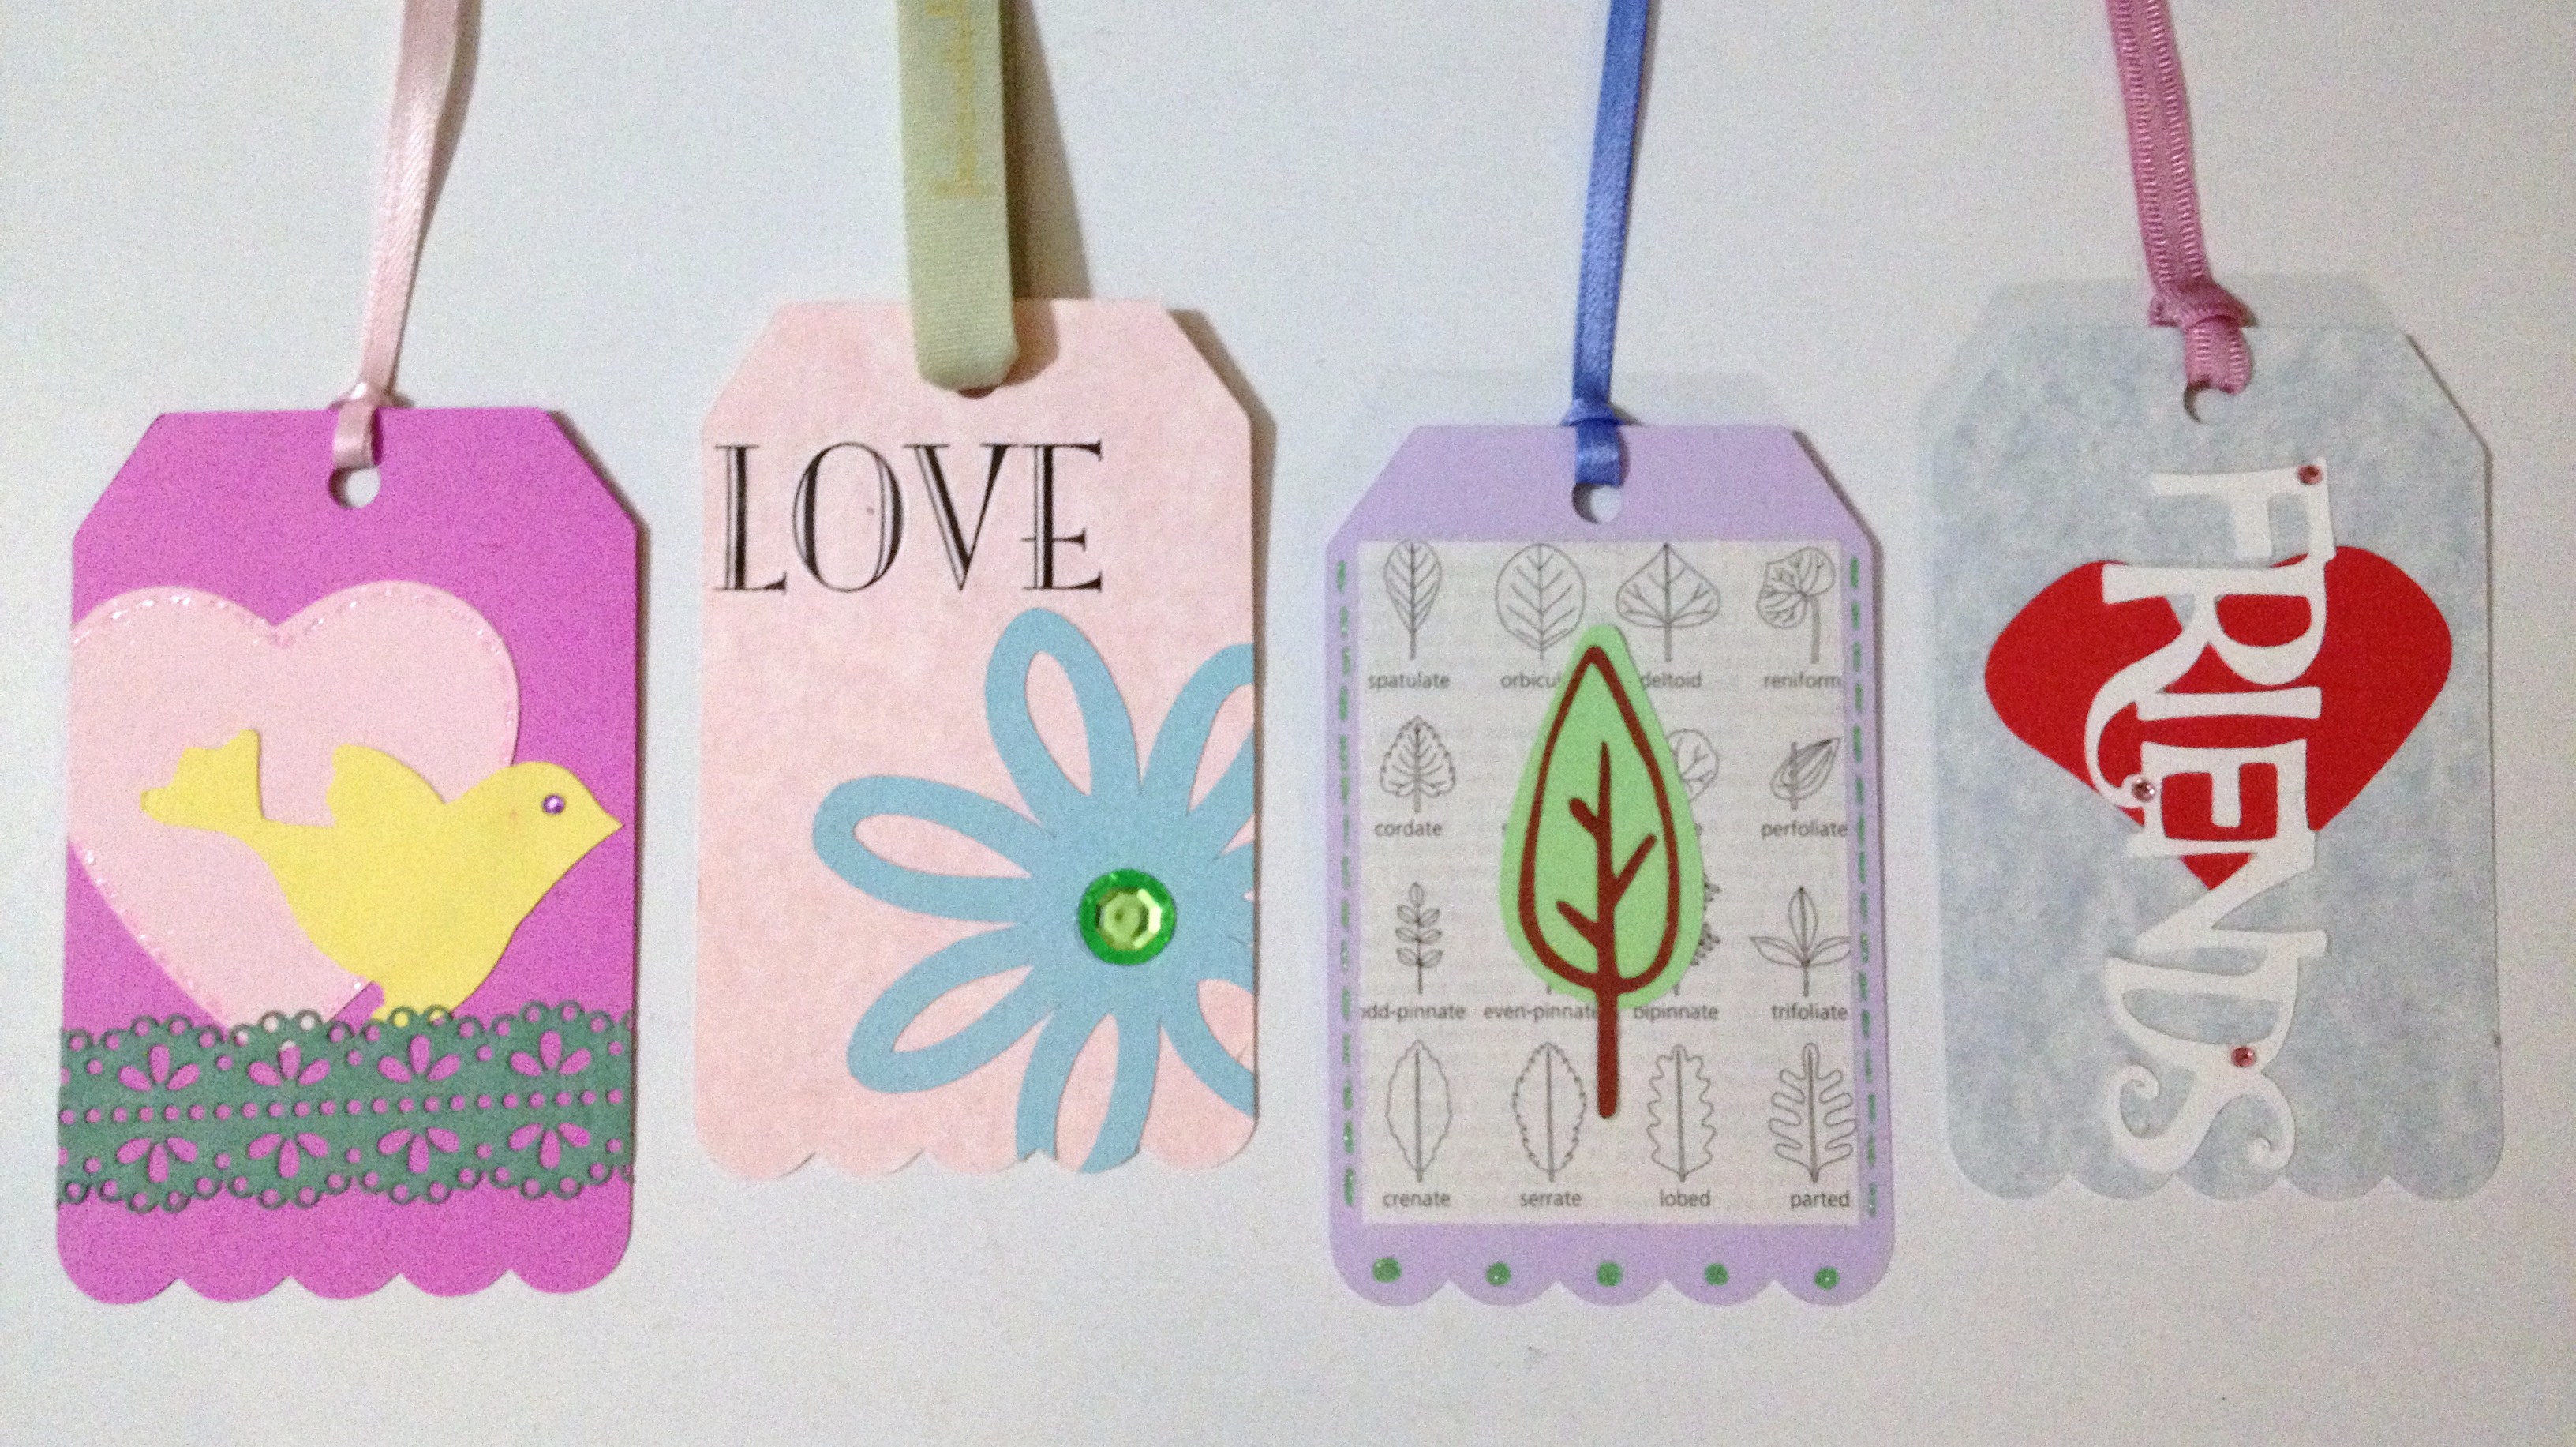
Use stamps, stickers, glitter, and any other supplies you have to decorate the tags. You may want to add "to" and "from" with stamps or use eyelets in the ribbon holes. Consider choosing a color scheme, maybe doing a birthday or holiday theme, or just do a mix of all your favorites! Take a look at my examples for ideas!
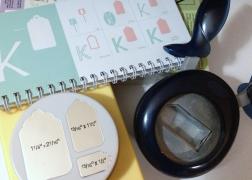
Begin by cutting out your tags. There are several ways to do this. You can use a paper punch or a cricut or other die cut machine. I used my Sweet Treats cartridges, which has a great selection of tag shapes (set your dial to 3.5"). I cut out twelve tags, which fit nicely in the tin.
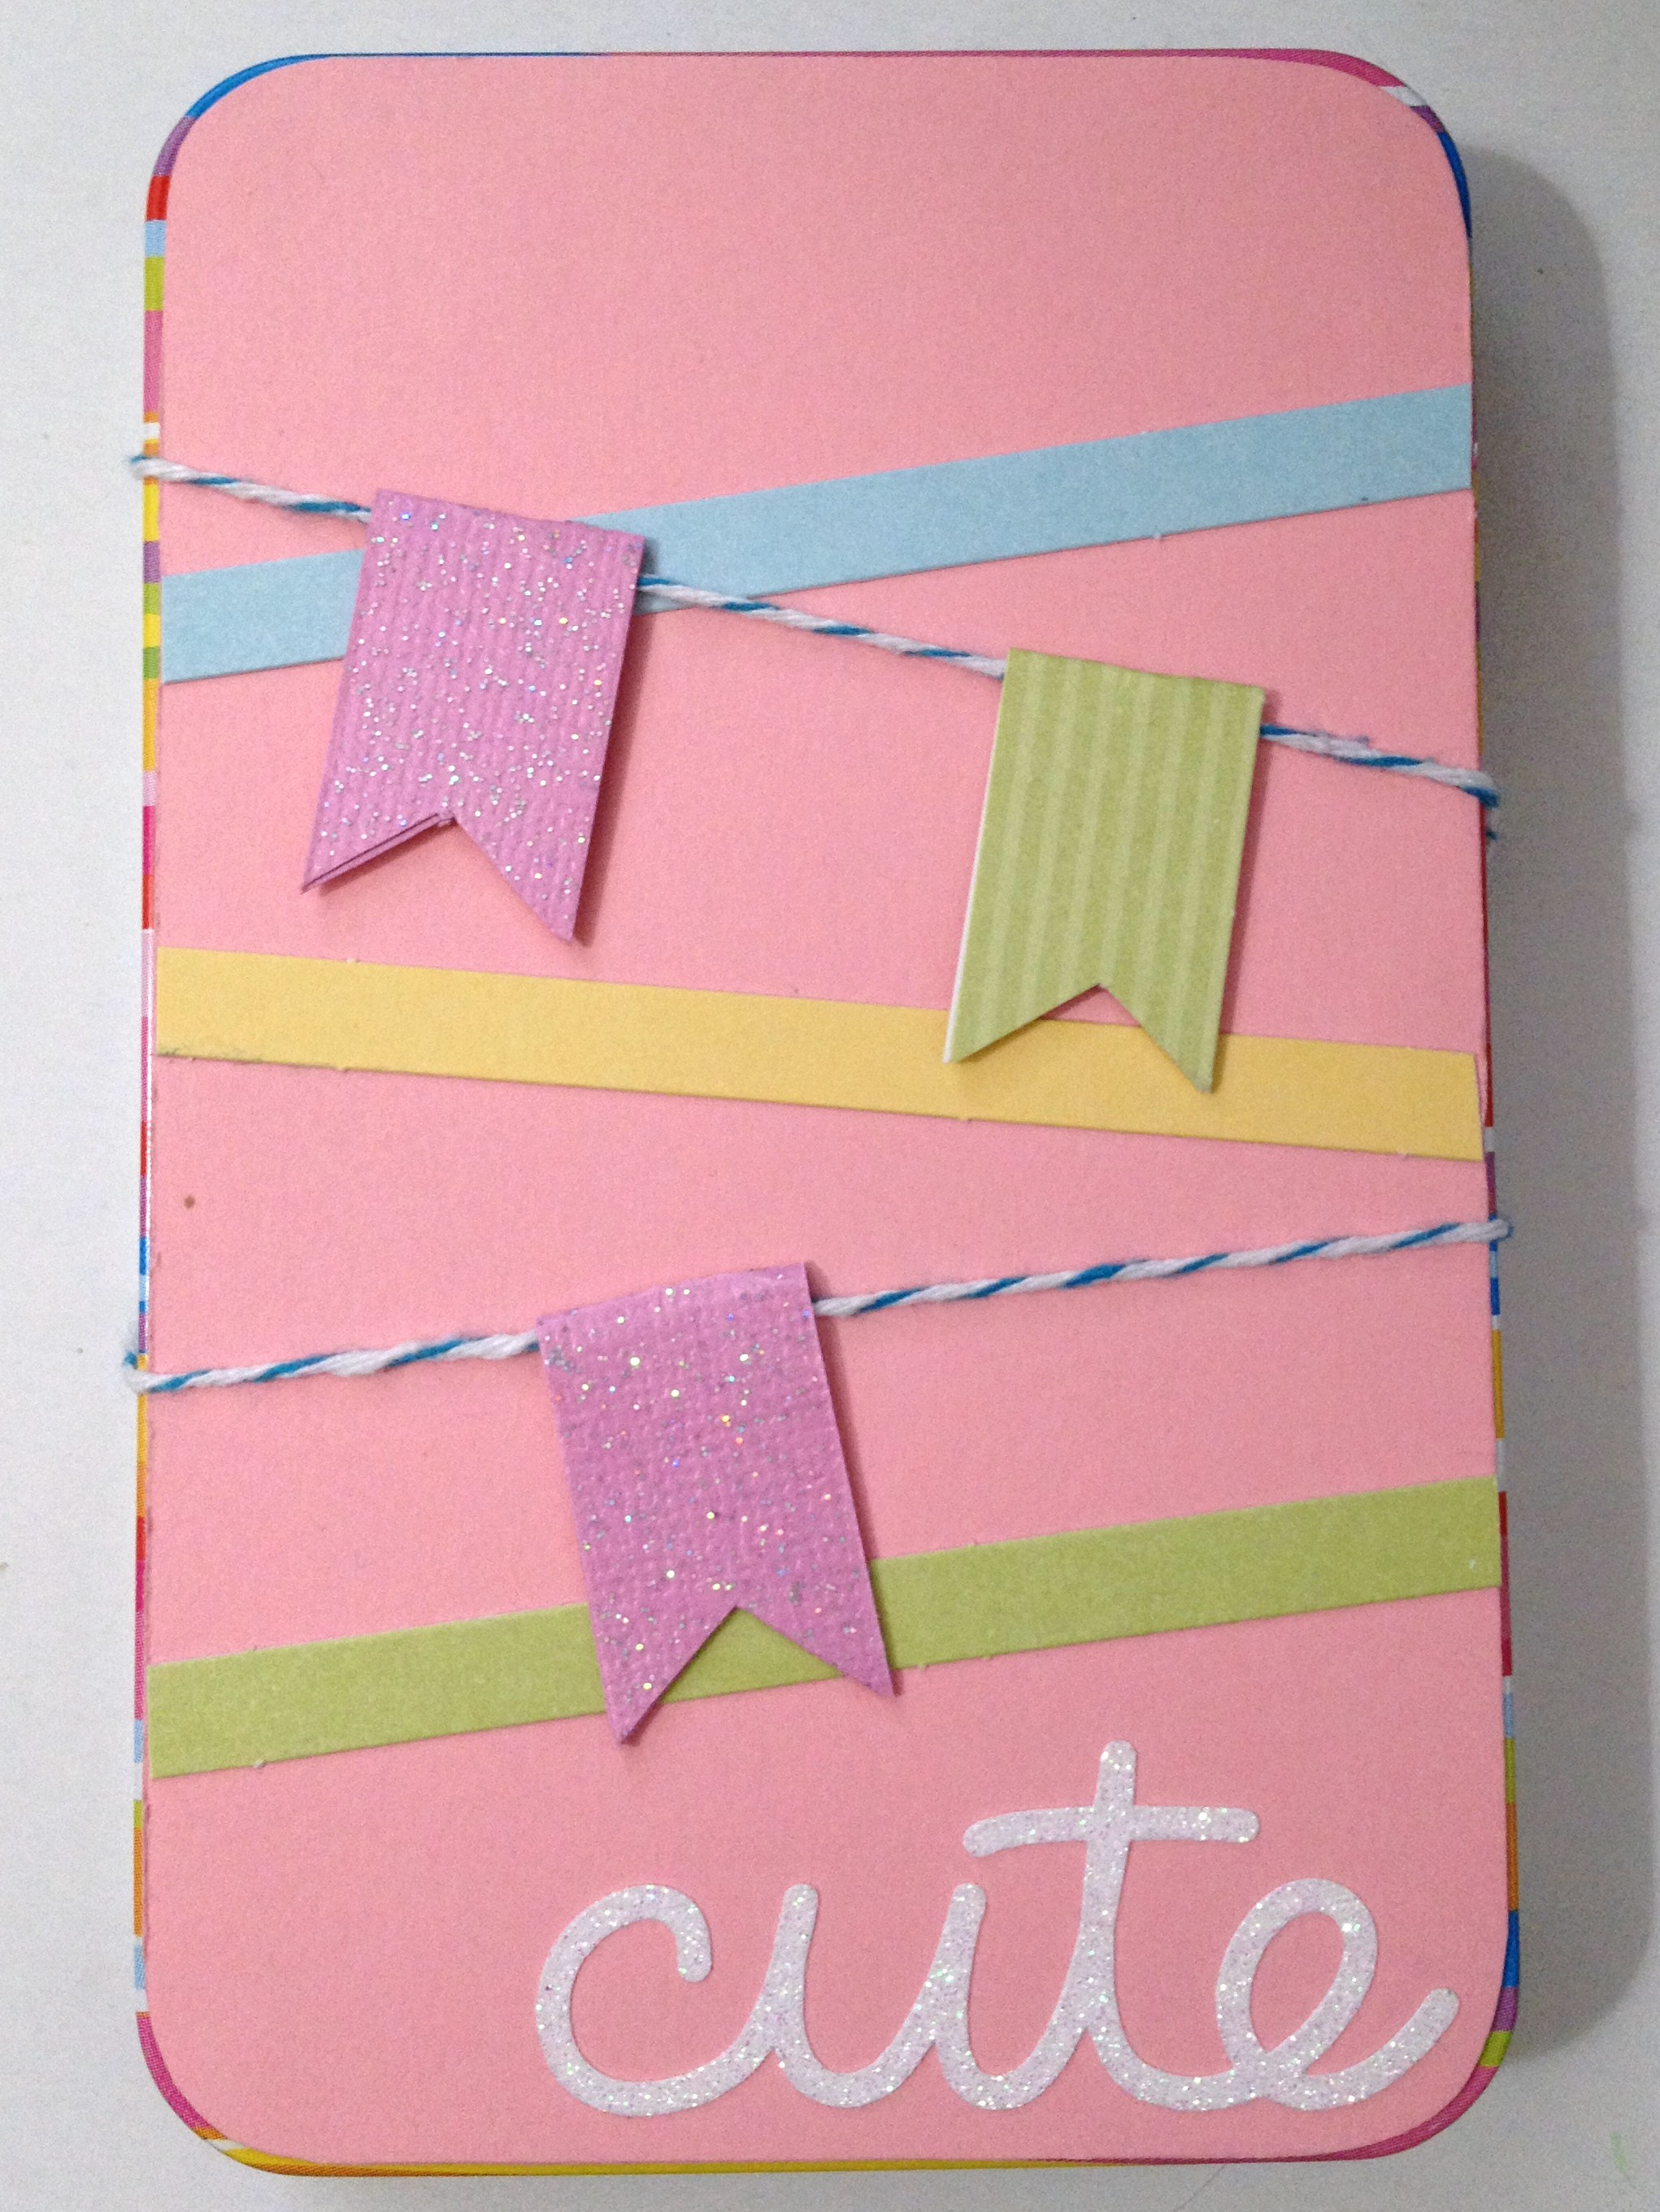
Wrap your banner around the tin, making sure your flags are on the top side. You should be able to slide them easily along the twine. Now tie your twine on the back side of the tin. I used some tape to help hold it in place. I chose to add a sticker on the top of the tin, but you can just as easily use a stamp or write a special message by hand. Note that you'll want to stamp or write on the card stock before you adhere it to the tin. You can also add glitter, gems, etc. to spice it up a bit. And that's it! Your tin is ready to present to a special friend!
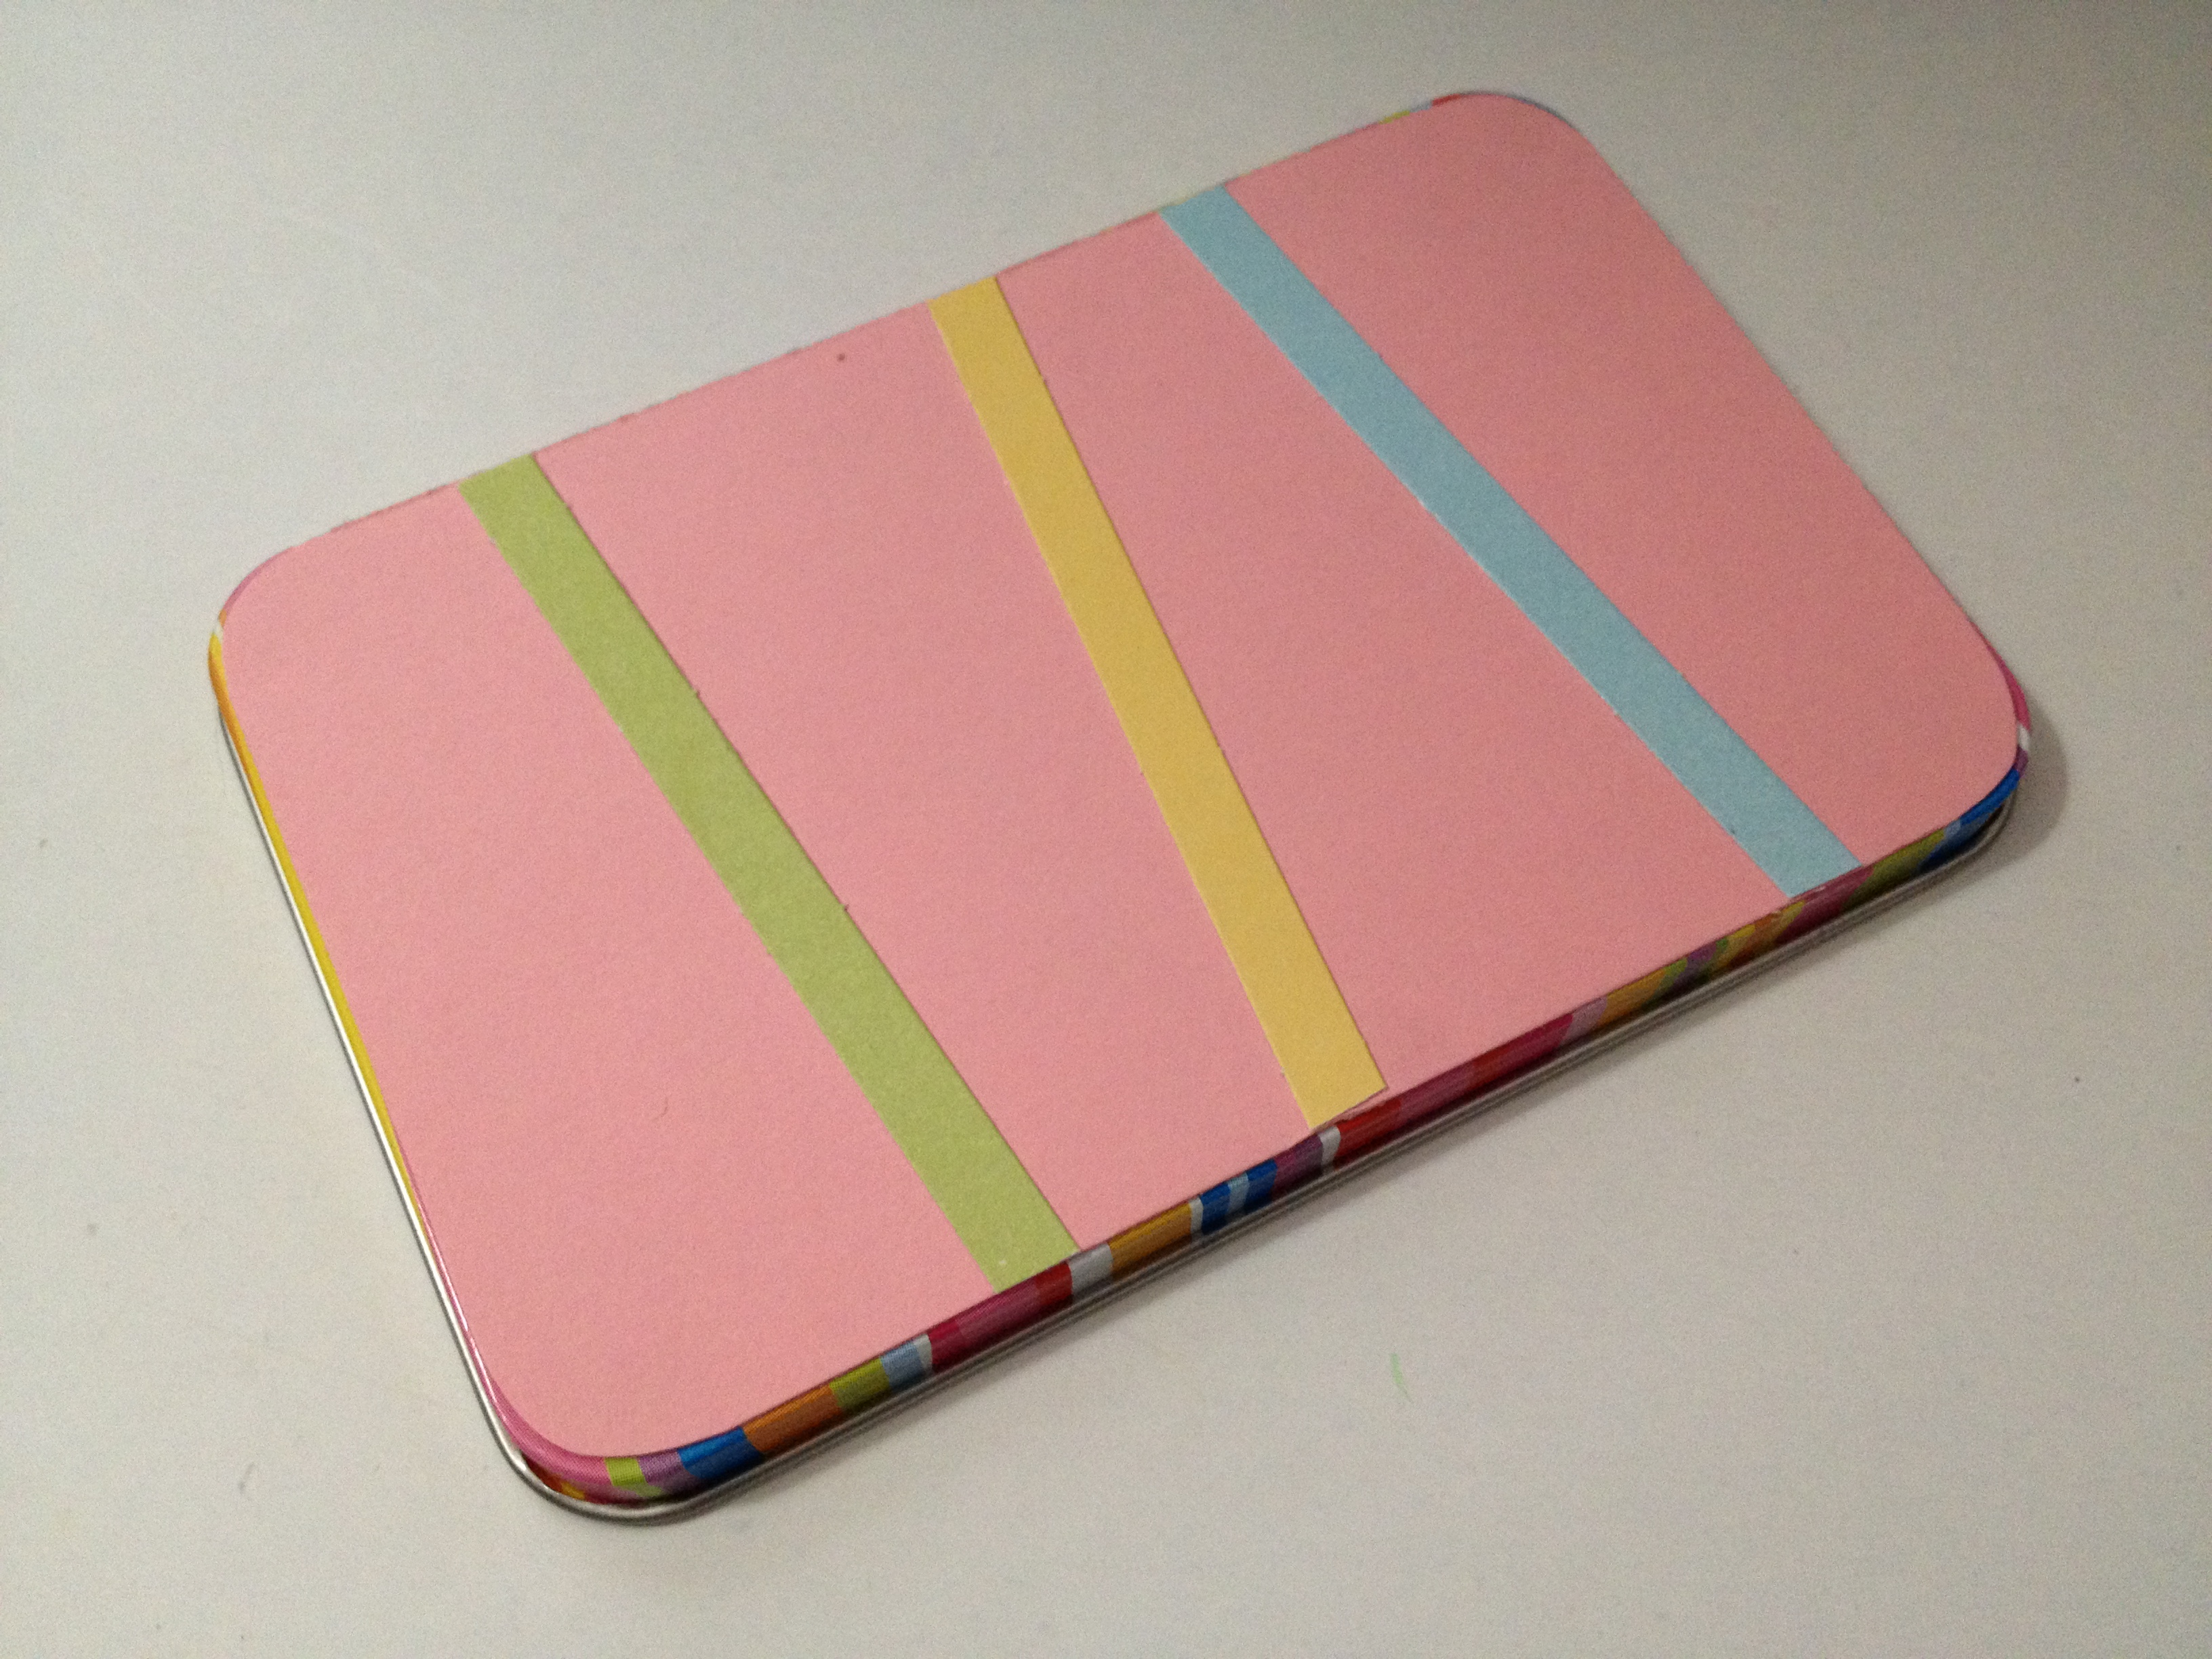
Now it's time to decorate your tin! Cut out a piece of card stock the size of the lid and round the corners if your tin is rounded. My tin has a colorful lid, which wraps around the sides, so I made sure to choose a paper color that matches. Use glue dots to adhere the paper to the lid. Next cut several thin strips of card stock and adhere to the tin at different angles.
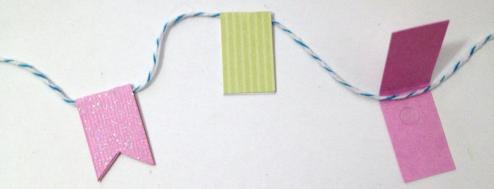
Cut a length of baker's twine (embroidery thread would also work) that wraps around your tin twice, width-wise. Now cut three 2" x 5/8" pieces of card stock for your banner flags. Score each piece down the middle so it's easier to fold when you get to that step.
Place the baker's twine down the middle of the first piece, place a glue dot on one side of the paper, and fold along the scored line. Next cut a "V" in the bottom of the flag, below the glue dot. Repeat for the remaining flags.

You might
also enjoy...