You might
also enjoy...
If you enjoyed my tutorial or found value in it, I'd appreciate it if you gave it a little love on social media!
Disclaimer: Please note that some of the links in this post may be affiliate links or ads. There is no additional cost to you, but The Scrap Room will earn a small commission should you choose to purchase through those links. Click here for my full disclaimer. Thank you for your support.

The ironing part isn't for kids, but they can help place the designs on before you iron them down! It's a great way they can be hands-on, just keep them away from that iron -- it'll be HOT!
This is one of those projects where you can save HUGE by planning ahead, and buying blank shirts and totes in BULK. I like to keep a variety of "blanks" on hand for random projects that may come up. I know I can *always* pull a shirt out, tote bag, or apron out and create a custom, personalized gift in no time, and no one will know I was completely unprepared an hour before! ;)
Creating a custom shirt with vinyl is EASY!
If you have an electronic cutting machine, it probably has a specific design program that goes along with it.
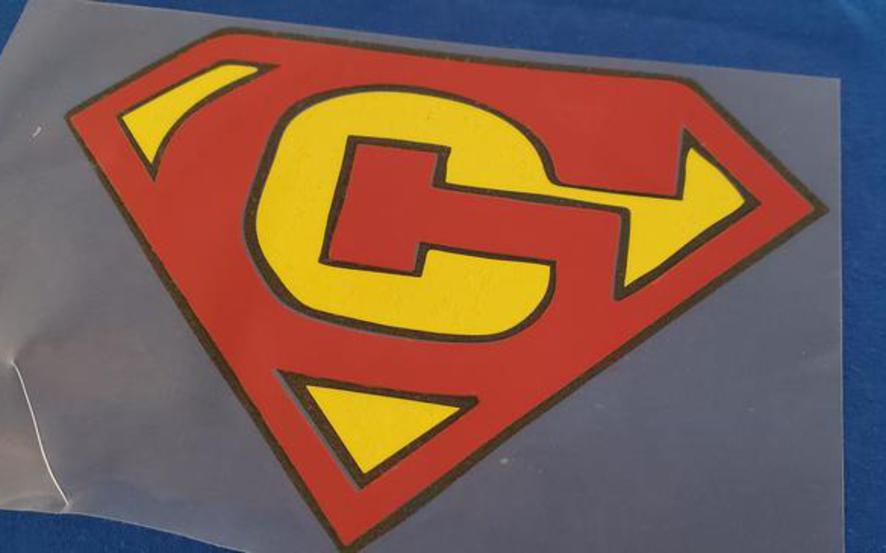
Begin be opening your design program, and importing the digital design you would like to use. For this specific example, I'm going to use something special I made for my buddy G.
Resize your design to the desired dimensions, and cut out. Your software should help you cut out each individually colored layer. Follow the directions on your machine and software to cut out. (Remember to set your cutting depth to the Iron on Vinyl setting!)
Double check that you've WELDED your pieces so everything stays in place for cutting. You'll also want to use the MIRROR setting, so when you flip your vinyl over to iron, the design is the right way!
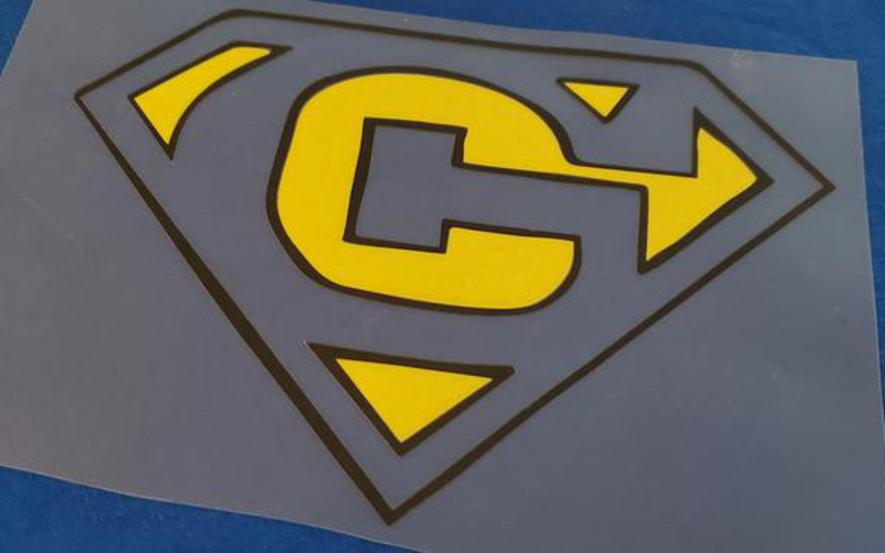
When you're done cutting you should be able to stack the layers on top of each other and see the completed design. If they *don't* match up, somethings gone awry and you don't want to iron yet! Check to make sure you welded each layer, and cut them all out on the mirrored setting.
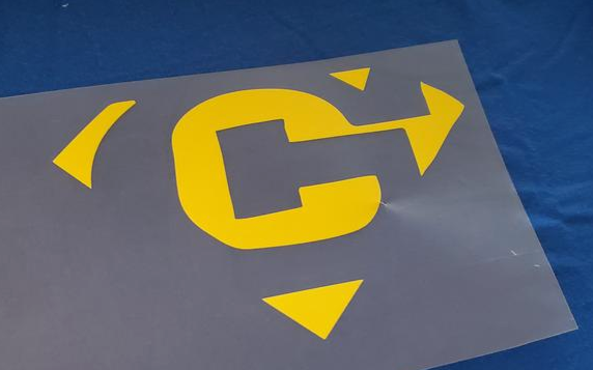
Weed out the negative space from each layer of your design, leaving the protective wax paper over the front of the final design.
Lay the bottom layer on your shirt where you want your design to go. Put a thin piece of fabric over the special wax paper for some added protection. Follow the directions for your specific vinyl and Heat Press or Iron.
Once you've added your first layer, and the protective layer has COOLED COMPLETELY, you can add the next layer on top. Make sure that ALL AREAS OF THE VINYL, including from any previous layers, are covered with the protective wax paper!!! DO NOT TOUCH the actual vinyl to your iron AT ALL. EVER. It will melt and can ruin your iron, and will just make a big old mess!
Pro tip: KEEP the protective wax layer! If you need to iron the shirt for any reason later you can put it over the vinyl design and give the shirt a quick touch up. It's also handy to keep on hand in case any bits start to come up -- which they will eventually with heavy wear. Prolong personalized shirts by following washing directions on the vinyl packaging. Usually this entails washing garmets inside out, on cold, and tumbling on low or laying flat to dry.
These iron-on projects are SO SO SIMPLE to do, making it possible to create custom shirts on demand easily! Create one or two -- or make a whole matching set for a team of people in hardly any time!
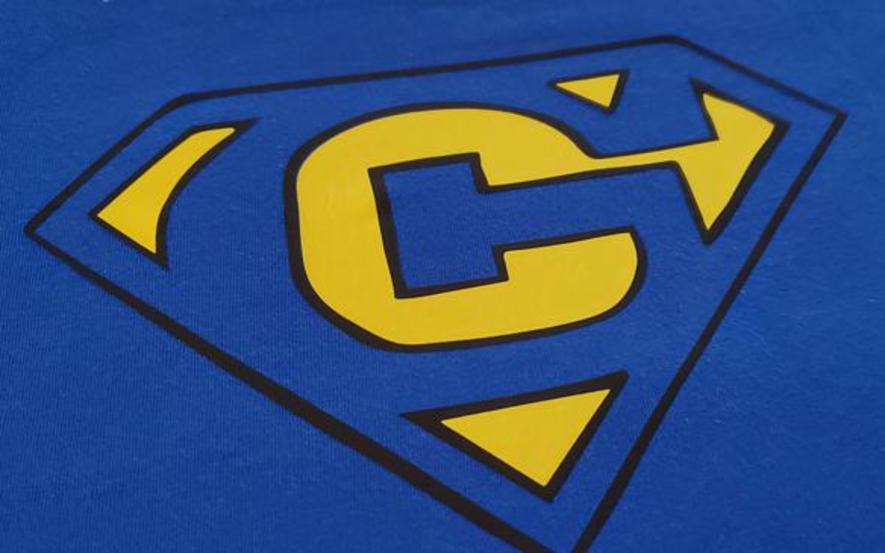
Continue to add on each layer the same way -- allowing each to cool completely before removing the protective layer.
You *can* do this project with a regular iron, BUT you're going to have a much smaller ironing area, and you'll end up going over places a LOT more than you need to (which can burn or warp your end design) and you could easily end up not securing the vinyl down correctly everywhere. (Not to mention it will take a lot longer with a smaller iron surface.)
This is the Heat Press that I use. It works GREAT! It makes projects so quick and easy because you set the temperature and timer digitally so it's EXACT. Set the iron down on your project and hit the Cricut/Start button, and the countdown timer will start! Just hold the Heat Press in place and press down gently! Easy-Peasy!
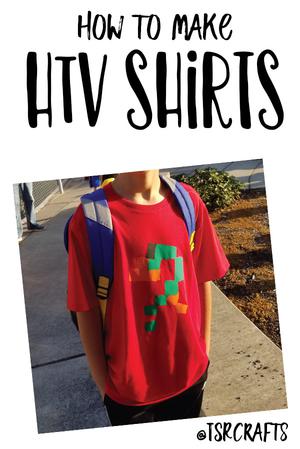
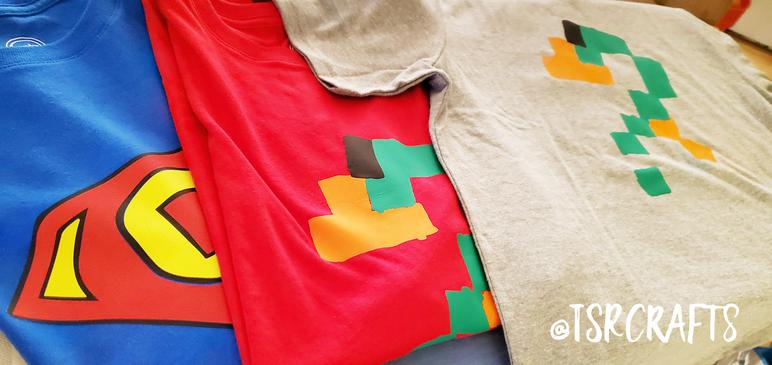
I was able to make my pal G a whole set of shirts, each one cost around $5 in supplies to make. His favorite though are the two I made with his artwork of his computer game avatar on it. The first one I made in red turned out so cute I made him an extra in grey. I also converted a few of his other drawings to round out his new personalized collection of shirts to 5.

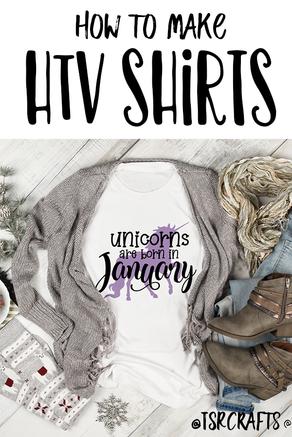
Personalized HTV Shirts
Learn how to create your own custom shirts!
WARNING: This project is SUPER ADDICTIVE! You will want to make ALL THE SHIRTS after trying!
Personalized shirts have never been so easy and inexpensive! You *WILL* need an electronic cutting machine that you can cut out SVG or EPS designs on for this project. If you already have one, great! You're all set! If you're new to the SVG cutting world, think about investing in a machine. You can do A LOT with them and you'll probably get your money's worth out of it in no time!
You don't need the most fancy or expensive cutting machine for this project, but you WILL need one that you can cut out digital files on. (Opposed to the older machines that require cartridges.) I love the Cricut Explore Air 2. It's a great machine that's accurate, reliable and isn't too pricey! (Check out the Cricut Maker if you're looking for a splurge -- it can even cut FABRIC with it's rotary blade!) You'll want to use a MEDIUM GRIP cutting mat for this project.
You will also need a DIGITAL DESIGN for this project. Something that you want to cut out from vinyl and use to create a shirt, tote bag, etc
If you're following along with my 30 Day Craft Challenge, you might already have a design ready to go from yesterdays project.
If you need a design to use, you can always peruse my shop here, or find one from another source on the web. (Challengers: Check your email, you should have received some other options in your inbox this morning for your Day 11 Challenge) ;)
The remaining supplies that you'll need for
this project are:
Heat Transfer Vinyl (HTV) in your choice of colors
Cricut Heat Press or other iron to transfer your vinyl
Blank shirt(s) to iron your vinyl design on to.