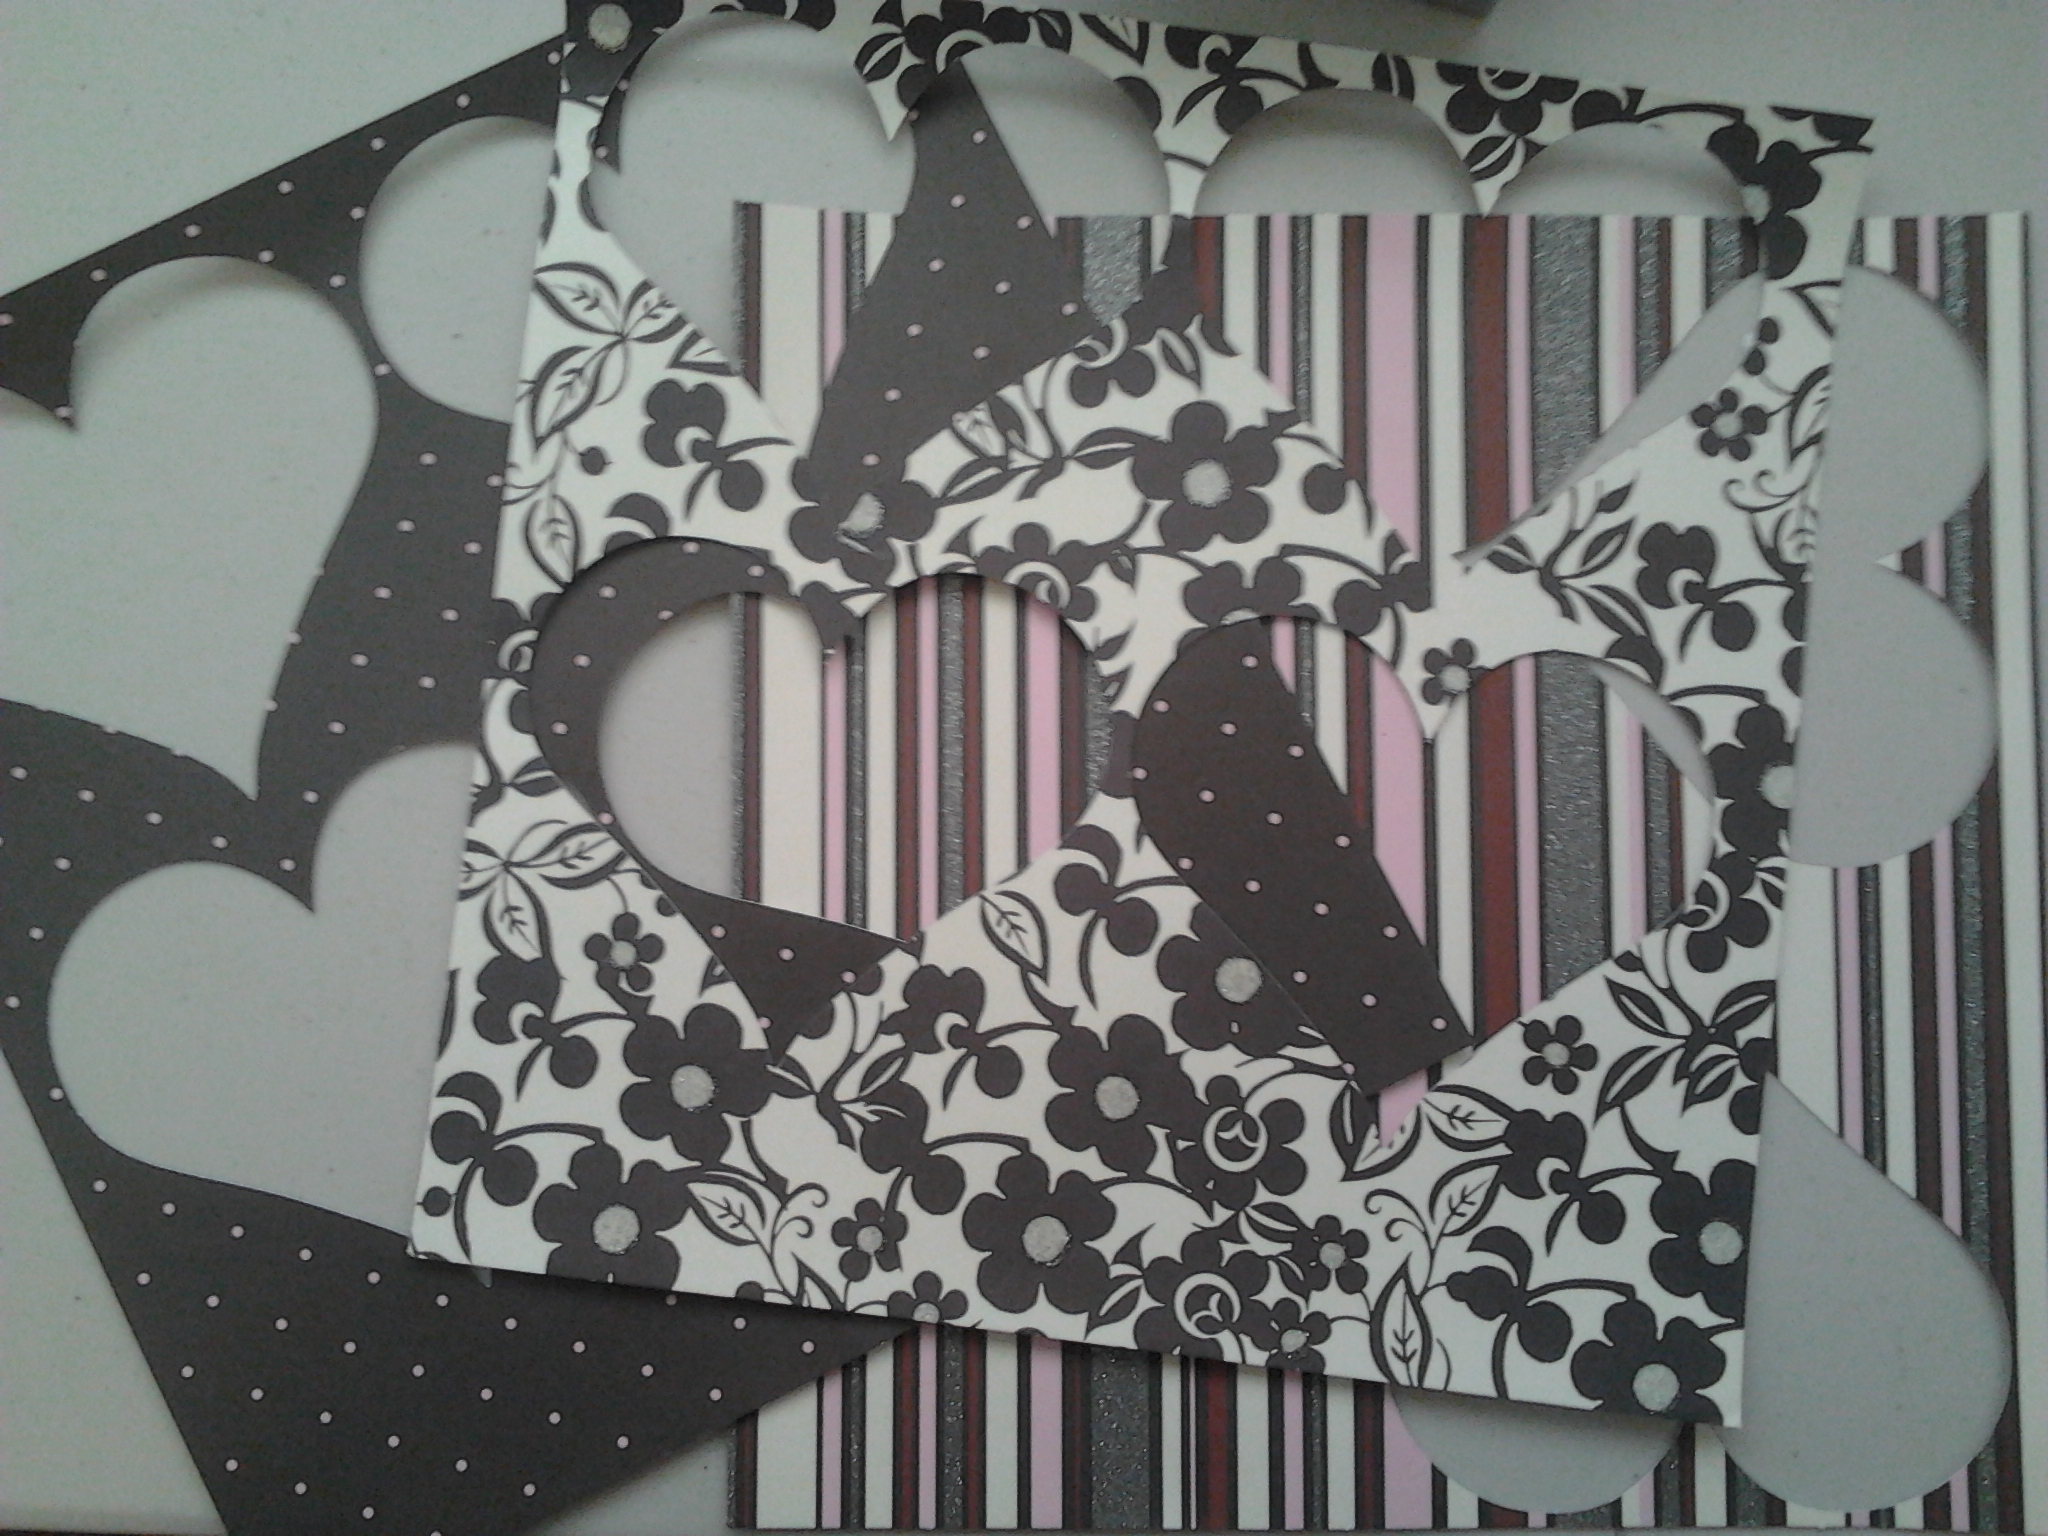
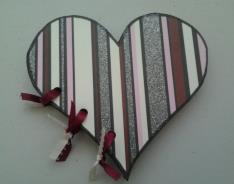
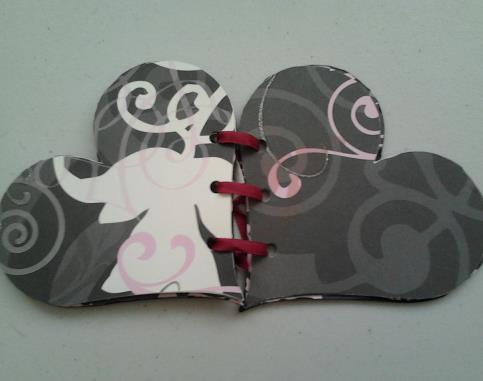
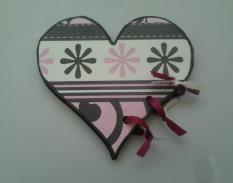
Start by selecting what shape miniature scrapbook you will make, using your die cutting machine. Cut out pages for your album in your desired size. The album I made measures 5"x5.5" and is 6 pages (12 front and back) long. Cut out twice as many pages as you need, as I found it best to adhere them together to create sturdier pages with more background design options.
Cut the front and back covers out of the chipboard -- about 1/4" larger than your pages. Also cut 4 out of your printed cardstock that are the same size as your chipboard.
For this project you will need:
Supplies:
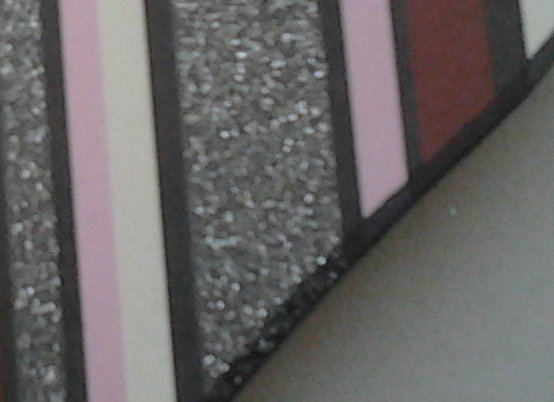
- At least 4 pieces of coordinating cardstock of your choice (I used paper from Die Cuts with a View "The All Dressed Up" paper stack)
-1 piece of chipboard (if you don't have this on hand, try upcycling the back page of a cardstock pad!)
-a strong adhesive (I used my Glue Glider Pro)
-Matching ribbon (about 12-18 inches, depending on your taste)
-A Sharpie or other permanent marker
-Pictures and embellishments to decorate your scrapbook
Tools:
-A die cutting machine (I used my Cricut)
- A standard hole punch

It's time to catch up on some scrapbooking! This simple but dazzling miniature scrapbook will look great on your coffee table, desk at work or in your friend's hands as a wonderful gift! Budget and time friendly, this album can be made for only a few dollars in supplies and a couple hours of your time, so go ahead and make a few at once! You'll be glad you did!
Use your adhesive to adhere the pages together, so that each page is two pieces of cardstock thick. I would Not recommend a liquid adhesive for this. My tape runner allowed me to get right up to the edge of the paper. If you have a large sticker maker, this would be a perfect job for it! You want the pages to hold very well so they don't peel apart. Also, disguise your chipboard covers using the same method and the 4 slightly larger pieces of cardstock.
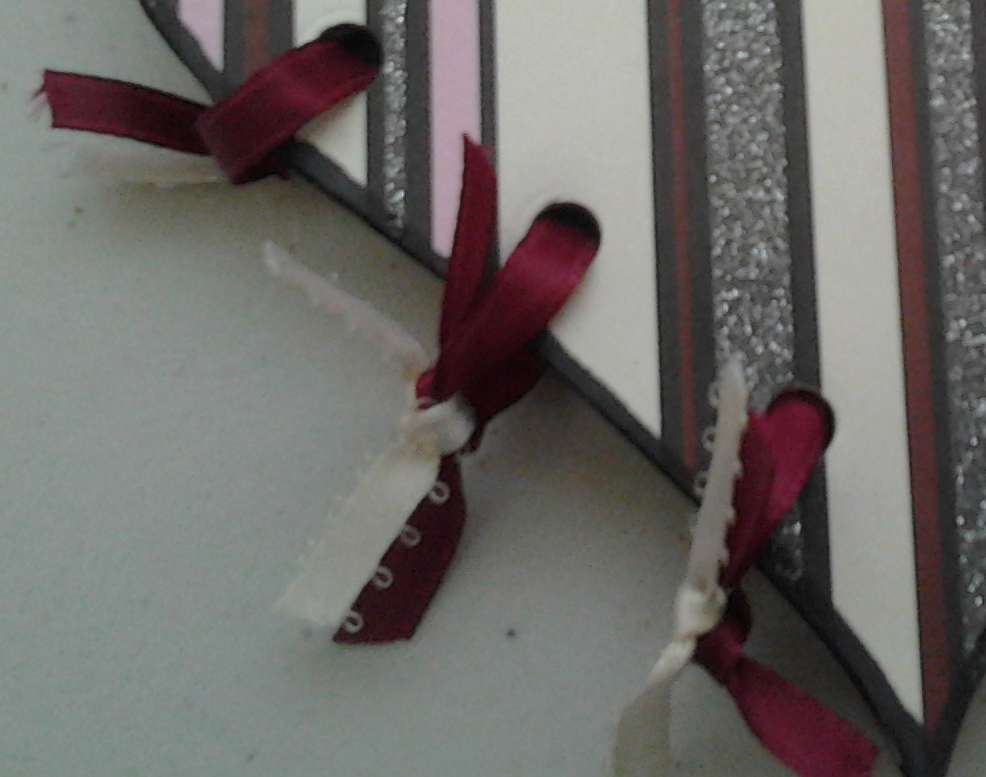
Use your permanent marker or an ink pad to ink the edges of the pages and hide the white edges (or you can leave them white if you choose) and the edges of the chipboard around the front and back covers. I chose to draw a thin border with the same color on the covers as well. Punch holes in the same place on your pages and covers, and tie them all together with some lovely matching ribbon(s).
Fill with wonderful pictures of your family and friends! Use your scraps of paper to make embelishments and mats for your photos that match!
You might
also enjoy...
DIY Mini Scrapbook In an Afternoon
This little book is easy to make. Make one for yourself today, or share one as a gift!
Disclaimer: Please note that some of the links in this post may be affiliate links or ads. There is no additional cost to you, but The Scrap Room will earn a small commission should you choose to purchase through those links. Click here for my full disclaimer. Thank you for your support.