Scrapbooking can be expensive -- anyone who's browsed around a craft store can tell you that! But there IS a way to enjoy this hobby with out breaking the bank!
You don't need to spend a fortune buying up all the latest gadgets. I know it's tempting. There's a lot of really cool stuff out there! And sometimes it's okay to splurge. But do you really need all that? Make every purchase count. Try to look at the cost-per-use of an item. Will you use it twice a year? A couple times a month? If you're able to use an item for a wide variety of projects, it might warrant spending a little more. Stock your craft space with quality items that will last and get more done with less.
My electronic cutting machine is my number one go-to machine. There are a lot of great machines out there, but I've always loved my Cricut. Their new machine, the Explore Air, does it all. Well worth the investment. Not only can you draw and cut with it -- wirelessly! -- you can utilize their app on your tablet or smart phone to further customize your projects. You can even cut all sorts of materials such as: paper, vellum, vinyl, iron-ons, Washi Tape, craft foam, specialty papers, chipboard, aluminum cans (yes I said aluminum cans!) felt, fabric, denim, burlap, leather, Balsa wood, magnetic sheets and more! This machine is so great, we've dedicated an entire page to it.
Manual cutting tools are also important for scrapbooking and a variety of other crafts. I keep a selection of cutting tools on hand, starting with my craft knives, ruler and cutting surface. Read more on my cutting tools essentials page here.
A bone tool is also a must. You're not only going to need this to get those perfect, sharp creases, but you'll also use it to score lines or burnishing with ink. You don't need anything fancy here. A basic Bone Folder will work.
Another item (well, items) that you're going to use a lot are your pens. Make sure that you buy quality pens that will last. Not only will you use pens to color in items, but you'll also use them to blend, highlight, shade and more. Sometimes you'll want a brush nib, sometimes a bullet.
Invest Wisely
On Top of Organization

Organize, organize, organize. I can't say this enough. If you can't find it, you won't use it. And you'll probably waste money buying extra supplies and materials you don't need. Don't be afraid to think inside the box on this one. Boxes are a great way to keep supplies separated and in order so you can find them quickly and easily. I purchased these two 9 cube shelving units online from Amazon. They are just shy of 12" -- so not great for storing 12" x 12" scrapbooking supplies, but they have been a great spot to store tools, materials and supplies that I use on a regular basis. Notice all the boxes within the boxes? Upcycle shoe, shipping and other small boxes to store like items that can easily be pulled and brought to your work station. I use smaller boxes to store things like: ink pads, adhesives, pens, scrap paper bits, quilling supplies, glitter and flocking, candle making supplies, beads, decorative staples, eyelets, brads and more! Clear containers are my favorite -- then you can see everything you have at a glance.
Garage Sale Scores

Have you ever started a new craft / hobby, only stuck with it a short while, then moved on? Guess what?! You're not alone! This happens more than you might think! Garage sales are a great way to score inexpensive crafting supplies and meet fellow crafters. Check your local paper for upcoming garage sale listings, or spontaneously stop by unlisted sales when driving by. You won't always score big, but the times you do may warrant the time you spent at the rest.
I've found everything from: beads, lace, fabric, candle making supplies (which spurred a new hobby for me!), old windows (you'll see these used in an upcoming tutorial!), wood for random projects, electronic cutting machines/cartridges, paper crafting supplies, decorative edged scissors, organizational items and more. One of my favorite parts about craft garage sales are meeting local crafters. Odds are, if they're selling craft supplies, they probably used them at one point in time -- so just ask! If nothing else, they can probably give you some pointers for the supplies you're purchasing, and you might even make a new craft friend!
If you're looking to round up some extra cash to spend on your craft hobby (or something else), think about going through your own supplies and holding a garage sale yourself! Are there things you don't use any more? Someone else might like to! Listing your sale in a local paper or online site can help bring in traffic -- especially if you specifically mention some of the items you're unloading.
Make Your Own Embellishments

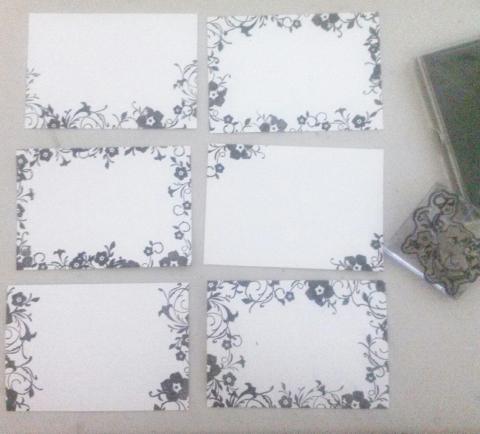
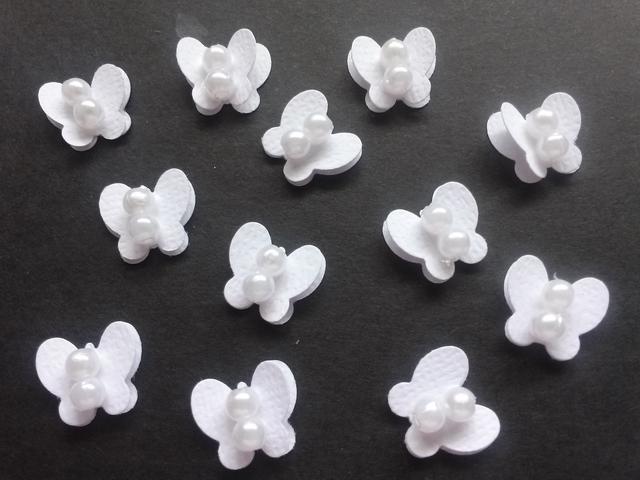
Buying pre-made embellishments can be very expensive! Learn to make your own and you'll save a small fortune -- and be able to add an extra, one-of-a-kind touch to your projects.
Love Your Penmanship

Dies, stickers, stamps, rub-ons -- there are a lot of ways you can spend money on adding text to your projects. But take it from a genealogist who pours over historical family documents almost daily -- YOUR OWN handwriting it by far preferred. Have you ever come across your great grandfathers signature on a WWI draft card? Or your great-great grandmother's signature on her marriage certificate? (Did you know you were once considered a "spinster" marrying at 21 years of age?!)
With a little practice, and a few easy tricks, you too can learn to love your penmanship. And future generations (and your bank account) will thank you! I still have a ways to go until I "love" my own, but I'm definitely getting there! Check out this awesome tutorial by Amy -- the One Artsy Mama. If her post can help ME, I Know it can help you! ;)

Paper Stacks Are Your Friend

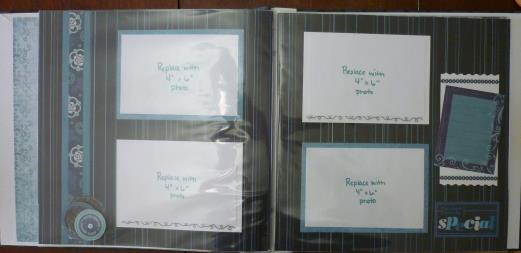
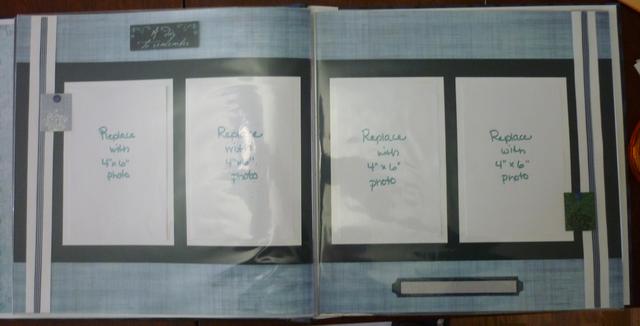
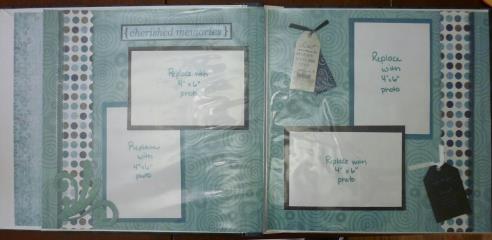
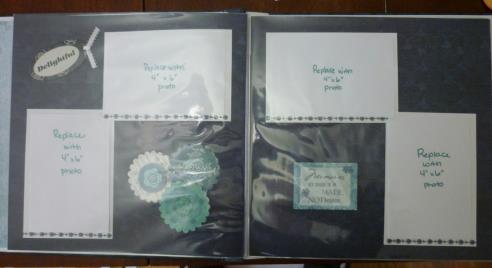
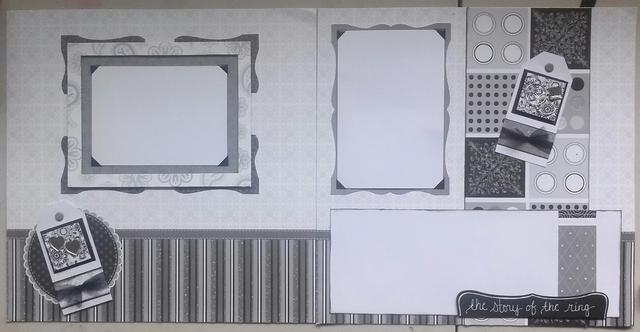
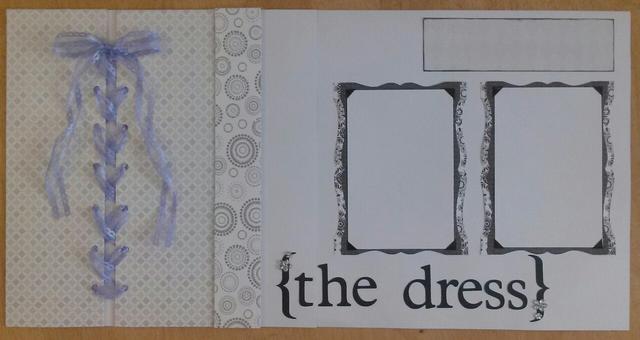
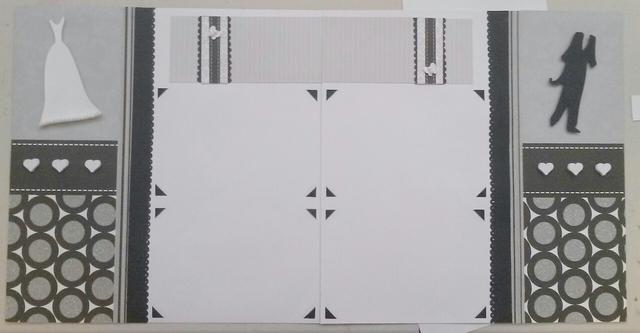
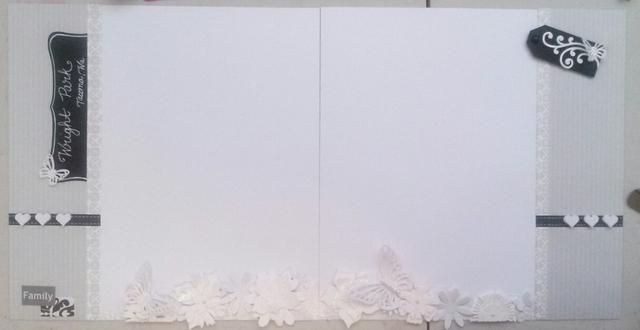
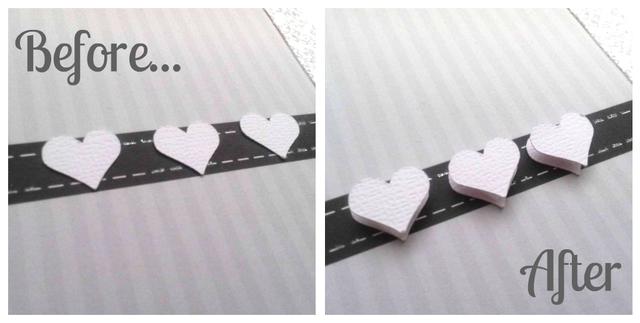
Paper stacks are a great way to save big! Pick one out that matches the project you want to work on (if you can, stock up when they go on sale!) and use it for both backgrounds and to make embellishments that match! It can cut your cost per 2 page layout, from upwards of $20 (with purchased, pre-made embellishments) down to less than $5!!! Layer similar -- or different -- shapes together to create interesting borders and edges. Use your favorite punches to create decorations to adorn your pictures and try layering them with dimensional adhesive for a 3D look. The sky is the limit for what you can make with the paper from these stacks. Below are just a few examples of pages I've done from paper stacks (and a few other items I had on hand.) You can recreate these layouts with the paper stack of your choice, or use them for inspiration to design your own!


Build it with Love -- And Safe Materials
"Do it right the first time!" This has probably been my dad's biggest lesson for me in life. I even have the saying on a magnet on my fridge. But it's so very true. Do it right the first time, and you (or someone else) won't have to do it again later. If you don't create your scrapbook with high quality, archival materials you may be accelerating it's aging process. Brush up on your scrapbook preservation tips here, and prolong the life of your artful storytelling for future generations.
Back it Up -- Just In Case

Back it up -- just in case. Cause let's face it, sometimes really awful things happen that are out of our control. Having a back-up of your treasured album couldn't hurt, and might save you some heartbreak in the future. I recommend making a digital copy of each page (easy to do these days with even a smart phone!) and save it to a cloud drive, or better yet, burn it onto disk as pack it away somewhere safe -- like a safe deposit box or fireproof safe. Whether you're on a budget or not this is a free step you can't afford to skip. Your future generations will thank you!
Waste Not, Want Not.
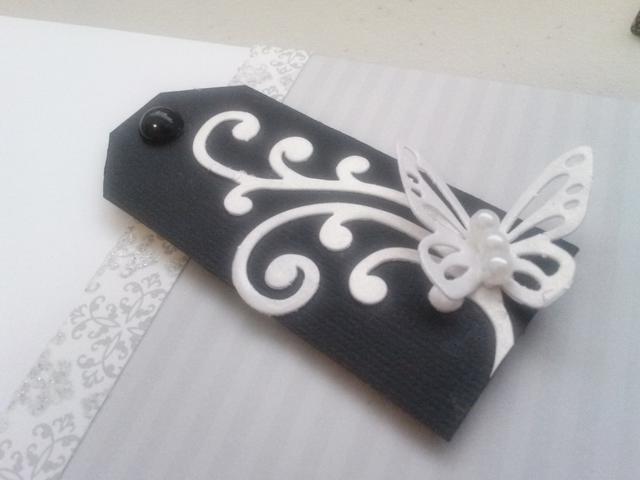
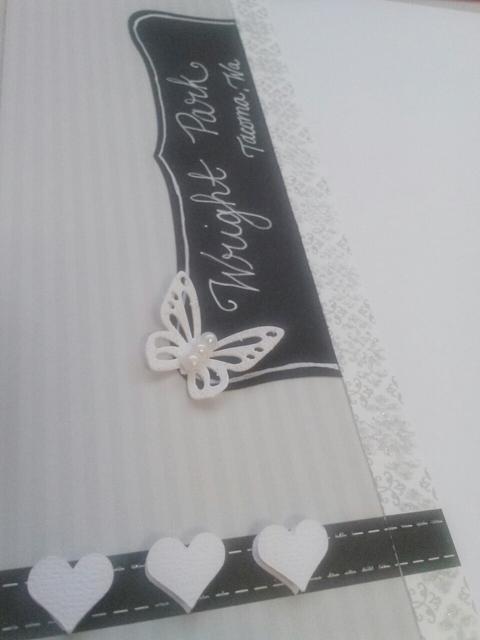
Always save your scraps!

Once you've mastered making your own embellishments, you'd be amazed all the great decorative elements you can make with your scraps, large and small! Save and sort them by size and color, and you'll always have "that perfect color" to use down the road on random projects that come up. You'll save yourself a ton by not cutting into that fresh 12"x12" just to make one tag. These above tags were made using only scraps, but don't limit yourself to tags! We have a trove of "paper scrap" uses, and if nothing else, you can always use it to make your own handmade paper!

You might
also enjoy...
Disclaimer: Please note that some of the links in this post may be affiliate links or ads. There is no additional cost to you, but The Scrap Room will earn a small commission should you choose to purchase through those links. Click here for my full disclaimer. Thank you for your support.


